Outdoor Portrait Photography Tips

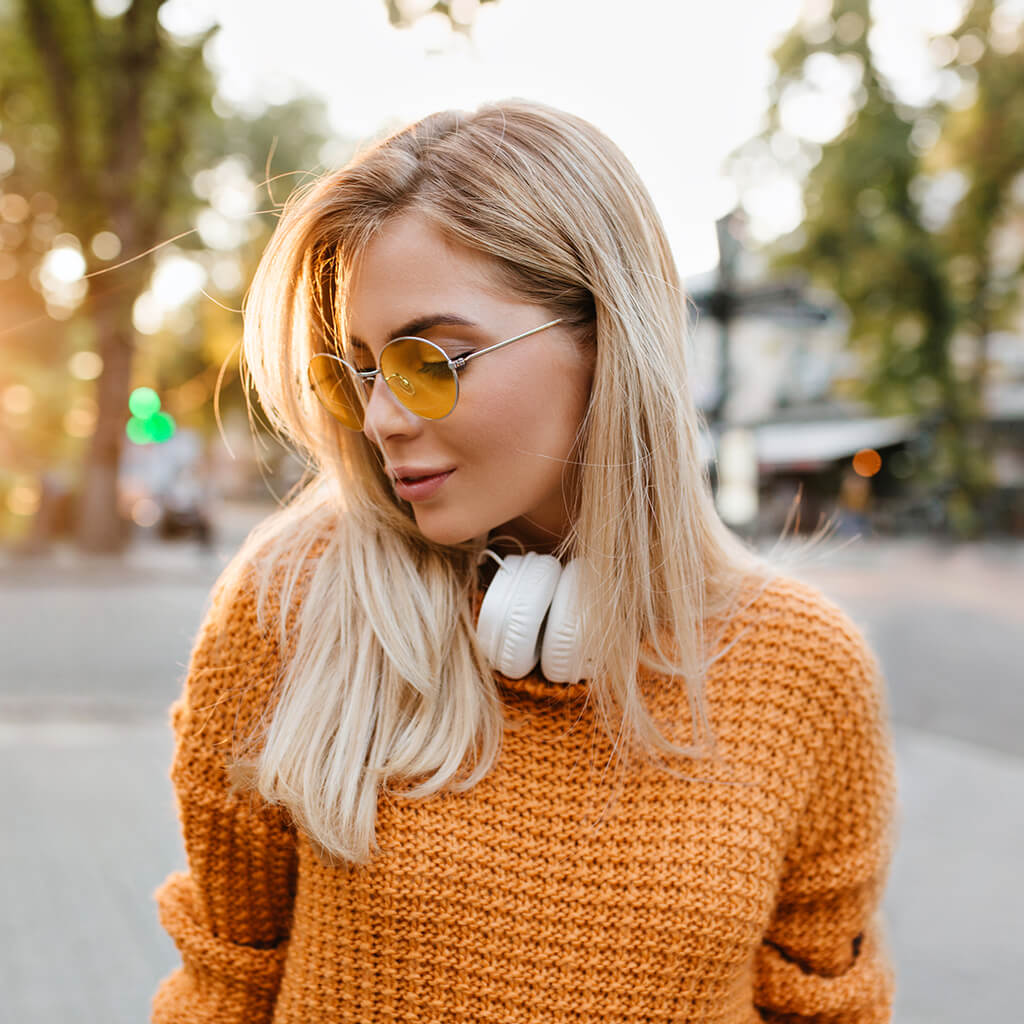
Outdoor portrait photography is challengeable for photographers. In this article I’ve gathered 15 basic outdoor portrait photography tips to prepare your outdoor portrait shoot.
Photography Tips for Outdoor Portraits
Would you like to know the secret of how to take amazing outside portraits? I have prepared 15 tips to make your work easier. You will learn how to use daylight as the main source of lighting while shooting outside and many other useful recommendations.
Tip 1. Understand the Concept of Outdoor Portraiture Photography
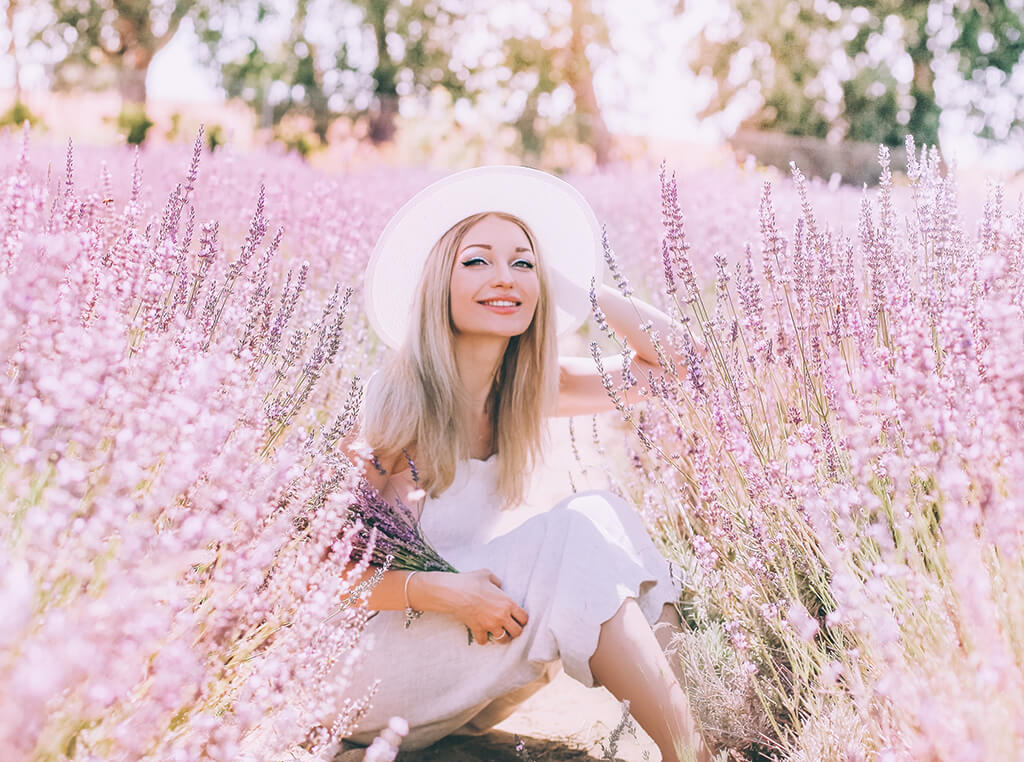
Outdoor portrait photography presupposes shooting several people or one person on the street using natural background and lighting. The choice of location for taking outdoor portraits can be incredibly diverse. You just have to find the place and conditions that help you focus on your subject and emphasize his/her individuality. With the help of a properly selected environment, you can highlight the character or feelings of the model.

It is worth noting that the chosen shooting location does not always have to be associated with this person. You can choose a completely contrasting environment to get cool outside portraits. No less interesting are the pictures taken where the person lives.

One of the features of outdoor portrait photography is that you don’t need to create the environment in your studio. You should just find the appropriate location to match the theme and ideas. Pay attention to the following recommendations while searching for the perfect outside photography location:
- Matching Your Topic
- Lighting Conditions
- Safety
- Distractions
- Ease of Access
- Textures and Color
- Natural Frames
- Timing
- Direction
14 Amazing Portrait Recipes

Find some basic portrait photography set-ups that can be useful when you take photos professionally for the first time. Each recipe has specific camera settings, lighting, poses, and some useful recommendations from professional photographers.
Be ready as outdoor shooting depends on changes in weather, lighting, surrounding noises, etc. Leaving the studio, you can lose your sense of control over the background and sometimes you will have to make the necessary changes immediately.
Tip 2. Choose the Best Time to Shoot Outdoor Portraits
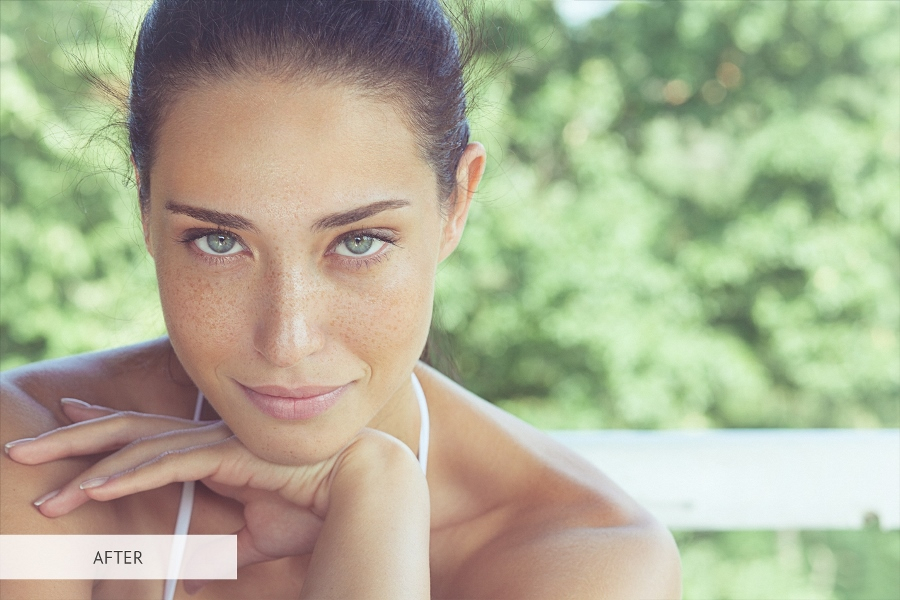
To get a stunning outdoor portrait, you must choose the right time for a photo session, thus minimizing the chances of getting harsh shadows on your model’s face.

“Golden hour”. The first few hours after sunrise or a couple of hours until it sets are considered to be the most favorable time for taking photographs. To get perfect outdoor portrait photography lighting and to avoid the contrasting shadows, you must set up photo shoot 1-2 hours after the sun rises or 2-3 hours before the sunset. Thus, you can photograph your subject in the best possible way.

Twilight. You can take beautiful portrait pictures by capturing your model in a fabulous twilight atmosphere. Take a few pictures for half an hour before sunrise or 30-40 after sunset. The blue color will dominate in such light but the warm glare of the rising or setting sun will undoubtedly beautify your photo. Since you may experience a lack of light when shooting at dusk, I recommend using long exposures to compensate for it.
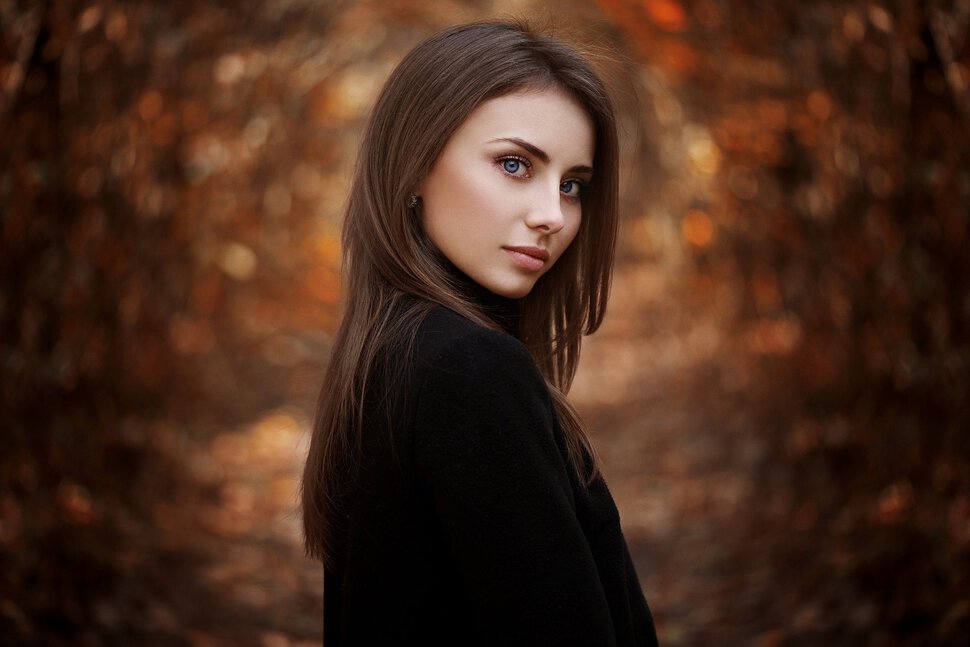
Midday Light. Undoubtedly, twilight, sunset, and dawn have their advantages and are the most favorable time for the outside photoshoot. However, the middle of the day can also be considered a great option to realize your ideas. It is important to remember that this period has a number of disadvantages, such as harsh and colorless light. In most cases, it can only spoil the photo. Though, sometimes the noonday light is what you need.
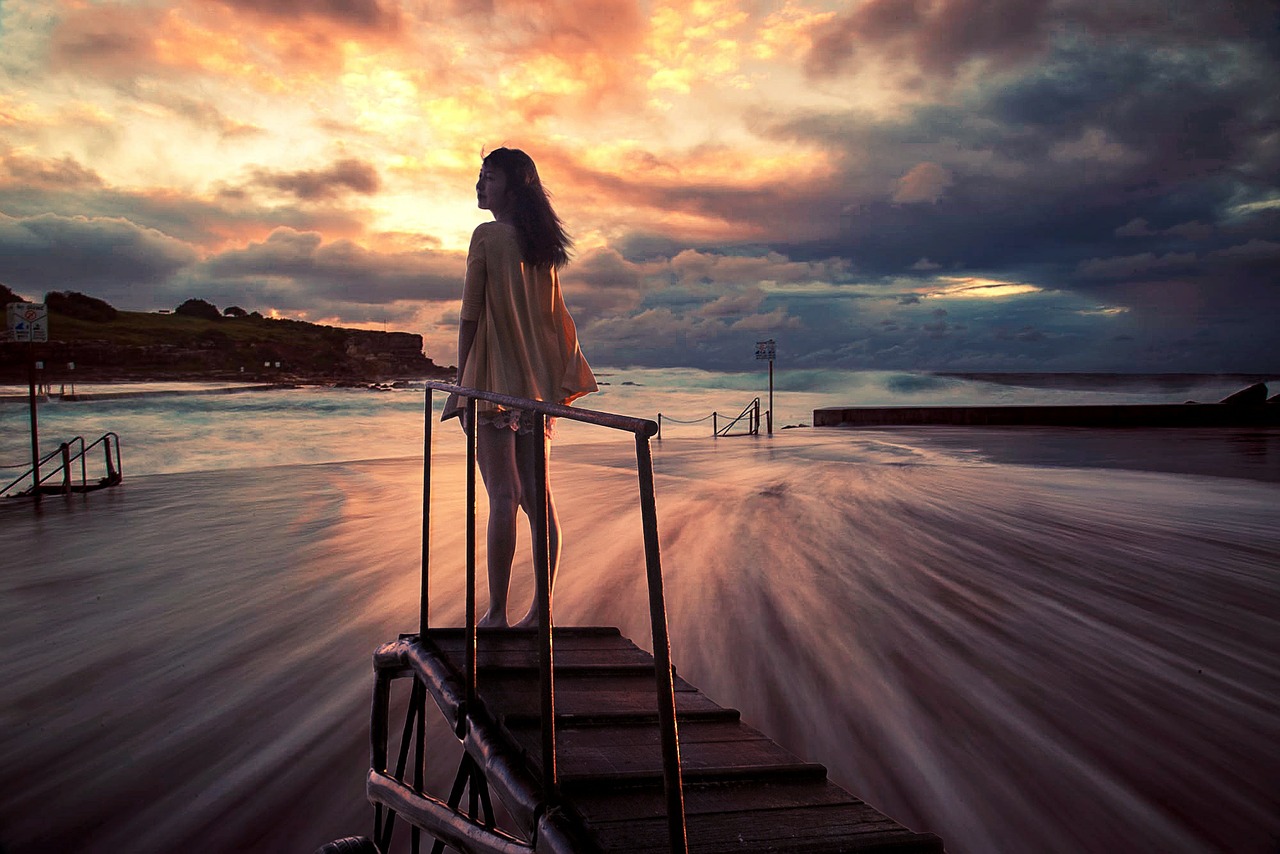
Clouds. The soft light you get on a gloomy cloudy day can be successfully used for outdoor portrait photography. In such conditions, you have the opportunity to get a natural rounded look. Of course, this light is quite difficult to manage. Nevertheless, if you still take pictures on a cloudy day, you have a chance to get the perfect silver atmosphere in your photos. To achieve a great result, you should familiarize yourself with outdoor portrait photography tips and learn more about the specific settings for such conditions. Improper positioning of the camera or a wrongly chosen angle can spoil your photo session.
- Get inspired by the works of famous portrait photographers. See the way they take photos outdoors.
Tip 3. Choose the Best Season for Outdoor Portraits
You can benefit from bright colorful autumn leaves, delicate winter snowflakes, first spring flowers, blooming green buds and warm summer sunlight. Each season offers you a wonderful choice of things that will help you realize your outdoor photoshoot ideas.

Fall. This season will add some kind of warmth to your photos. Yellow, red and orange foliage looks great in the pictures.

Spring is the season of primness and freshness. It is deceptively good, delicate and tender to touch.
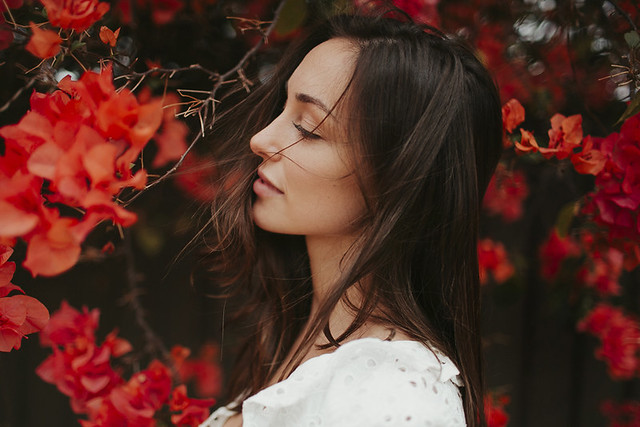
Summer is an incredible riot of colors, greenery, amazing sun, walks in the woods or along the river. All this is great for outdoor portrait photography.

Winter is an opportunity to capture the snow and come up with a fabulous story that will be hidden behind a photo session. At this time of the year, experiments with images and props work the best.
Tip 4. Camera Settings for Outdoor Photography
Manual mode
ISO – 100-400
Autofocus
Drive mode – single shot
Aperture – choose the value between f/2 and f/4 if you shoot one subject and f/5.6-f/8 for group portraits
Shutter speed –1/200
5. Never Select All Focus Points for Portraits

When setting the autofocus, you must avoid using all available focus points. In the case of portrait outdoor photography, it can cause terrible results. This function finds the nearest objects to the lens and focuses the camera on them. If it comes across a group of focus points, then it selects the best option by averaging the distance between them. Choosing one focus point will give you more control and provides better quality.
Tip 6. Always Focus on Eyes

To take a really cool portrait, you should pay special attention to the model’s eyes. As they are one of the sharpest parts of the face, focus the camera on them. According to one of the important photography tips for outdoors, you should use a wide aperture while taking portraits. It will help not only focus on the eyes, but also get softer-looking skin thanks to the bokeh of the lens.
Tip 7. Always Shoot in RAW
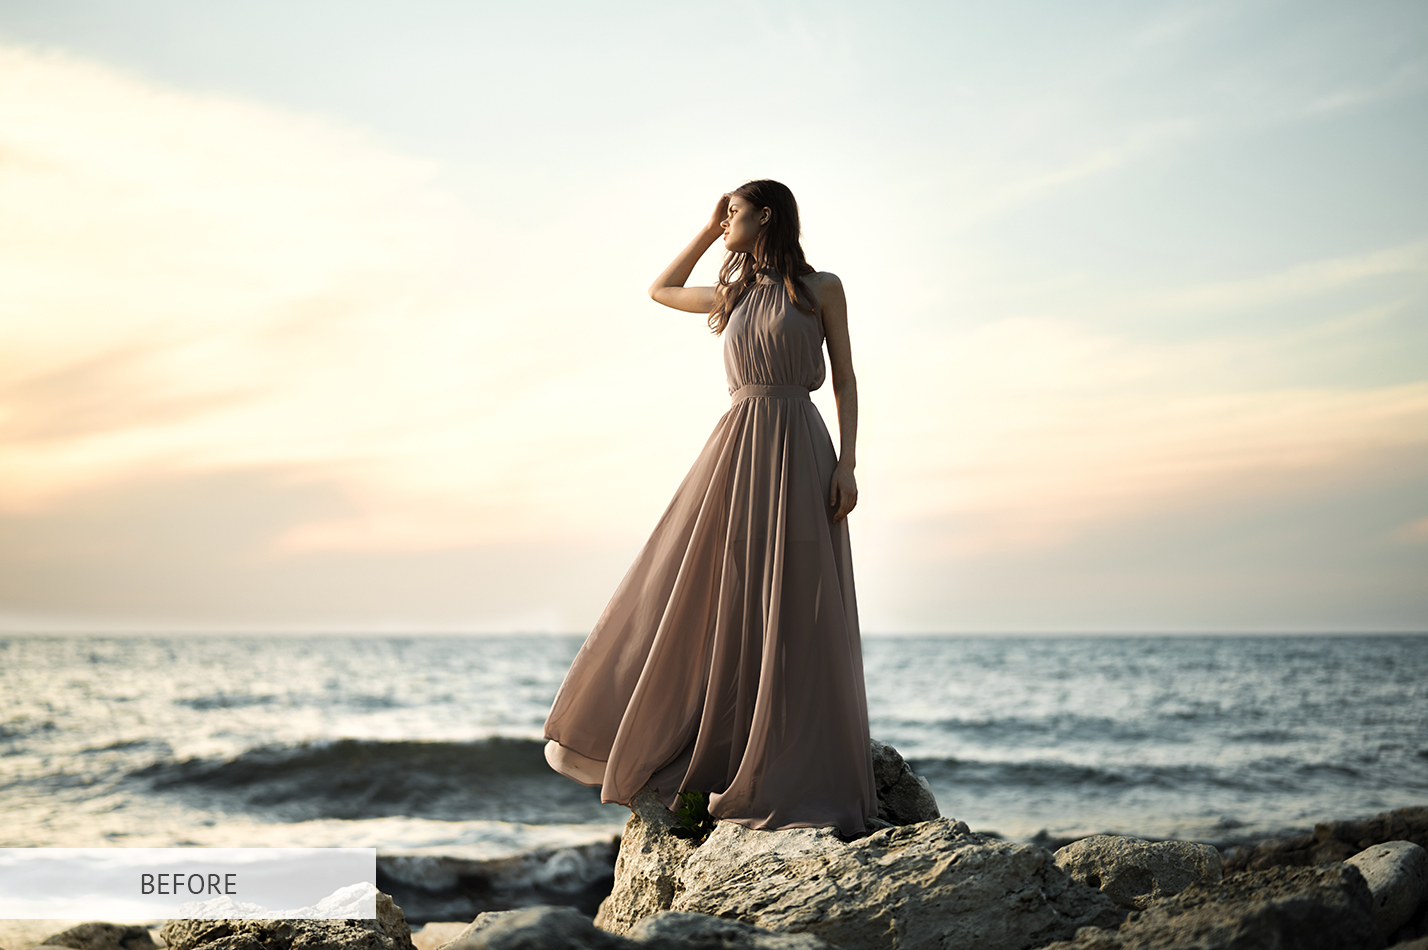
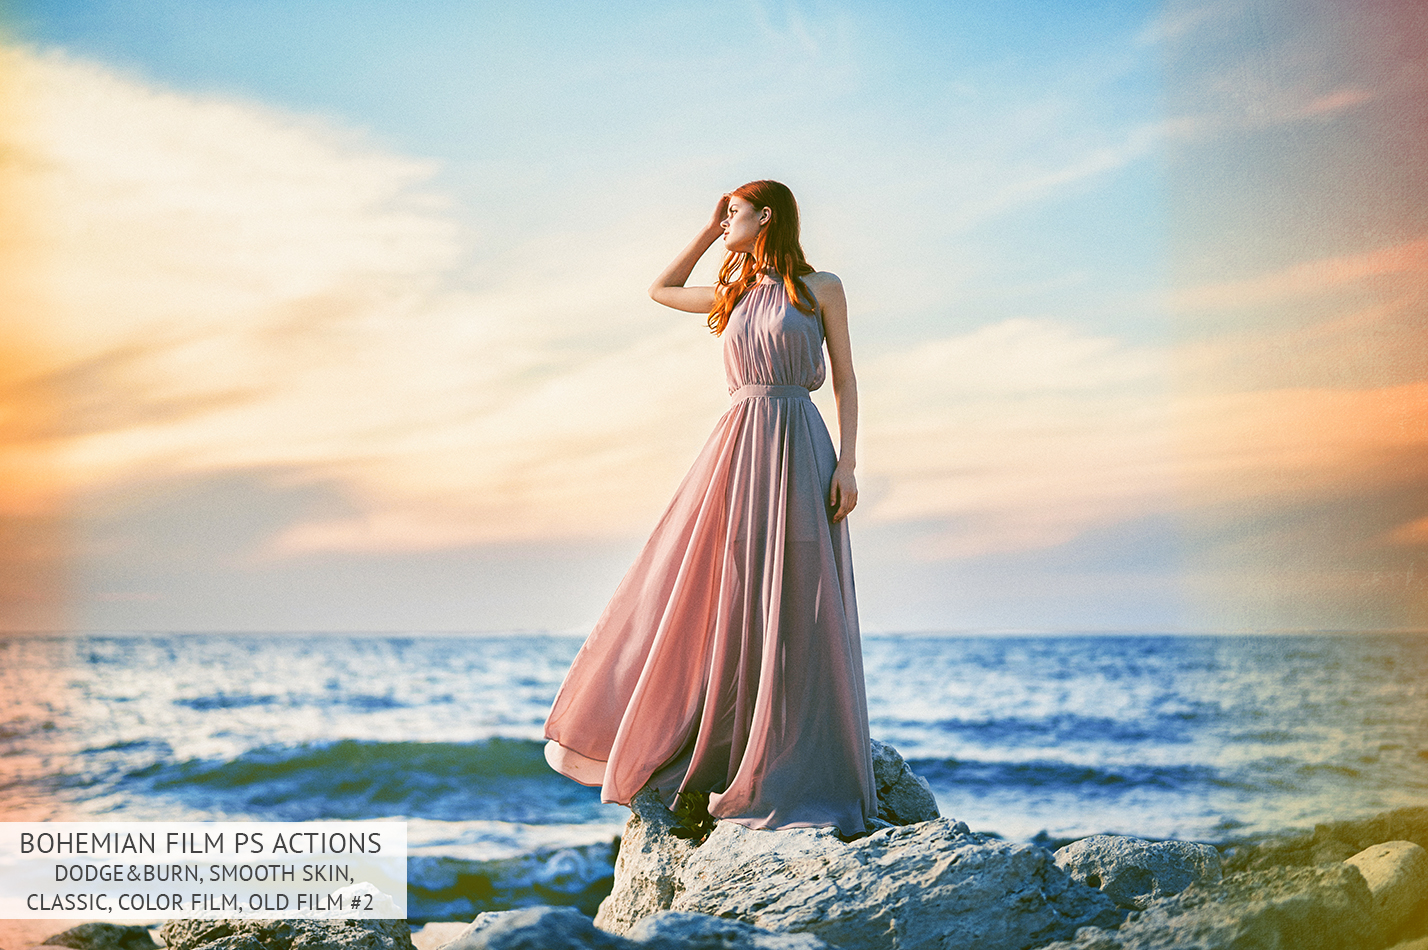
If you shoot RAW, you get more opportunities for further photo editing. Such files are actually your digital negatives, which contains almost all the information from your camera. If you choose the JPG format, you will not be able to get all the necessary data. In addition, while editing the picture, you will lose some information. Besides, photo retouching of JPG files is a more complicated and time-consuming process. So trying to fix an incorrectly adjusted white balance in a JPG photo, you can practically destroy the original image without getting the desired result. If the photo was taken in RAW format, you can quickly fix this problem.
- Get professional color correction and portrait retouching for about $5 per photo.
Tip 8. Use FREEBIES for Editing Portrait Pictures
Magical Bokeh
Use this bokeh overlay for adding magical lights on your background. Change the bokeh’s color according to the lights you have.
Freebie for Lr ‘Contrast’
This preset will add contrast to your photos and fill them with the warm glow of a summer day.
Freebie for Lr VSCO Effect
Perfect preset for female portrait photos with a predominance of one shade. Makes you photos moody and bright.
Freebie for Ps ‘Color Tone’
Do you want to achieve the effect of rich and vibrant skin? Use this free Photoshop action and get desired effect in one click.
Freebie for Ps ‘Smooth Skin’
This free action is perfect if you want to get the perfect effect of healthy skin. Do basic skin editing in several clicks.
Freebie for Ps ‘Hair Brush‘
Sometimes you just need to add volume to hair or few extra strands. For such purposes, you can download our free brush.
Freebie for Lr ‘Whitening Teeth‘
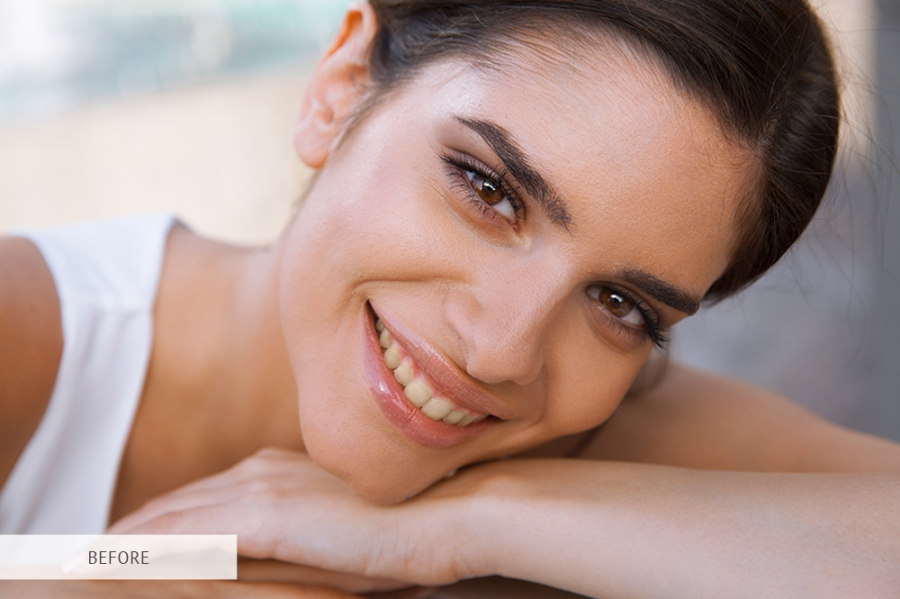
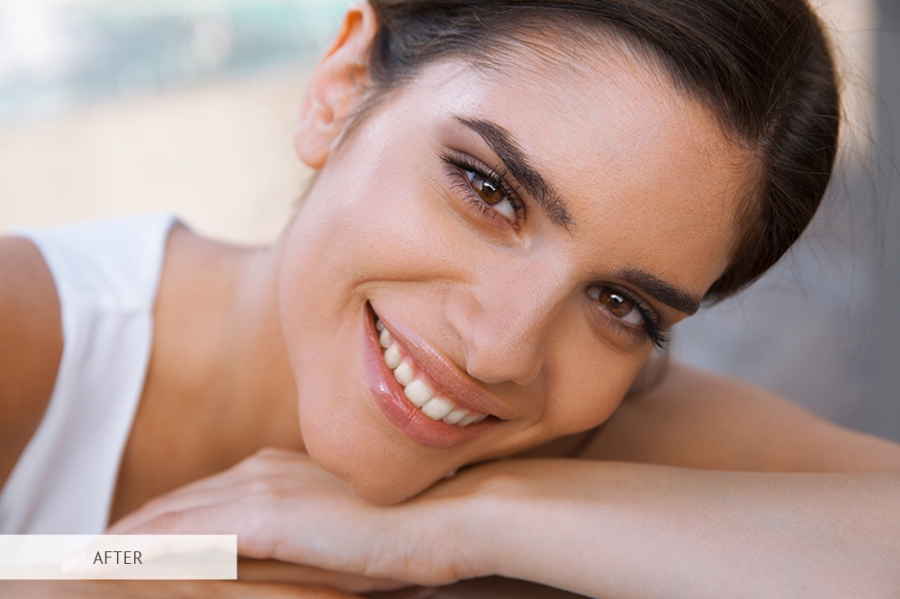
Excellent brush, which will help you get rid of the yellow teeth in the photo.
Freebie for Ps ‘Eyes‘
The eyes are one of the most important parts of all outdoor portraits, which is why we offer you a free action that will make the model's eyes shine.
Freebie for Ps ‘ Teeth Whitening‘
Use this free action for Photoshop to achieve the incredible effect of snow-white teeth and a Hollywood smile.
Tip 9. Avoid Direct Sunlight

Direct sunlight can give you a lot of trouble if you are engaged in outside photography. It is too sharp, often violates the white balance, causes hard shadows and distorts the object. Therefore, shooting in the shade is exactly what you need in this case. Smooth soft shadows derived from the natural features of your subject will not spoil the image at all. Choose the right white balance and exposure settings and you’ll get beautiful portraits.
Tip 10. Use a Reflector to Control Your Light

To achieve the desired results, you must learn to control the lighting. One of the inexpensive tools that you can use for these purposes is a reflector. Outdoor portrait photography can be significantly improved with this element. As a rule, manufacturers supply reflectors in several color options that you can use according to your ideas and lighting conditions.
As stated in the tips for taking outdoor photos, using the white surface of the reflector, you get a neutral color which is a kind of fill light. The golden one will add a bit of golden effect to the model's figure. To simplify the shooting process, you can purchase stands and place the reflectors on them in advance. Another option is to work with an assistant.
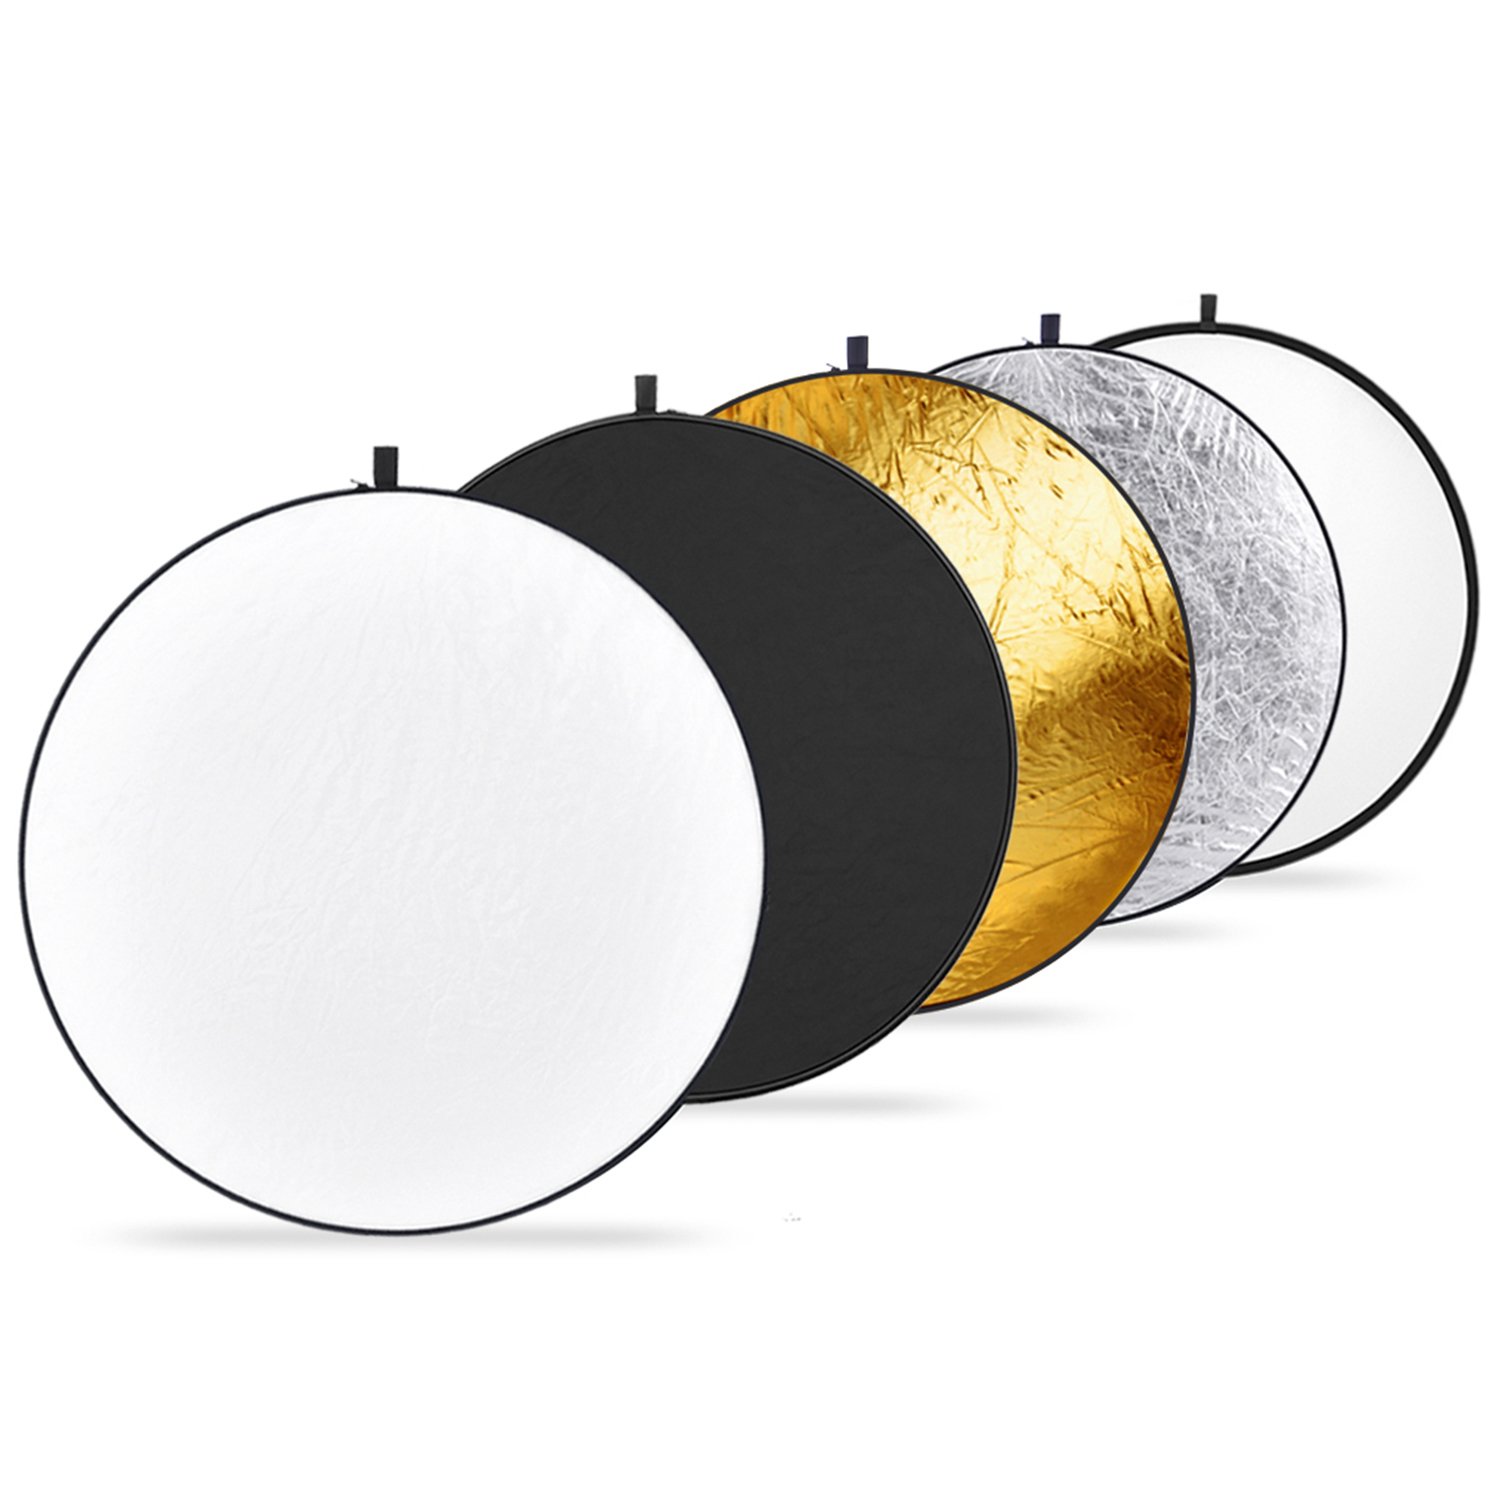 |
Neewer 5-in-1 Reflector | Check PRICE → |
Tip 11. Use a Flash

Having natural light around, the idea of using a flash, which is an artificial light source, may seem strange. Still, specialists engaged in outdoor portrait photography know how advantageous this decision is. Taking outside portraits, you inevitable get shadows (even minor ones) on the model’s face or figure. Using a flash, you can avoid this problem easily. Actually, a flash serves as a fill light for the pockets of the shot that are covered with dark points. You may experiment a little and combine an external flash with several reflectors to achieve a 100 percent effect. So, you’ll evenly distribute the light across the frame, thus getting a perfect photo.
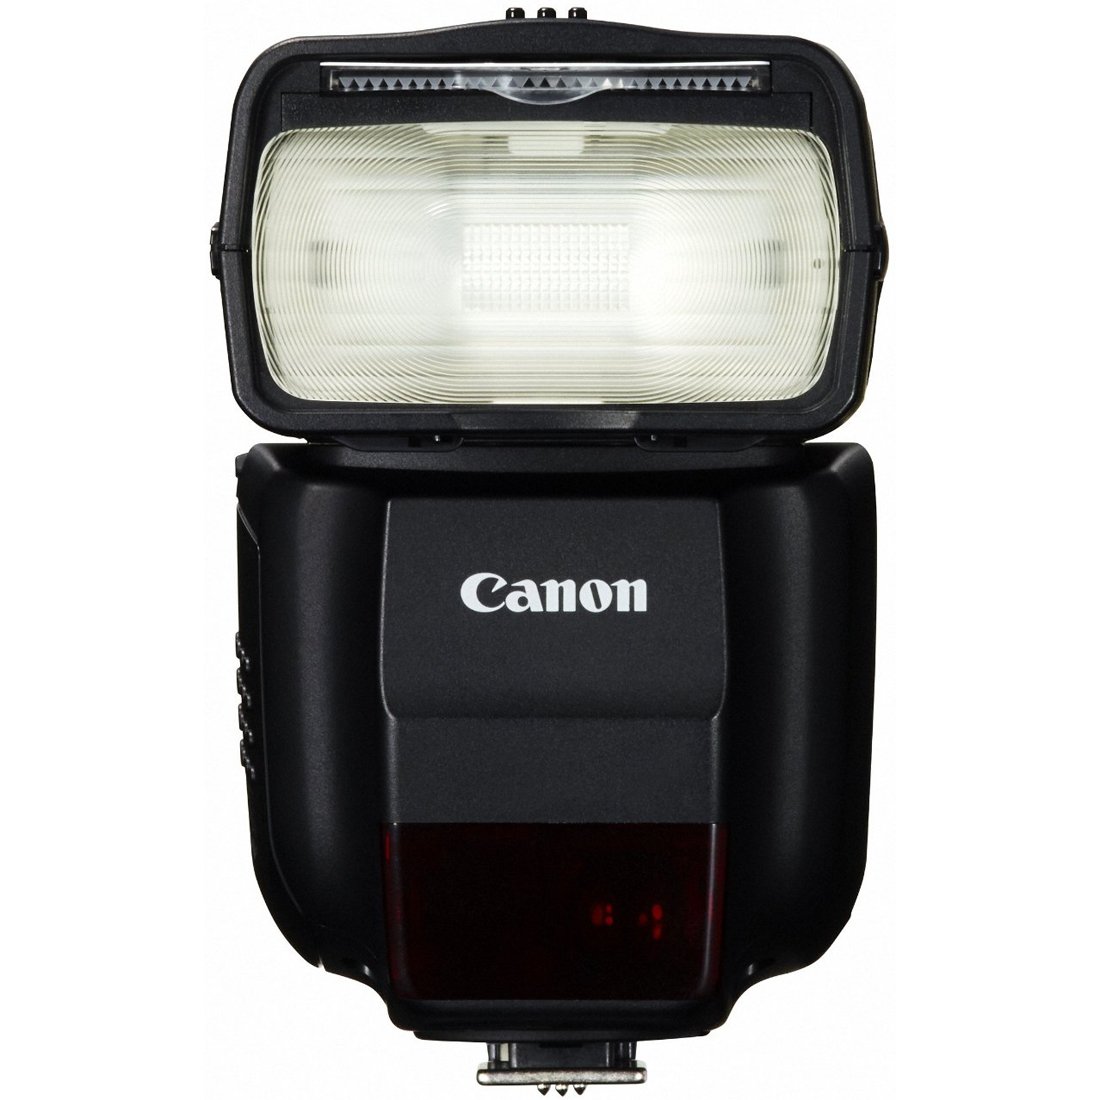 |
Canon 430EX III-RT EOS Speedlite | Check PRICE → | |
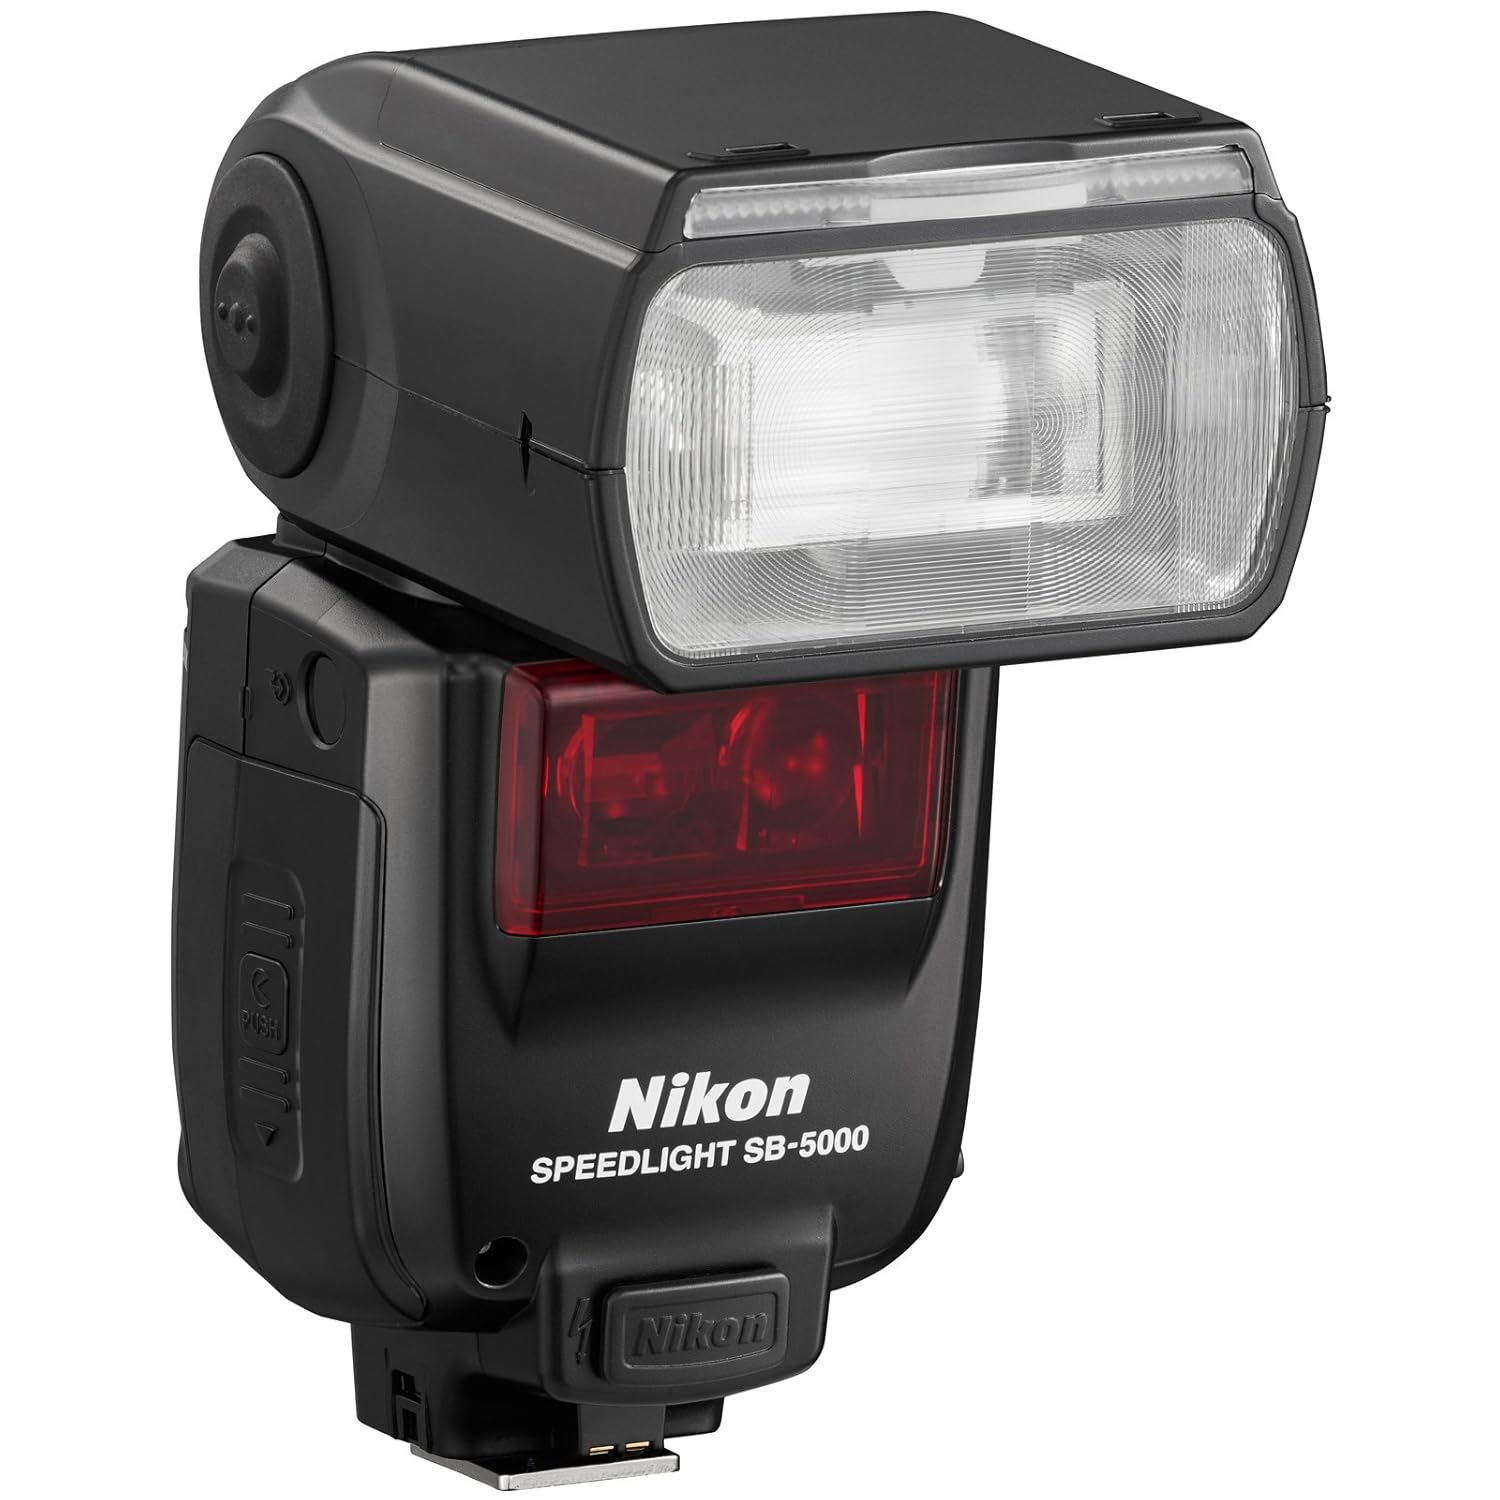 |
Nikon SB-5000 | Check PRICE → |
Tip 12. Try Backlit
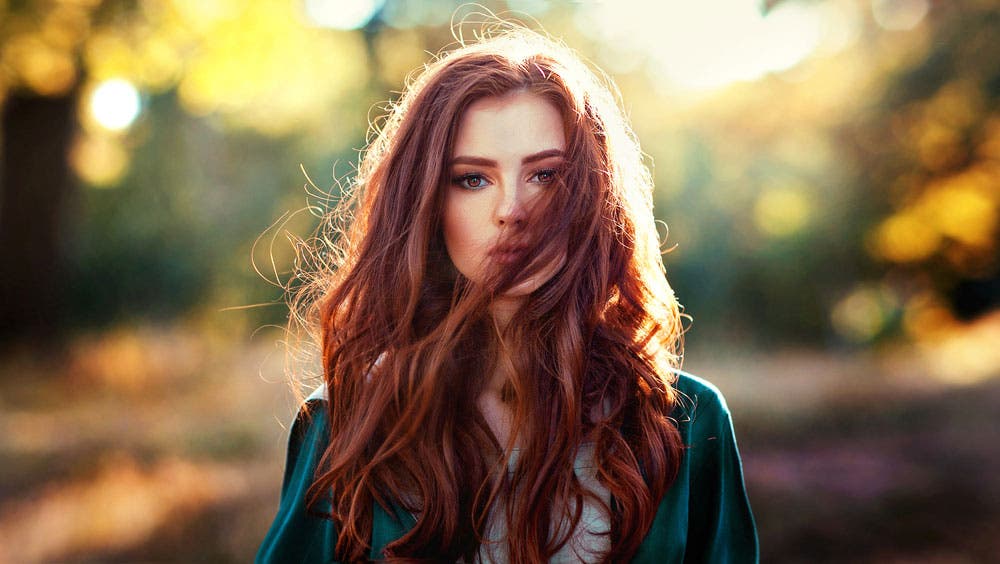
To get great backlight, you need to regulate the exposure. The thing is that the built-in camera exposure meter may mistakenly read the light behind the model. Thus, your subject will be in a shadow. Your task is to set the exposure correctly when the light falls on the person’s face. It can be done with the camera metering features or manually with a light meter. If you aim at getting a 3D effect, you’ll need to add fill-in flash to get a backlight. Add two light sources to model the person and balance the lighting.
Tip 13. Use a Fixed Focal Length Lens

It is recommended to choose the models with a fixed focal length. Most often, photographers opt for 50mm lenses. Though, the 85mm version is also a good alternative. To obtain the desired depth of field, effective framing, and beautiful composition, you need lenses with a fixed focal length. Thanks to the low f-stop capability, this lens gives you the opportunity to get a soft bokeh which is so important for every portrait photographer.
- View more about the best cameras for portraits that take amazing photos outdoors that are sharp and clear.
Zoom-lenses and wide-angle models are not suitable for such photos. Working with them, you may have difficulty with the distortion of your subject. It is best to use special portrait-oriented models that can give you a proportional and high-quality image.
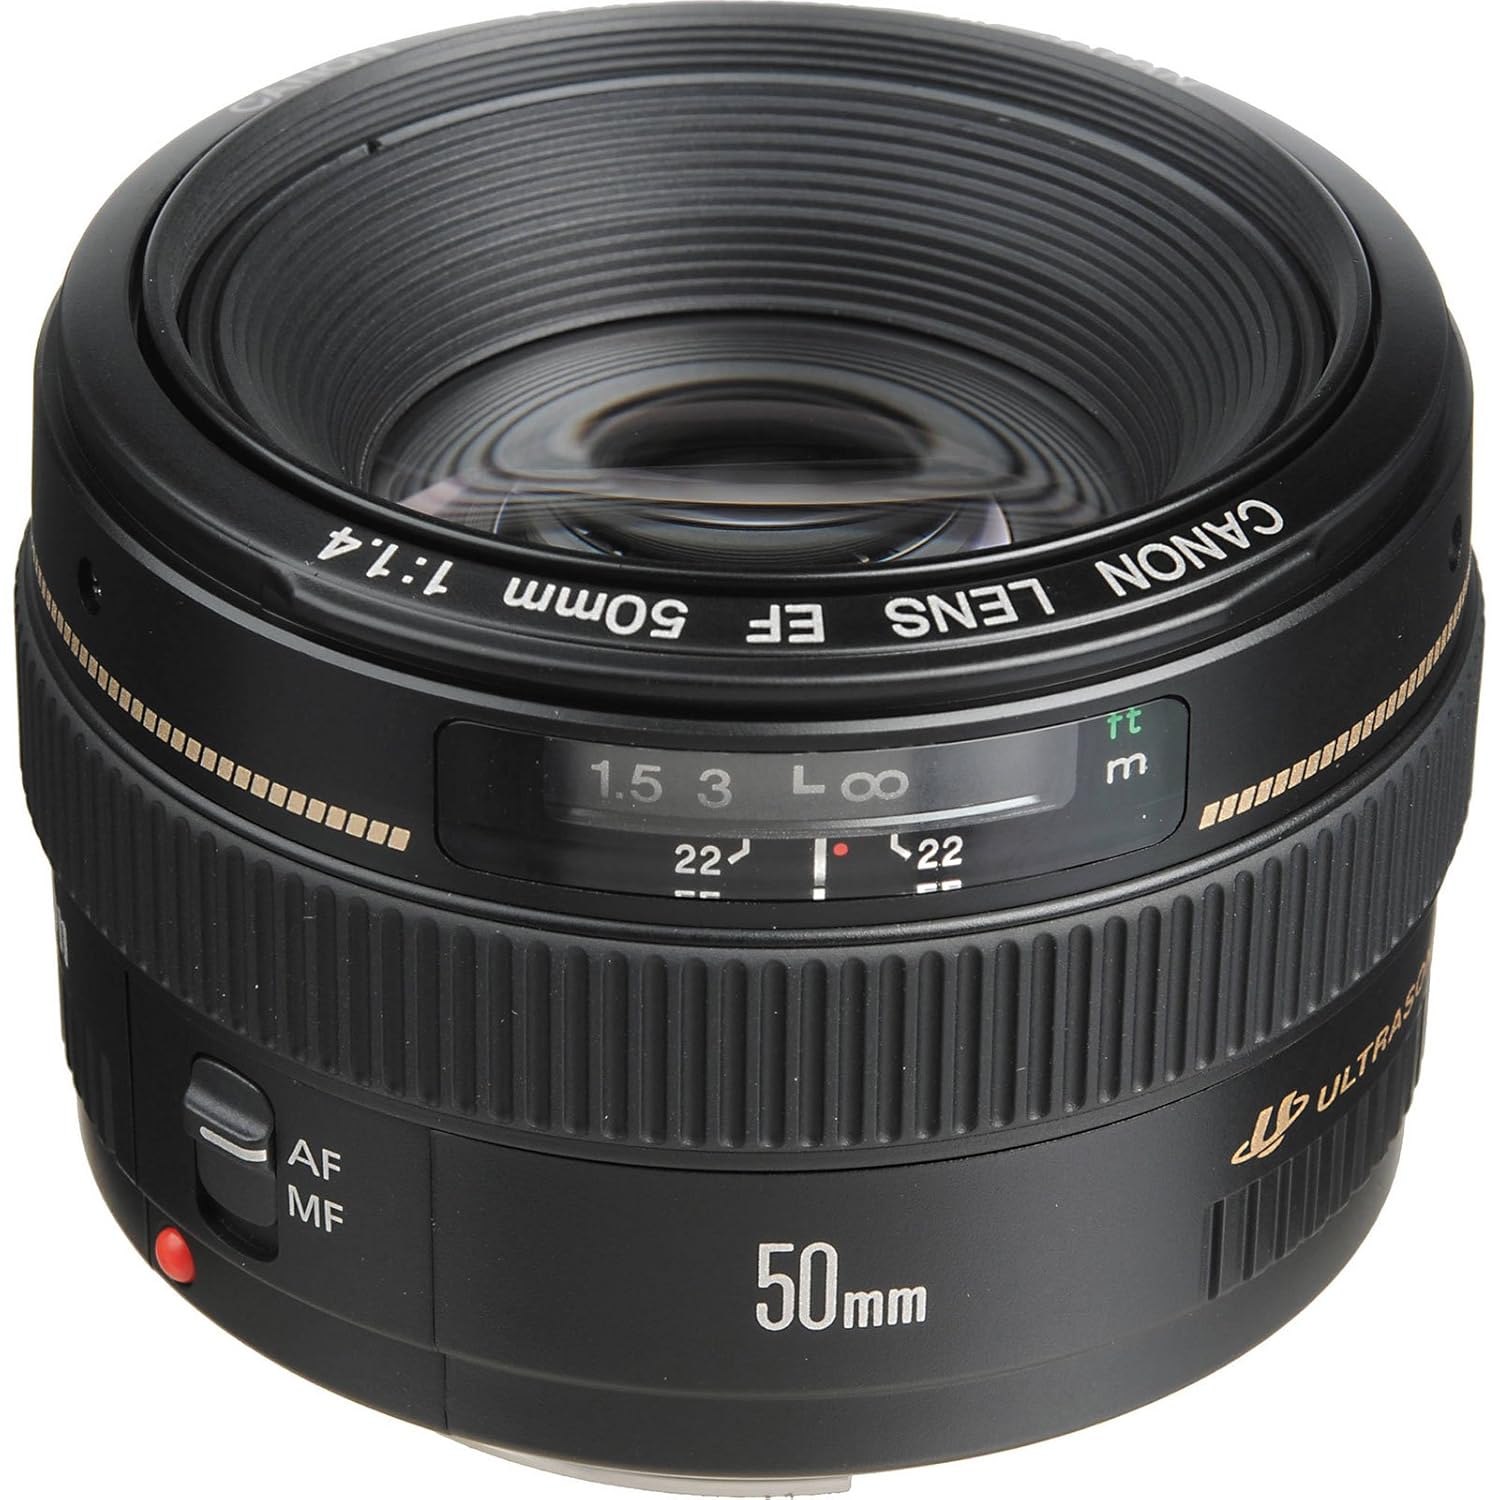 |
Canon EF 50mm f/1.4 USM | Check PRICE → | |
 |
Nikon AF-S NIKKOR 50mm f/1.8G | Check PRICE → |
Tip 14. Bring a Sheet and a Few Spring Clamps from Home
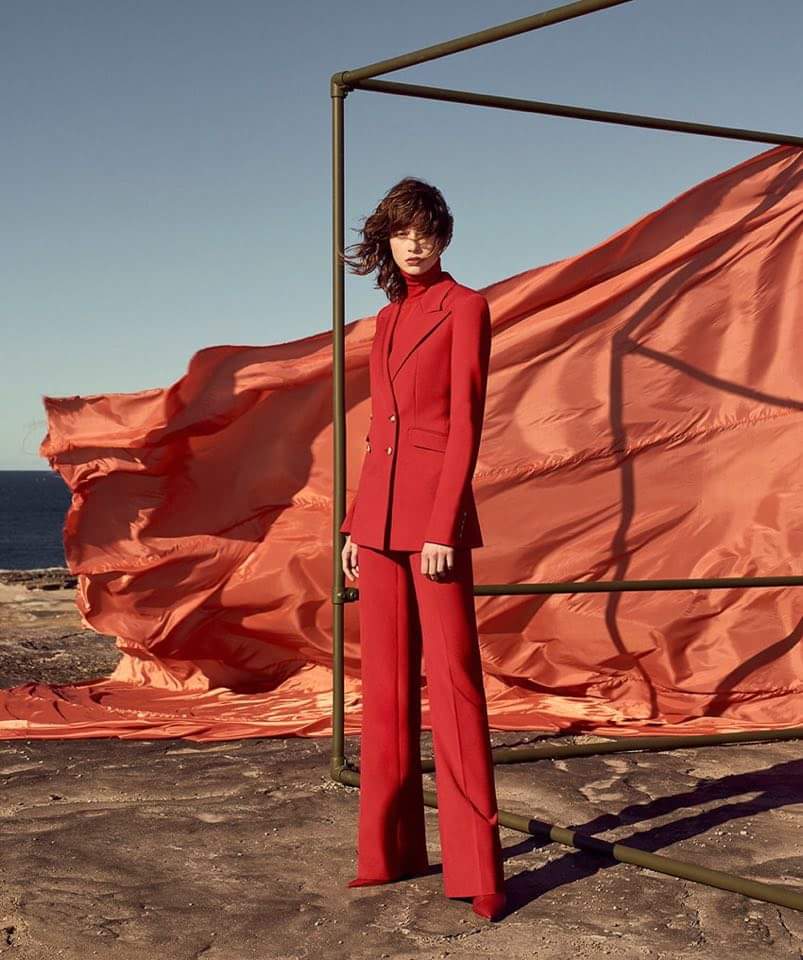
Even creative portrait photography doesn’t require expensive accessories. You can simply take the things stored in the attic or basement, which you remember only when redecorating your house. For instance, it may be an old cheap thread count sheet or satin one-color curtains. Don’t have any? Visit the local store and buy the cheapest white sheet you can find. It is a great, budget diffuser that even beginners can afford.

White sheets will also help soften the natural light, which causes deep shadows. You need to tie the edge of the sheet to the clothes line or a tree branch and clamp for the side light. To eliminate any movement, attach stones to the bottom corners of the sheet. To get the overhead light, you need to attach the corner to anything above the model.
Tip 15. Choose Props
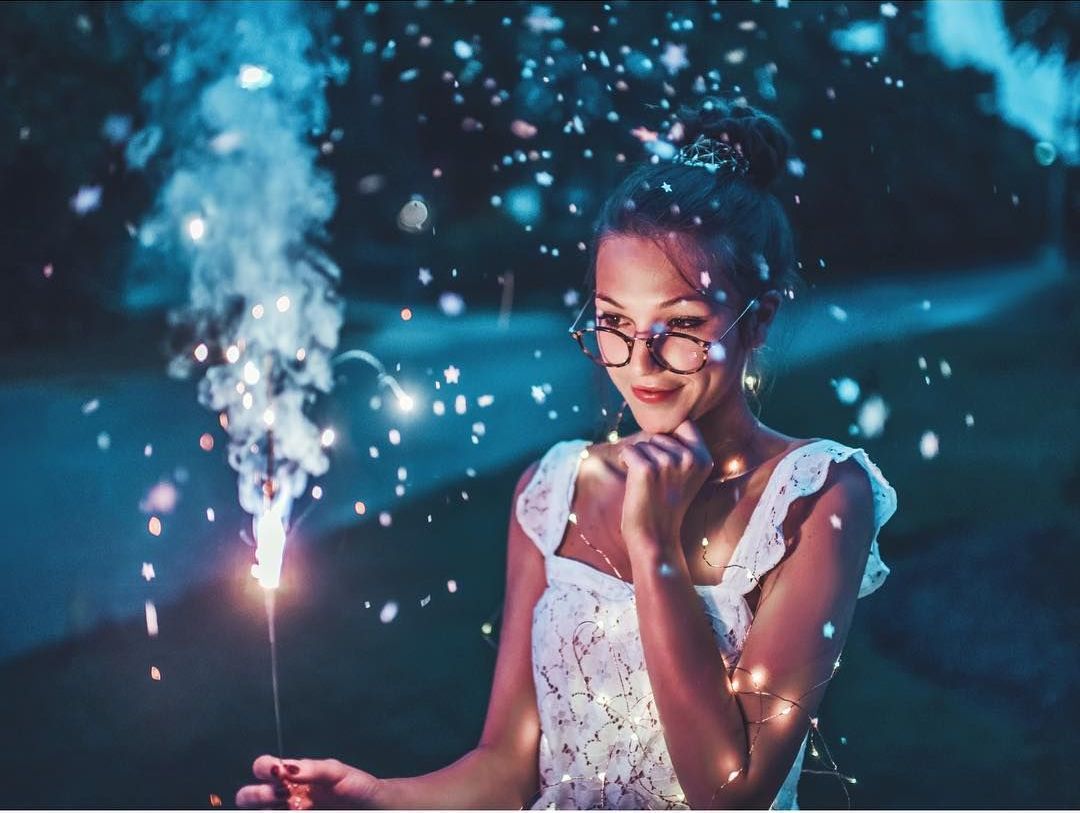
Props play an important role, as they can greatly diversify the composition and make it more interesting. There is a great variety of props you can use for an outside photoshoot, but opt for things that thematically match the shoot and help to convey certain emotions and feelings. Being of different colors, shapes, sizes, patterns and materials, props help models feel more relaxed. However, you need to be very mindful and concentrate on the model, not the props. Choose them in moderation. Moreover, props can date the photo session, which isn’t always necessary.
- Looking for creative photography props that are affordable? Check out these DIY photography props you can use for your outdoor shoot.
Tips on Outdoor Portrait Poses
Get creative when you choose poses for an outdoor photo session. When you take individual or group shots, you need to prepare something non-trivial to amuse and please your clients. Have a look at the following outdoor portrait photography poses to choose something to your taste.
- Check out my full list of all winning portrait photography poses for men, women, children, couples, and families.
1. Over the Shoulder
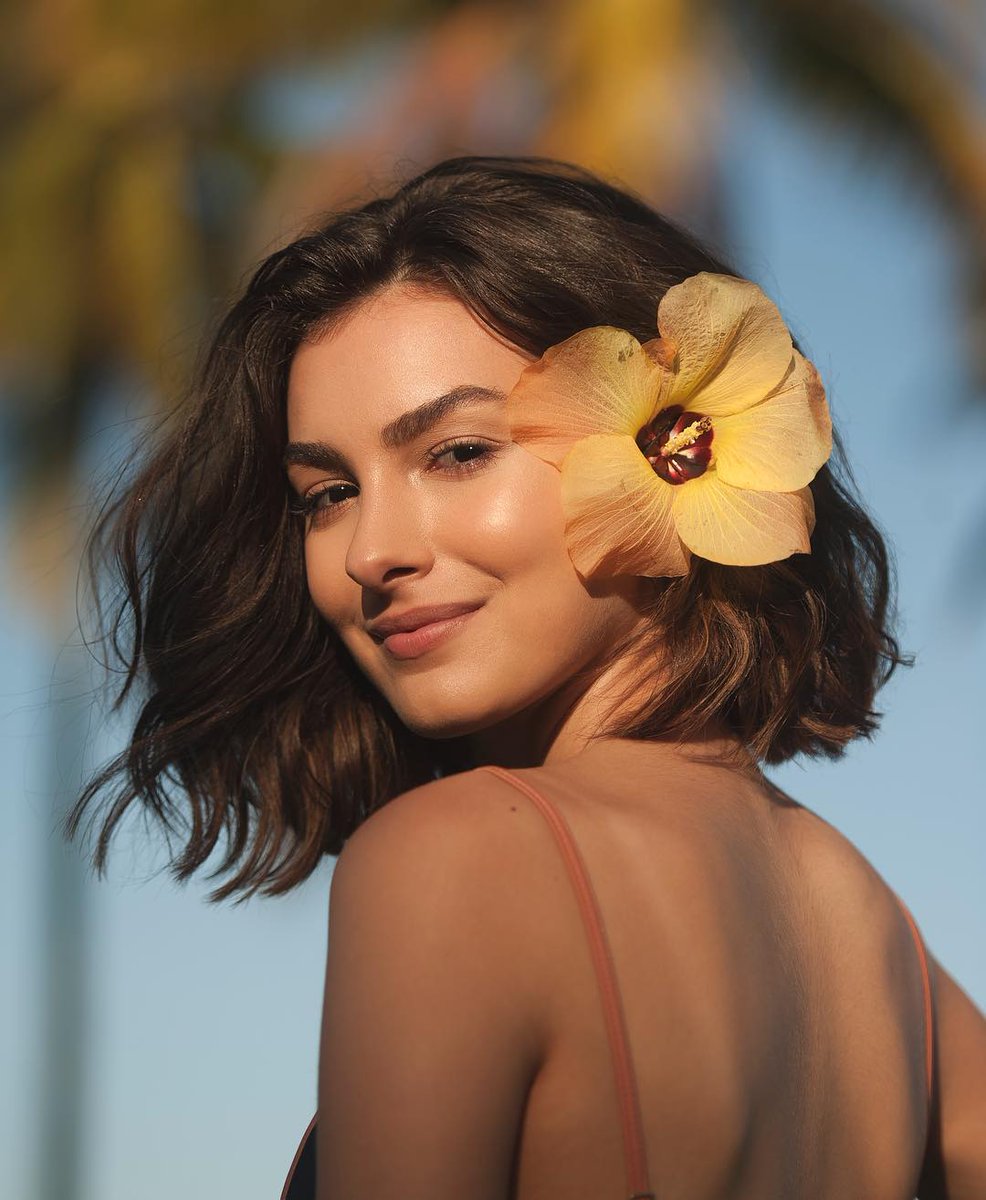
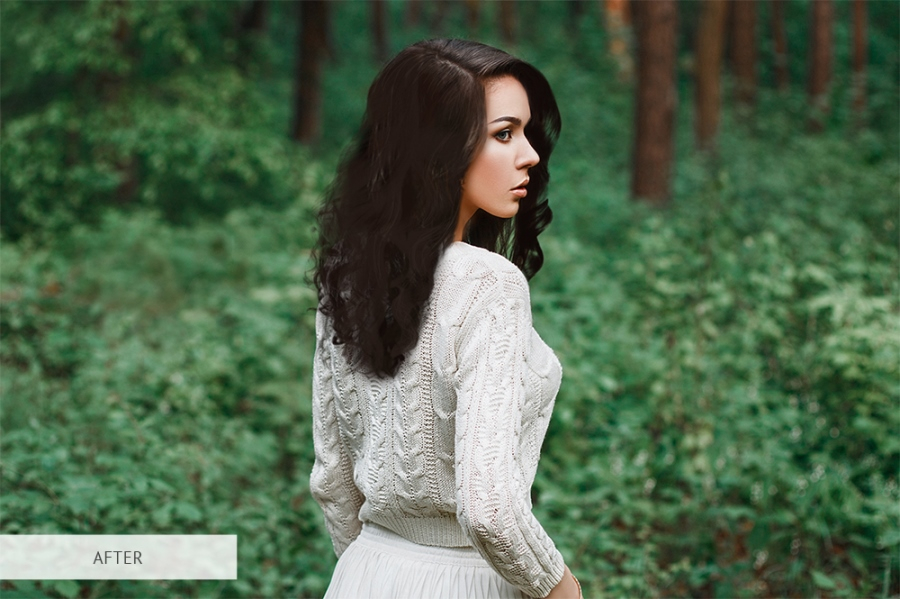
One of the classic outdoor portrait poses, which attracts with grace and informality. The woman can behave naturally, slightly gazing over the shoulder. What can be simpler? It looks so intriguing, as you can see only a little bit of her beautiful profile. This pose helps to emphasize gentle proportions, neck and jaw.
2. Hands on Hips

This is a very interesting portrait outdoor trick. Ladies like it very much, as putting their hands on hips, make their waist look slimmer. Having chosen the suitable outfit, you may pose your model this way to express feminine power and confidence.
3. Close-Up

This is one of the easiest but powerful poses. The main accent is kept on the eyes, which have to show some feelings or look thoughtful. Take this into account and prepare your clients. It is also called full frontal face, as all the facial features are clearly visible.
4. Involve Hands

You shouldn’t focus solely on the face, and also try outdoor photoshoot ideas involving hands. Such poses look very organic and pretty but don’t require special preparation. You may experiment with hands on the knees, playing with hair, rubbing cheeks, or anything else that you can imagine.
5. Surface Lean

Use this pose if you feel that the model is uptight and even shy. She can lean or sit on the surface and pensively gaze into the distance. Take pictures from different angles, while the model is changing focal points.
6. Strolling
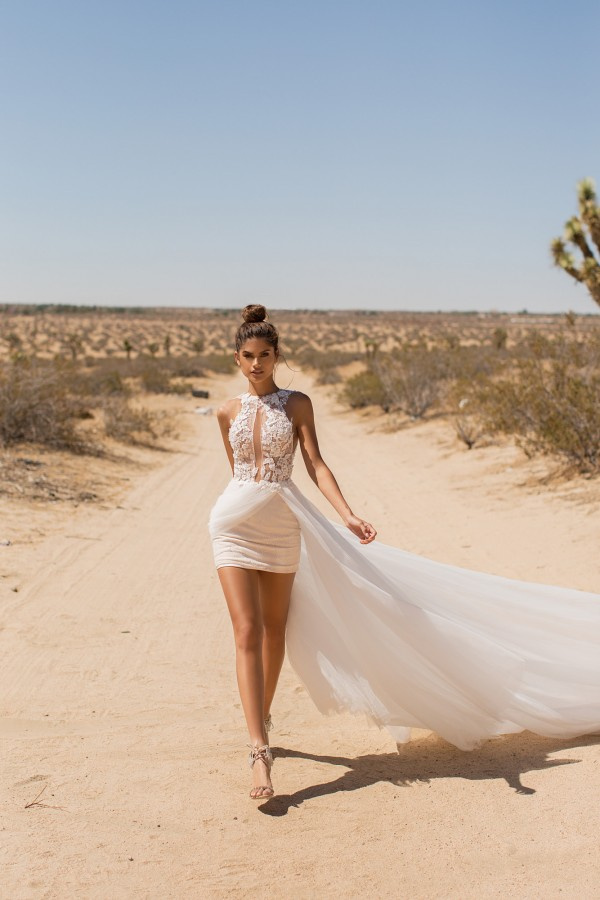
Some people think that it is similar to walking, but men do it in a specific way. It is quite a natural pose, so your model will feel at ease and can demonstrate emotions you want to see. Men can greatly work with this pose, bringing a personal touch.
7. One Leg Up

Specializing in outdoor portrait photography, you can choose any location for the shooting, thus experimenting with diverse poses. This one implies that a man is sitting down or standing up with one leg up. It also looks great if the model is leaning against the vertical surface. But t should be decided in every individual case.
8. Leaning Pose

Want to show a model’s constitution? This is a great way to do it. Find a wall or a tree and ask your client to lean against it. In such a way, you may accentuate contrast lines and achieve a non-parallel effect.
9. Arching Arm

This is surely the first outdoor portrait photography pose you think about when you recall actors from action movies. Your model will look very powerful or even a little bit fierce posing with an arched arm. Pay attention to the facial expression and the eyes to get a consistent image.
10. Hands in Pockets

Every portrait photographer truly loves this pose as it helps to show style and confidence each man can show. It would be better if your model found a distant focus point instead of looking directly at the camera.
11. Lying in the Grass

Working with couples, you have to be very attentive and control both partners. You can ask them to lie down in the grass and look at each other. Take care that they should wear clothes of any color but not green. It is also interesting if they pose with their eyes closed or keep their hands together.
12. The Forehead Kiss

Love is greatly about kissing and hugging. That’s why you should try the forehead kiss pose while taking couple’s portrait pictures. It is so sweet to see a woman sincerely smiling while her beloved partner is kissing her on the forehead. It will help you put the models in the right mood to take many other beautiful shots.
13. Walking

Outdoor portrait photography enables you to involve more space in the photo. Thus, you can photograph the couple walking towards you or capture them going into the distance. Both variants have a peculiar charm and help you take dynamic images.
14. Intimate Looks

It is so charming to see a loving couple dreamily gazing into each other’s eyes. They tend to smile and tightly hold their hands, and you need to capture these genuine emotions.
15. In the car

Why not add big props for outdoor portrait photography? It will be very interesting to use a car with a couple sitting in it or posing near it. You may try vintage models to create a certain atmosphere.
16. Hand in Hand Stroll
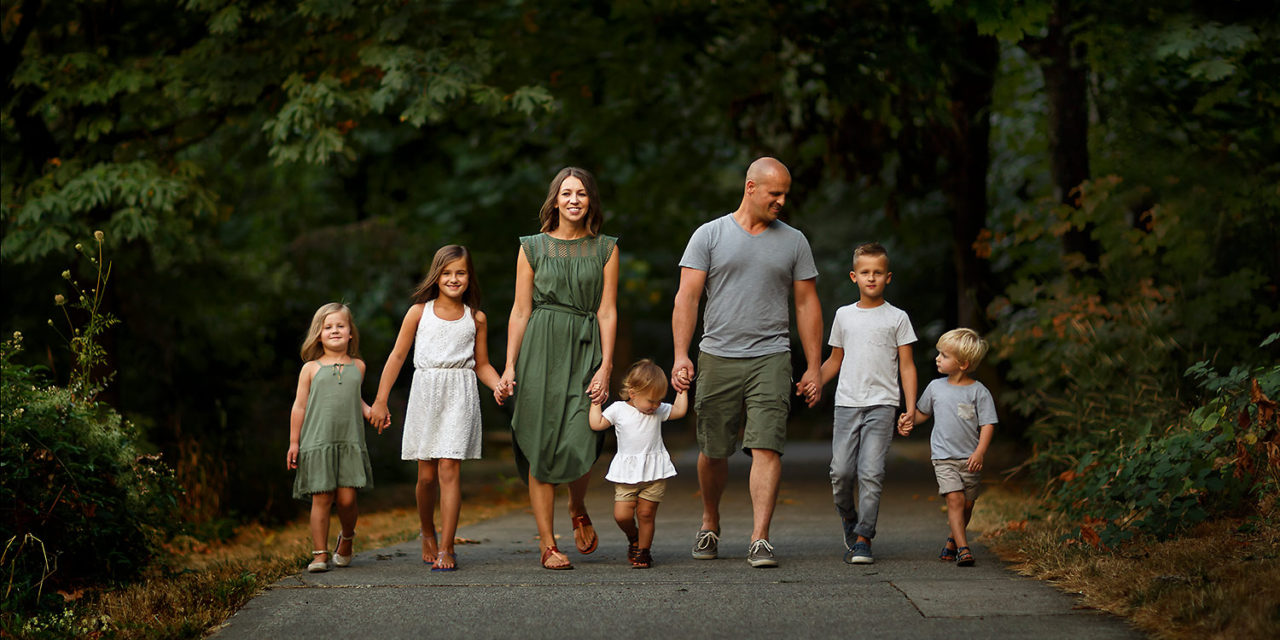
This may be a great beginning of your outdoor family photo session. Ask the parent to hold their children’s hands and walk towards you speaking about something, like there is nobody around. You will be able to take very realistic shots. If you want to get even more creative results, advise your clients to wear similar T-shirts.
17. Sit Down Family Portrait Poses

This is one of the best family photography poses, as you may relax models and make them feel comfortable in front of the camera. Take several pictures from different angles, kneeling down to be at the eye level with both parents and children. They may face the camera or pretend that they’re having a picnic. Just remember to keep everything natural.
18. Kid’s Eye Level

Make parents reach the children’s eye level. Thus, you can show that these people are united by family ties and love each other. The composition looks more balanced and has a deeper meaning.

19. Goof Around

It is always interesting to add some motion to family outdoor portrait photography. They may play a game, jump or run, while you are taking lively shots. Any location will be good, but a forest or a park will be the best option.
20. Baby Lift

Only parents can decide if you should try this pose. In case the baby is accustomed to this activity at home, you won’t have any problems shooting. But if parents have never tried this before, you’d better not risk it.
Every photographer knows that practice makes perfect. This is applicable to outdoor portrait photography as well. So take your camera, follow the above-mentioned outdoor photo tips and enjoy the shooting process!


