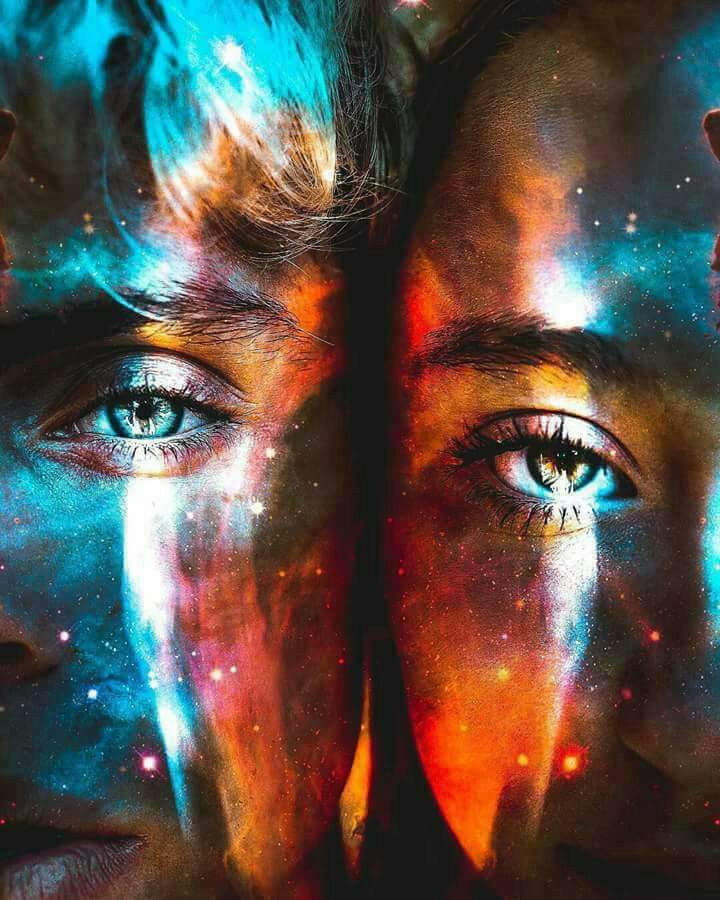
20 Simple Eye Photography Tips
When you purchase through affiliate links on our site, we may earn a commission. Here’s how it works.
20 Simple Eye Photography Tips
Eyes are so bright and expressive in the pictures that one may doubt whether they are real. Of course, many shooters use special programs but, if you know some secrets, you may get great images that don’t require any post production.
I’ve prepared some tricks on how to take eye pictures and my recommendations regarding image post-processing. Follow these tips and you will get impressive results.
1. Decide on the Model’s Eye Direction
Direct glance into the lens allows you to get a completely detailed image of the iris and the apple of the eye like a famous eye photographers. If you want to shoot the eye from a different angle, ask the model to fix his/her eyes on some object for you to find the most suitable shooting angle.
2. Use the Maximum Lighting
In macro eye photography, a background is not as important as the lighting is. That is why if you have a photo session at home, place the model near the window. Diffused and soft lighting from the window will equally light the face and preserve the natural color of the eyes and skin.
If you failed to arrange shooting in the day time and have to photograph eyes in the evening using artificial lighting, then, instead of a built-in flashlight, use another light source, for example, the external flash with a mini softbox or a desk lamp.
Direct the light from the lamp in such a way that the face doesn’t have harsh shadows and deep wrinkles that may spoil the whole idea. In no case put the desk lamp too close to the model’s face as the eyes will get tired of the bright light and start watering.
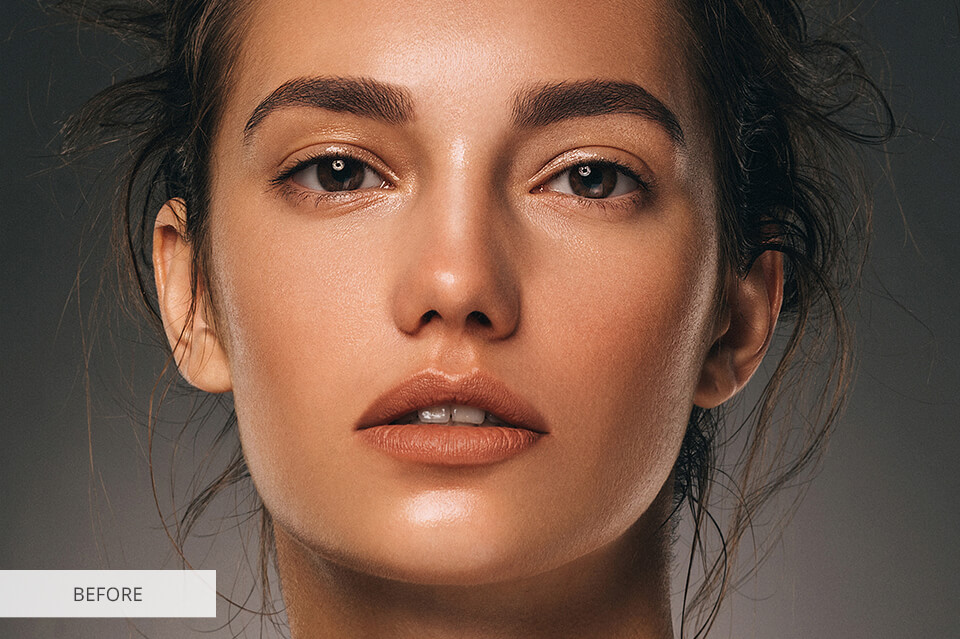
3. Use Make-Up
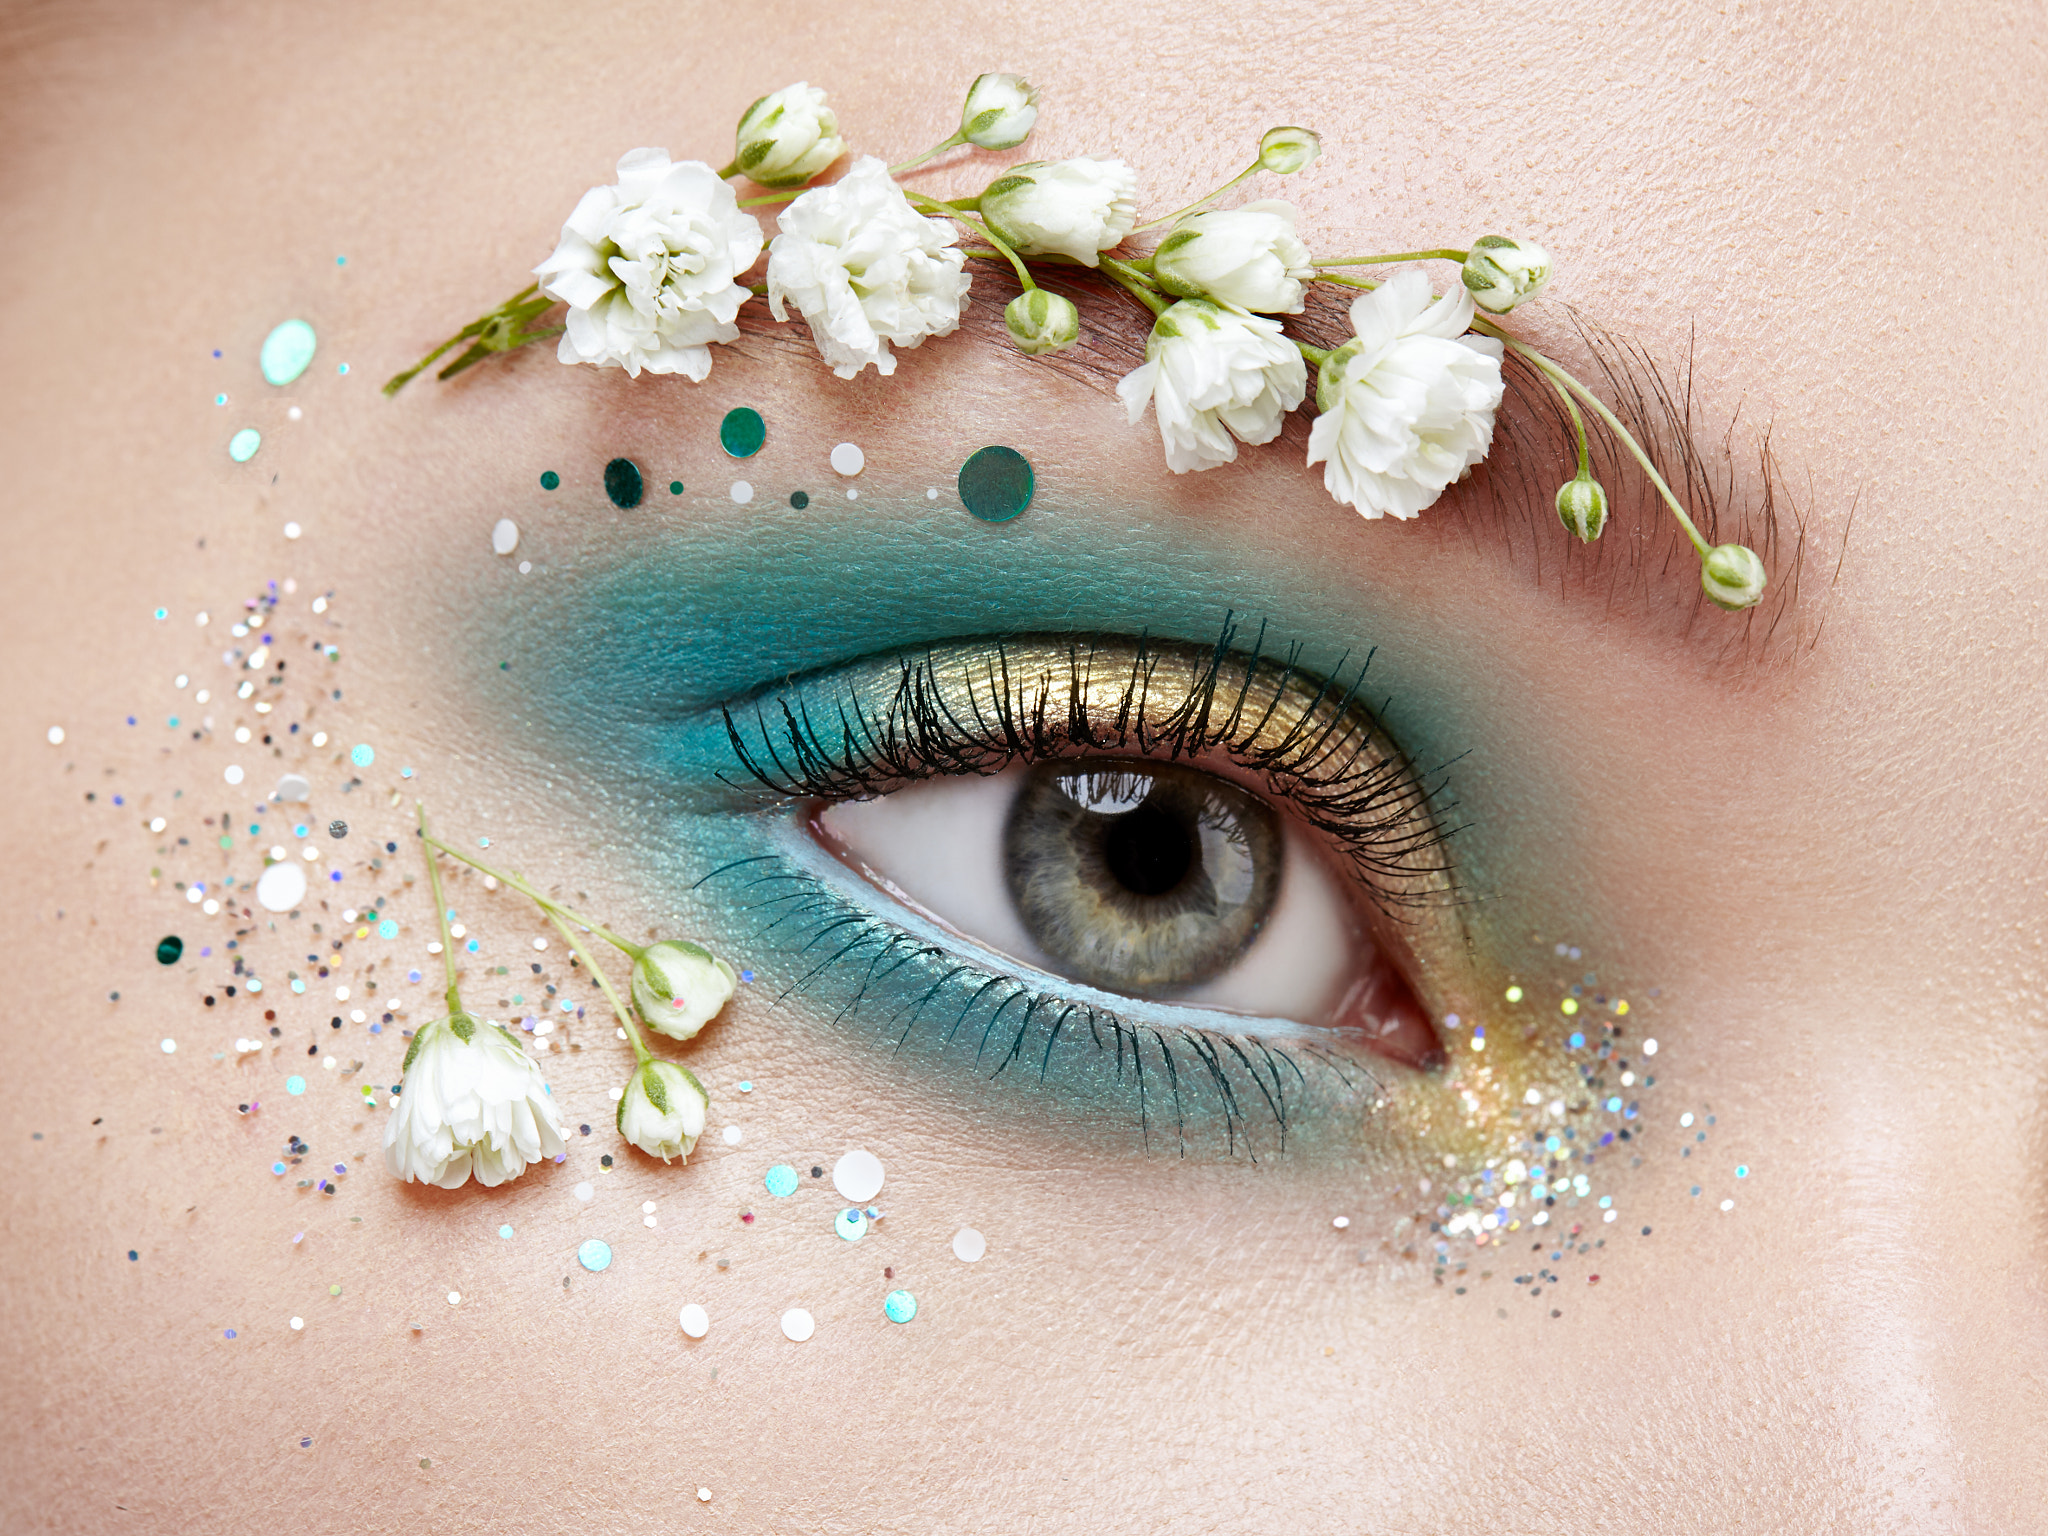
Make-up is very important in eye macro photography because it helps accentuate the beauty of the eyes. Even male models should have a bit of make-up. Of course, to a reasonable extent.
Mascara and eyeliner will nicely frame the form of the eyes. I recommend choosing cosmetics that don’t cause allergic reactions and can be easily washed off.
4. Don’t Be Afraid to Experiment
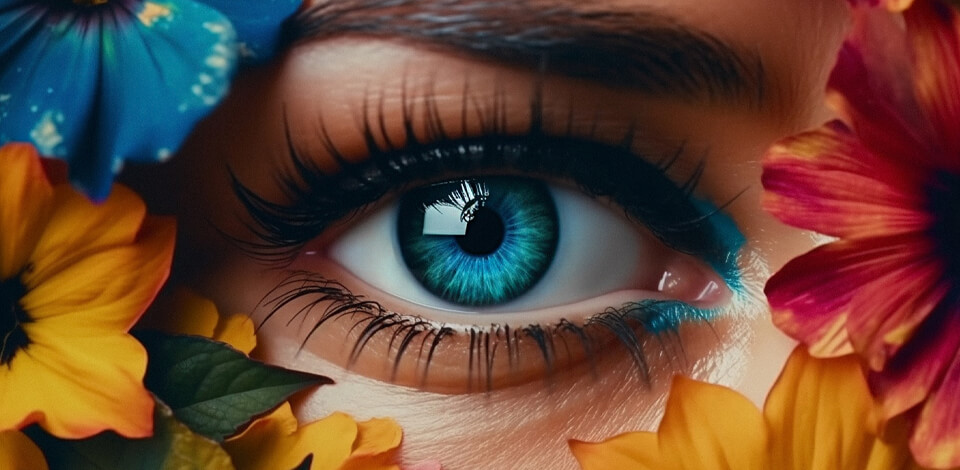
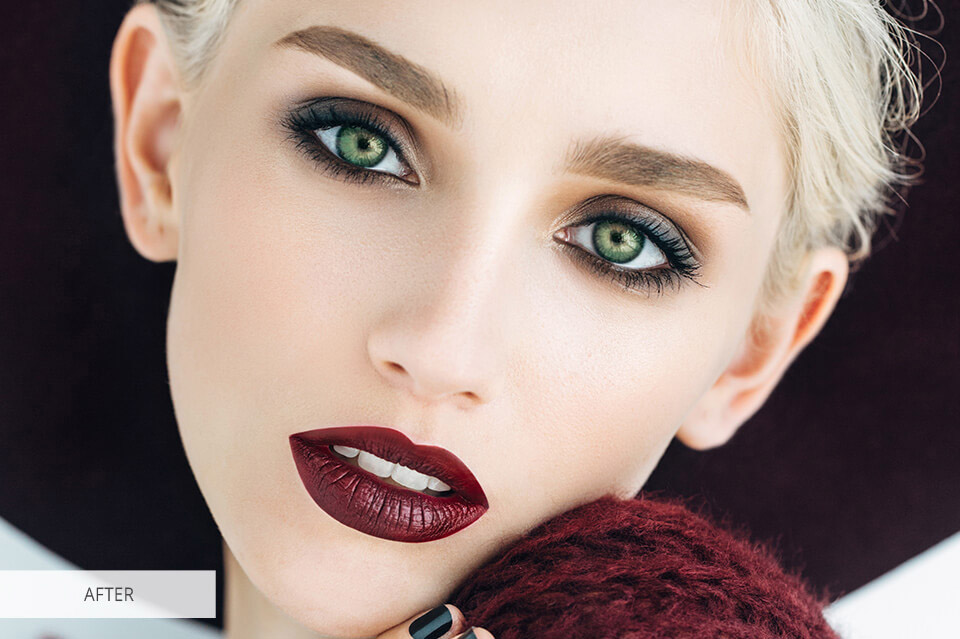
Creative approach to eye photography increases the chance to get great results. First of all, experiment with various angles ‒ both of the model and the camera. In addition, you may also move the light source to have original glares and the optimal eye color.

You may use the rainbow glares for more artistry. Such an approach allows not only to shoot from various angles but also to find the most successful one which will highlight the advantages and hide all the possible defects.
By the way, don’t limit yourself only to human eyes, if you want, you may photograph animals eyes.
- Read about prism photography to use a rainbow effect right.
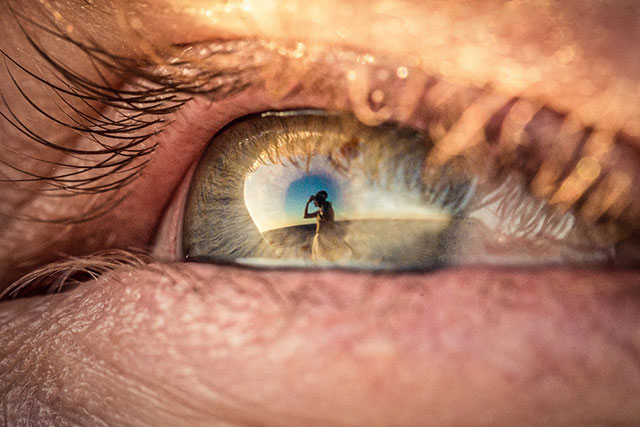
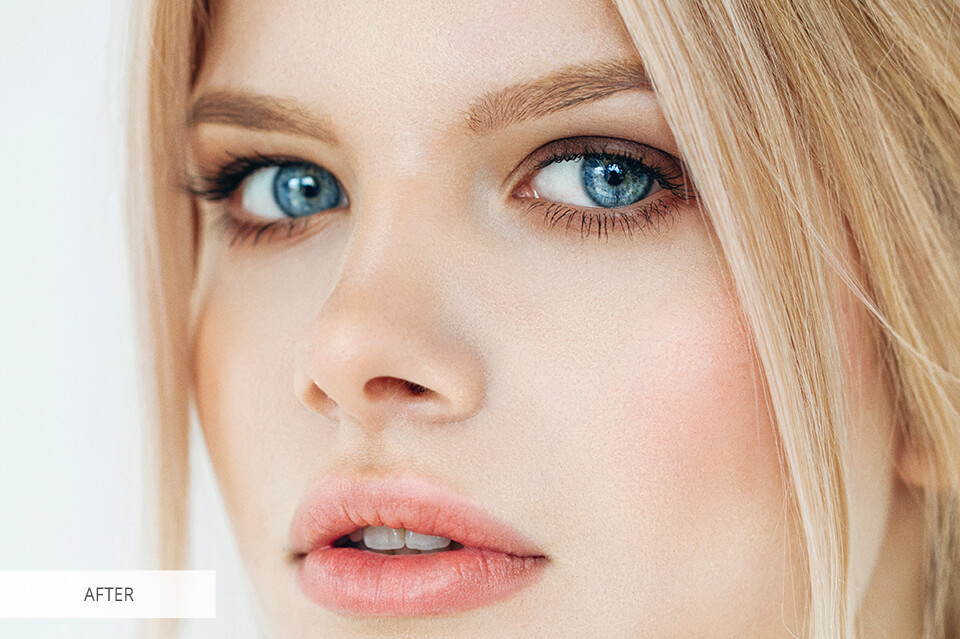
5. Use Reflections in the Eyes

It is a great method to add artistic appeal to your eye macro photo. However, it’s very important to follow the tips regarding the object reflected in the model’s eyes. It may be a specific object, the reflection of another person or a landscape.

Then, you should regulate the lighting. Put a strong light source near the model. It should light the model and the object chosen as a reflection.
In this case, the object should be on the side of the model while its reflection should get directly into the iris. I recommend using a tripod for such purposes.
- Check out more macro photography ideas.
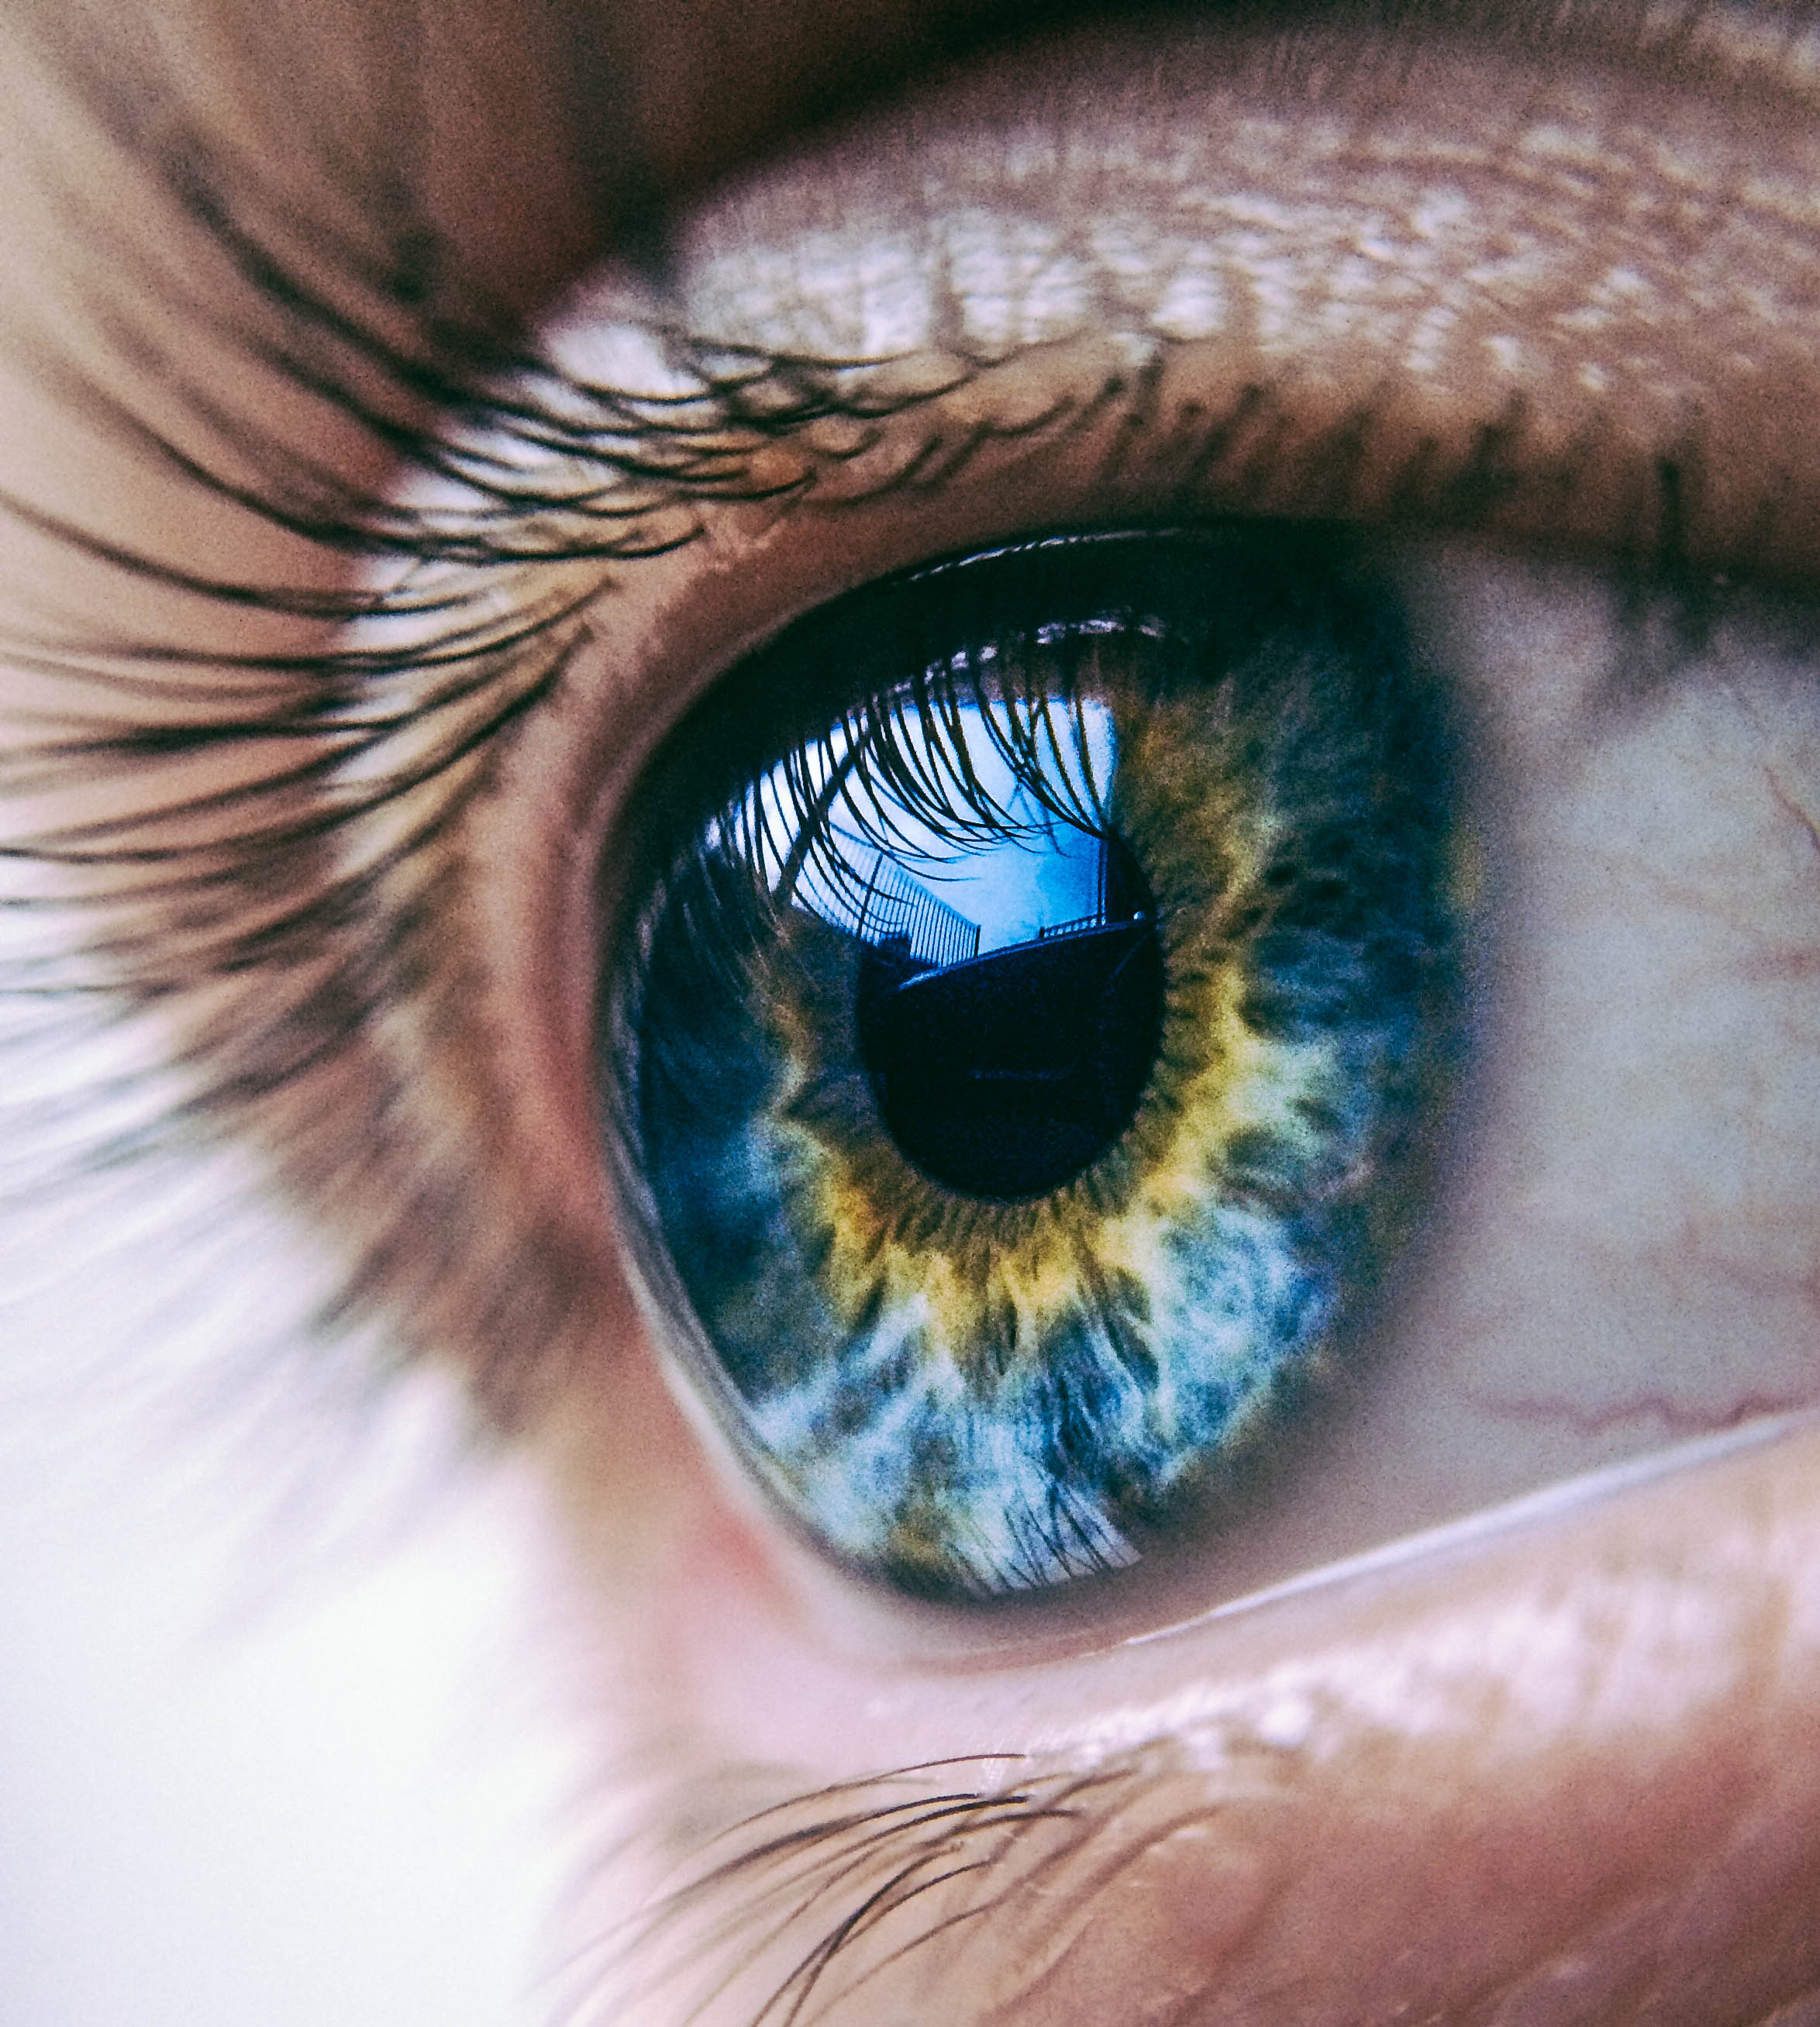
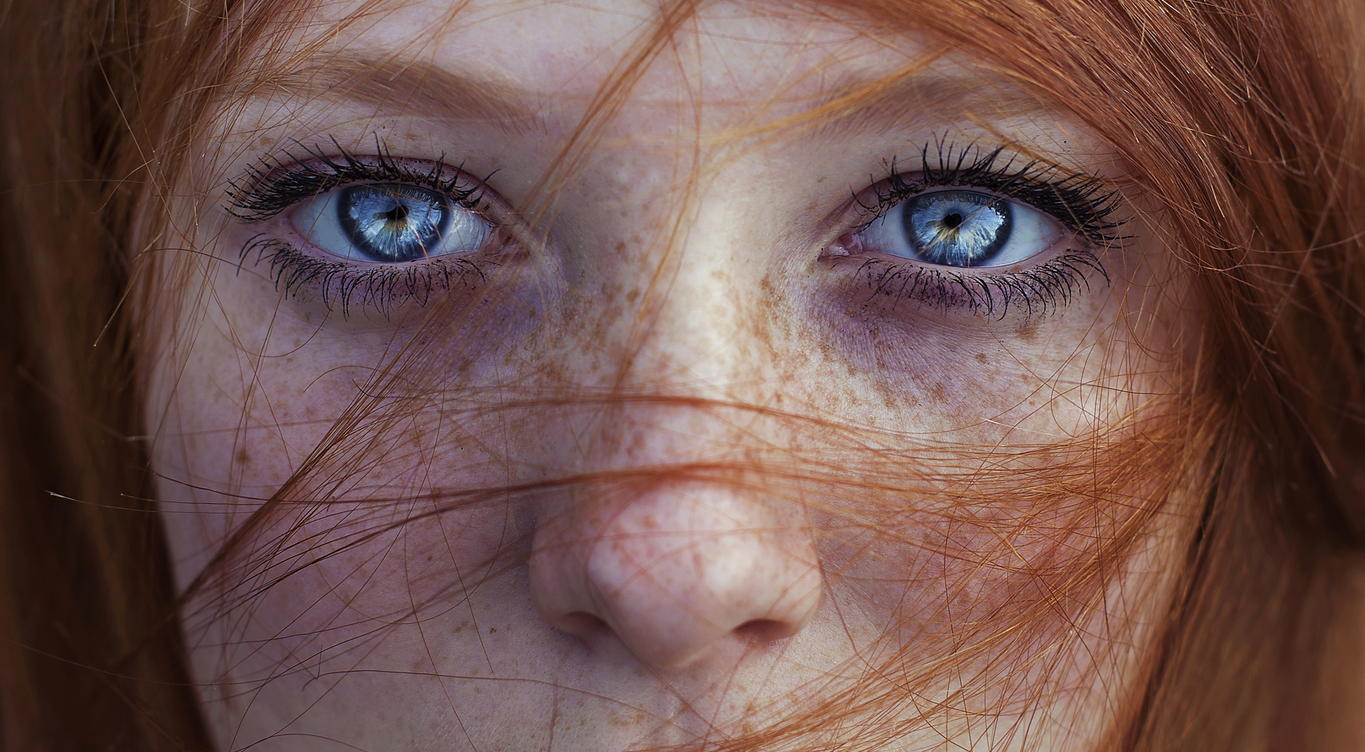
6. Be as Close to the Eyes as Possible

Frequently, close up eye photography is spoiled because the shooter stays too far from the object. Locate the lens as close to the eye as possible without focus blurring.
Be careful not to cut off the flow of light with your camera; appropriate lighting is very important in this case.
7. Use the Mirror to Photograph Your Eyes
Put the mirror behind the camera to photograph your eye. If you want to take an eye macro photo, the easiest way is to use a camera with a tilting screen allowing you to control the frame angle and the focus.

However, if your camera doesn’t have a tilting screen, putting a mirror behind the camera screen will also enable you to get the reflected shot.
If you are going to use your mobile for the shooting, you will also have to use the mirror in the way described above, because photographing in the selfie mode (with a front camera) is not the best option in terms of lighting.
8. Fix the Camera

When you take close up eye macro photos, even the slightest hand movement may blur the frame. Use a tripod or shoot from the motionless surface which will support the camera.
It will help avoid frame blurring. Shooting from any tripod brand model, try to use a remote shutter release or radio synchronizer, thus stabilizing your camera even more.
9. Choose the Camera for Macro Shooting

Almost all cameras (even those in phones) have a special macro mode. But if you plan to do eye photography professionally, you have to change your approach to choosing equipment.
In order to get nice macro photography results, you should have a special lens and DSLR equipment, which is capable of transferring images 1:1 (life-size).
Modern digital cameras feature highly-sensitive sensors. It gives many possibilities that help control the shooting process. If you don’t have a mirror camera but want to get engaged in close up eye photography, you need to buy it.
- Find out more about the best camera for macro photography.
10. Use Macro Lenses

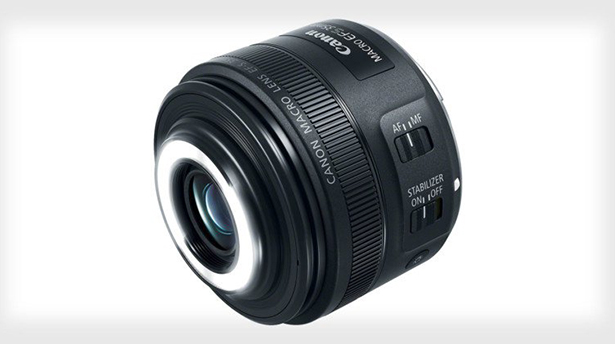
Macro lens allows you to capture the eye in great detail. The focus distance of the macro lenses may vary from 50 to 200 mm.
Of course, you may get good eye macro pictures with an ordinary lens but in this case, the eyes won’t fill the whole frame and won’t be as detailed as you expect it to be.
11. Use Macro Rings as an Alternative

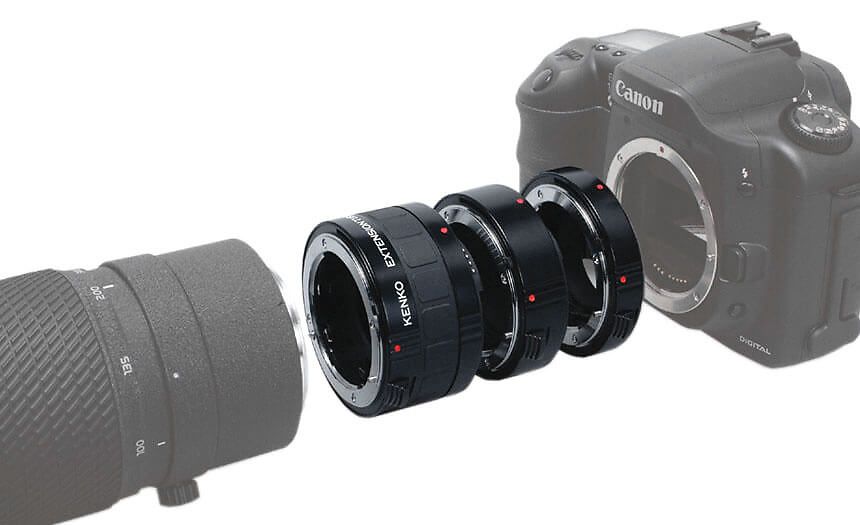
Macro rings are hollow pipes that are fixed between the camera and the lens, increasing a distance.
In such a way, the front element of the construction will be maximally close to the shooting object. If it is not possible to use a special macro lens (you can’t afford to buy it), macro rings are a decent alternative.
However, they also have some disadvantages. First of all, it’s light loss which depends on the device.
The depth of field is decreased as you approach the shooting object and it would be harder to get the image in focus. Mind that in any case, you will get better results with macro rings than without them.
12. In the Beginning, You May Use a Smartphone

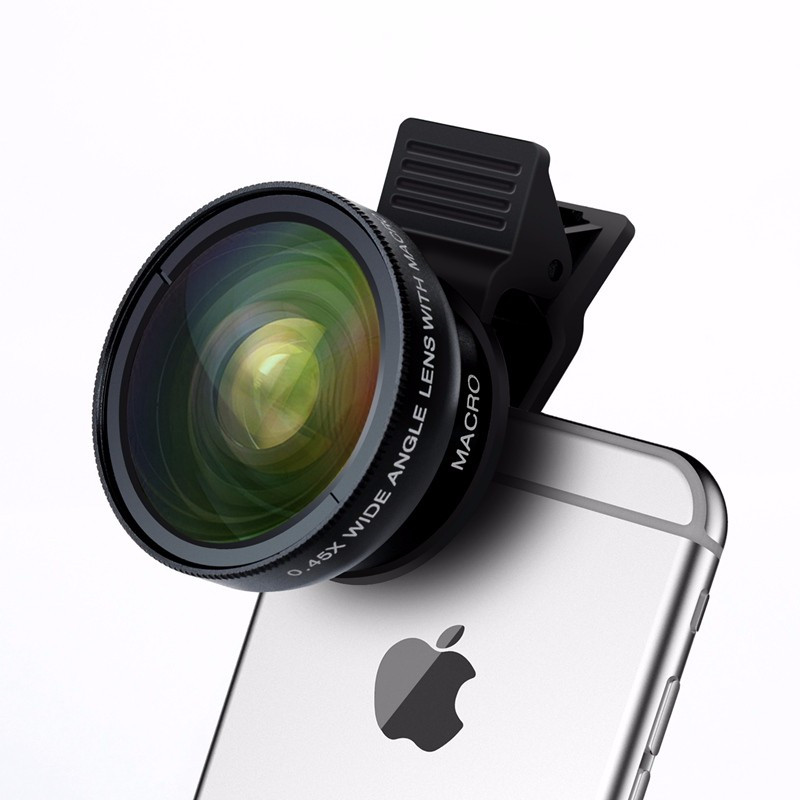
How to photograph eyes with a smartphone? Use the macro shooting mode or a special macro lens for the mobile. Many smartphones have a special macro mode, which allows you to get a more detailed eye macro photo than with standard camera settings.
You will get even better results if you have a special macro lens for your phone camera.
13. Adjust ISO Settings

Many beginner shooters ignore this parameter. However, if you properly adjust ISO while doing eye photography, you can minimize noise that spoils images.
Mind that you will get sharp photos only if you adjust the ISO manually. It should be set between 100 and 800. It is the optimal range for the majority of cameras.
If you work in the area where the lighting is bright, 100 is the best value because your picture will get the least amount of noise. However, if there isn’t enough light, then you have to keep ISO at 800. There will be some specks in the picture, but they will not spoil it.
14. Use the Correct Aperture

When you take eye macro photos, the depth of field becomes smaller. That is why in order to lock your focus you should always mind your aperture settings. Don’t use a large aperture like f/1.8 because it will be difficult for you to take a sharp image even if you are very close to the object.
That is why it’s better to use a narrow aperture (f/8 or f/11) to improve the depth of field. However, in the case of macro photography, the depth of field would be always small regardless of the settings used.
15. Don’t Ignore the Shutter Speed

Speaking about macro photography, the shutter speed is not as important as the aperture is. Therefore, if you are engaged in eye photography, take care of the aperture settings and let your camera adjust the shutter speed automatically.
In such a way, you will save time and effort. However, don’t forget to check all the settings (including the shutter speed) before the shooting.
Check whether it isn’t below 1/60 of a second. If the value is lower, there may be motion blurring and the image will be spoiled. If the camera selected the value that is lower than 1/60, you need to add light to improve the exposure.
If the aperture setting is f/11, lower it to f/8 in order to let more light in. Moreover, you may increase the ISO settings. If it is more than 800, don’t worry about the image noise.
16. Remove Red-Eye Effect

Red-eye effect appears very often when using a built-in flash. It happens because the flashlight is reflected from the eye ground which is red. In order to fix this, each image editor offers special tools. For example, Photoshop has a Red Eye Tool.
Select a red iris and click once the left mouse button. If the effect is still visible, increase Pupil Size and Darken Amount parameters.
17. Change the Eye Color If Necessary

Changing the eye color in Photoshop is an easy procedure and I am sure that everyone doing eye photography will cope with it. Open your image in Adobe Photoshop and select the eyes using any way convenient for you.
I used the Fast Mask Mode ‒ press “Q” on the keyboard and go over the eyes with a soft brush. After you have highlighted the eyes, again, press “Q” and then the shortcut “Shift+Ctrl+I”. Click on Image > Adjustments > Color Balance (combination Ctrl+B on the keyboard) and drag the sliders according to your taste.
If the eyes may look unnatural, then it’s better to address professional retouchers to get qualitative results.
18. Add More Shine

The necessary steps of eye photography editing are adding shine and whitening the eye apple. It makes the eyes more beautiful and meaningful. We will need only the Dodge Tool (button “O” on the keyboard).
Open an image in Photoshop and press “O”, choose “Highlights” in the “Range” column in the left upper corner and adjust the exposure in the “Exposure” column according to your taste (I selected 70 %). Now, go over the eyes with a soft brush.
This tool may be applied to the whole eye, namely to the iris and the apple (whitening it). In addition, they often add sharpness to the eyes in order to highlight them. Choose the Sharpen Tool and select 25-40 % in the Strength column. You may also choose other values but don’t overdo. Then, go over the eyes with a soft brush.
19. Remove the Defects Under the Eyes

Bags and dark circles under the eyes are a very common issue since we often get little sleep, overtire, work much and, as a result, it is reflected on our faces. Fortunately, all these defects are easily removed in Photoshop using the Patch Tool.
By the way, this method is also appropriate to remove wrinkles. Open your picture in Adobe Ps and choose the Patch Tool. Then, draw the area around the bags (dark circles), then put the cursor on the selected area and drag it to the part of the face similar in texture.
The most important thing is to appropriately select the necessary area and drag it to another part similar in texture.
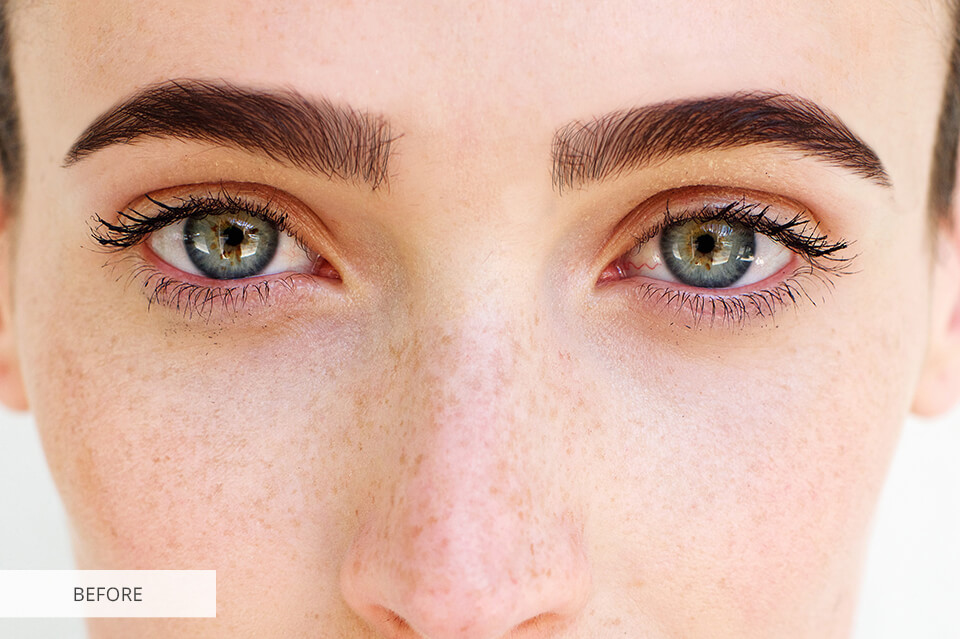
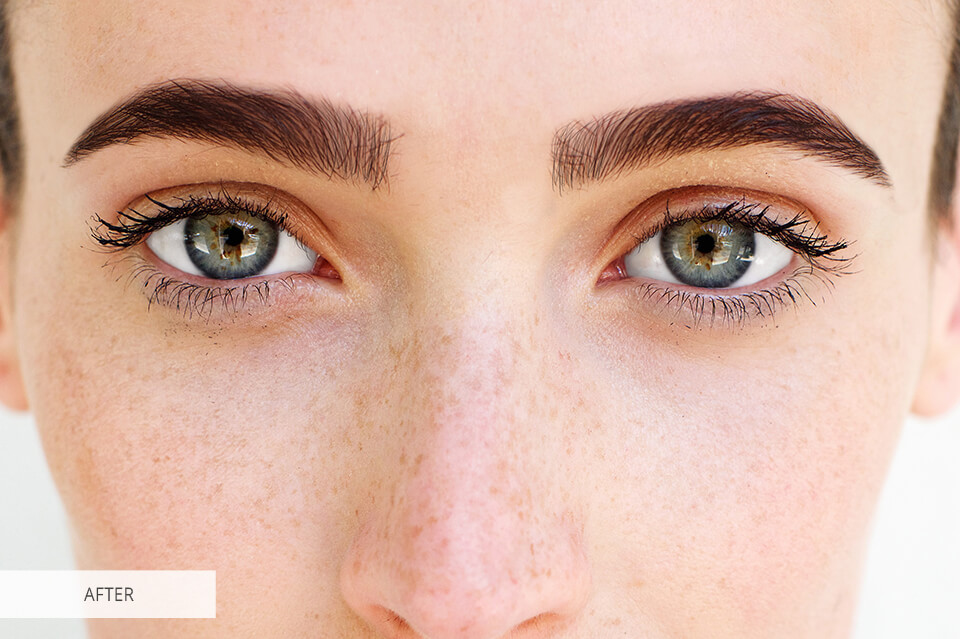
20. Whiten Eyes and Remove Vascular Problems

The final part of eye photography editing is to clean the eye apple from the vessels. Open the image in Adobe Photoshop and choose the Spot Healing Brush Tool (button “J” on the keyboard). Primarily, select the minimal parameters for the brush in the left upper corner; you may change them later if needed.
Then, go over the vessels with the brush. You will see that they will disappear and will be replaced with the texture of the eye apple.
Freebies for Editing Eye Photography
If you are engaged in eye photography, you, probably, know that such photos require qualitative post-processing. In order to simplify this process and save your time, I have prepared the list of the freebies that will help enhance your images in several clicks.
Change Iris to Green

Using this tool, you may easily change the eye color and add a beautiful green tint to the eyes. Moreover, the action improves the contrast to make the iris look more detailed.
Bright Eyes
This action is great if you need to improve the saturation of your images and to make the color brighter preserving the natural look.
Cleaning Eyes
This free tool for macro eye photography will help you get rid of all defects on the white of the eye, remove the reddening and make them whiter. The action saves the natural texture and doesn’t spoil the picture.
Brighten
This free preset can improve the white balance and the image will become lighter. The natural color won’t be changed or distorted.
Contrast

This preset will help you enhance the contrast in the image. The tool enables you to make the iris color deeper and more saturated.


