Back in the day when cameras were heavyweight, tripods were a must in the filmmaking world. But nowadays, as cameras keep shedding weight, lots of modern filmmakers skip the tripod and go straight for handheld shots.
Although there are situations where handheld shots work just fine, numerous critics are concerned about their excessive usage in contemporary cinema. Therefore, right now it is a fantastic moment to take a step back, revisit the essentials, and get a good grip on the basics of using a tripod.
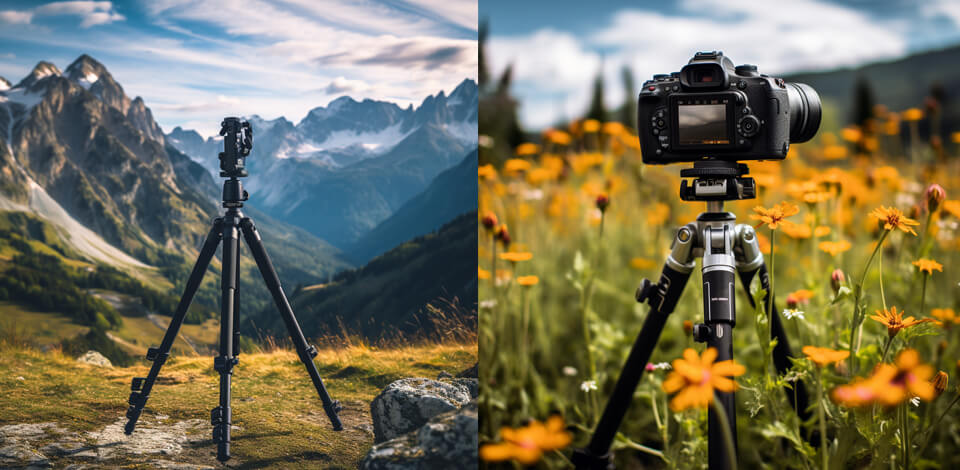
A tripod is a device with 3 legs, designed to provide solid stability and security for a DSLR/mirrorless/point-and-shoot camera. Tripods have a middle pole and legs you can adjust to make them taller or shorter. There is also a mount for attaching a head.
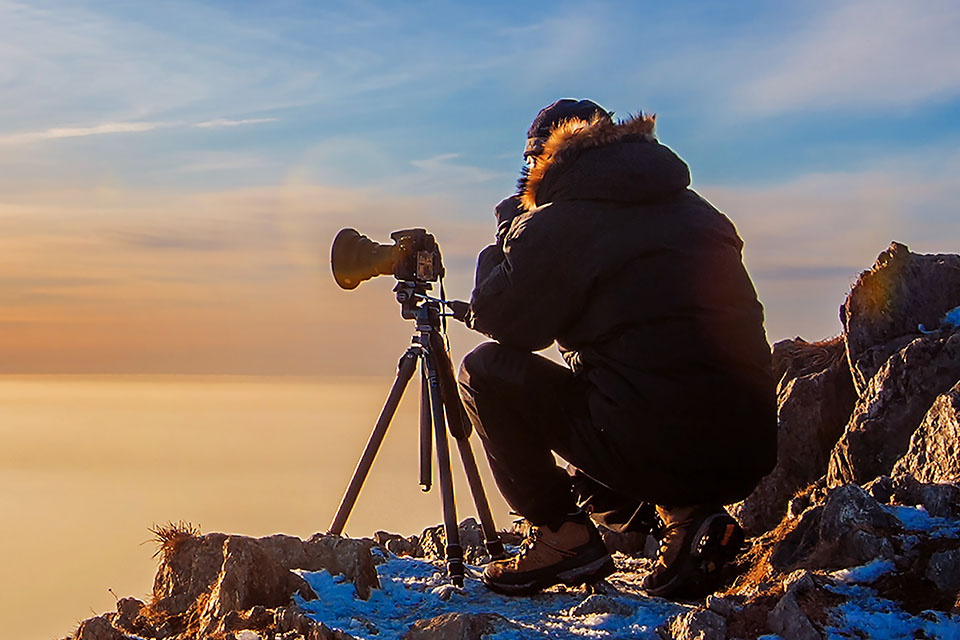
A tripod comes in handy for photographers because it lets them take pictures with slow shutter speeds, like when they're doing astrophotography in really dark conditions. Without a tripod, holding a camera in hands can lead to blurry pictures because of natural hand movements.
Many novices are wondering why it is important to use a tripod for video shooting. You need to do it to minimize the possible shake and get a clear picture.
Today, there are lots of stabilization systems for video recording, such as optical stabilization in lenses, special rigs, monopods, etc. However, the tripod is still very frequently used by videographers.
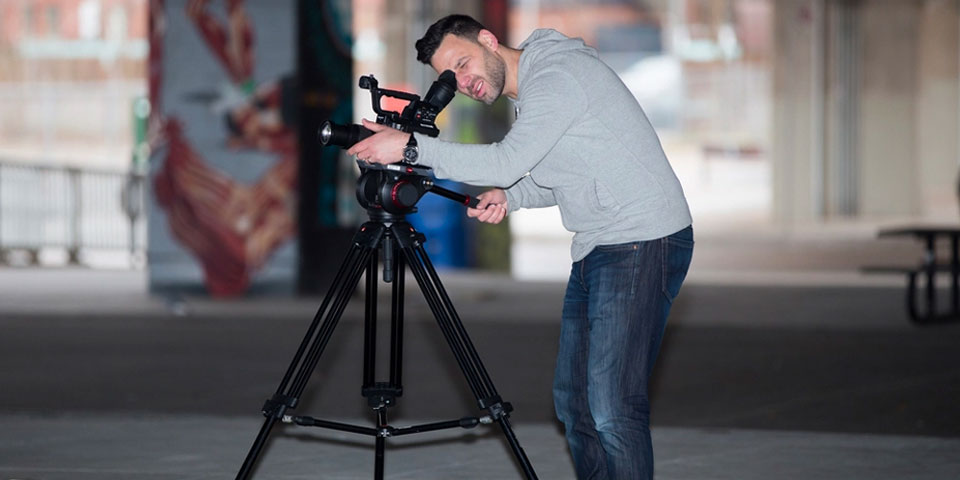
When recording dialogue scenes, filmmakers often rely on tripods to capture reverse angles. Thus, they can keep a camera in a fixed position to capture the actor's performance. Filmmakers typically shoot dialogue scenes with over-the-shoulder shots.
Camera operators have different shooting options, whether they use a tripod or hold the camera in hands. Going for a handheld style can give your content a very natural and documentary-like vibe. But if you're aiming for a polished and smoother shot, using a camera tripod is the way to go.

A good tripod does wonders for your camera setup. It's like the sturdy foundation that lets you smoothly tilt, pan, and move your camera without shaky-hand hassle. Therefore, you can achieve that cool cinematic vibe. If that’s what you are looking for, it's high time you give a solid tripod a test drive.
When filmmakers want to achieve a precise composition of a scene, they often go for static shots. In a static shot, the camera is firmly placed on a tripod without any movement. These shots are all about creating a correct setup, actor positions, and the overall look of the scene.
Another reason to rely on a tripod when shooting video is that you’ll have your hands free for other stuff instead of constantly clutching a camera. Just like the name suggests, "handheld" means you're holding the camera in your hands.
But what is a tripod in this case? It is literally a freedom to make other adjustments. Whether it's fine-tuning the focus or shifting the angle, it's a breeze with the camera securely mounted.
Tripods are also useful when you're doing zoom shots. A zoom lens allows you to get in closer or pull back and you absolutely need to keep things steady. There's also the dolly zoom, which is a different kind of camera move, but it relies on a dolly for stability instead of those tripod legs.
You need to mount your camera carefully on a tripod to protect its lens and body. It’s especially important to pay attention to safety if you use incredibly expensive camera models.
When your camera is mounted and fixed securely, you can be sure that it won’t fall down when you try to take photos from unusual angles.
Before setting up a tripod and mounting your camera to it, decide on a frame that you want to capture. It’s better to do it when using your camera in handheld mode. After focusing on the scene, you can put your tripod in place and mount your camera to it.
Pro Tip: Thus, you can spend less time selecting the right camera frame, as it is easier to do it when you hold your camera. Otherwise, you will need to move a tripod with your camera to another place, which might compromise the safety of your equipment.
To bring your camera higher, you need to extend the legs of your tripod. It’s better to extend them from the top down. Thus, you’ll be able to use the most durable sections of the legs first, improving the overall reliability of a construction.
Thanks to it, the legs will be more stable on different types of surfaces. It’s also important to spread them out to stabilize the camera even more.
Even if you opt for budget tripods under $100, they will have a bubble level indispensable for estimating whether any of the legs require adjustment.
First, you need to adjust the lower section of the leg. By changing its length, you can level out the body of your tripod to make it more stable. Always centralize the bubble level of the body of the camera tripod.
By making the tripod body level, you can achieve multiple results:
Each modern tripod comes with a base plate attached to the tripod head top plate. They can be connected with clips or clamps. On the base plate, you can find a quarter-inch thread. You can use it to connect your camera or lens to the tripod.
To ensure that the plate stays firmly in place, use a coin to apply more pressure. It will allow you to attach a camera to a tripod more securely.
The last step that you should take is to click the camera body in place on the head of the tripod. All popular tripod brands recommend photographers adjust the tripod head to prepare a camera for shooting.
You have two types of tripods to choose from: adjustable-leg and fixed-leg tripods.
Adjustable-leg tripods are the go-to option when you're dealing with uneven ground outdoors. What's great about them is that you can tweak the length of each leg individually, so you can get that perfect level even on a tricky, steep slope.
On the other hand, fixed-leg tripods have legs that stay the same length all the time. But these days, they're kind of getting overshadowed by the more versatile adjustable-leg models.