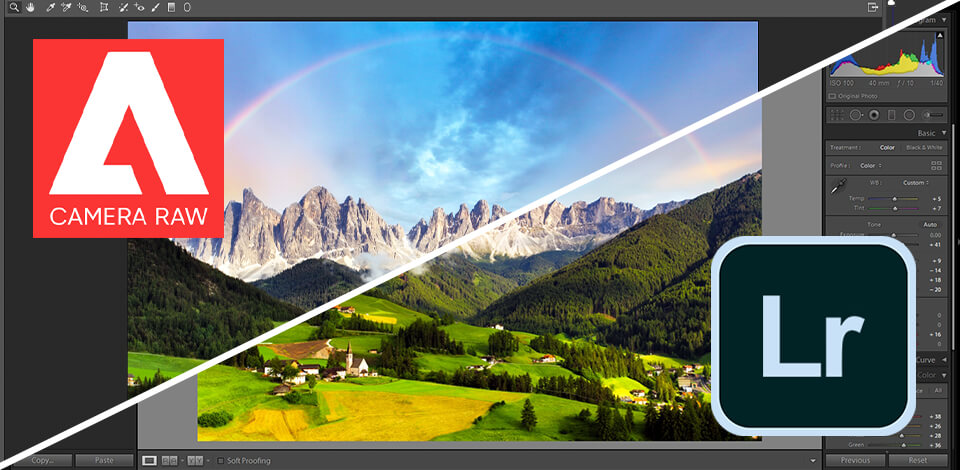
After Lightroom substituted Camera Raw, and the latter became a simple plug-in for other softwares, there is still an unanswered question - what is the main difference between Camera Raw vs Lightroom and which one to choose?
Adobe Camera Raw used to be the most indispensable software for photographers, mainly because it was the only software that could work with RAW file formats. Now, however, it is a simple plug-in added to such programs as Adobe Ps, Adobe Ps Elements, and Bridge.
Does Camera Raw still have the same efficiency? Do we need Adobe Camera Raw today when we have Lightroom? Well, I have studied the topic in detail and ready to share my opinion.
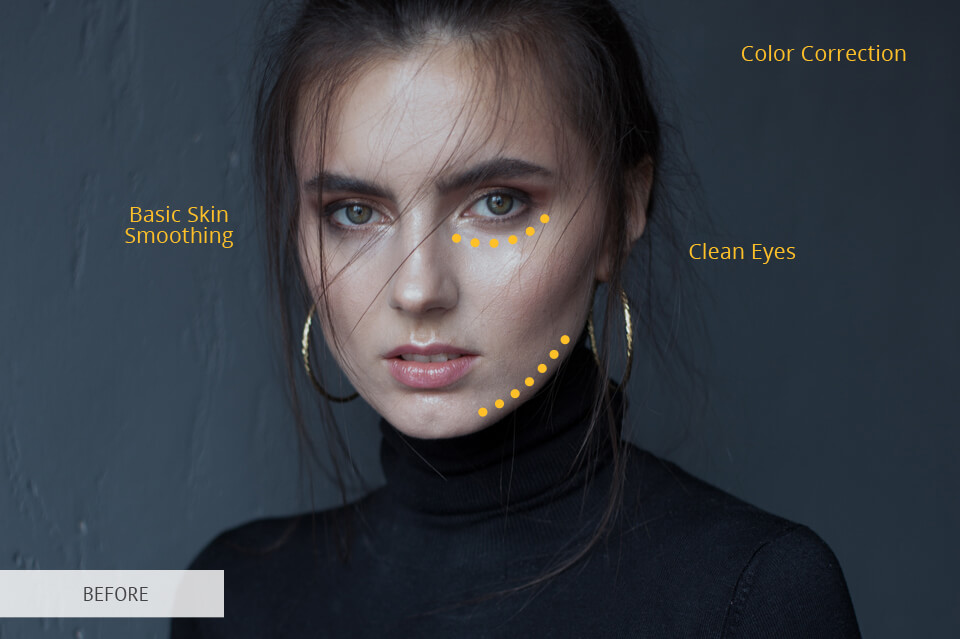
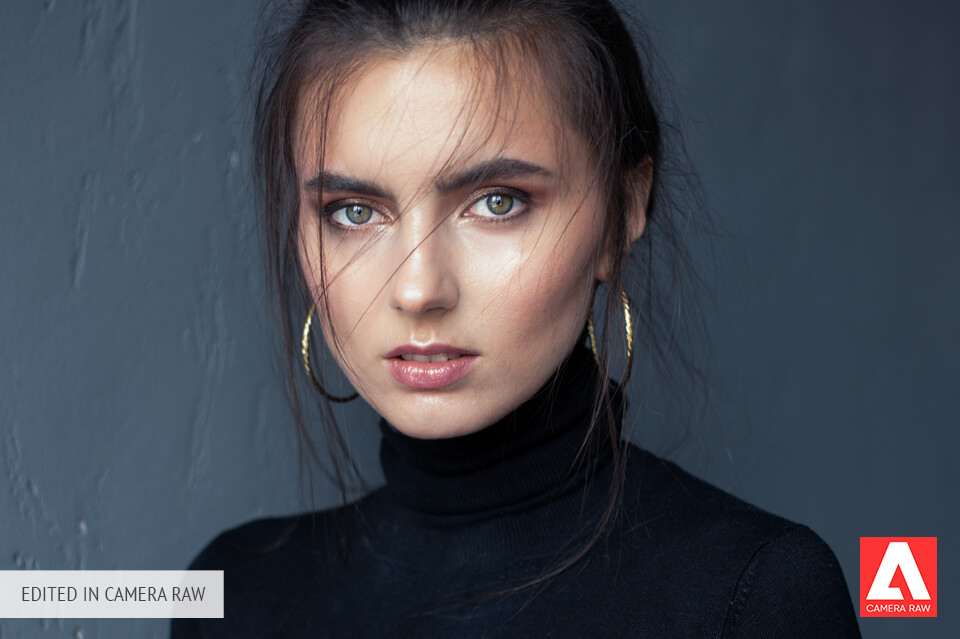
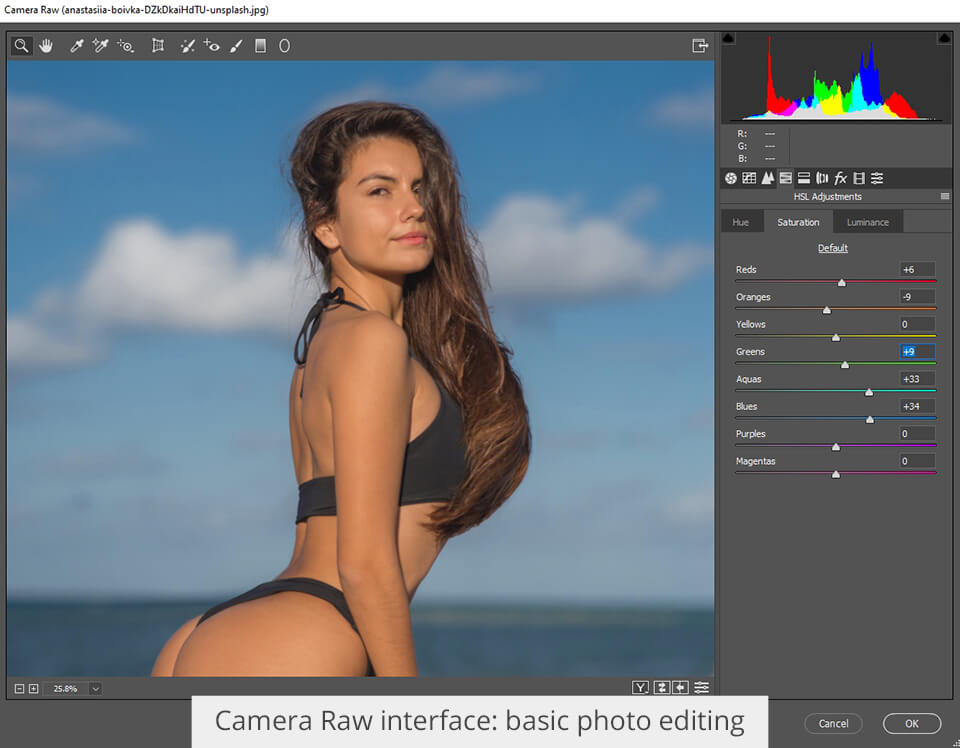
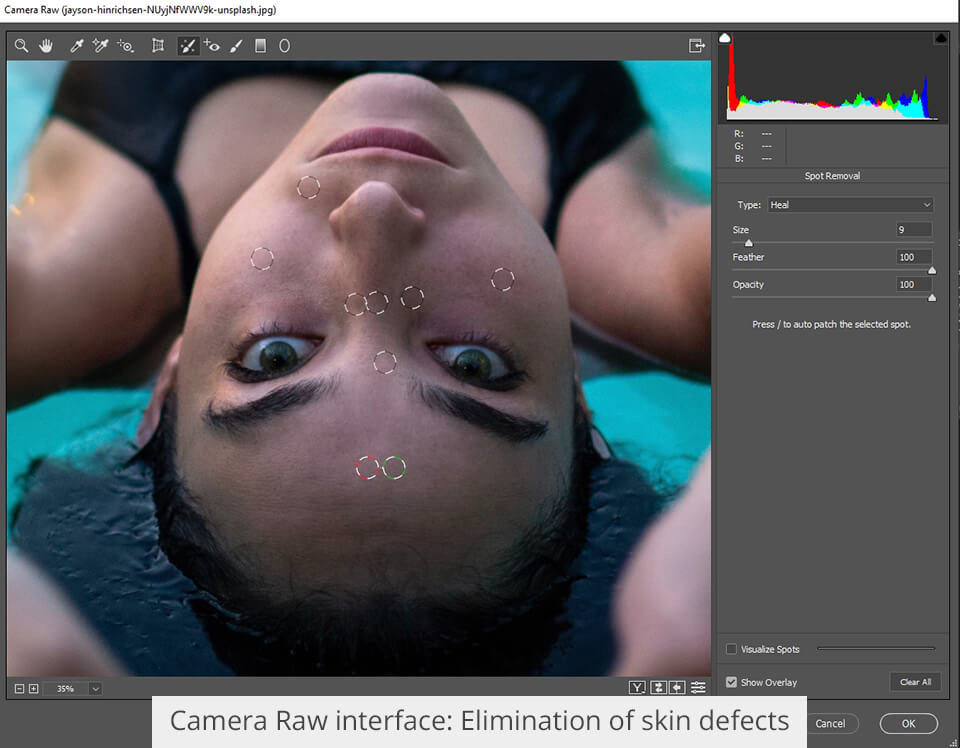
Adobe Photoshop Camera Raw plug-in allows you to work with RAW files extensively, including color correction, adjustment of exposure, tone, contrast, sharpness, saturation, and more.
If you want to get specific results, you may re-edit the file any time, by changing white balance, tonal range, contrast, saturation of colors, and sharpness. After using Camera Raw to alter an image, the original Camera Raw data are preserved. The changes are saved as metadata in an accompanying file, in a database or in the file itself (in case it’s in DNG format). Adobe Camera Raw doesn’t change or damage the original photo. This type of editing is known as non-destructive, similar to the one you can do in Lightroom.
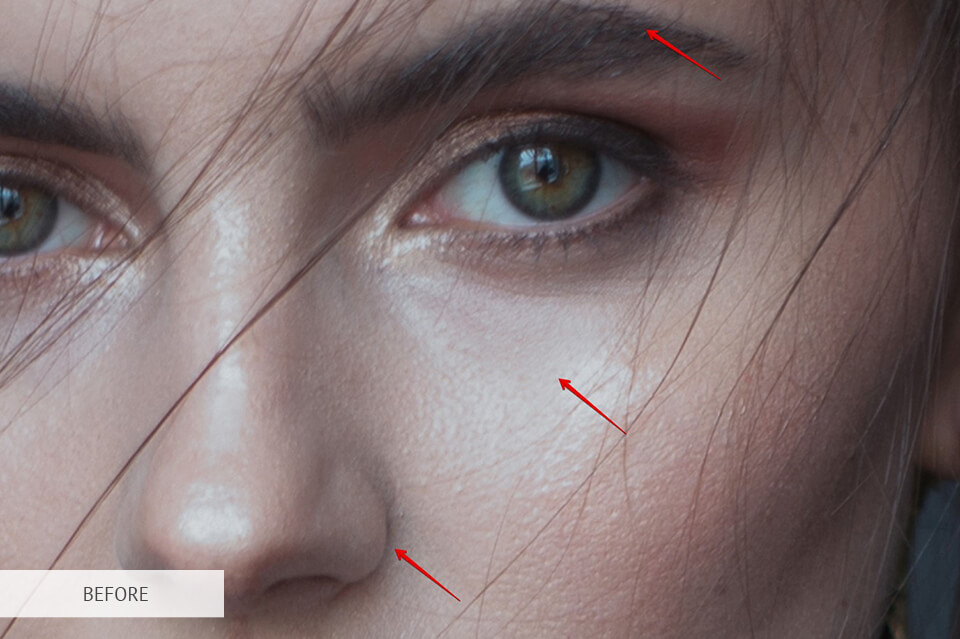
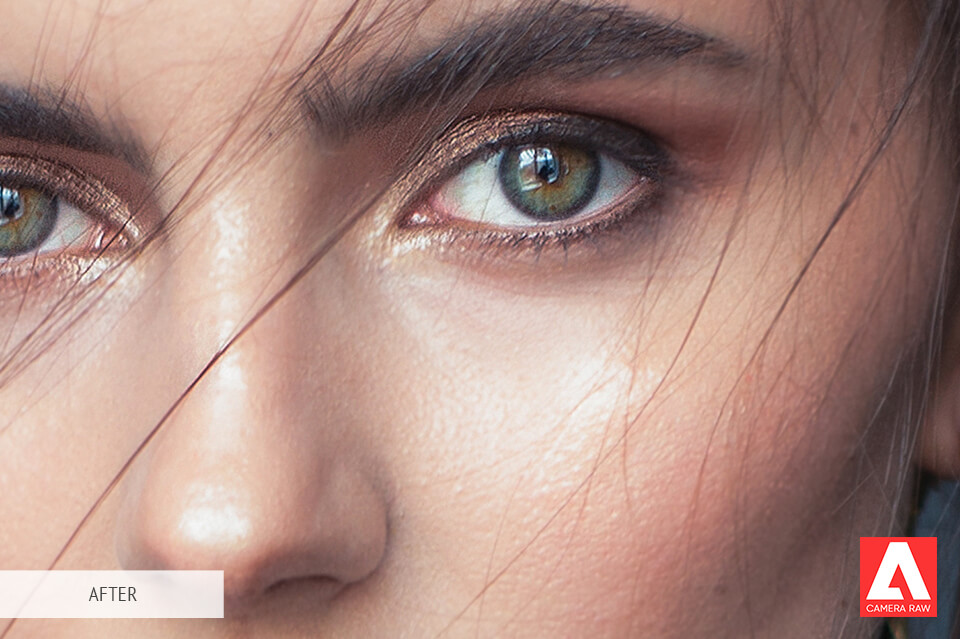
The main peculiarity of Adobe Camera Raw is that it allows you to get the maximum information about the photo.
You can download Camera Raw and use it as a plug-in in Adobe Bridge, or as an outside module in Adobe After Effects and Adobe Ps. It allows all of these apps to import RAW files and work with them. Adobe Camera Raw program can be used to work with JPEG and TIFF files as well.
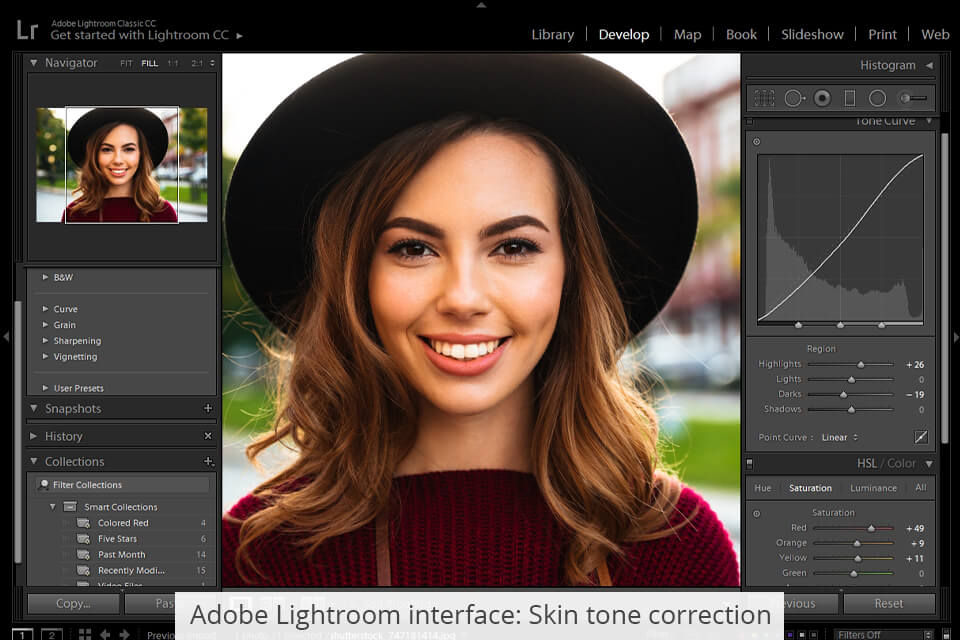
Unlike Adobe Camera Raw, Lightroom is a standalone photo editor that will help you edit both standard JPEG and RAW files. Lightroom CC provides you with full-cycle photo editing. It can be used as a RAW-converter, but also allows you to quickly sort and edit images. Adobe Lightroom batch picture editing is fast, which is more efficient than that of Camera Raw.
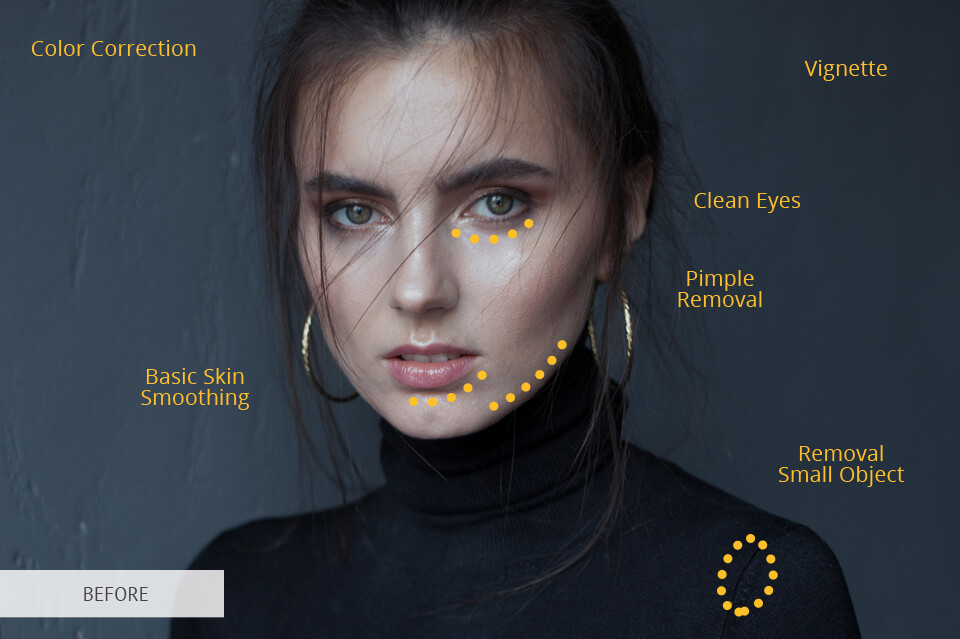
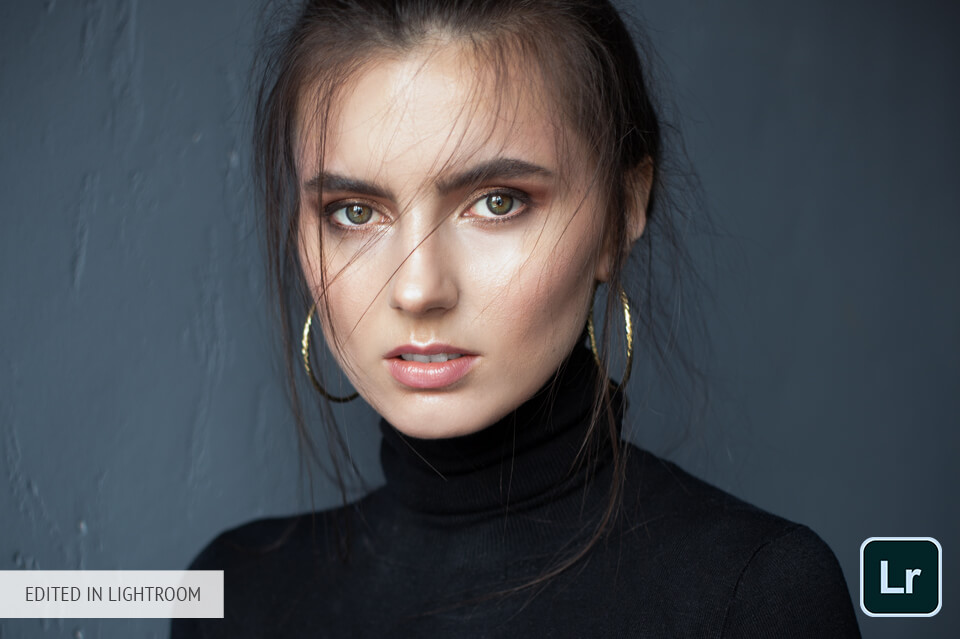
In Lightroom, you can do almost anything – adjust exposure, white balance, curves, convert to grayscale, regulate sharpness, reduce noise, vignetting, and remove chromatic aberration.
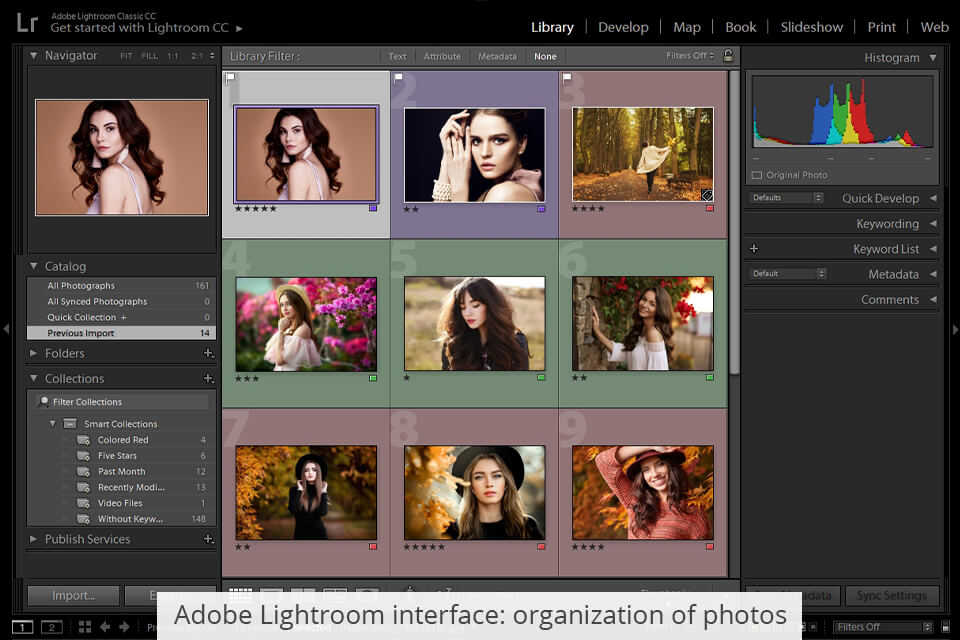
Lightroom uses its own database, it can store images in a catalog regardless of the individual file location on your PC. Lightroom also allows you to use a keyword and tag search, which makes it incredibly easy-to-use even for a newbie.
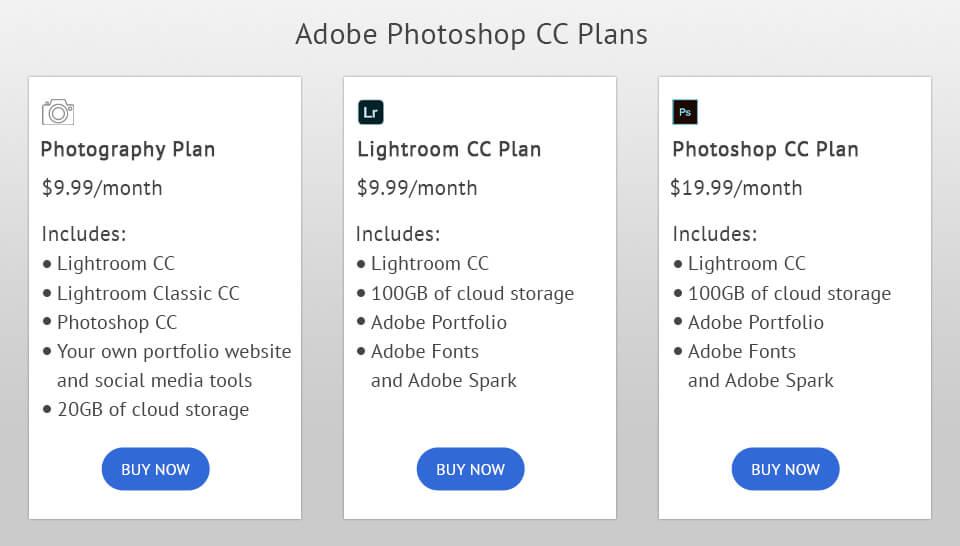
You can get both Adobe Camera Raw and Lightroom under one Creative Cloud subscription. The best choice is the Photography plan, which includes both Adobe Photoshop, and Lightroom. This is the most affordable variant, but you will get only 20GB of cloud storage. Buy paying $10 more, you can increase that storage to 1TB.
If you need only one software, you can choose the Single plan. It includes 100GB of cloud storage, Adobe Portfolio, Adobe Fonts, and Adobe Spark. However, you can also increase your cloud storage to 10TB.
When it comes to Lightroom Single, it’s quite different. This software has 3 main plans:
Before choosing any of the available plans, I recommend getting a Lightroom Trial or Photoshop Trial. You can read my review to find out how you can do it.
Lightroom was developed specifically for photographers, i.e. the professionals, who need to edit large numbers of images daily (weddings and events). They have no time to work with every single photograph separately, their task is to get as many high-quality images as possible ready for publishing in a quick way.
Despite the fact that Adobe Camera Raw has similar features, it is connected to Photoshop, and its main task is to give you a single perfect professional image. It is not as fast but is very efficient.
Both programs are amazing raw photo editing platforms that will help you enhance your images professionally. Generally speaking, it is very difficult to say which one is better. Each program is great in what it is meant to be used for. The choice depends on your personal preferences. If you only work with RAW files and need to use layers and masks, if you love editing each photograph separately and take your time with it, then Adobe Camera Raw is definitely your variant. However, if you need to do photo post-processing fast and usually work with large numbers of shots, then go to Lightroom.
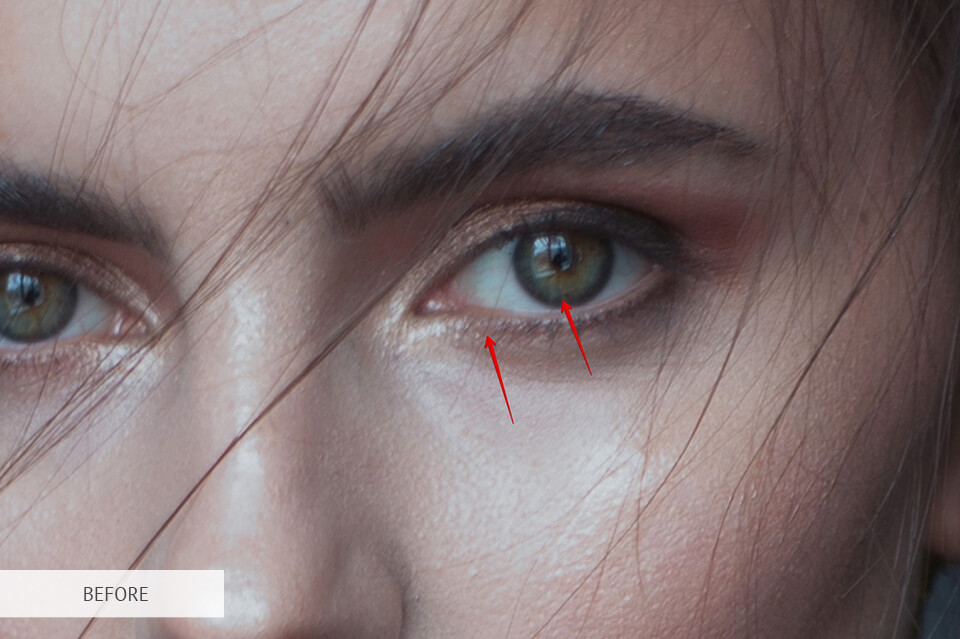
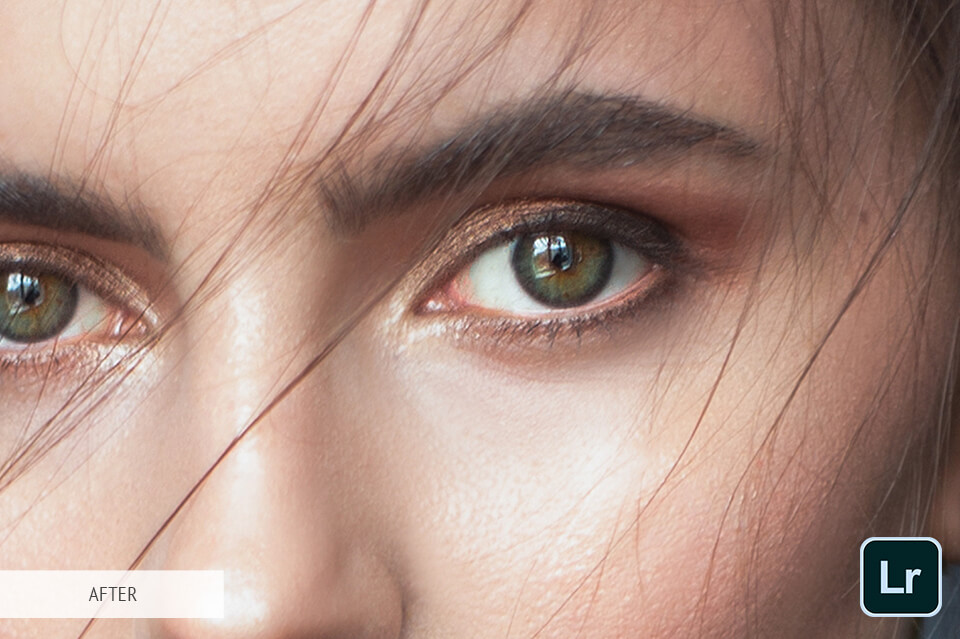
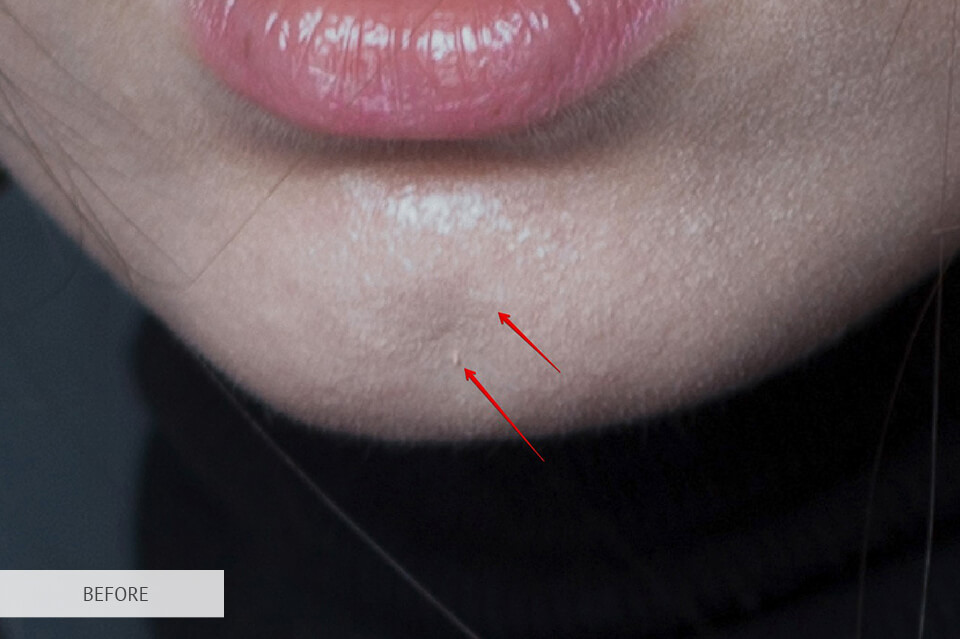
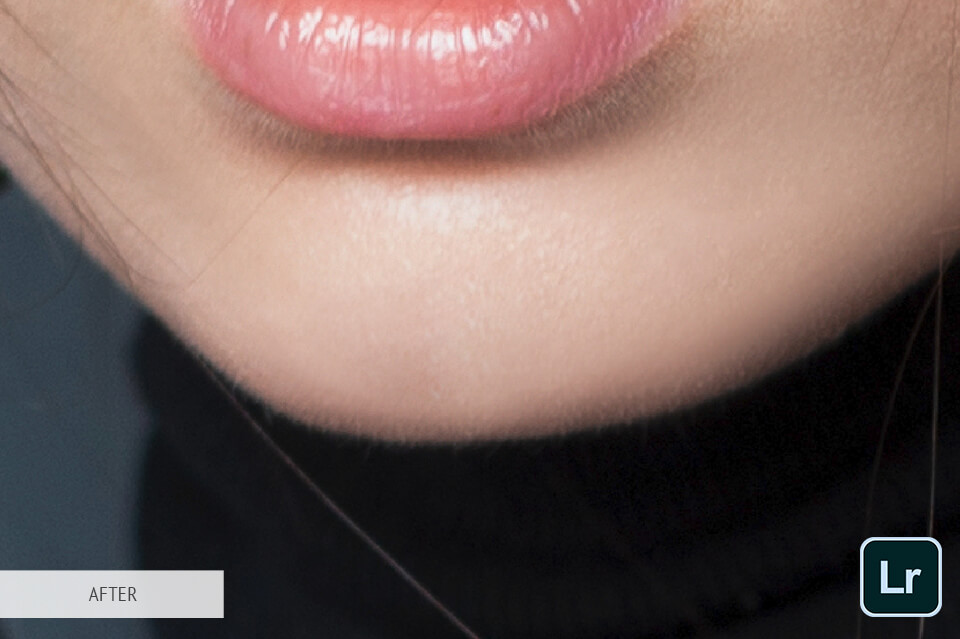
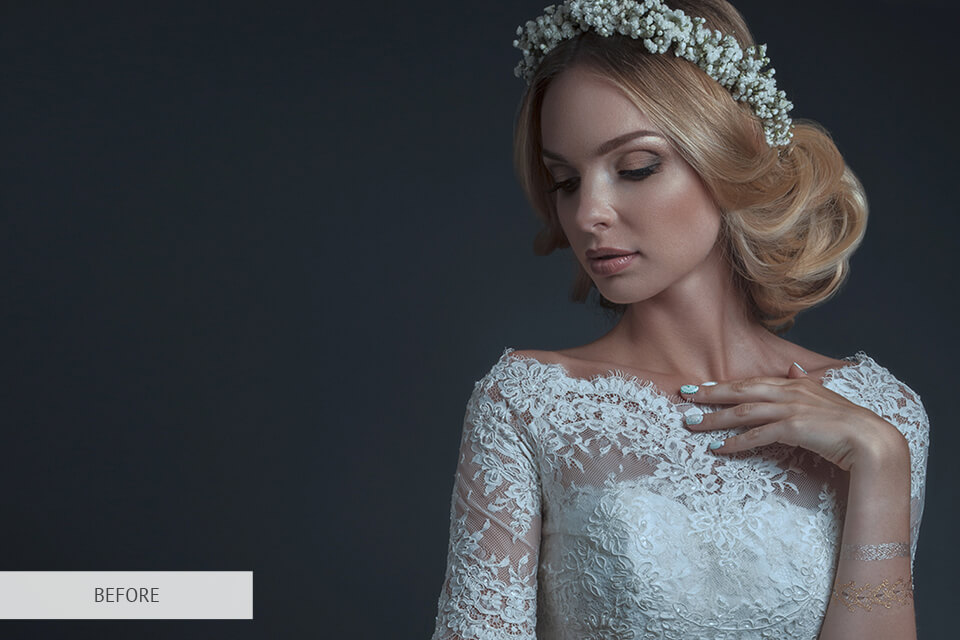
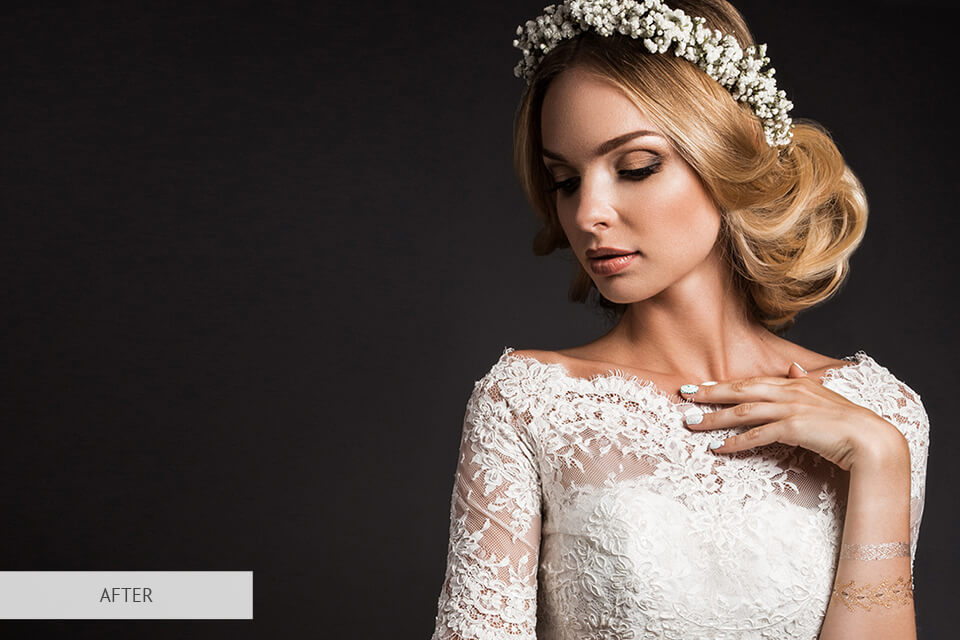
Lightroom and Camera Raw have a large database of presets with which you can quickly create an interesting effect in your photos. I have selected several freebies from our store that you may use for free.


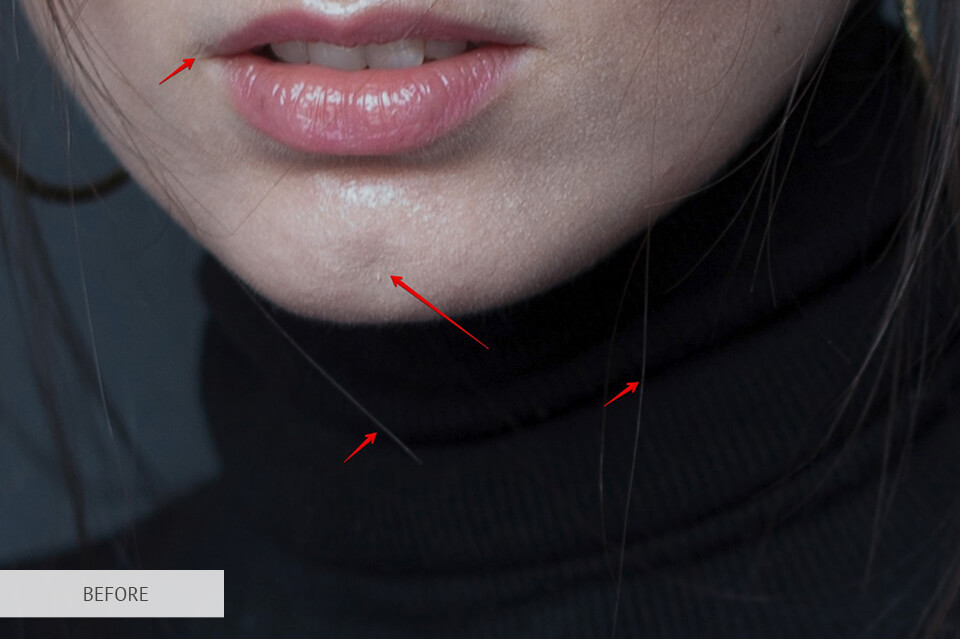
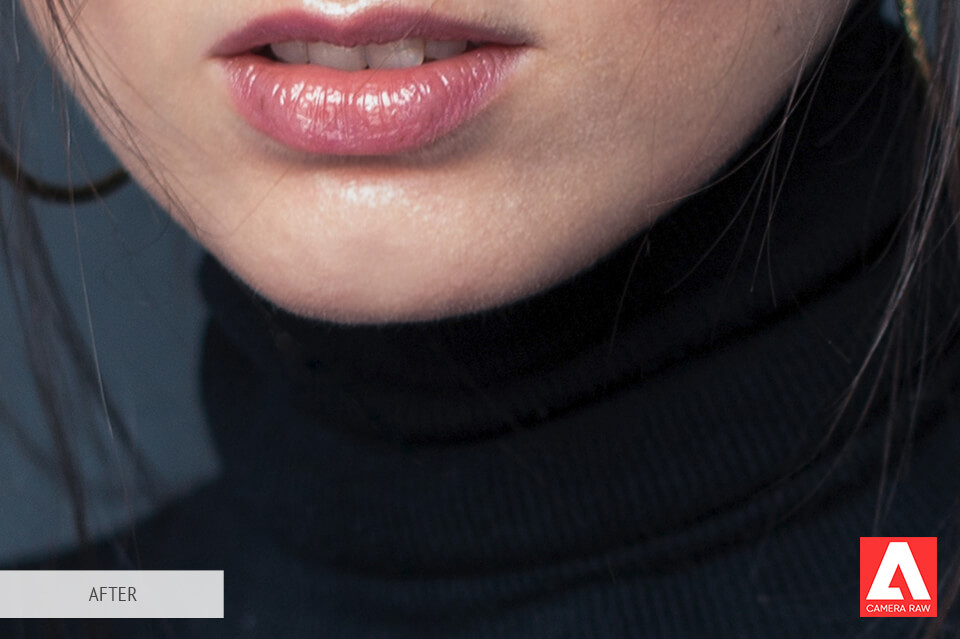
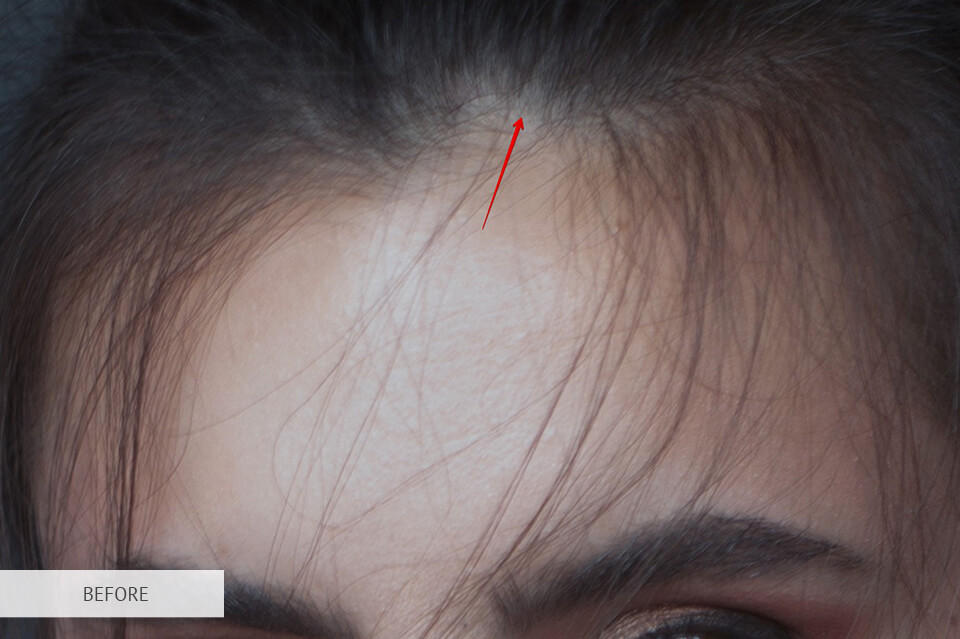
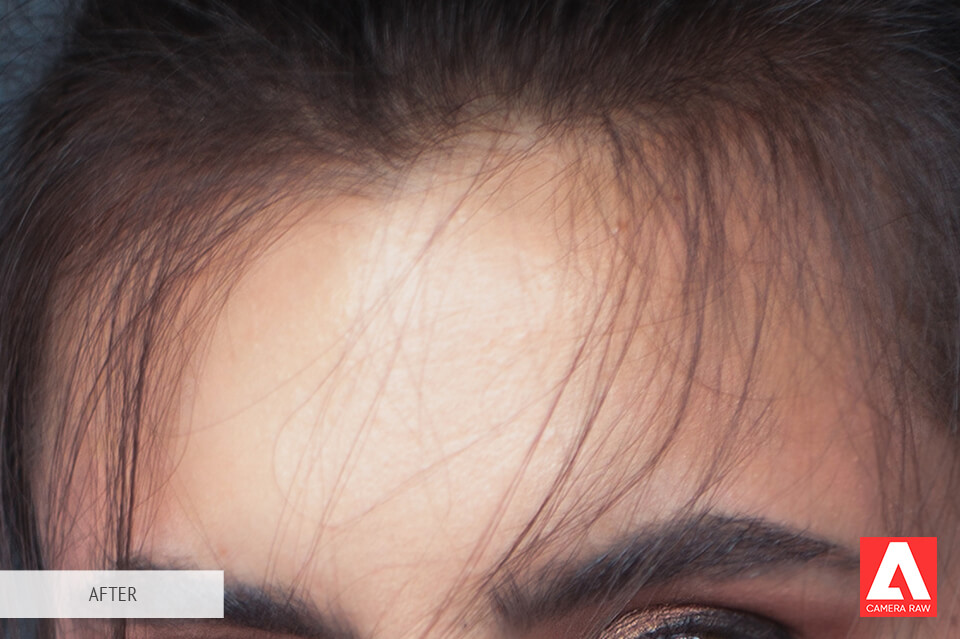
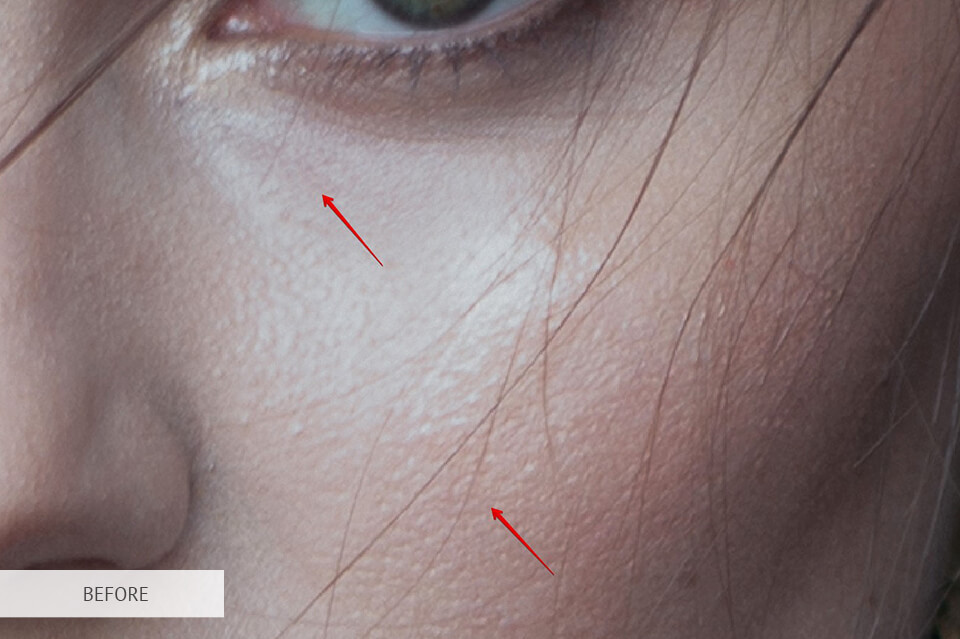
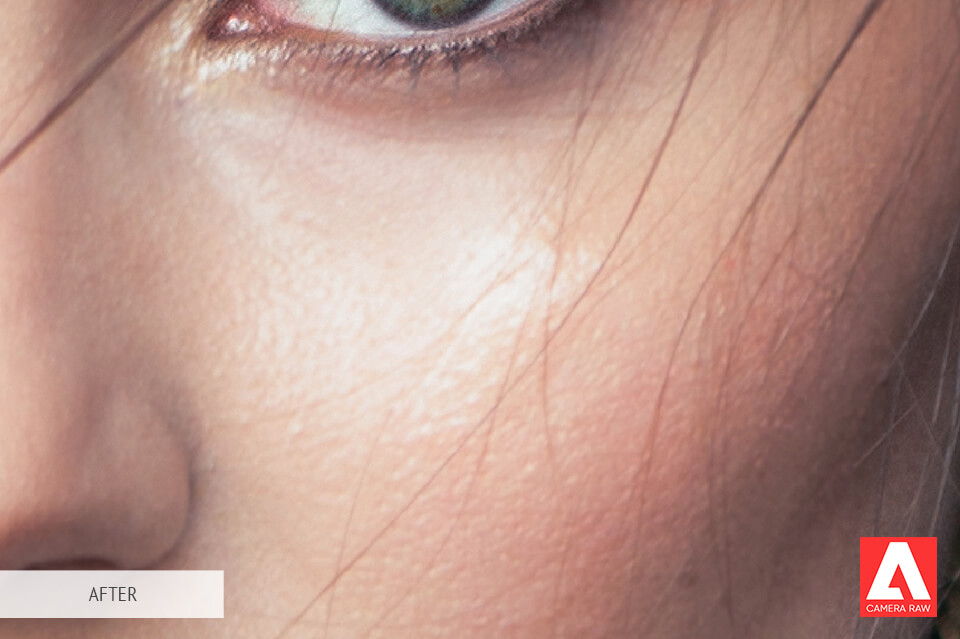
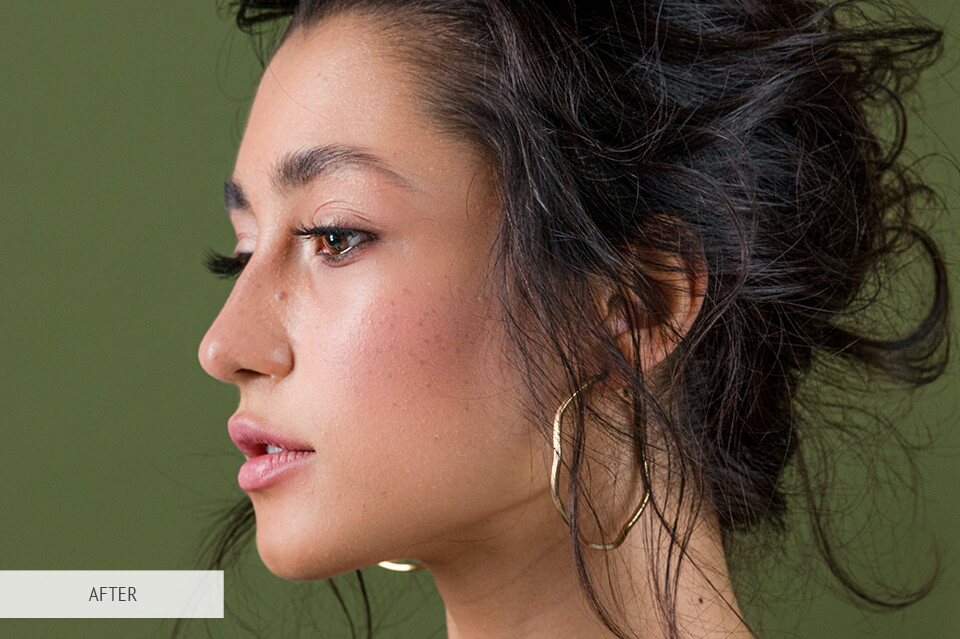
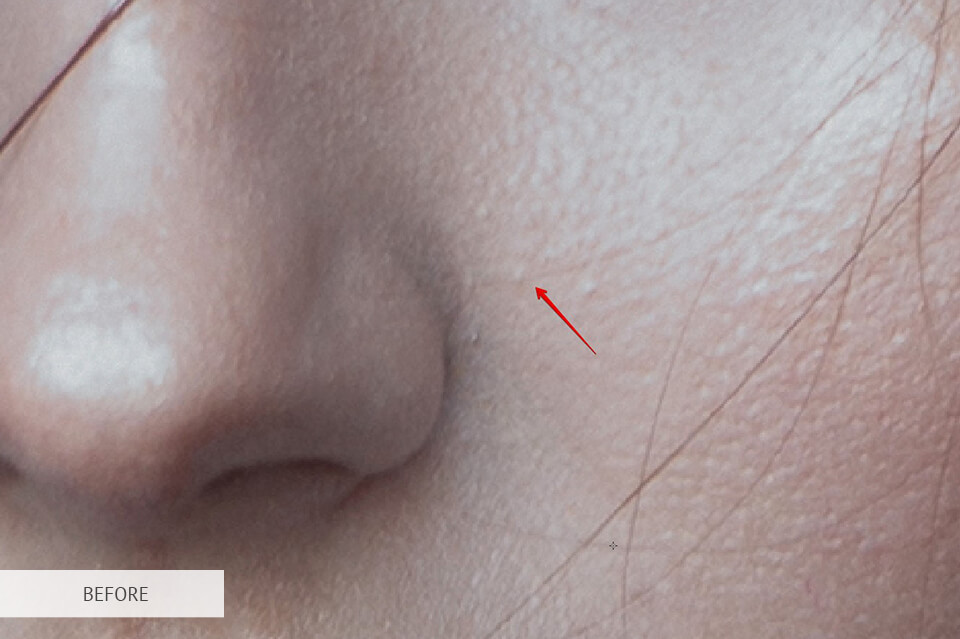
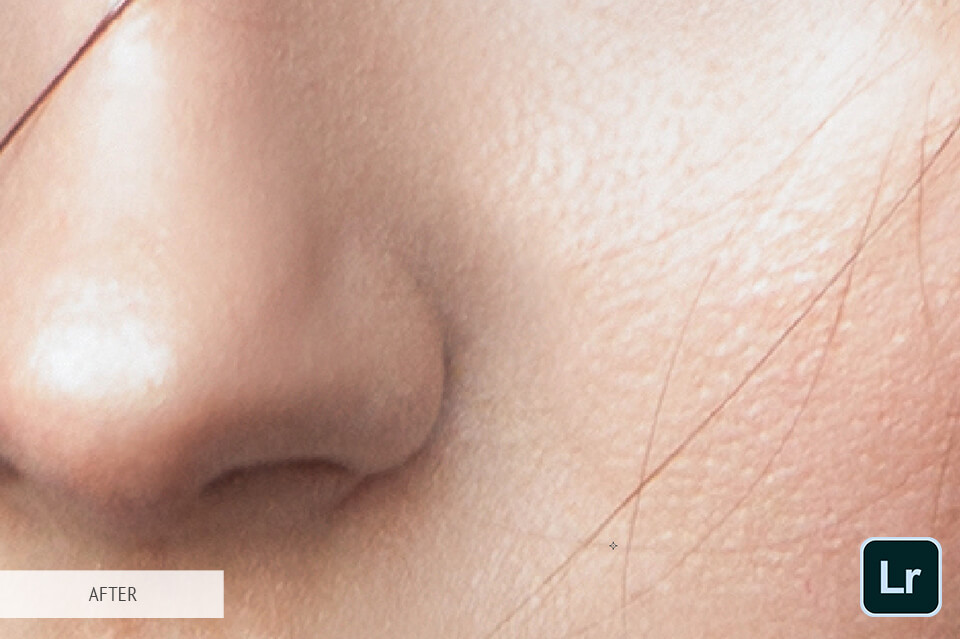
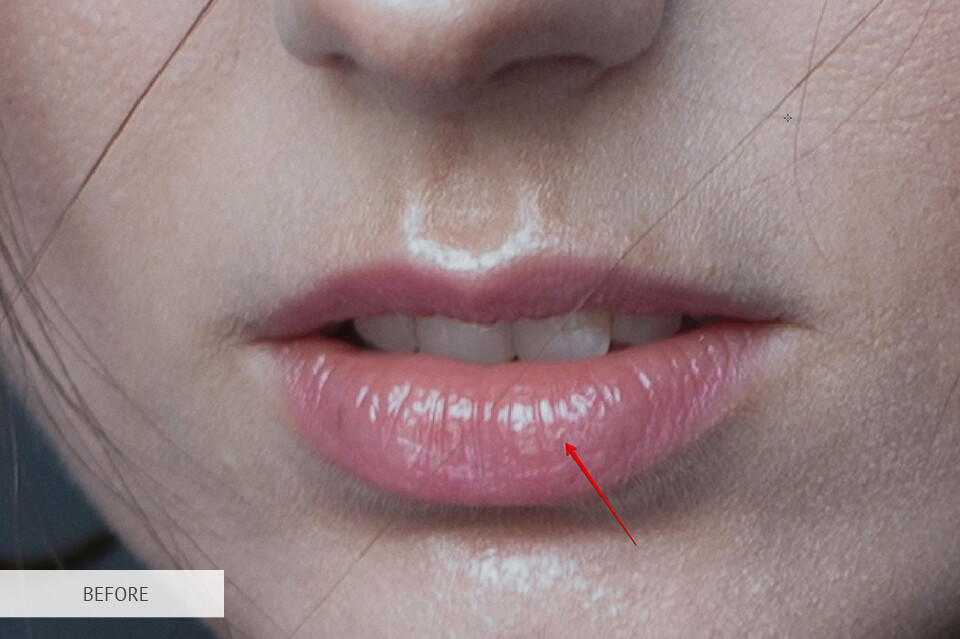
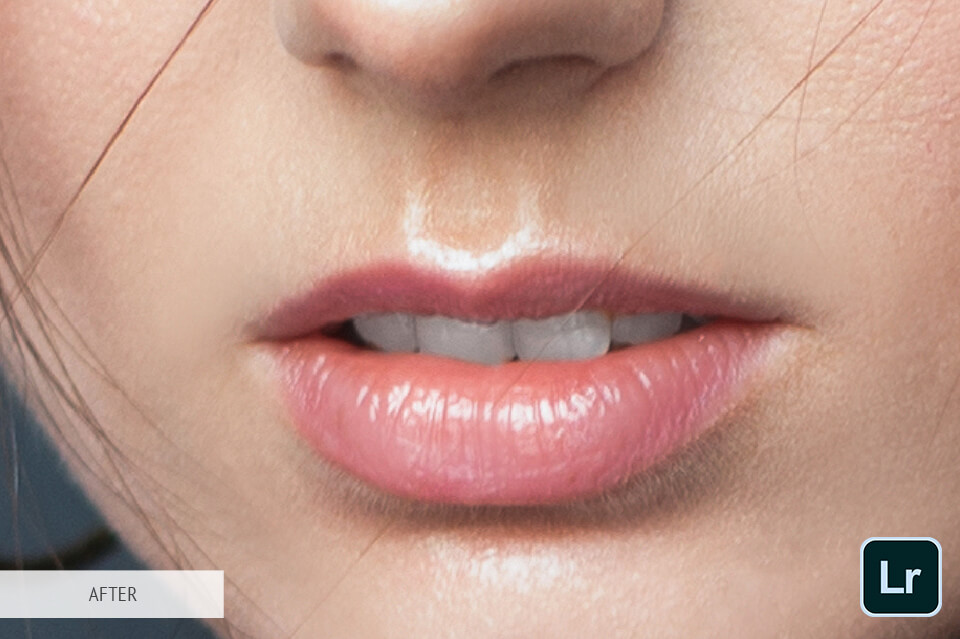
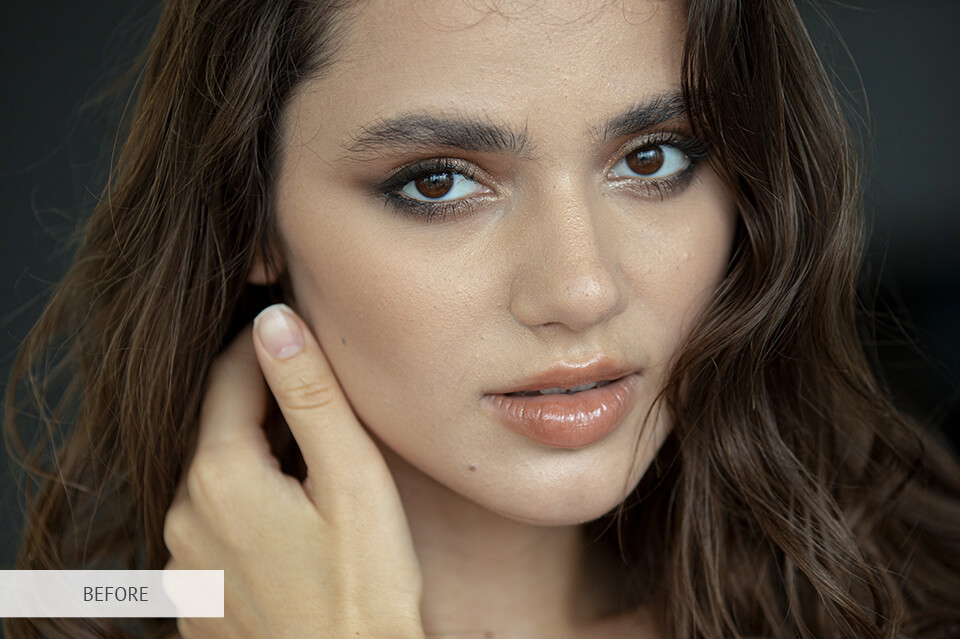
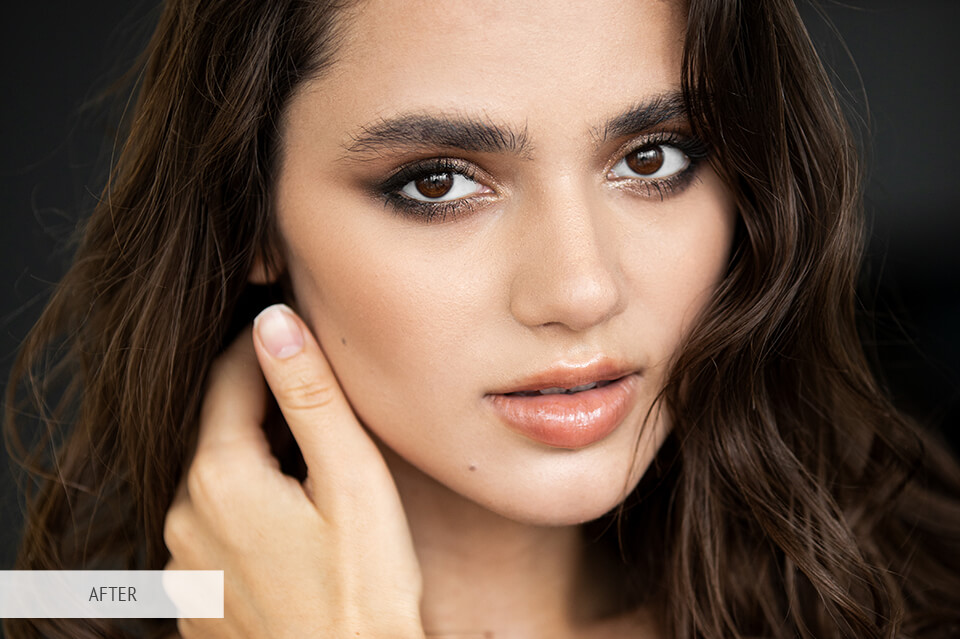
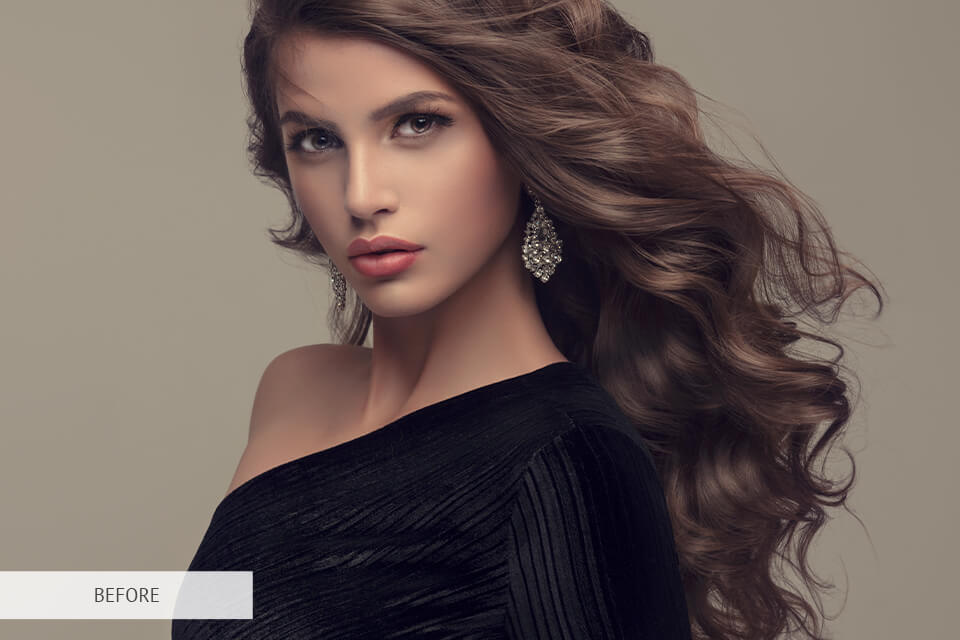
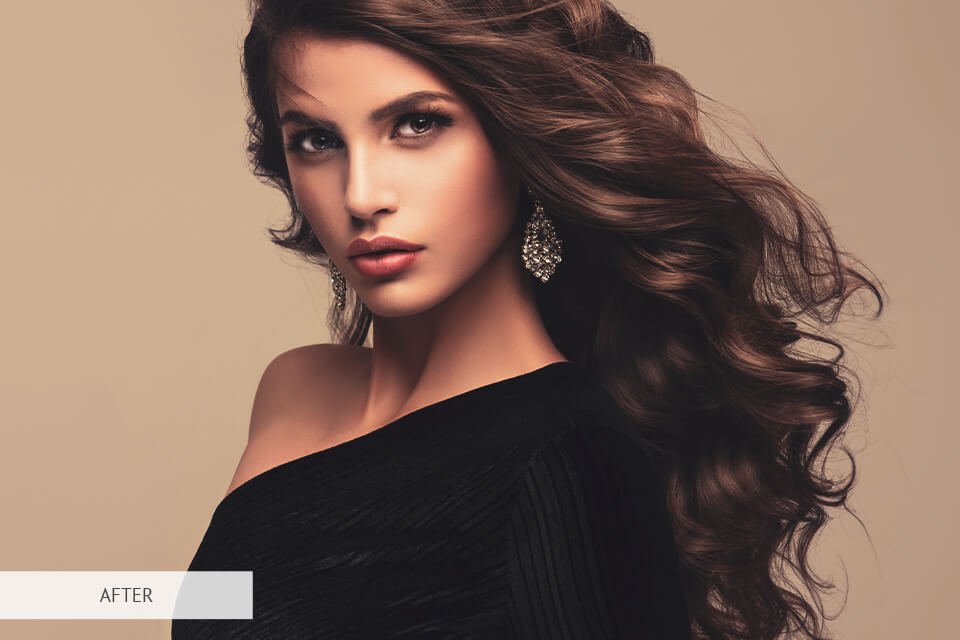
This preset will work amazingly with all photos with harsh light. It will make the skin look softer and more delicate, but will keep it look natural.
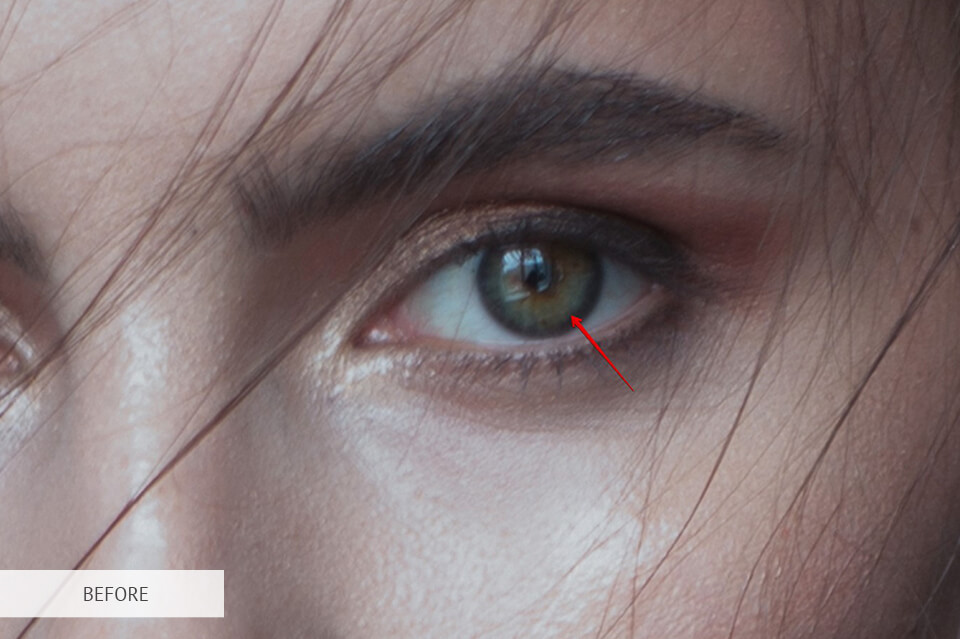
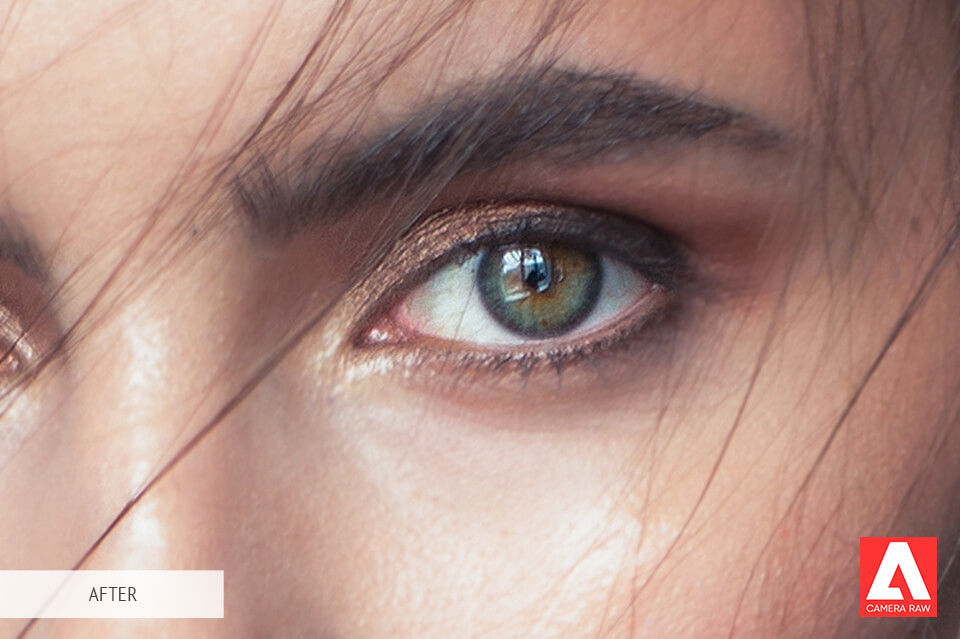
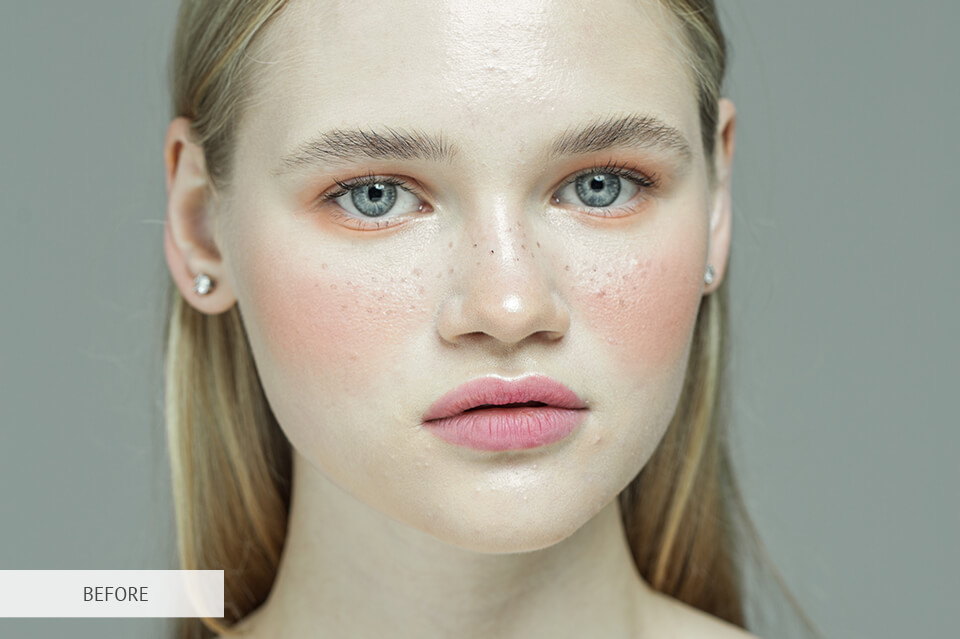
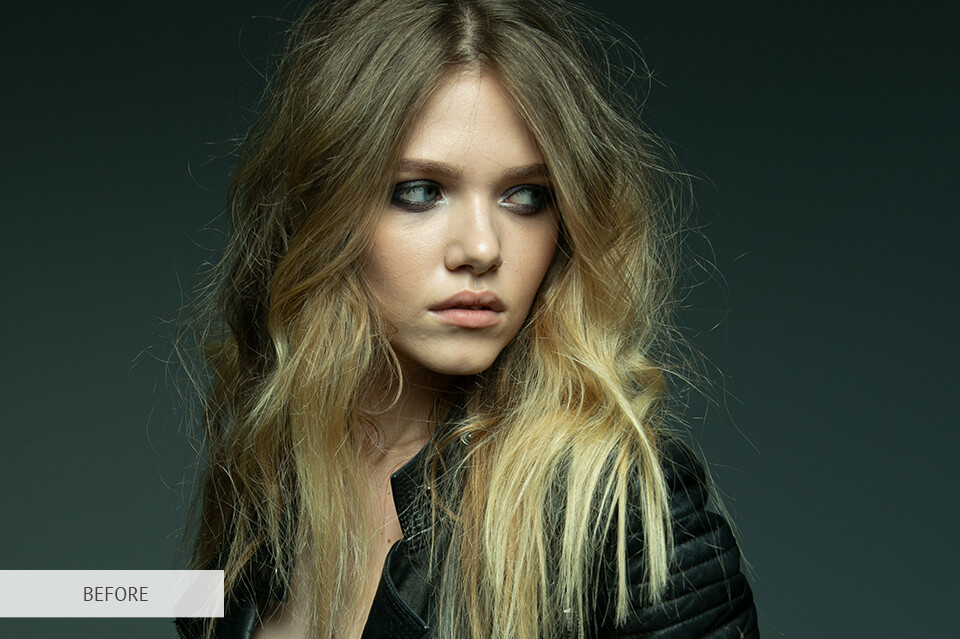
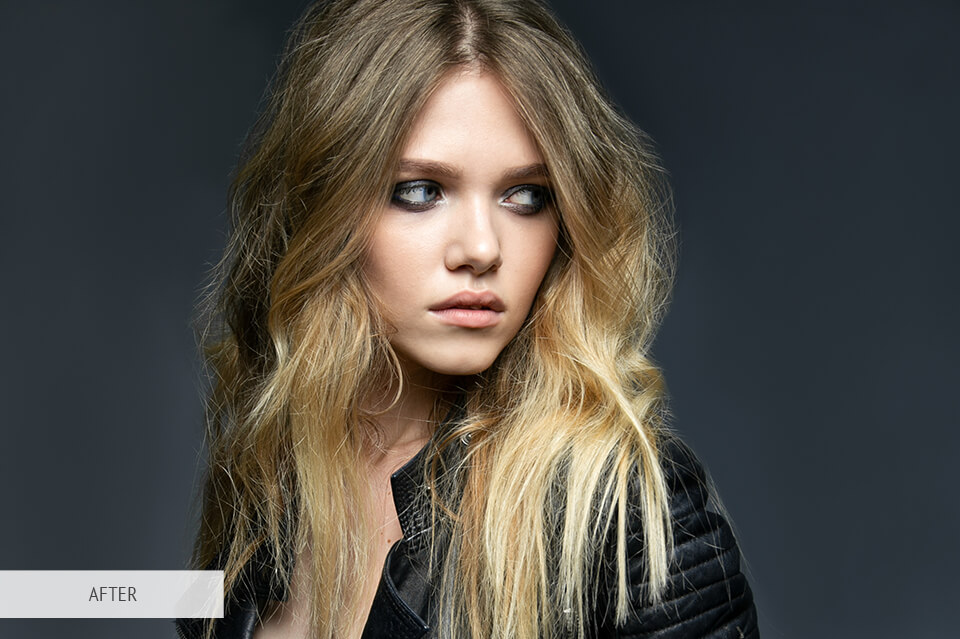
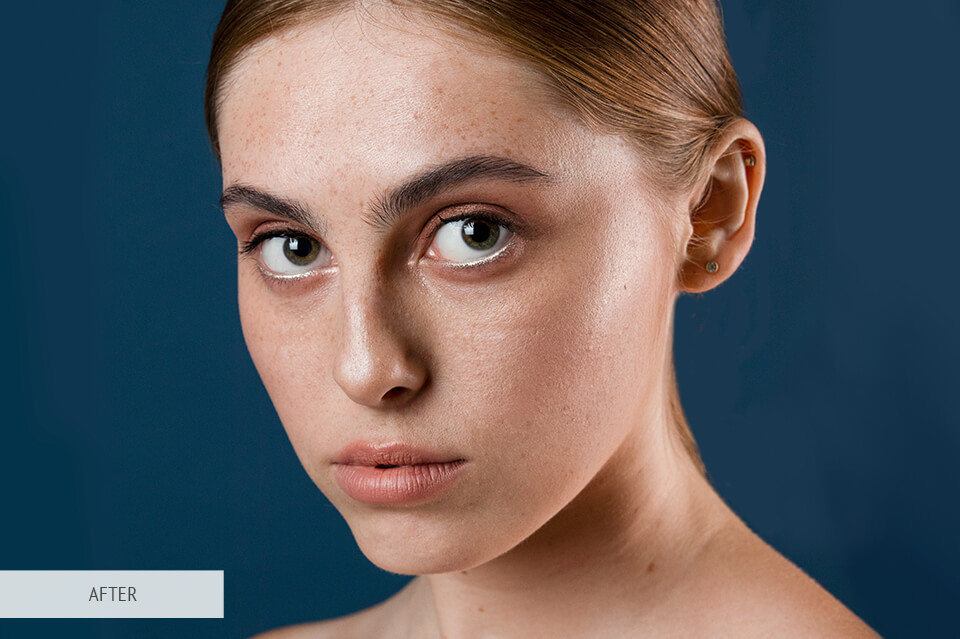
This free preset will be the perfect tool for images with low contrast. It will make them sharper and more vibrant while highlighting all the details. Corrects white balance in 1 click.
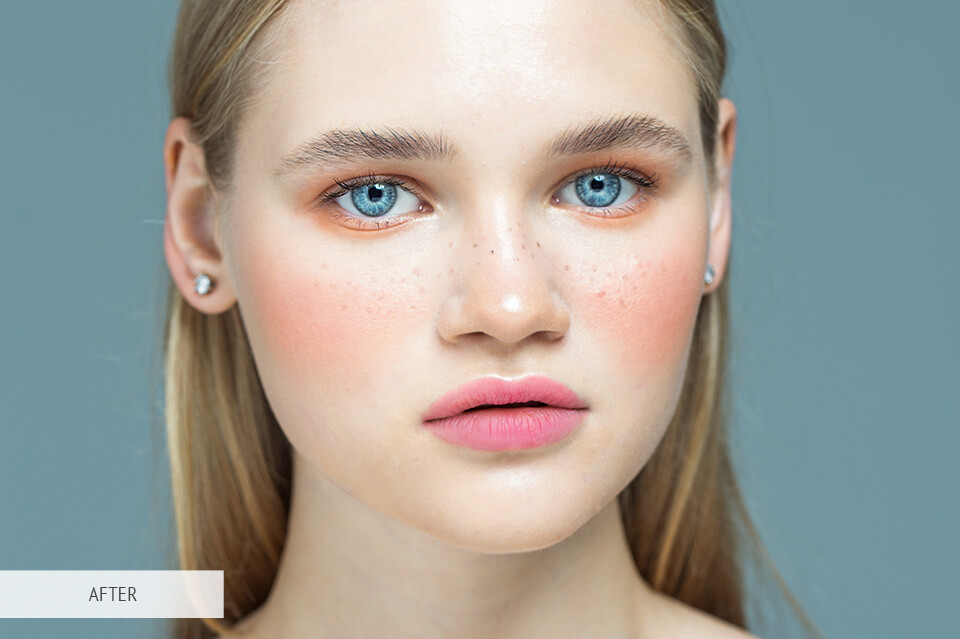
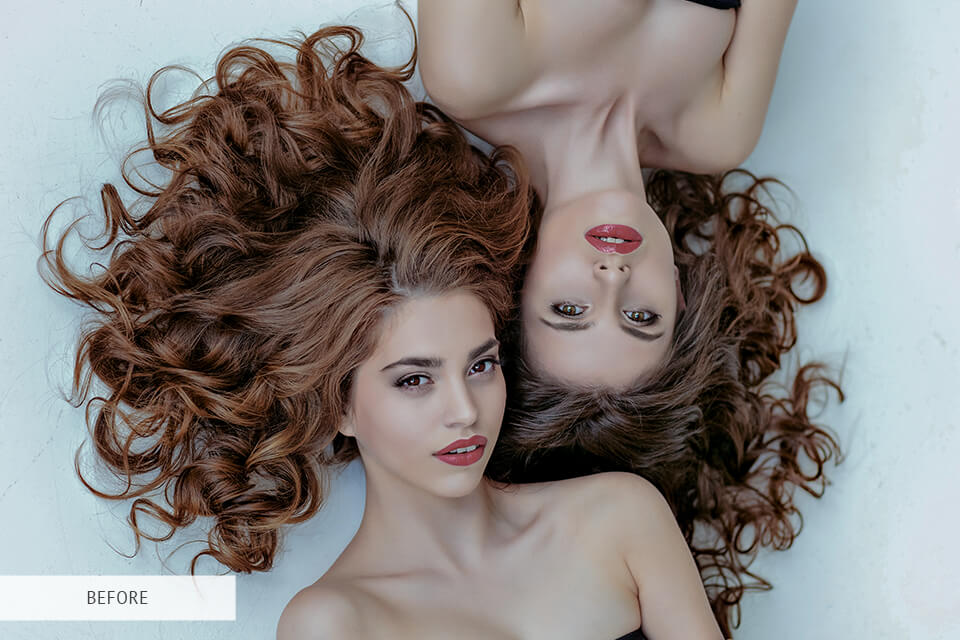
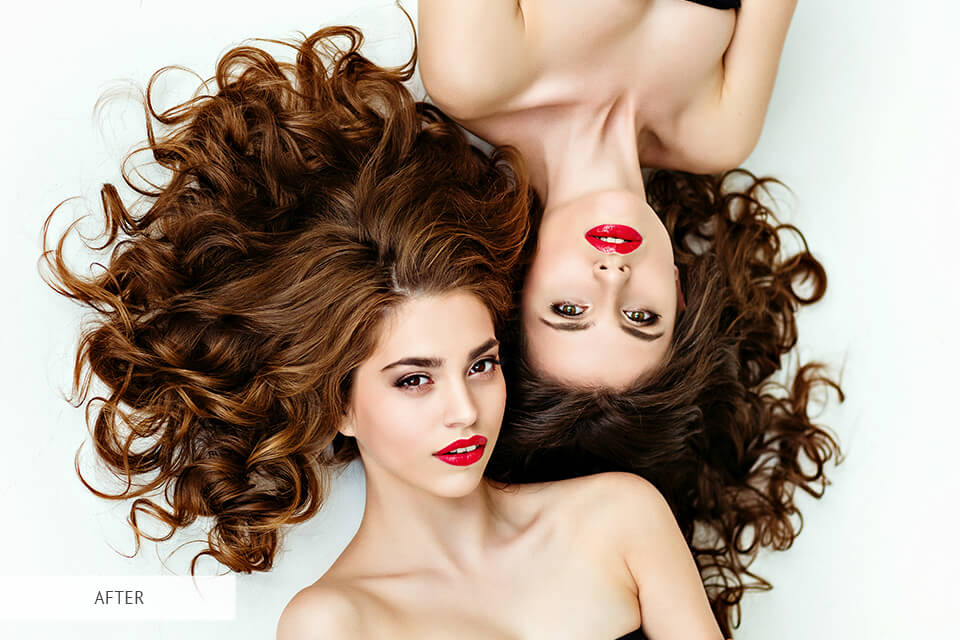
If you want to turn a boring portrait or selfie into an attractive fashion shot, get this preset. It will instantly add bright colorful accents to your studio photos. I recommend using it with images, in which you want to emphasize the dramatic mood or feelings of your models.
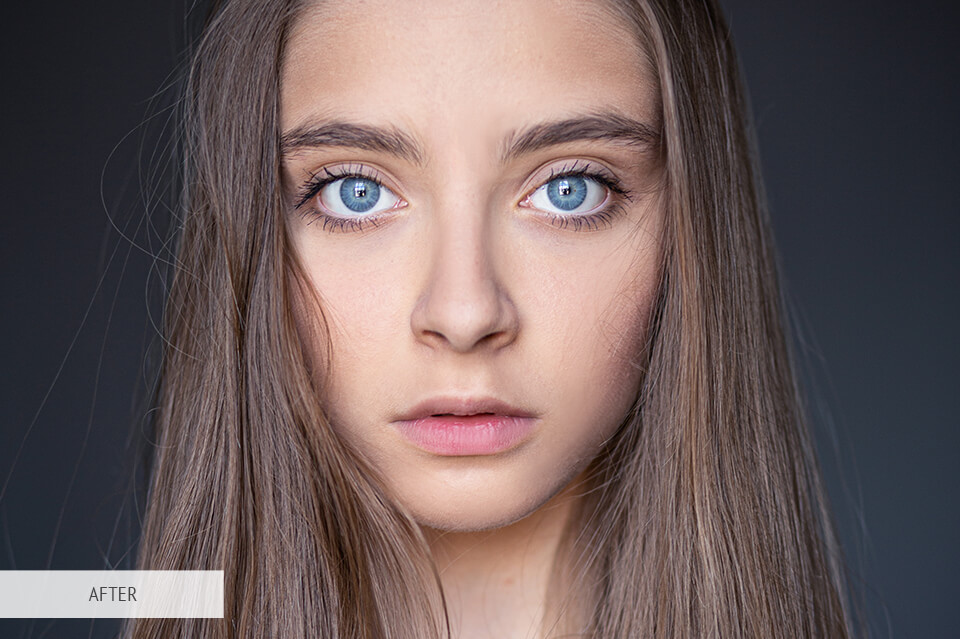
By making the edges slightly darker and the center brighter, this Ps action will create a bright and sharp picture in no time. It is highly recommended for fashion and street shots.

Add a magical touch to your baby photo enhancing skin and overall lighting. To get the best results, use it with the shots taken near the window.