
Do you have to obtain a passport photo of your baby to use it for all kinds of paperwork and visa applications within the first few months after it was born? This guide will provide all the baby passport photo tips you might need to help you prepare and take such a picture in a matter of minutes while ensuring it meets all the official requirements and won’t make your child go through any unnecessary stress.


The one thing passport pictures have in common across all countries is the white backdrop and frontal angle. However, once you have those two aspects nailed down, you have to find out what other specific requirements are imposed by your country. Possible mandated parameters include the amount of white space around the person, the size of the photo, whether there should be a border, etc. Make sure you learn all this information before doing anything else.
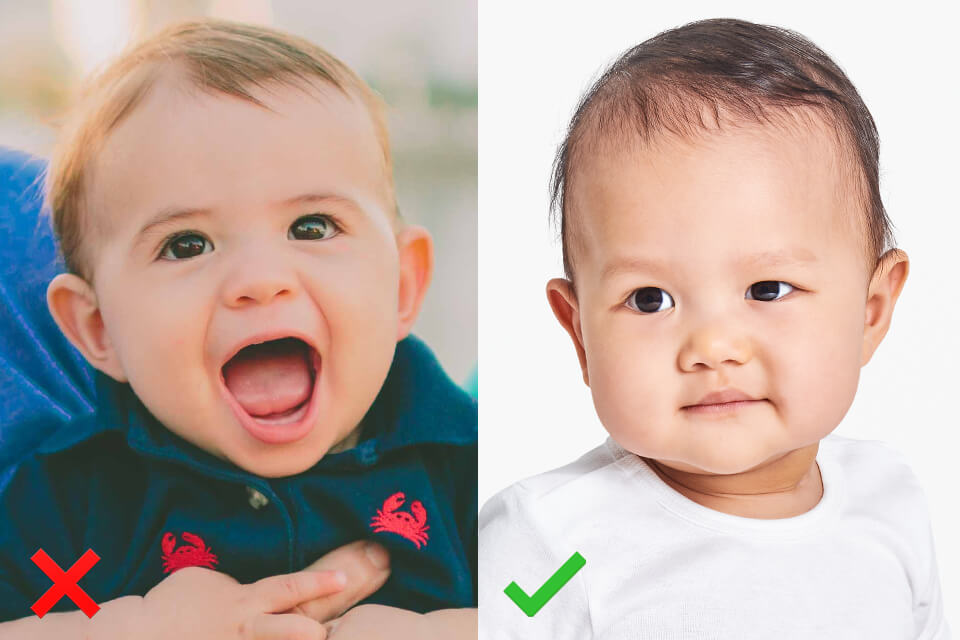
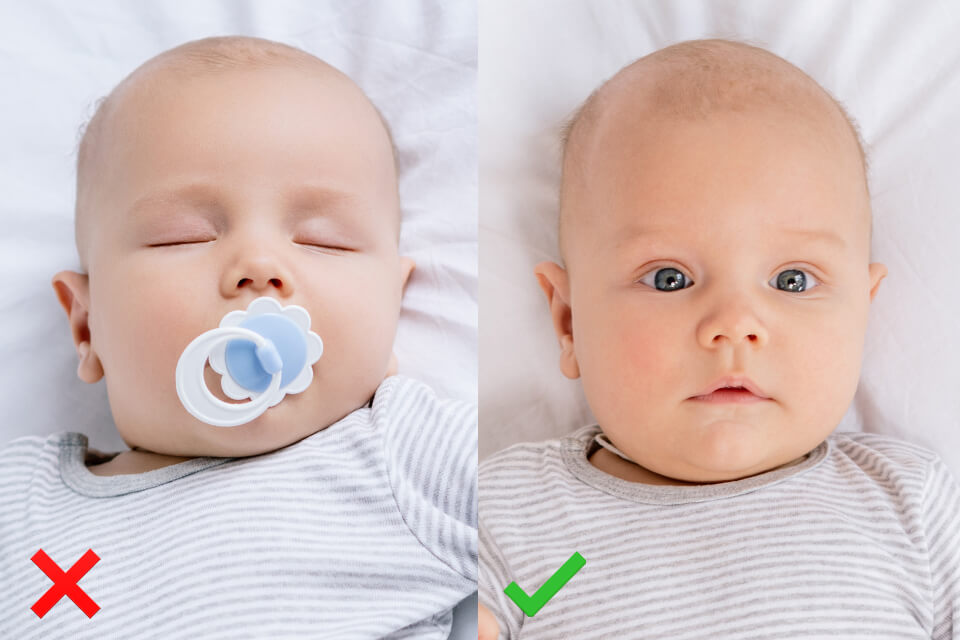
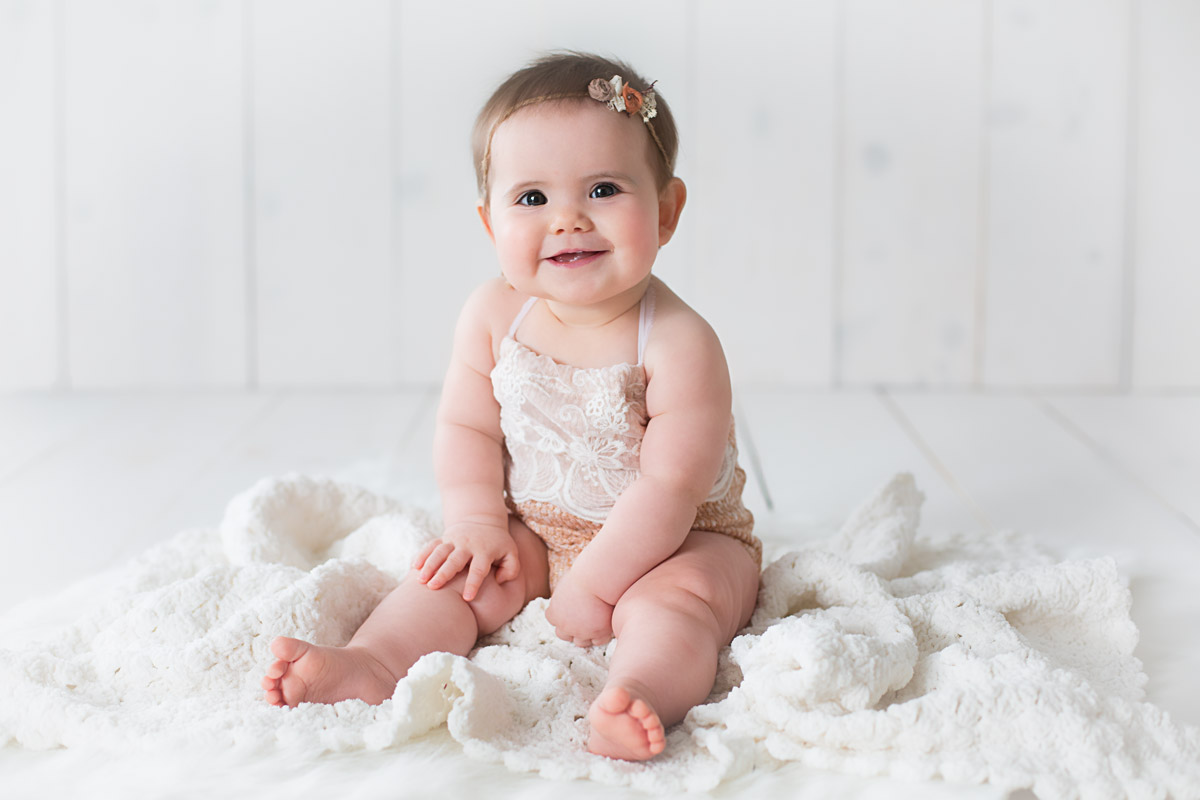
If you're in the United States, go to the Travel Gov website to find relevant information. Current US rules for passport photographs demand that the picture has to be taken recently, in color, and it shouldn't be enhanced with filters nor feature any newborn photography poses or newborn photography props. The backdrop has to be either completely white or off-white. The subject also shouldn’t be wearing glasses, shades, headphones, or a hat. Finally, the person’s eyes have to be open and their face can’t look blurry.
Preparing a white background for your baby passport picture is a lot simpler than you might think. If you don't have any special gear, you can simply use a white t-shirt, pillowcase, car seat, or other similarly soft surfaces. If you own white sheets or a comforter – even better. Simply put them on the bed and take the picture from above.

Keep in mind that your baby has to be in the picture alone so using your hands to keep it in an upright position is not an option. If you’re struggling to make sure the baby’s head remains upright, consider getting a baby pillow or placing a rolled-up towel to maintain the proper head position until you take the photo.
Put the pillow or towel under the fabric that serves as your background and check if the child’s ears are still visible.

Similarly, to how you implement cute Christmas baby photoshoot ideas, it’s a good idea to have both parents present for the photo shoot. One can be in charge of positioning the child while the other is behind the photographer attracting the baby’s attention or taking the photo themselves.
Rattles and other noise-making toys can be a godsend for making the child look into the camera. However, be careful not to entertain your baby too much since its eyes have to remain open. That said, if you have no choice but to take the photo alone, consider buying a shutter hugger to attract the infant’s attention.
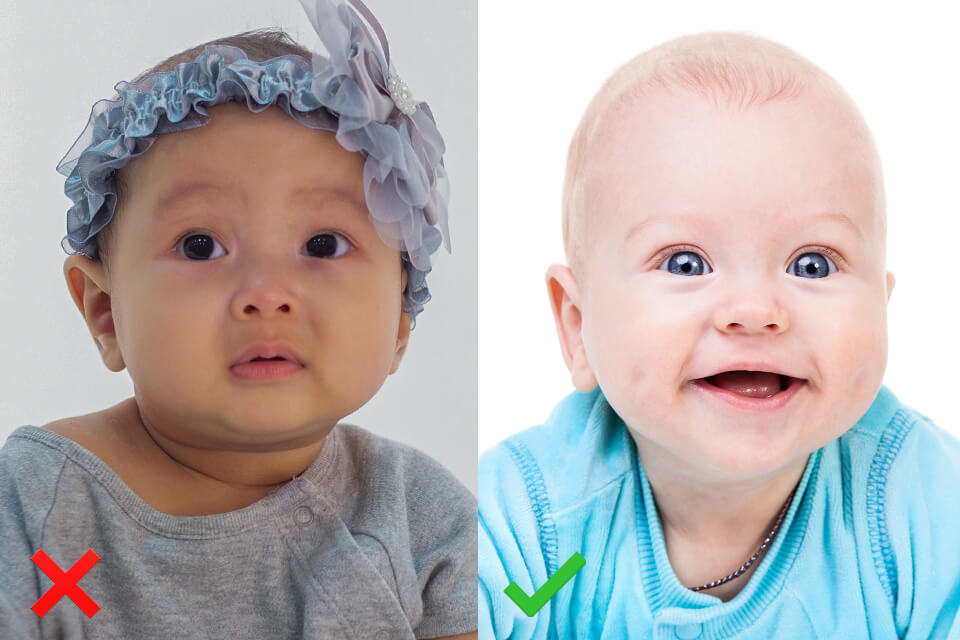
The US Department of State imposes strict baby passport photo requirements regarding what the child can or can’t be wearing. Even if your baby has to wear glasses for medical purposes, they have to be removed for the photo along with any hats and bows that is mention in all visa applications.
When picking newborn photography outfits, remember that the baby isn’t allowed to wear camouflage patterns or clothes that resemble uniforms. If the child already has long hair, make sure it doesn’t obstruct the face before taking the picture. Check if the baby’s hands aren’t in front of the face as well.

A baby can turn from a cozy bundle of joy to a teething, crying bundle of unhappiness in a blink of an eye. Thus, just as you would when implementing other newborn photo ideas, schedule the photo shoot during a time when it’s typically awake and happy to increase your chances of taking an acceptable baby passport photo.
Since it’s required for the child’s eyes to be open and it has to have a neutral facial expression, the optimal times for newborn photoshoots are often right after it was fed or has taken a nap.

In terms of newborn photography lighting, it’s advised to take the pictures during the day when the scene receives an abundance of natural light. Nothing beats the appeal of natural lighting for portrait photos so try to schedule the photoshoot for late morning or early afternoon to receive the best possible results. Coincidentally, those are also usually the best hours for trying to ensure your child is in a great mood.
You can achieve the best look by placing the baby in a way that points its feet away from the window. As a result, the light will fall onto the head, making the photo look beautiful and natural (since people are typically lit from above both in everyday life and portrait photography).
Passport, visa, and ID pictures all demand an absence of rough shadows. The optimal way to improve baby shooting is to diffuse the light shed by several sources. You can do that by organizing the photoshoot in a room that has natural light fall through windows from two separate walls. On an overly sunny day, employ a sheer curtain to diffuse the lighting and get rid of harsh shadows.
If you’re only getting natural light from a single window, you can make a DIY photography reflector and have it act as a secondary light source. The simplest way to create one is to toss a white sheet over some chairs a couple of feet away from the window and then have the baby rest between the light source and the reflector.
I highly suggest disabling the camera’s flash when taking a passport photo for newborn babies. Otherwise, you not only risk creating a red-eye effect, but more importantly, you can hurt the child's eyes since its pupil protection isn't entirely developed yet. If you decide to employ a flash anyway, you'll have to fix red eye in Photoshop or employ red eye removal apps before you can submit the passport photo to the relevant authorities.
If you’ve noticed rough shadows, consider turning on some lights in the room to get rid of them. While not ideal, such a solution will at least ensure you won't hurt your baby's eyes.

Newborn babies aren’t known for staying still when you try to photograph them. Thus, if you’re taking photos with a camera set a shutter speed of 1/200 higher to guarantee the baby won’t end up looking blurry. Note that higher shutter speeds require good lighting, which is another reason why it’s important to know where to take infant passport photo to enjoy terrific results.
It's also advised to set the camera to burst or live mode to enable rapid-fire shooting. Check if the camera is focused on the subject's face. If you’re taking photos with a phone, tap on the baby’s nose to ensure the focus is where it needs to be.
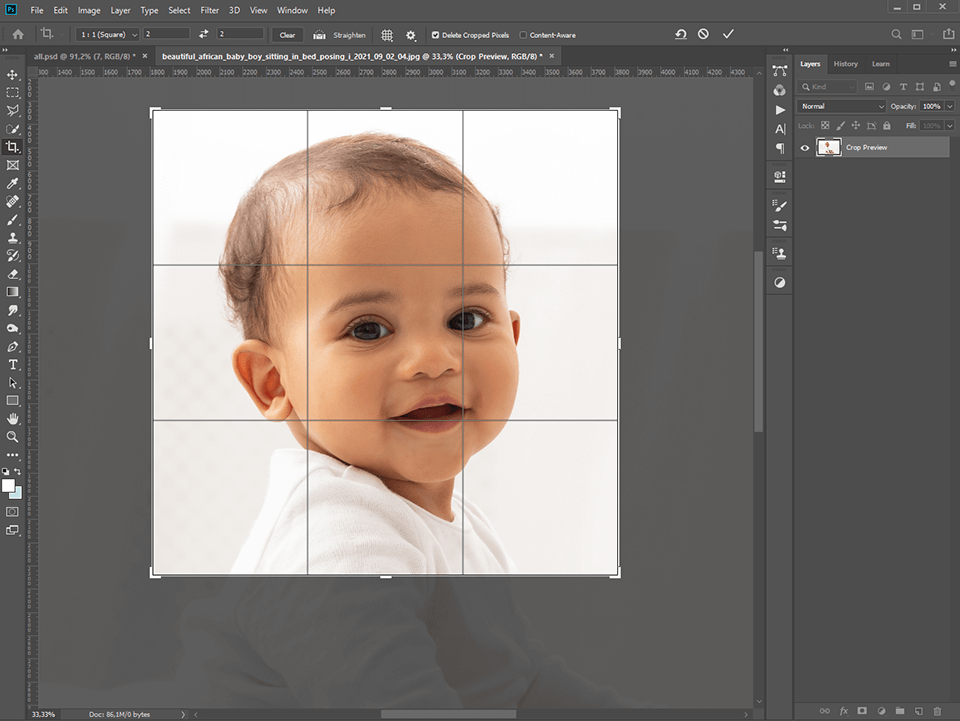
Before you submit your baby’s passport photo, it first has to be cropped to meet the presented requirements. You can crop an image in Photoshop or resort to specialized software made for creating ID photos. For instance, Passport Photo Maker lets you design the perfect picture for your child’s passport application with minimum hassle.
This software will automatically recognize the baby’s face and crop the photo while adhering to relevant specifications. The size of the passport image has to be 2x2” (51x51mm) and the picture of the baby’s face should fit within 1-1.3” (25-35mm) measuring from its chin to the top of its head.

Now that you've taken and edited the photo, it's time to print it. Before moving on to this important step, double-check if you got all the specifications right: the size of the photo, the amount of space around the baby’s face, etc. You should also learn if you have to use glossy or matte paper and whether the picture needs to have a border. All of this information needs to be conveyed to the printing service provider of your choice.
When deciding whom to entrust with printing your baby’s photo, you have the option of either approaching such photo printing services as Printique, which specialize in printing passport photographs, or you can simply print it out in your nearby photo printing store. Walgreens, Target, and Walmart all provide fast printing services that will deliver the result within 24 hours.
Baby passport photos can’t be enhanced with filters but this collection can help you get rid of the main issues such as red or yellowish skin and imperfect lighting. Making such adjustments manually isn’t exactly an easy task unless you’re a professional retoucher.
Thankfully, you can simply download this collection instead and you’ll never have to worry about those issues again. You can learn how to install Lightroom presets on Mac & Windows in a matter of minutes.


