Newborn Photography Lighting

Would like to know some basic newborn photography lighting techniques that are safe for your baby-model and help get amazing results? You never know when a newborn might want to eat, or sleep, so you should be fast and prepare lighting setup for newborn photography.
Newborn Photography Lighting Techniques
Look though these lighting techniques and their issues to set the desired light easily and properly.
Rembrandt Lighting

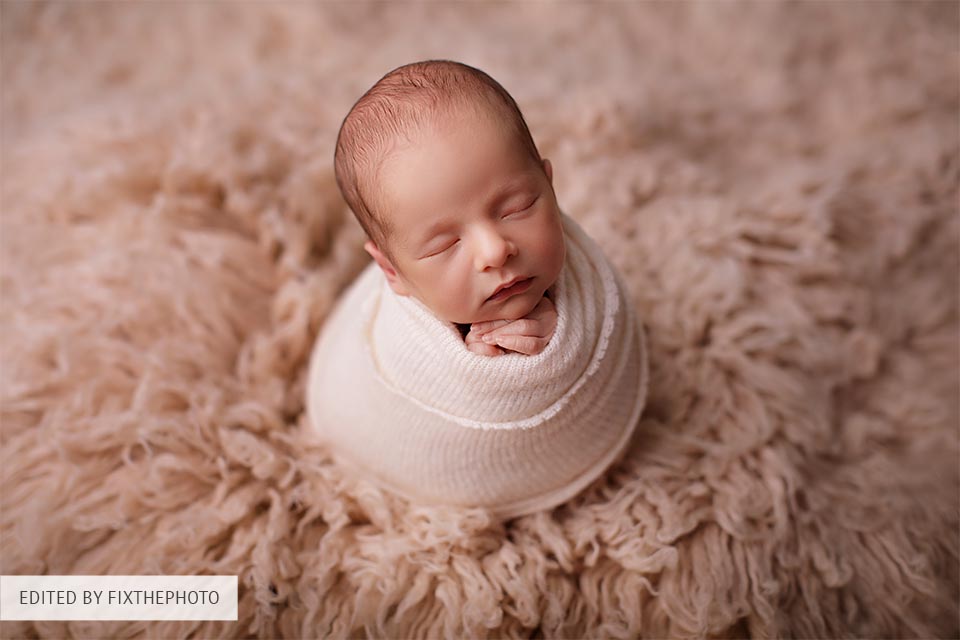
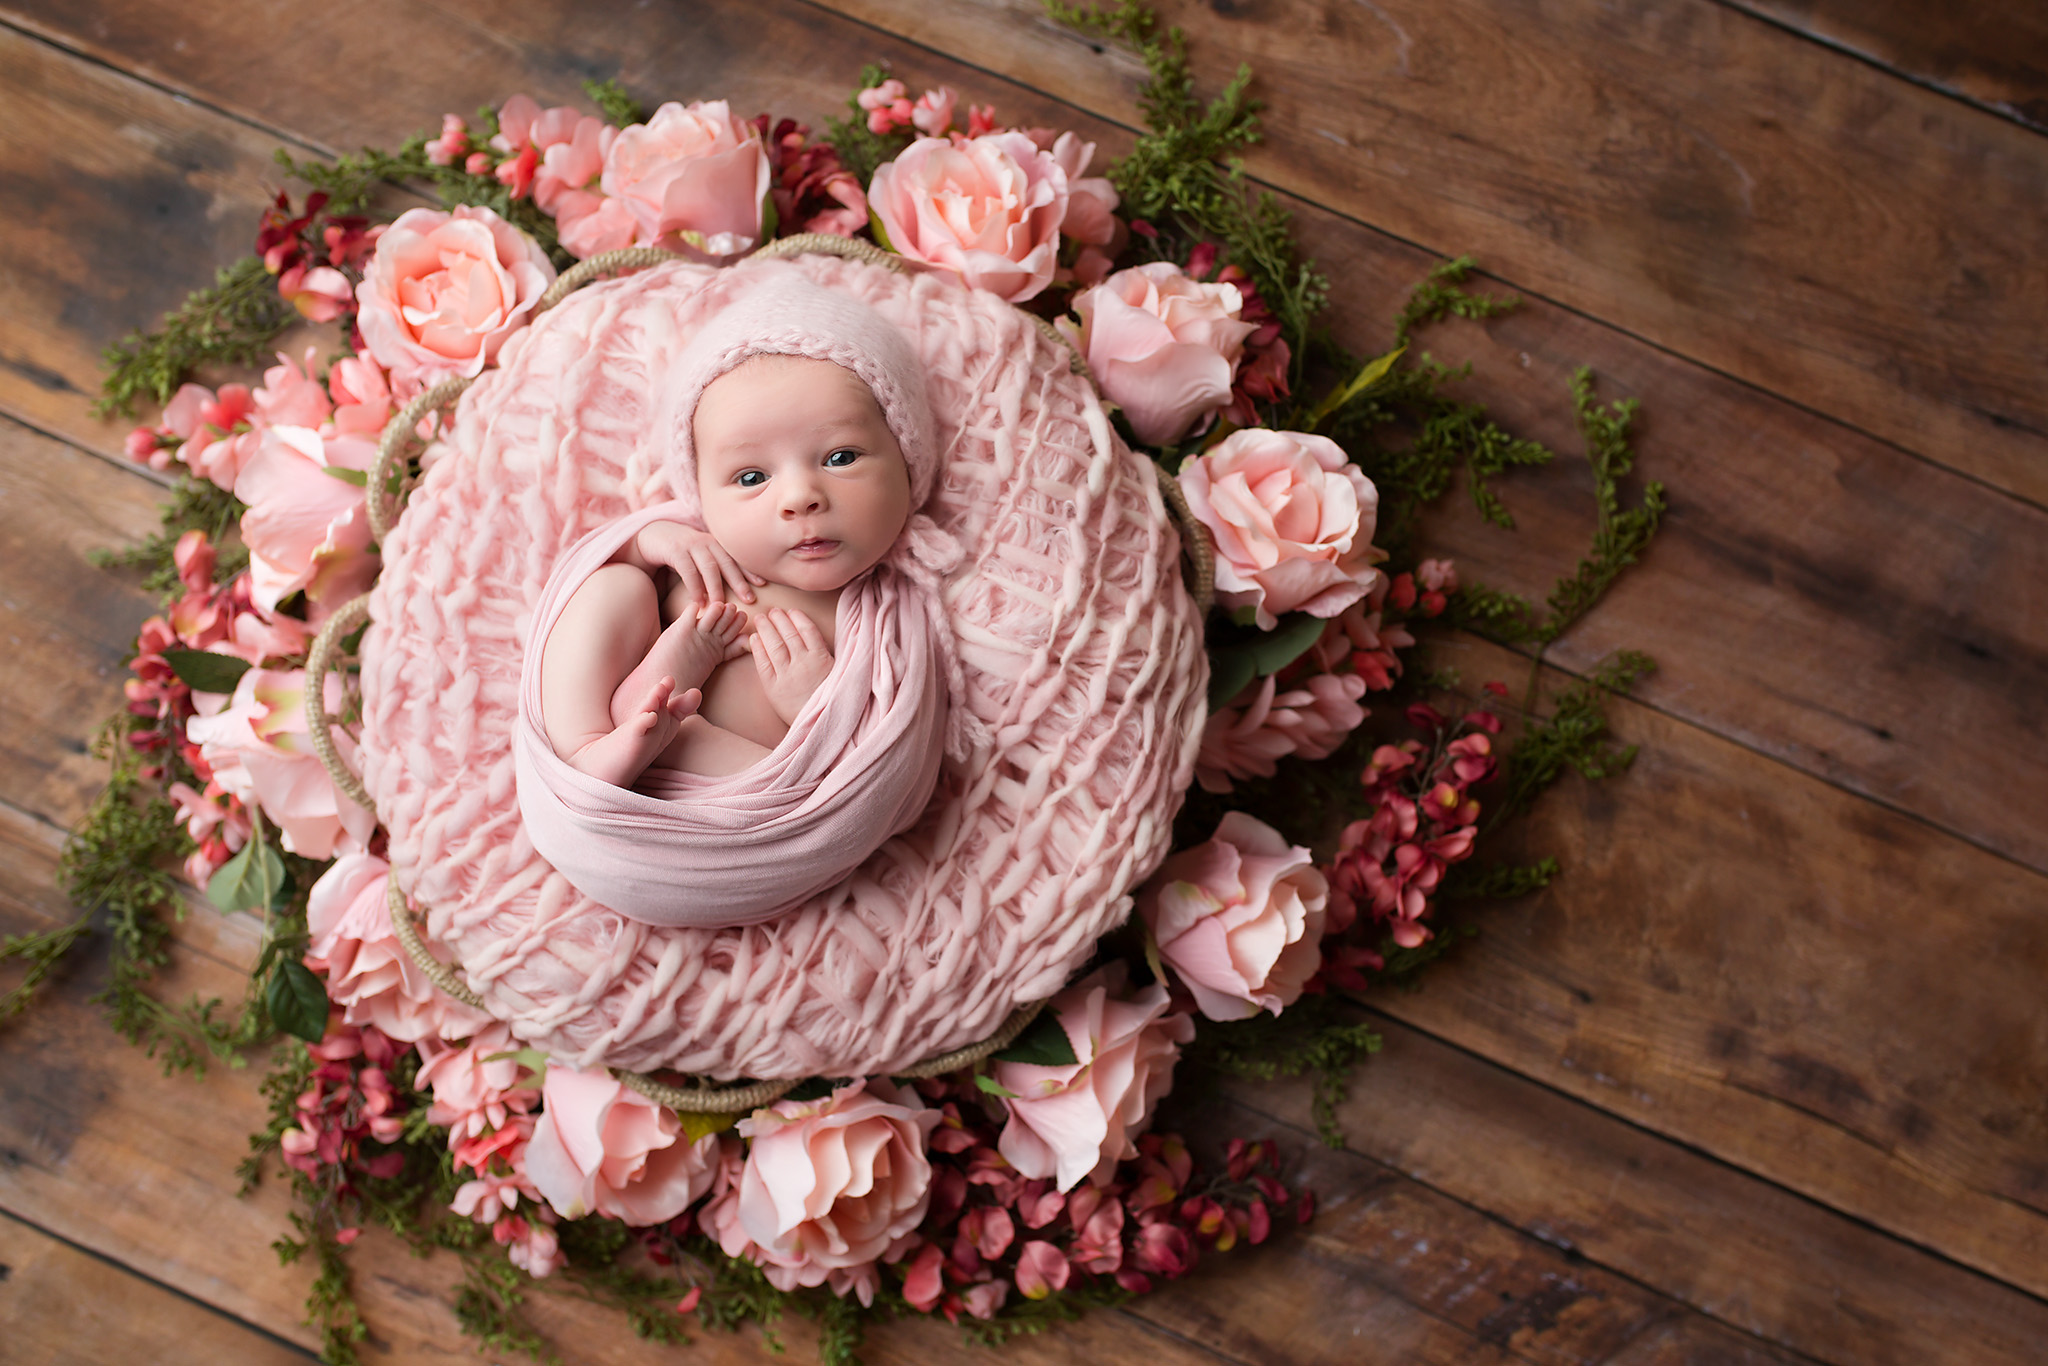
This lighting setup for newborn photography is the illumination of the newborn’s face at a 90-degree angle. I usually use it when I’m taking a picture from above. As a result, one side of the face is completely lit, and the other – just partly, creating a triangle when the light falls on the partially shadowed cheek.
If you want to see how this effect looks like in practice, you can always look at Rembrandt’s works to get some inspiration and aesthetic satisfaction.
Back Lighting

This type of lighting involves standing opposite from the light and taking a picture from the shadows in the direction of light. You will receive a beautiful creamy illumination that highlights tiny details of the body – little lips and small toes.
Soft Lighting

For this illumination effect, you will need an umbrella and one light source. The umbrella is a structure with silver or translucent white and reflective sides attached to each other at the ends of the stem. If the umbrella gives you an opportunity to remove black color, the white reflective side creates a translucent effect.
Broad Lighting

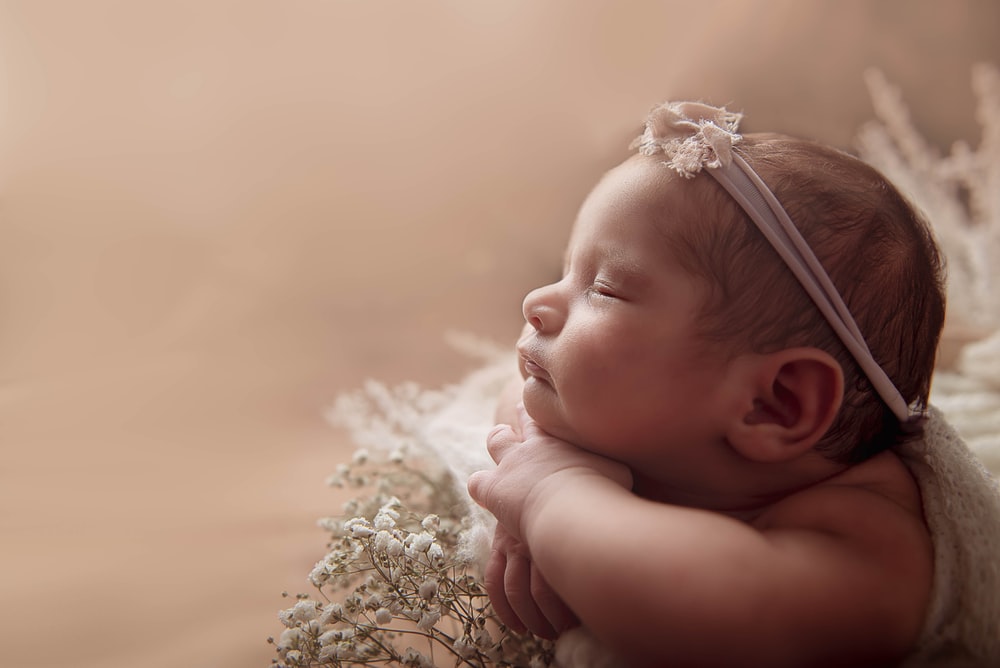
Broad newborn photography lighting is the illumination of the bigger part of the subject. It happens when the object is turned away from the direction of the light. You can see this effect in the photo above: as the child’s face is turned slightly leftwards, and the lighting is set also on the left side, the majority of the face is illuminated. The right side of the face is slightly shadowed and well-defined.

You will definitely need a reflector to balance your light well without harming the baby’s eyes.
Short Light

If the bigger part of the object in the picture is covered in shadows, that is a representation of short newborn lighting. When the majority of the face is turned away from the light source, and it is in the shade, then it is also short lighting. When the baby moves its face away from the light and it is mostly shadowed, then the face is short lit.

If you want to have the all-in-one kit for professional newborn photography lightning, choose this bundle that includes a poket flash kit, strobe lights for photography, wireless remote control and triggering, the speedlite flash head, barn door with grid and color gels, etc.
Newborn Photography Lighting at Home
So, we have walked through the types of newborn photography studio lighting, but what if you need to shoot the newborn at home? Here is a guide on how to organize a photoshoot inside with simple natural lighting setup.
Find the Sun

You know that decent natural lighting is the guarantee of successful photos. So, find the place in the house where the sun is. Take into account where it moves and be ready to slightly change the location during the shooting process.
To identify sun movements and angels more precisely, you may use special applications. The app that I use is Sun Seeker. Using this app, you can even create a plan of the shoot that includes best sun hours and conditions, sunrise and sunsets times, sun movements and directions.
Make Sure Your Room is Fairly Neutral

Take care of the room interior when taking newborn pictures at home. The colors should not be too vivid because they may cast onto the object, creating an undesirable effect.
Pay attention to what you wear, especially when you come closer to the object while taking photos. Wear the clothes of neutral color and choose the room with white, beige or tan walls, if it’s possible. These tricks will simplify your further image editing work.
- Read more about the newborn photo ideas.
Position Baby Near the Window

Locate the baby, place the pillow and put a backdrop near the window. If there is a need to diffuse the window lighting on a sunny day, I use a big piece of white fabric and painter’s tape.
Use Reflectors to Bounce Light Back

Reflectors are good assistants if you need to direct the light towards the object, regulate the shadows and lighting effects in the photo. I use the reflectors and I am satisfied with the results. Portable reflectors fit not just for taking newborn pictures at home but for those photographers who always change the place of the shoot, they are quite comfortable to transfer.
Don’t Be Afraid to Crawl Around or Climb on Things

Searching a perfect angle, photographers, as a rule, also put themselves in different poses. If you need to take a picture from a high angle, but you are not very tall, you can carry a step stool with you.
I also crawl on the floor to catch a perfect angle of some details for the picture. Move, change your poses and don’t care how does it look for other people. Search for perfect sides and angles of the object and then you will definitely have more chances to catch the best lighting for newborn photography.
- Check out my newborn photography tips.
Camera Settings Fundamentals
Correct exposure is essential for a good picture. Darkness and brightness in the picture must be in balance. For that, you need to regulate shutter speed, aperture and ISO.
Shutter Speed

Shutter speed is a time period when a camera shutter is opened and exposes the light into the sensor. There are slow and fast shutter speeds that fit for different types of shooting. Slow shutter speeds are used when there is little light or for night shootings, as then a bigger amount of light gets into the camera sensor.
A fast shutter is used to stop the motion. The right shutter speed for my flash is 1/125. To find out the right shutter speed for your camera, you need to look through your flash manual.
Aperture

The bigger aperture, the bigger amount of light goes into the camera. Besides, it regulates the depth of field, which is the part of a sharp scene. The depth of field is in inverse proportion to the aperture.
If the depth of field is large, then the aperture is small and vice versa. The aperture is measured in the “f” numbers. I highly recommend you to set the aperture to f/2.2 for newborn portraits.
- Read more about the best lenses for newborn photography.
ISO

If you need to make your pictures brighter but two previous settings don’t help anymore, then the ISO is your rescue. The ISO index is measured in numbers: the darker pictures correspond to lower numbers and the brighter – to higher ones.
But be careful, too high ISO index makes noise and grain more visible. For newborn photos, choose a low ISO – 100.
Newborn Photography Lighting Tricks
Check out these several easy lighting tips for baby photos that will help you take perfect photos without wasting much time on preparing.
Do Photo Editing and Color Correction


With the help of Lightroom remove all light defects and make the child’s skin soft and pink. Photoshop will assist you in objects removal or skin blemishes removal. You can always outsource your photo editing and save time.
Use Shadow and Light to Create Visual Interest

In newborn photography lighting, they are equally important. First of all, we notice the lightest areas of the photo and then pay attention to the shadowed places in the picture.
Light Newborns from the Top of the Head to the Chin

When shooting newborns in the studio, the light source should come from the direction that the baby’s head is laying. The child’s face must be tilted to the light side. The light should fall from the top of the head to the chin.
Do not move up the chin as it will create an undesirable effect and unnecessary “ghostly” shadows. If there are shadows under chin and nose, that means that the lighting was set up correctly.
Pose the Newborn Correctly

The right lighting depends on the right pose. Talking about newborn photography poses, the best pose will be a curved position, of a C shape. Why this way? Because a curve position is more pleasant for both our eyes and brains.
With a C pose, I make sure that the whole little body is placed naturally, with natural curves. The head needs to be curved as well as the body, elbows are placed under the knees and so on. The face must be visible too.
- Check out more newborn photography poses.
Create Visual Layers Through Lighting & Posing

It is absolutely great to divide photos into layers. Firstly, you determine the most meaningful objects and place them to the foreground of the picture.
Then you place the additional, less important things further from the camera for newborn photography and the background. In this way, the photo becomes more wholesome, where every object complements each other.
- View more about newborn photography props.
FREEBIES for Newborn Photo Editing
If you want to improve your newborn photographs and make them cute with the help of color correction, take a look at these free photo editing filters, they will definitely help you out.
Lr Preset "Warm Light"
The “Warm Light” preset is especially good for sleeping children photos. It adds more warm shades that are associated with home, cozy atmosphere and endless love.
- See more about how to create presets in Lightroom.
Lr Preset "Pastel"
Would you like to add some pastel shades to your photos? This preset is rather universal, as you can use it not only for newborn photography but also for wedding, love story or family photos.
- Read more about how to apply lightroom presets.
Ps Action "Fix Yellow"
There can appear yellow tints on the skin and face in an image. But do not worry, this action will help get rid of them and turn the newborn’s skin back into its natural perfect soft pink coloring. The action doesn’t alter other colors in the picture.
- Check out how to use Photoshop actions.
Ps Overlay "Magic Around"
After applying this overlay, small colorful butterflies will fill the upper right corner of the image. All butterfly images are crisp, vivid and realistic.
- View more about how to use overlays in Photoshop.
Ps Overlay "Blinding White"
This overlay greatly matches the natural or one-color background. A tiny little baby with the butterfly wings is a cute and beautiful image that makes the viewers believe in magic!


