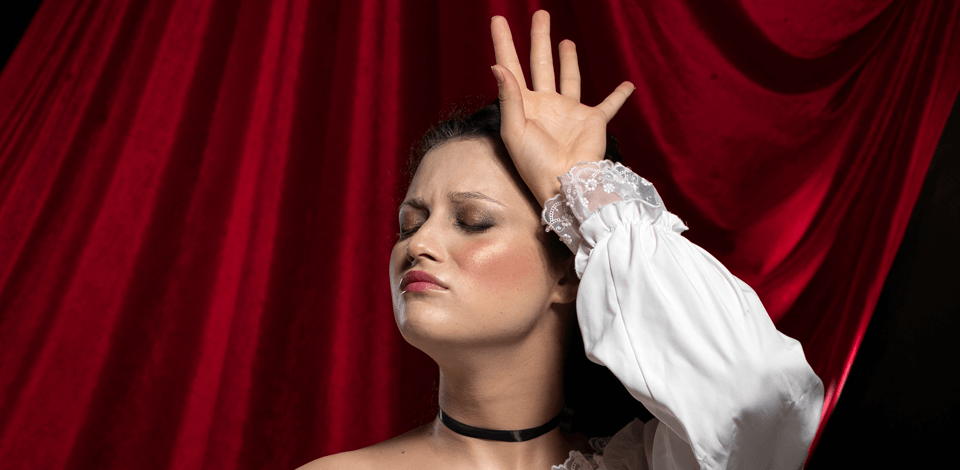
After I decided to pave my way to start a career as a stage photographer, I experienced different restrictions and various lighting conditions.
From choosing the right gear and mastering camera parameters to selecting the most appropriate angles and even determining the right look for the photographer, I created this guide to bring your stage photography game to a new level.
Whether you are new to the industry or want to enhance your skills, these insights will let you capture amazing shots with confidence.
Although stage photography is thrilling, it is also quite demanding. Superior technical skills are not enough to capture the essence of a live performance like theater, concert, or dance. A shooter needs to understand the energy, emotion, and the story represented on the stage.
One may have troubles shooting stage photos because of different reasons like unpredictable lighting, fast-moving performers, and often, a no-flash policy. The ability to capture a special moment of the performance is the ultimate reward for a photographer.
Stage photographers should choose the appropriate camera for concert photography responsibly due to the frequently challenging lighting conditions. Low-light performance is the most crucial factor.

Like all professionals, I prefer using full-frame cameras, such as the Canon R6 Mark II, Sony A7 III, or Nikon Z7 II, as they deliver outstanding picture quality in poorly lit spaces. These cameras are made to function properly when there is insufficient light, as they allow to increase the ISO settings without deteriorating the quality of an image.
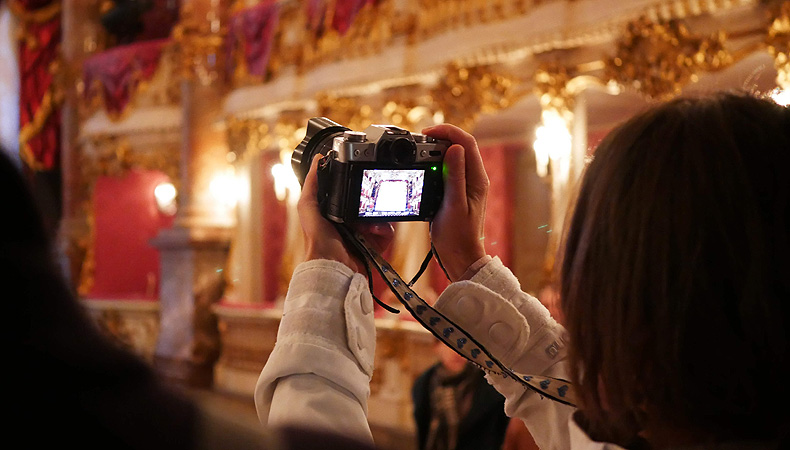
To my regret, it is often not allowed to use such cameras during live performances. In this case, high-end models of compact and bridge cameras like the Sony RX100, RX10, or Canon G7X series are ideal alternatives for stage photography due to their perfect low-light performance and extremely large sensors.
These cameras can deliver fantastic results regardless of their small size, making them an ideal option when the use of professional gear is prohibited. They are also beneficial in situations when I need to move around promptly or when I am a spectator and not a hired photographer.

Lenses for concert photography also play an important role. I recommend zoom lenses as they are versatile and allow for the adjustment of framing without physical movements.
A fast zoom lens with a wide maximum aperture of f/2.8, such as a 24-105mm or a 70-200mm lens, is preferable in low-lit environments. This awards me the flexibility to shoot different photos including wide-angle views and even close-ups of individual performers.

Prime lenses are also worth your attention, especially in spaces where light is scarce. Offering wider apertures, prime lenses let in more light, which results in brighter pics and faster shutter speeds.
However, they are not as flexible as zoom lenses, because they only have a single focal length. This is the reason why you need to move around more to get the desired framing, which is not easy in such restricted places as theaters.
To overcome this, I often take two cameras to a photo shoot with a prime lens and another with a zoom lens. In such a way I can quickly switch between focal lengths without constant lens changing during a photoshoot. For example, I attach a 50mm f/1.4 prime lens for portrait-style shots, and 70-200mm zoom to capture the rest of the scene.
Except for a camera and lenses, there are several other photo accessories for shooting stage performances that can help you.

I always carry around the camera muzzle, as it is probably the best available solution for decreasing the noise of the camera’s shutter, ensuring a disturbance-free performance. It is not only helpful for recreating a special atmosphere of the performance but also lets me stay virtually unnoticed when conducting a photoshoot.
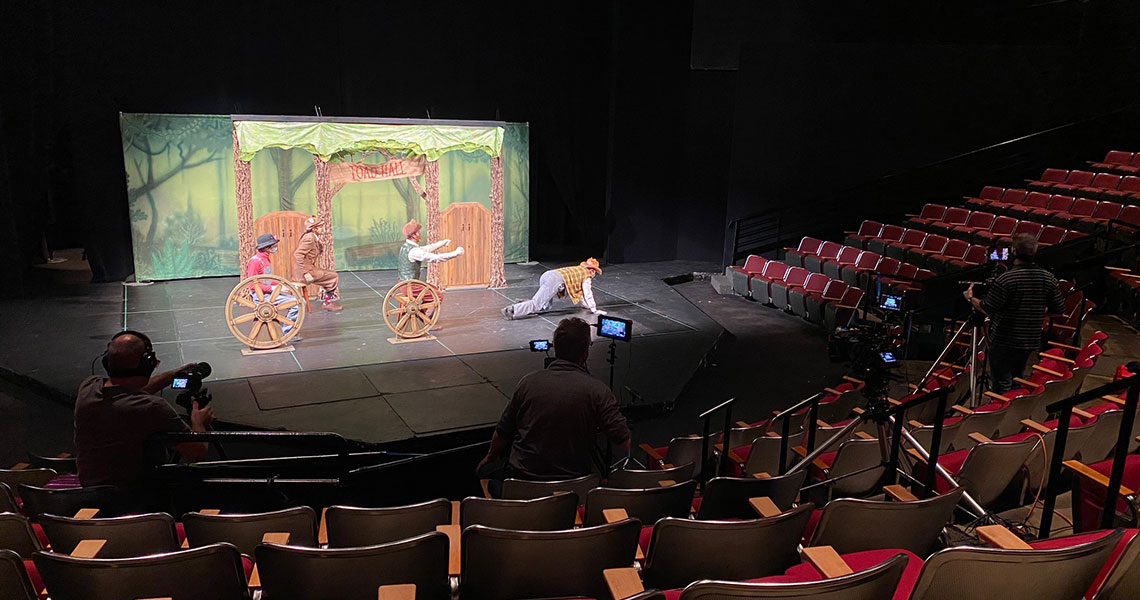
A monopod is another handy accessory designed to provide photographers with greater stability and mobility, letting them navigate tight spaces or change angles in a flash.
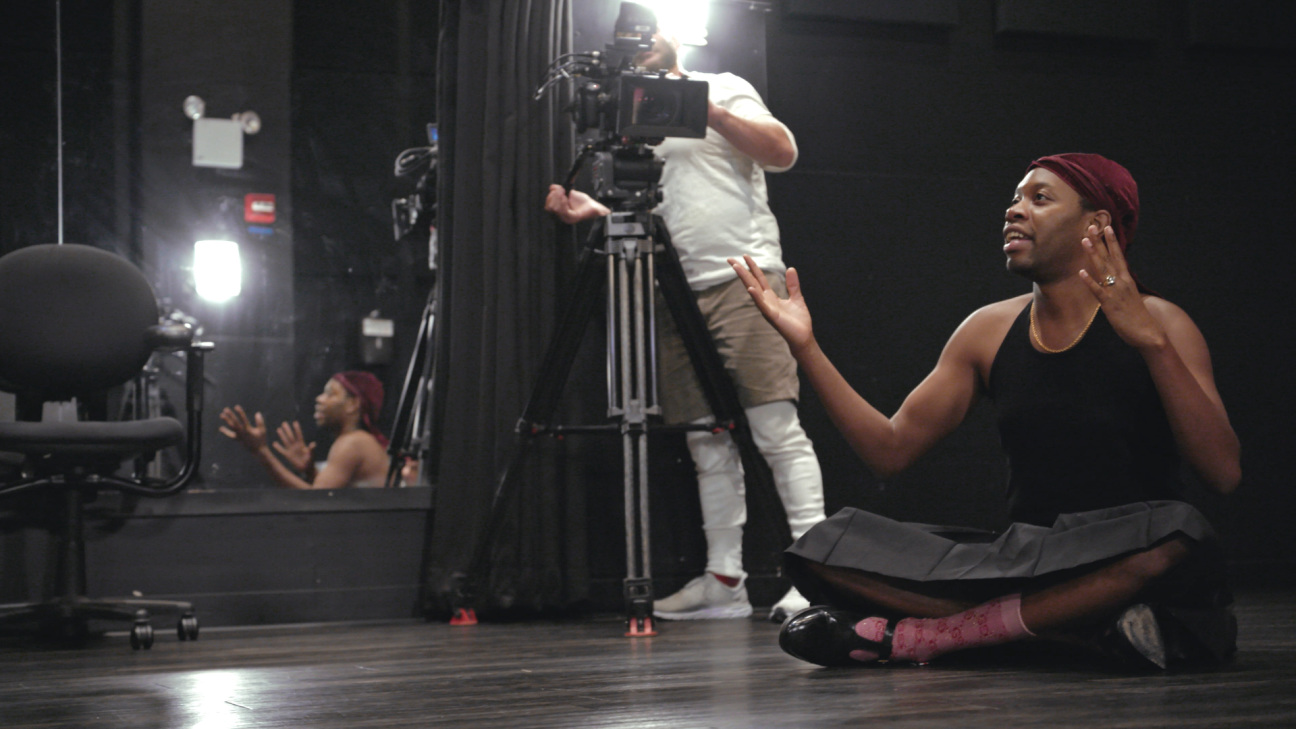
Although shooting with a flash is usually prohibited during the performance, I still take one for shooting group photos or capturing sincere moments after the concert.
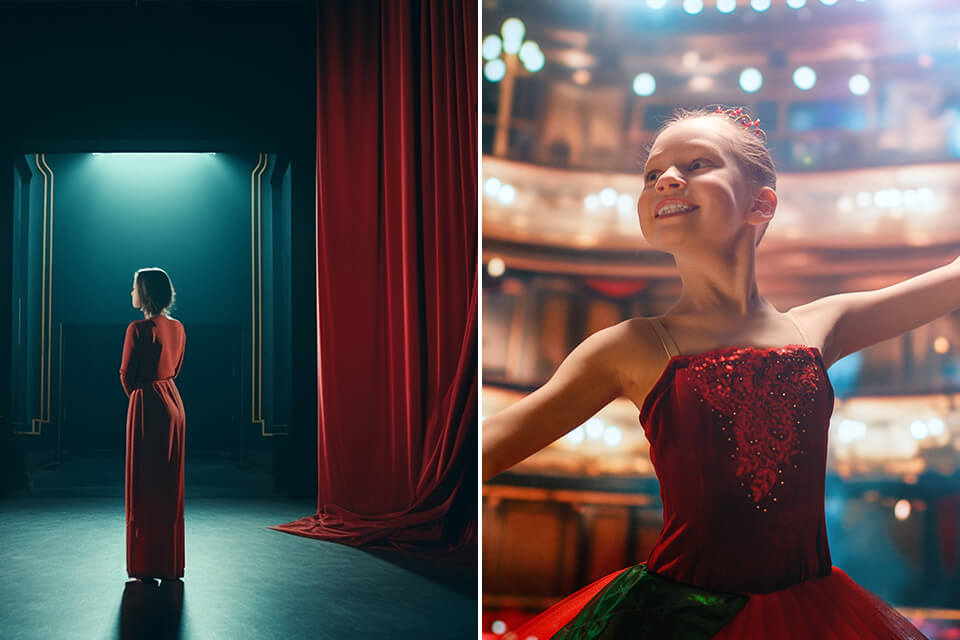
Usually, I start Aperture Priority mode (Av on Canon cameras, A on Nikon cameras). In such a way I can control the aperture while the camera tweaks the shutter speed. As a rule, I avoid keeping the aperture wide open (e.g., f/2.8 or f/3.5) to let more light penetrate in.
If you are shooting a performance with stable lighting like a concert of classic music, you can safely shoot in Manual Mode to get control over both aperture and shutter speed. Thus, you easily achieve consistent exposure throughout the whole photoshoot.
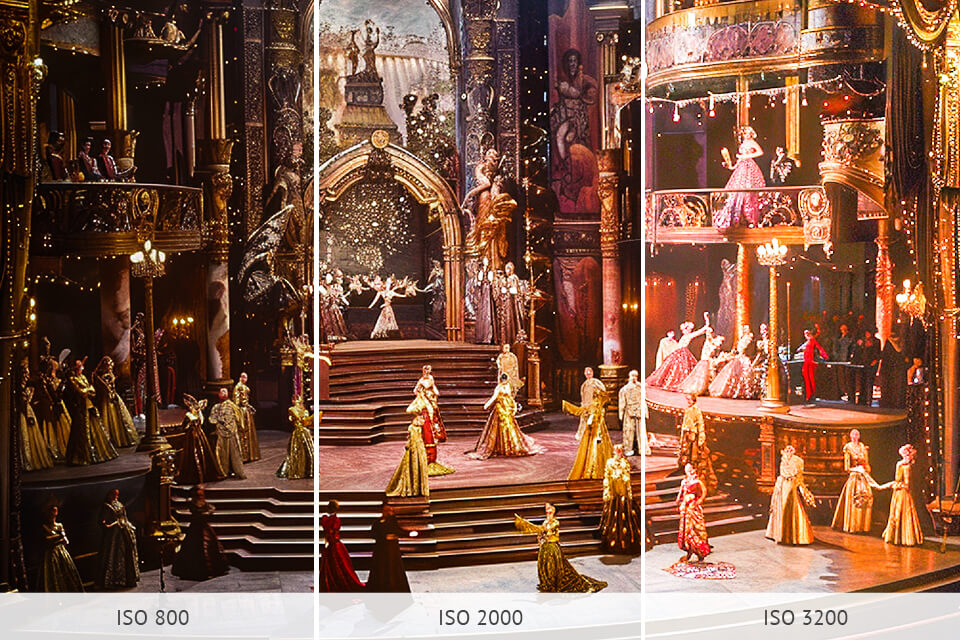
Typically, I turn on Auto ISO to allow my camera to change the ISO based on the varied lighting conditions. The maximum ISO should be right below the unacceptable noise level. Speaking about modern cameras, this value is around ISO 3200. Shooting at the low ISO is a sure way to get noise-free shots, but in low light scenarios pushing higher is a must to avoid motion blur.
If the illumination is relatively stable, I sometimes set the fixed ISO between 1600 and 2000 manually to create consistent exposure across my shots.
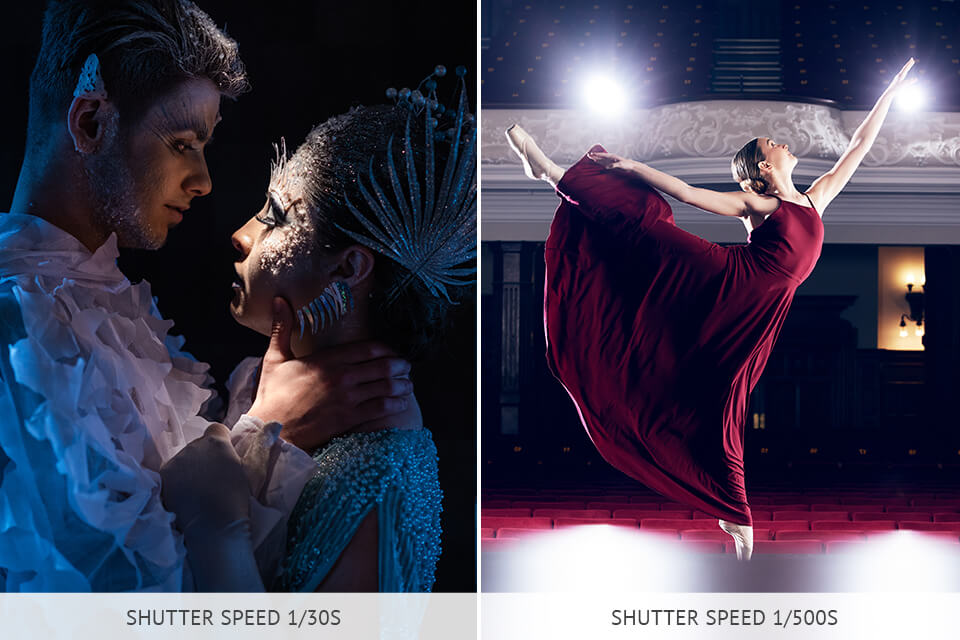
Freezing motion will come in handy when you need to freeze the fast movements of a dancer, for example. In this case, I often set the shutter speed to 1/500s. For shooting slower actions like dialogues, a speed as low as 1/30s will be sufficient, especially when using a camera with IBIS or lens with image stabilization.
Remember with Aperture Priority mode enabled, the shutter speed will float. If your device allows, choose a minimum shutter speed to eliminate blur. This is especially useful in varied lighting conditions, as in concerts with flashing lights.
Single-shot focus is a perfect option for performances with minimal motion, where I need to bring the focus precisely on the subject.
Using continuous autofocus is the best option for scenes with fast-moving subjects. In this case, I recommend shooting with modern cameras that are fitted with eye-tracking focus but keep in mind that they may fail to perform well as AF might struggle to concentrate on the correct subject.
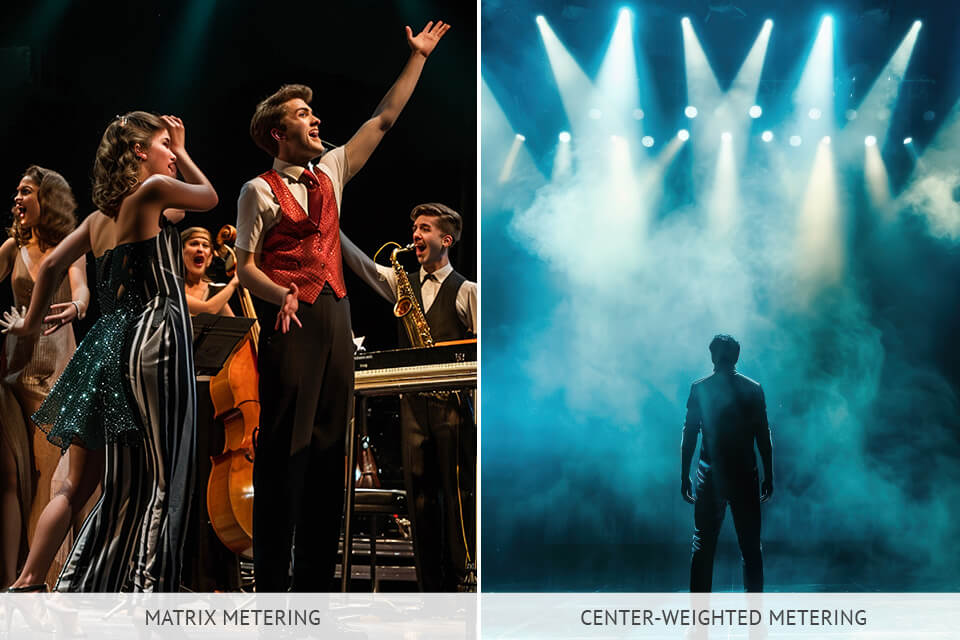
Typically, I use Evaluative (or Matrix) metering at first, which affects the whole scene. In most cases, this works perfectly.
If you shoot the scene where that subject performs against a dark background illuminated by a spotlight, Center-Weighted or Spot metering is a better option as it allows for avoiding the subject overexposure.
When getting ready for a stage photoshoot (especially when you are going to shoot dance performances), you should learn specialized guidelines to be able to capture iconic photos without disrupting a special atmosphere of the event.

It would be great to check the venue of the performance beforehand. By doing so you can discover the most convenient shooting spots and evaluate the lighting conditions to turn any of your creative photo ideas during the performance. Think of the following aspects.
The balcony is not as beneficial as you might think at first. Sitting there, you will be disappointed with poor angles (if you have side seats) and won’t be able to capture the whole scene (when sitting in a front row).
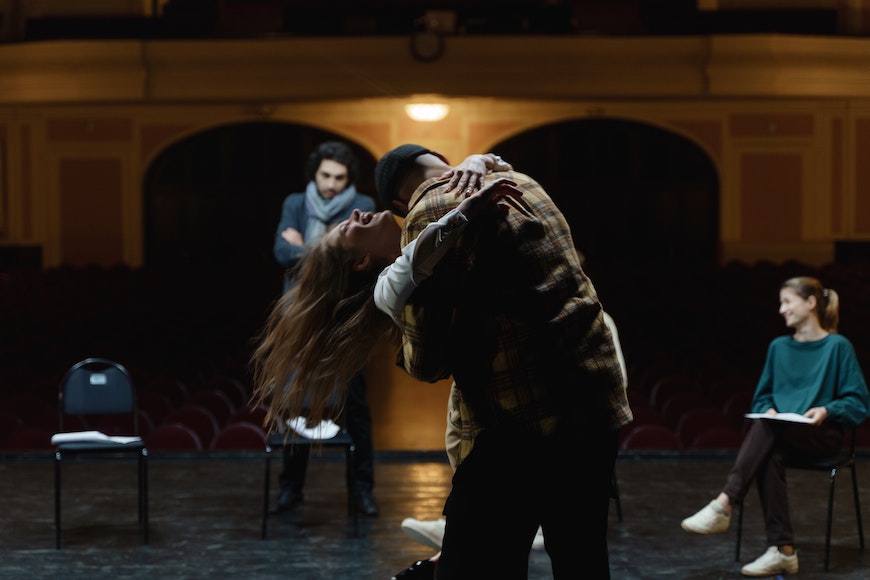
Familiarize yourself with the performance. Visiting the rehearsal is an excellent way to observe the performance act, the flow of the performance, and the most important moments to capture. This allows predicting actions and position yourself to take amazing shots.
Play with angles. When the concert hall is empty, you can freely move and tinker with camera settings for indoor and angles. Visiting rehearsals offers the unique opportunity to shoot untrivial backstage moments and practice shooting in a more relaxed atmosphere.
To capture live stage performances, it is crucial to research the surroundings not only to demonstrate the show’s ideal but also to maintain the integrity of the event. Here are photography tips for stage performances, you need to consider to make the process as smooth as possible.
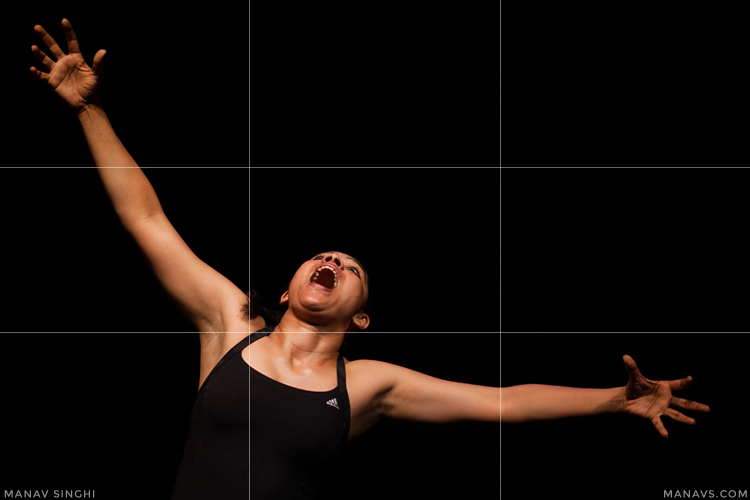
Of course, well-balanced compositions look more appealing, so considering the rule of thirds is a must. Thanks to this technique, images look dynamic and eye-grabbing.
To isolate your subject from the background, shoot with a wide aperture, which results in a shallow depth of field. By doing so, you manage to capture mimics and subtle body language of actors to convey their mood.

Wide-angle shots allow showcasing the entire stage and atmosphere. Such photos provide us with an overall pic of how performers, the design, and lighting interact with each other creating a holistic picture of the scene.
Lighting not only illuminates the whole stage and performers but also creates a specific atmosphere. This is why, I do not change colors or adjust their balance, as I aim to embrace the lighting to enhance the emotional impact of my pics.
When it comes to stage photography, setting the right shutter speed is extremely important. A higher shutter speed (1/250s for example) allows freezing the motion when shooting dance photography or dynamic performances.
Compose for action. I always eagerly anticipate the peak actions of every performance, shooting a dancer mid-lip or an actor telling the most emotional speech. These moments actually create the atmosphere of the performance, so they are more impactful.
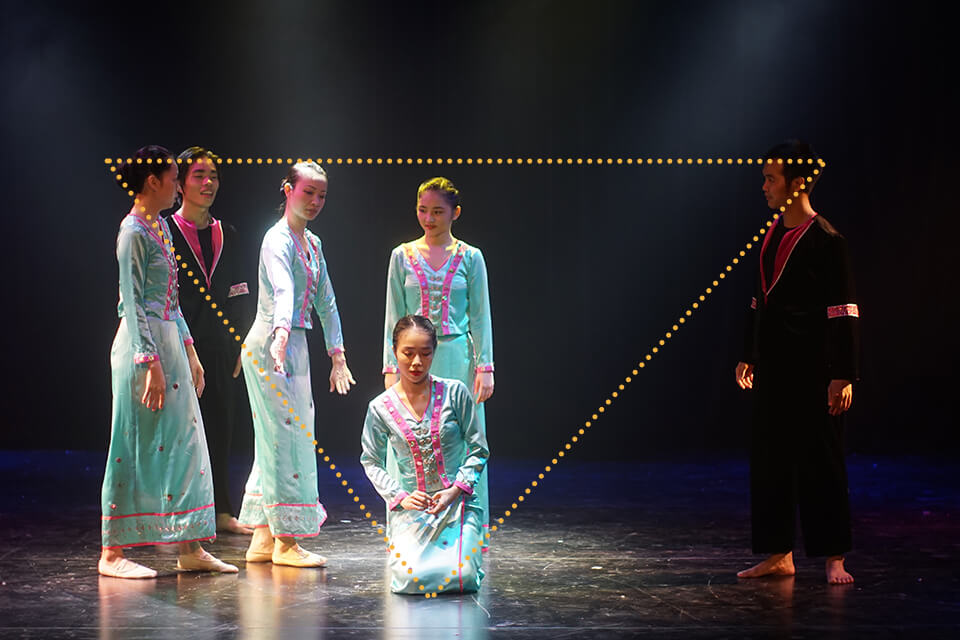
Triangles and groups. Shooting a balanced composition with many performers on stage is not an easy task. To take harmonious pics, I use triangular arrangements or group subjects creatively.
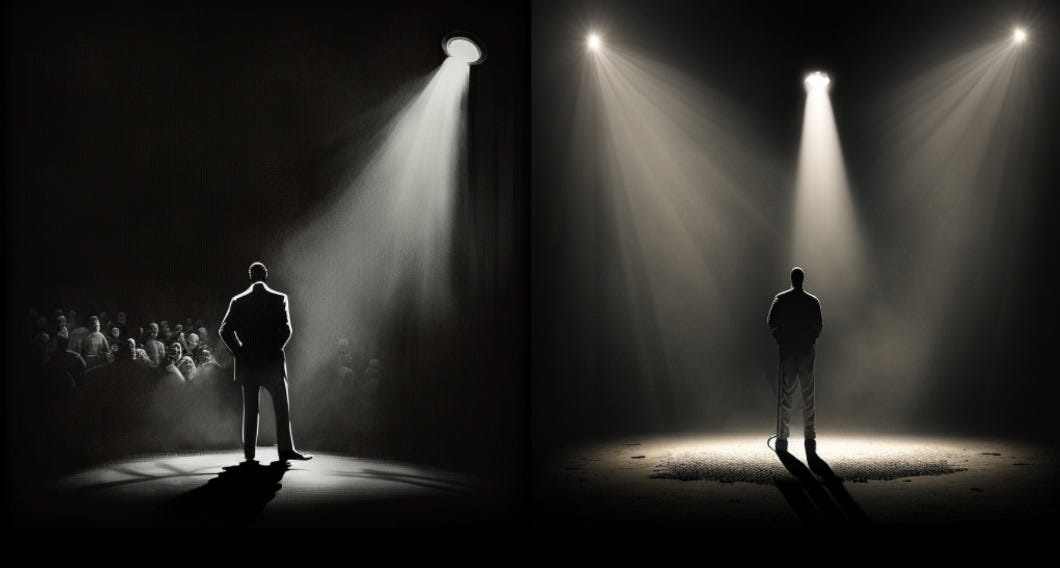
Use lighting creatively. The dramatic stage lighting lets photographers create amazing compositions. My special love is rim lighting photography, where the performer is lit from behind, which results in fantastic silhouettes with crisp and vivid lines. With this technique, I manage to add some depth and drama to my images.

A hired photographer usually has access to the rehearsals and has the opportunity to see how performers get ready for the show. This is an ideal opportunity to practice backstage photography featuring different points of view, meetings, and relaxing moments.
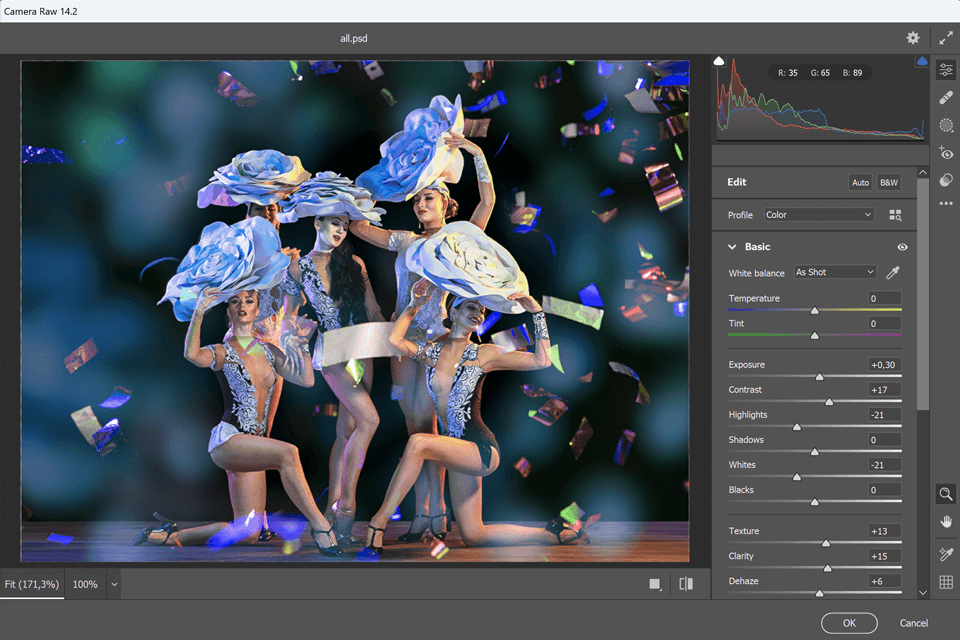
As scenes during the performance are full of motion, the lighting is changeable, and there is only a little control over the environment, stage photography is not the easiest genre to practice. Of course, the shooting process is important, but post-production allows refining your shots making them look more professional.
Retaining color can make the stage lighting, costumes, and set design more vibrant.
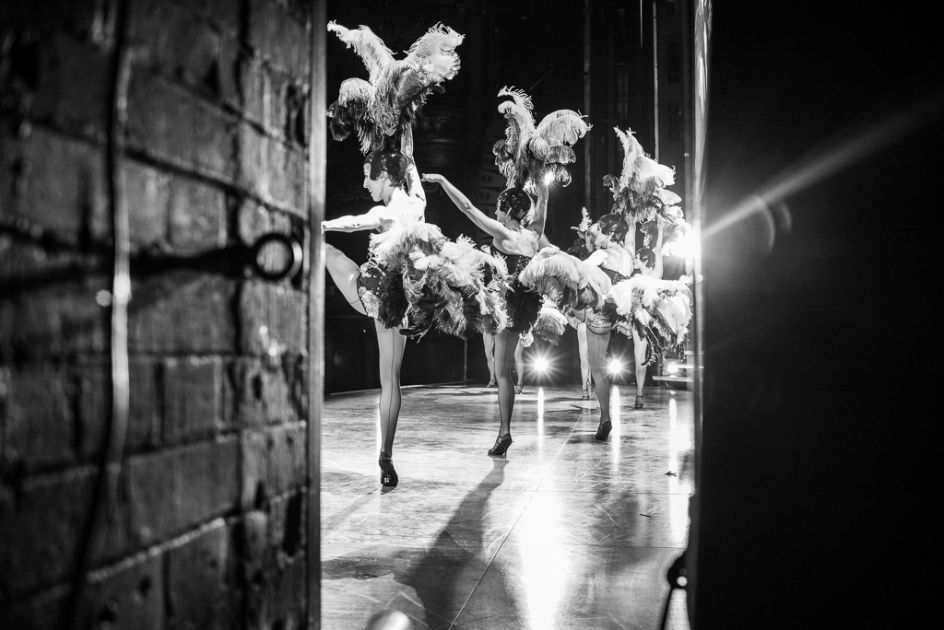
Converting to black and white is one of the greatest ways to convey the mood, drama, and emotions of the concert. This lets me concentrate on the overall composition, textures, and lighting without being distracted by colors.
Correct underexposure. When it comes to stage photography, which is strongly affected by dim lighting, underexposed images are not rare. By adjusting the exposure, I can bring the focus on the details in the shadows and preserve the highlights.
Adjust contrast carefully. If you want to make your pics deeper and more dramatic, try to increase the contrast in photography. Try your best to keep all the details in the process.
Respect the stage lighting. The organizers of the performance choose the color temperature based on the mood they want to create. So, you only need to adjust the extreme color casts, preserving the unique atmosphere created by a lighting specialist.
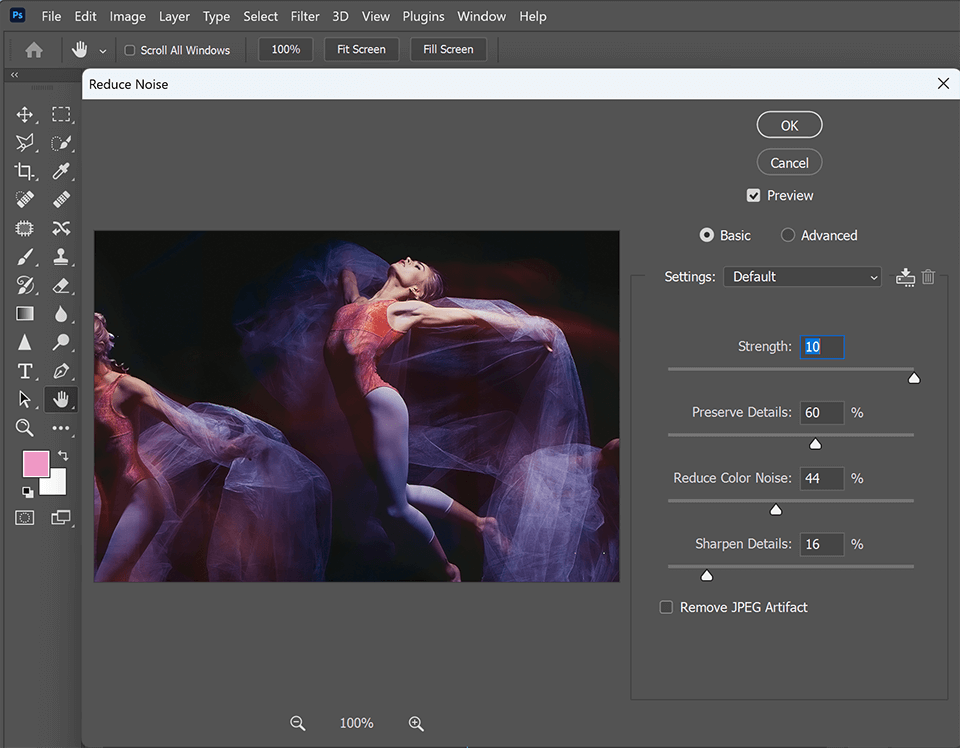
Stage photographers often use higher ISOs, so the pics are often spoiled by noise. The best way out in this case is using noise reduction tools that not only clean up pics but also preserve every detail. The task of sharpening images should be treated carefully: focus on mimics or key elements of the performance to achieve a greater level of clarity without introducing artifacts.
Refining photography composition. Of course, it is better to take a perfect pic right during a photoshoot, but refining photos at the post-production stage is sometimes necessary. By cropping you can eliminate the distractions, while bringing the focus on key elements of the show to get a well-balanced composition.
Straighten and align. Leveled images with key elements properly aligned are the best possible result for every stage photographer. As this photography genre requires strong lines and symmetrical composition, this is of paramount importance.
Remember that you are not a part of the performance. Your task is to be invisible and not distract others while performing a photoshoot, otherwise, you risk being thrown out without the chance to be invited back, leaving a negative impression about the profession of a photographer as a whole. Try to get amazing shots, but maintain a discrete behavior.
You may have trouble getting close to the stage, dim and varied lighting, etc. So, it is advisable to attach a long lens to your device, select the most advantageous vantage point, purchase a camera with great low-lighting performance, and use a fast lens.
One of the must-to-follow stage dance or other performance photography tips is to know the message it conveys and try your best to demonstrate it through your shots.
Many aspects define the proper camera configuration like lighting, type of show, amount of action on the stage, and other factors. But at first, choose the following settings: Aperture Priority (Av, A), Auto ISO (with an upper limit), Continuous/Servo Focus, Evaluative metering (though center-weighted or even spot works for certain situations).
A 100-400mm lens is the best fit for those who have a fixed position in the back. If you have an opportunity to move freely, attach a 70-200mm lens. Depending on the size of a concert hall, you may need a shorter focal length such as 18-70mm.
It depends on the company. If the company behind the show is big, you probably need to speak to the marketer who is responsible for planning and managing the promotional materials. Smaller businesses rarely hire someone to perform this job, so you can contact them directly using the available communication channels.