23 Dance Photography Tips And Ideas

Dance photography is a photo genre about taking photos of dancers usually when they’re in move. As a photographer you should catch the dancer’s movements and poses to convey the beauty of dance art. In this article, I’ve gathered useful tips that will come in handy while taking the first steps in dance photography.
23 Top Dance Photography Tips
If you do not have enough experience in taking dance photography, you need to prepare well in advance. Find out all the features of the dance that you are going to take pictures of. Learn about the main movements, poses, terminology and other important points for shooting.
1. Watch the Dancer’s Body

Knowledge of anatomy and physiology is one of the key aspects. If you are going to practice dancer photography, attend a few classes. Pay attention to the construction of the dancers’ body, their poses, movements, lines, etc. Watch some videos to get more info on various types of dances. You can find them on YouTube Dance Tutorial channel.
2. Work with the Dancer as a Partner

Talk to your model to find out more details about the dance. Do not start with complex shots. First, take a few simple ones without movements and then gradually complicate the task. Be attentive to the geometry and composition of dance images. Show the received pictures to the dancers. They will tell you if there are any technical inaccuracies in the photos.
- Learn more about how to take portraits.
3. Tell the Dancer about Your Idea
When creating the composition, try to make the dancer occupy most of the frame. For example, you can capture him/her with the arms or legs stretched as much as possible. In this way, you can add a more dramatic effect.
Prepare clear and simple instructions for your model. The dancer should understand what result you want to get, what ideas and dance photography poses you are going to implement.
Remember that you must be moderate and not force the dancers to work too much. However, if you find an amazing movement, ask them to continue until you get the desired shot.
4. Organize Comfortable Conditions for Your Model

A dance photographer must make sure that the atmosphere in the studio is light and relaxed. Moreover, the dancers should have enough space for movement. The air temperature should be comfortable and the room must not be stuffy.
Organize a special place for changing clothes, stock up with enough water, etc. Your dancers should warm-up well before you start taking pictures. Use your model’s favorite music to provide an opportunity to demonstrate all his/her talent and skills.
5. Set Your Camera and Lights to Freeze the Action

If you take pictures in the sunlight, it will not be difficult for you to freeze the action. Due to the fact that you will have a continuous lighting source, use fast shutter speed. Most dancers’ photographers adjust the shutter speed to 1/400s. You can also use neutral reflectors to avoid any temperature changes on the subject.
6. Camera Settings for Shooting in Studios

If you use strobes, shutter speeds do not affect capturing action in the studio. When setting the strobe at t0.1, flash duration directly influences the freezing of the action. Apart from all the technical details, you should remember that the shorter t0.1 time will provide you with more impressive results in dance photography.
7. Use Large Aperture to Separate the Dancer from Background

If you are planning to take dance photography outside, you should be ready that you will not get the perfect backdrop. Cars passing along the street, curious spectators or unfitting buildings can ruin the whole composition. Set a large aperture to make your subject stand out from the background. Remember that you get more depth by adjusting the f-value.
8. Work with Back Button Focus

This tip will be helpful for a dance photographer who wants to take clear portraits. Use continuous mode and don't forget to focus by using the special button on the back of the camera.
Perhaps at first, it will seem inconvenient to you. But as a result, you will be able to activate the shutter without any lags and you will appreciate the benefit of disabling the connection between autofocus and shutter release.
Also, the back button is useful for capturing a dancer who jumps or turns around. Firstly, you focus on the subject and then activate the shutter when needed.
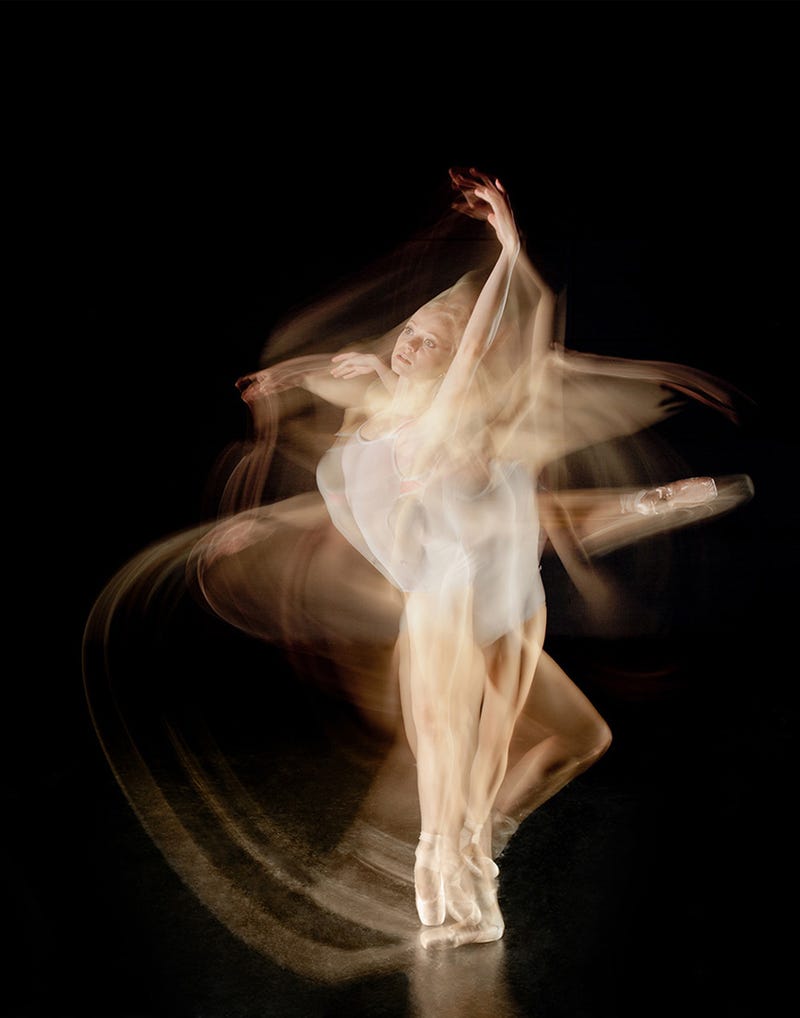
9. Set Long Exposure to Track Movements

Sharpness is a key component of many types of photography. However, the best dance photographers focus on sharpness when they capture the movement of the body. In other situations, things can be different.
If you apply a long exposure, you should not close the shutter until you see the desired result. Do you want to create a light trail? Then keep the shutter open for a second or more. In this case, I recommend using a tripod.
Activate shutter priority mode and start taking pictures. Check out the trail when you use a 1-second shutter speed. If this is not enough, then set 3 seconds and continue to add 2 seconds until you achieve the desired result.
- Learn more about how to make long exposure photos.
10. Use an External Flash

If you lack lighting, use the flash. Avoid built-in flashes as they will give you flat lighting. An external remote unit is the most winning option. Ask your assistant to move the flash when you photograph.
Another plus of this flash type is that it does not create a red-eye effect. You can find many great flashes for dance photography on Amazon. One of the reliable models is Professional External E-TTL Speedlite.
- Read more about the best camera flash.
11. Add Portable Flashes in the Dark

Portable flashes are suitable for photographing in dark conditions or at night. They will provide enough lighting to capture one dancer or even several people. If you need to freeze movement, do not turn on full intensity.
Many dance photographers recommend taking lenses with a wide aperture not to use the flash at maximum power. Check out Ploture Flash Light with LSD Adapter Rings and Flash Diffusers.
- Find more night photography ideas.
12. Make the Lighting Setups

When you have 2 lighting setups at your disposal, they will allow you to take more expressive dance photography. The first set should contain a large softbox to photograph wide movements (you can use a huge white umbrella instead), two side strips to create a backlight, and a beauty dish with a grid to capture narrow movements.
The second set is very similar but it is used for removing the upper light. You can also take the large white flag as a reflector and your photos will look better.
13. Choose the Right Angle

Taking pictures from a low angle allows you to capture complex and simple dance poses in the best possible way. Zoom lenses are not suitable for this genre of photography as when you photograph in a crowded place, other subjects may be framed. It’s better to come closer to the person you plan to capture.
Another way out of the situation is to be among the dancers during the shooting. Use side or edge lighting.
Take photos from different levels, including low, overhead on a ladder and other ones to get amazing single and group dance photos images. Find the desired facial expression and shoot.
14. Use Dramatic Lighting

Look for locations with dramatic lighting to take breathtaking shots. It can be a roof during the golden hour, an empty room with white surfaces and natural sunlight penetrating through the curtains, or even a dance hall with artificial lighting.
- See more couple photo poses.
15. Use Hard Backlight

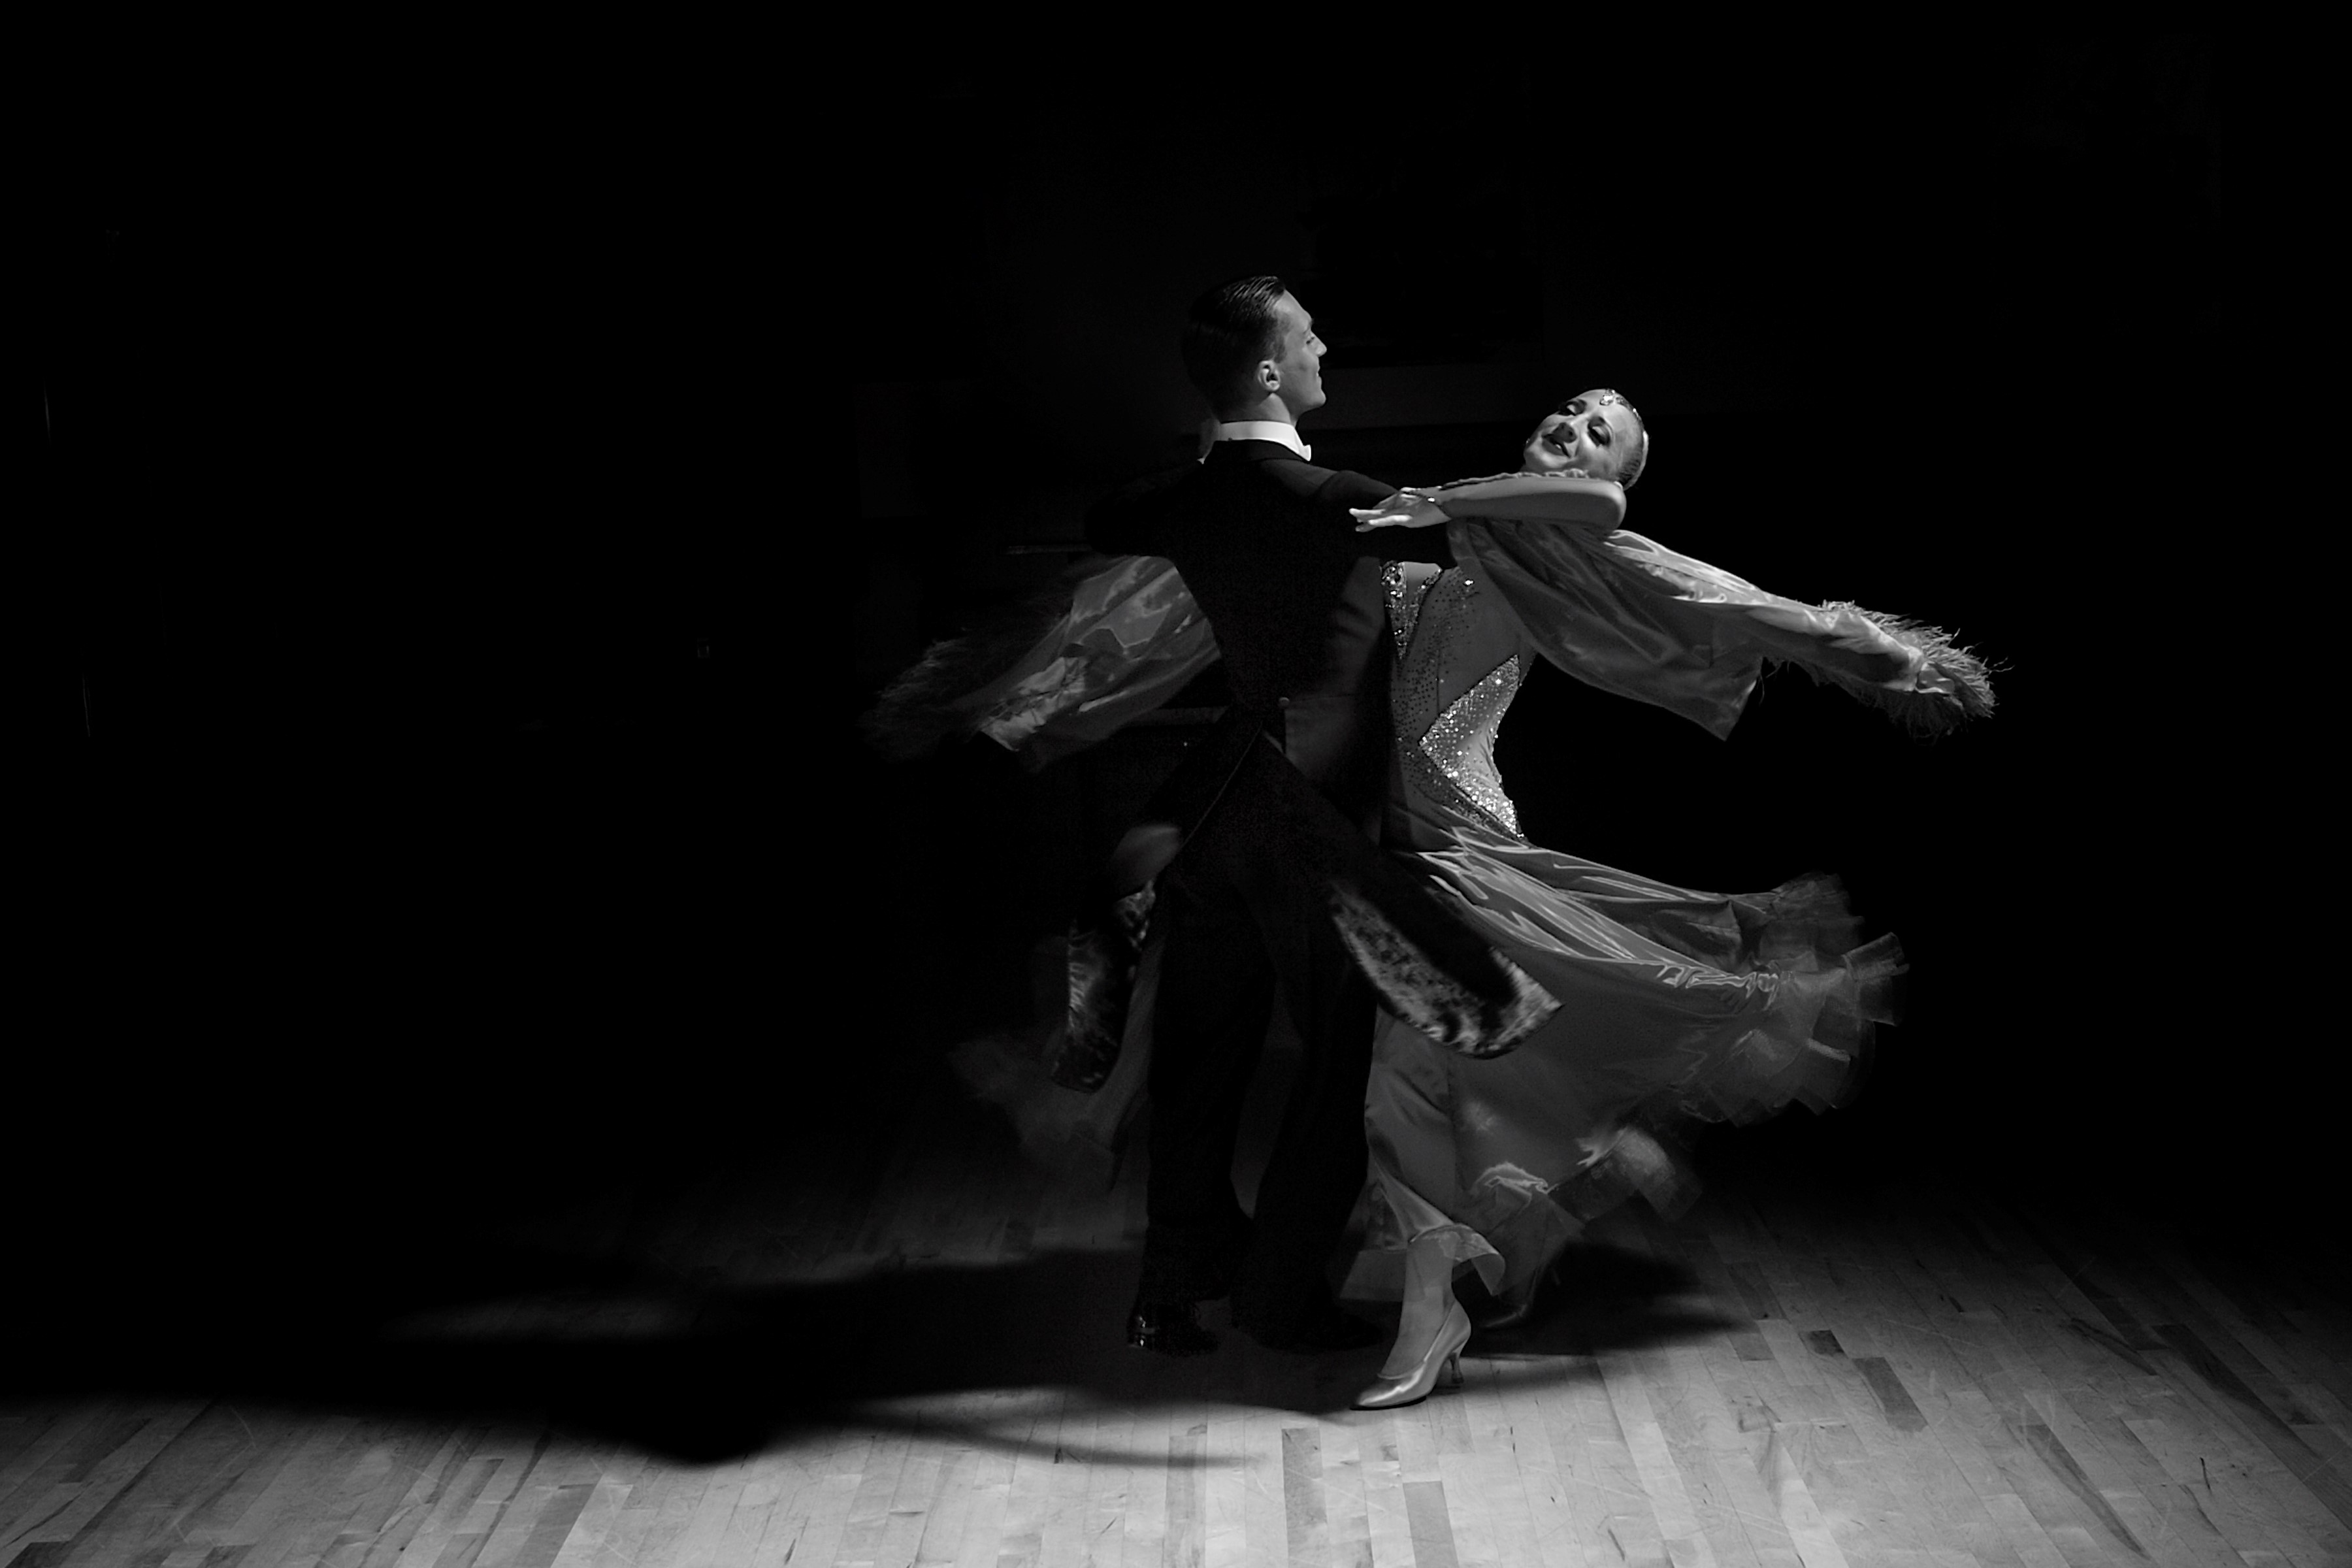
Dynamic dance photos help you break the laws of gravity. To get the desired effect, set a hard backlight. It will allow you to get a more voluminous image with an emphasis on muscle tension, texture and highlights. You can get hard light by positioning a single-point light source at a certain distance.
As a result, you have lighting conditions that are similar to a bright sunny day. Thanks to this method, you will get clearer transitions between dark and light areas of the picture. In general, your photos will look more contrasting.
For dance studio photography, set the main light (for example, a strobe head with a 12” modifier) a little behind, on the left side of the object. Use a 35-degree grid if the initial beam seems too wide.
16. Use Plain Background

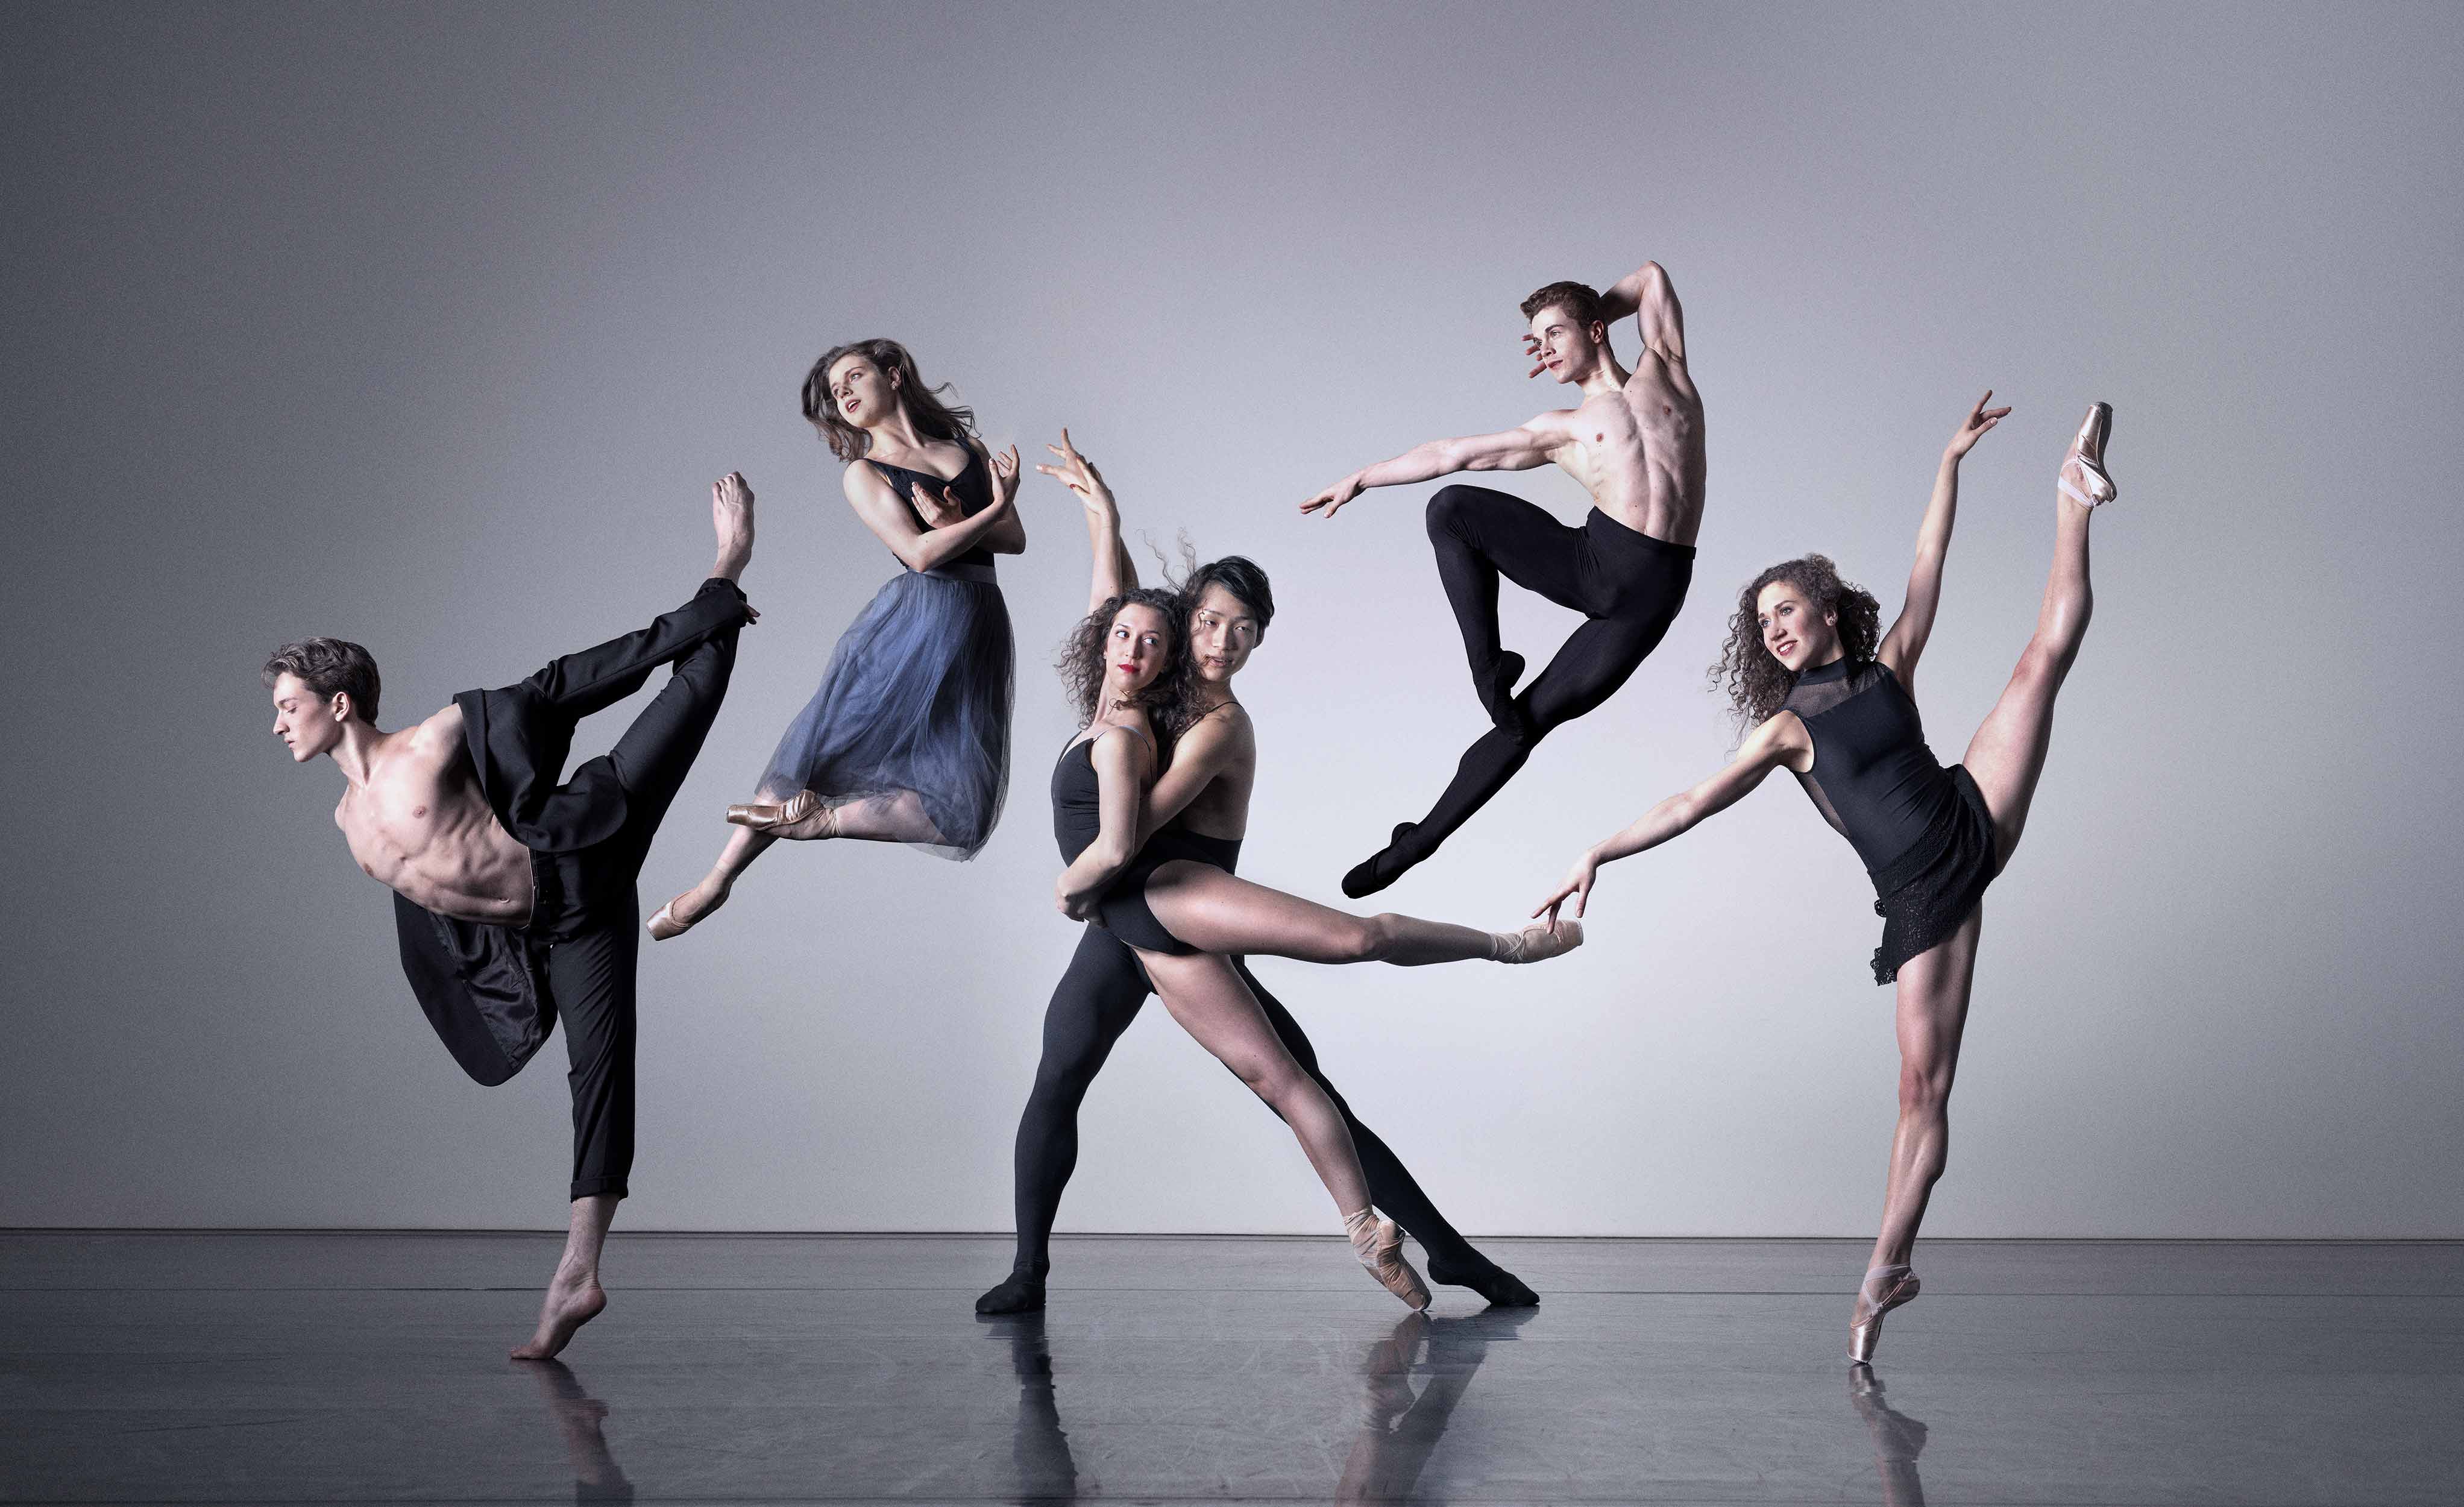
Don’t use patterned backgrounds. Choose simple one-colored ones. It can be gray, white, black or other colors. Thanks to this, you will make a key emphasis on the dancer. Nothing will distract viewers from the main subject in your photo.
17. Use a Tripod to Avoid Camera Shake

A tripod helps you hold the camera firmly without any shaking or unnecessary movements. It will allow you to realize more dance photography compositions in front of you. Want to get original surrealistic images? Then apply long exposure to get the desired look. A good tripod will make the task easier. The Basics 60-Inch Lightweight Tripod is a great choice for a variety of situations.
- Check out the best budget tripods.
18. Shoot on a Real Stage

If you take dance portraits on the stage, you do not need to look for special backgrounds, decorations and other equipment. Most of the things you need are already there, including artificial lighting that will help create the right atmosphere.
- Find out more creative photography ideas.
19. Take Photos at Dancing Events

Attend a concert, dance competition or other similar events. This will help you understand various dancing styles, checkout dance group poses, experiment with angles, aperture and other settings. View the nearest dance events in New York.
20. Catch the High Point of a Movement

Try to capture the dancer at the highest point of movement or jump. This will allow you to achieve the most dramatic effect. The body seems to be frozen at this point. I recommend taking as many such shots as possible to get truly incredible pictures.
- Find more portrait photography poses.
21. Focus on Details to Tell the Story

Don’t be limited to separate dance images. Try creating a whole story with your shots. Pay attention to the details and use them to add depth, emotions and textures to your pictures. Keep in mind the body parts (hands, fingers, and toes), shoes, clothes, etc.
You may focus on a smile, some parts of the clothes, hair fluttering during movement and other details. This way your dancer photography will look more captivating.
You may create a collage from two of such pictures, it is called diptych.
- Read more about how to make collages in Photoshop.
22. Use Props

The right props will help you add dynamics to your photos. You can use various substances and materials that look good when a dancer is jumping, dragging or throwing them. It can be fog, fabric, paint, powder, water, smoke and others. Using these props, you will make your dance photography more surrealistic.
- Find out cheap photo props.
23. Keep a Sufficient Distance

Keep the optimal distance between you and the model. You should be a meter or more away from the subject.
- Learn more about ballet photography.
Freebies for Editing Dance Photos
When you finish your photoshoot, take some time to improve your images. Here are some great picture editing freebies to help you make your dance photos more expressive and eye-catching.
Instagram Style
Almost all famous dance photographers have their Instagram accounts. So you also need to post decent dance pictures in your profile. Use our free filters created specifically for Instagram to make your photos look amazing.
Vintage
Black and white filters perfectly match the features of dance photography. They help emphasize the texture, body structure, highlight details and express emotions. The key subject of the picture will be in the center of the viewer's attention.
Smoke Effects
If you want your dance photography project to have a little mystery, look more dramatic or you plan to add some fantasy, then use this overlay. The smoke effect will make your photos more voluminous and interesting.


