30 Ballet Photography Tips and Poses

30 Ballet Photography Tips and Poses
“Capturing flight – is the biggest challenge,” were the words written by Maya Plisetskaya in her letter published in the historically significant issue of Dance in Vogue. I think her words describe best why good ballet dancer photography is a true masterpiece.
In this article, I’ll try to highlight several main nuances of this photography genre, and also show some successful ballet poses for pictures and works of famous photographers.
1. Emphasize Movement Using Motion Blur

Motion blurring is a great fit for a ballet photoshoot. If you are into abstract artworks, experimenting with different blurring techniques will be absolutely fun for you.
Probably the most commonly used motion blur trick is to set long exposure values. Use a tripod to prevent distortions. Set a large aperture value and tone down the exposure time.
If you don’t feel comfortable setting the shutter speed, simply use the Bulb Mode. This way the shutter remains unclosed until you manually close it. Meaning, you can shoot with an exposure of 20 seconds, half an hour, or even longer!
2. Create a Double Exposure

This effect implies two or more pictures that complete each other. I suggest using this effect to show several movements in a single shot.
It’s an efficient method for expressing the emotions of your model and showing multiple ballet photography poses in a single picture. I should note that famous photographers often use this editing technique.
At first glance, double exposure looks complicated. However, creating such an effect is relatively simple./p>
Pick to use at least a couple of photographs, Adobe PS (or other image retouching software), basic compositional expertise, and a layer transparency tool. Besides, if something goes wrong, you can always turn to professionals for help.
- Discover how to create Double Exposure in Photoshop.
3. Focus on Details

When you hear the words “pictures of ballet dancers,” you usually image full-body photographs. If you limit yourself to a single angle or place, your photographs will start looking boring soon.
Allow yourself some breathing room and experiment with your positioning. My favorite method of spicing things up is drawing the viewer’s attention to smaller details. Take pictures of the dancer’s arms, attire, slippers, or hair.
Even though such photographs probably won’t win you any awards, they’re useful for enhancing your perception and creating some beautiful memories.
4. Use One Source of Light for Breathtaking Silhouettes

Ballet photography frequently deals with capturing movement and shapes. It’s no wonder silhouette photographers adore this genre.
To create a silhouette, ask the dancer to pose in front of a powerful light source. I advise using either a large flashlight or onstage lighting. Be sure to turn off all other lights at the spot.
If the light behind the model is the only one, highlighting his/her movements is simpler. If you’d like to add more creativity to the pictures, consider using liquid, feathers, or powder. Such props help minimize the empty space and make the pictures more eye-catching.
- Discover useful shadow photography tips to use them for ballet photos correctly.
5. Take Photos Outdoors to Avoid Boring Photoshoots

Most ballet photographs are taken indoors, mainly for convenience. However, constantly shooting in a studio or theater can grow tiring for the photographer and the ballerina.
To add creativity to a ballet photoshoot, organize it in an empty street. A city square, park, or field can also be the ideal background for atmospheric portraits.
- Get more info on outdoor portrait photography.
6. Shoot From Different Angles

If you dream of taking dynamic ballet portraits, you’ll need to walk around the dancer constantly. Don’t become a victim of a single position that you feel comfortable in.
Also, if you’d like to concentrate on one or two specific dancers, don’t drag them away from the rest. Try to incorporate the emotions of the models in the background as a part of the composition.
Shoot from unconventional angles. If you’re a happy owner of a camera with a rotatable display, raise your hands above you, and take a top-down shot of the models. Next, shoot while lowering the camera to your waist and aiming upward. Such pictures will create a nice contrast.
7. Don’t Make Any Sudden Movements
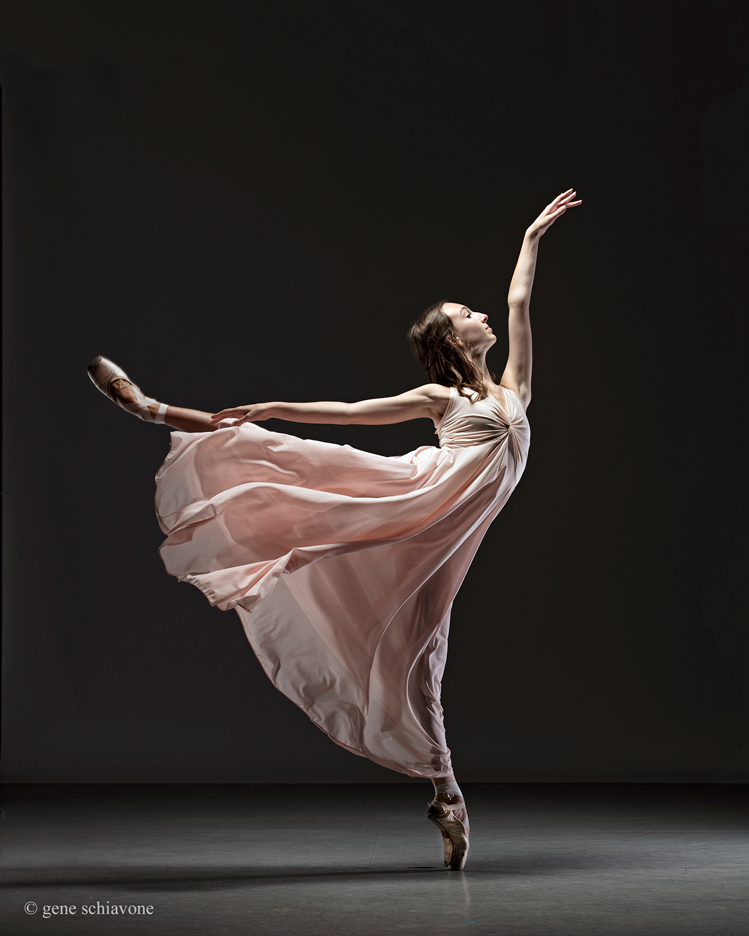
During the ballet photoshoot, you should avoid making abrupt movements. Release the shutter button smoothly, without jolts. Don’t forget that when performing quick movements, dancing people and their shapes can turn out blurry.
If you notice that a dancer is about to do something unusual, an unimaginable move or other complex elements, you should prepare for shooting such a moment in advance.
8. Keep an Eye on the Dancer’s Face
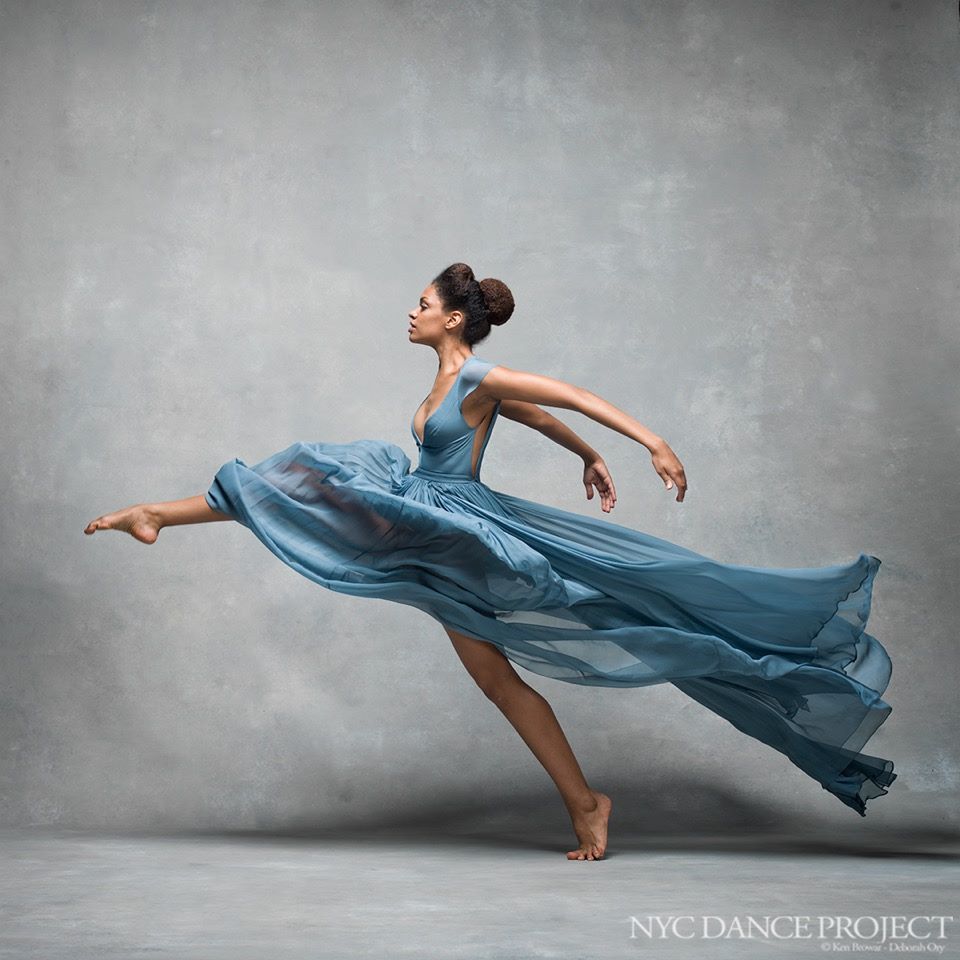
When shooting, remember to keep track of the dancers’ faces, especially their facial expressions. This is something that even experienced photographers tend to overlook sometimes! Meanwhile, capturing emotions is very important, and the dancer’s face is where you can find their entire spectrum.
Facial expressions convey the state of a person engaged in a dance. If you managed to capture a magnificent movement of an artist, but their face will look completely void of emotion, such a shot is unlikely to bring you success.
9. Use High-Speed Lenses
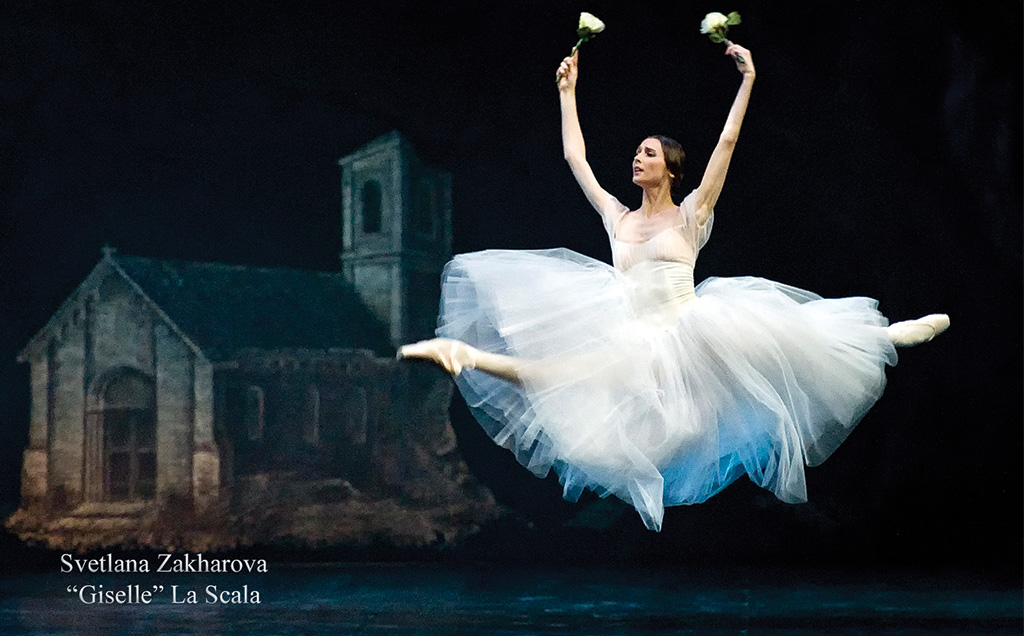
This will allow a sufficient amount of light to reach the camera sensors to keep the ISO level as low as possible and minimize the noise. Ideally, your ballet photography gear should include both a wide-angle lens for capturing the entire scene and a telephoto lens for close-up shots.
10. Use a Monopod or Tripod if It’s Allowed
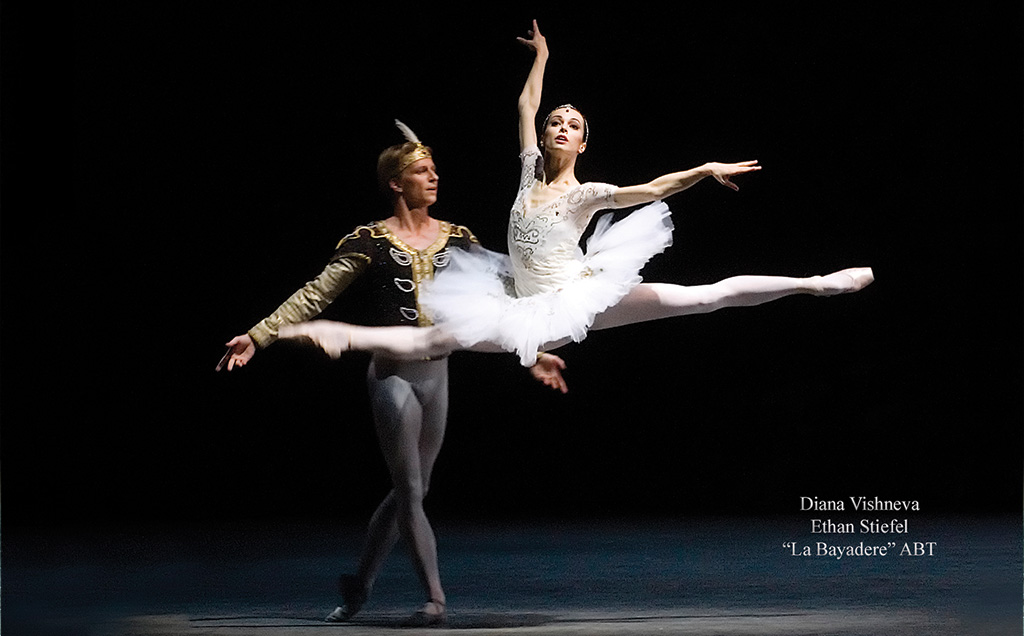
This is the perfect gear for making sure your camera stays still. It’s also very useful for guarantying your photos are properly focused. Say goodbye to worrying about camera shake since you’ve been working for several hours without a break.
It doesn't matter what tripod brand you choose, you’ll definitely notice the difference if you use a heavy lens. Additionally, a tripod enables you to pan across the scene.
11. Get a Flash

I suggest using a flash for ballet dancer photography whenever the shooting conditions permit it, as it’s helpful for “freezing” and highlighting your models. For even better results, set a low shutter speed.
This way, the background of the scene will become a bit blurry, while the dancers remain in focus. Such an effect is typically called “blurry but sharp.”
- Discover the best camera flash.
12. Use Autofocus
Don’t be a hero for no good reason. Wanting to focus each shot manually is an honorable goal but you shouldn’t feel obligated to do so (unless you prefer doing it manually and can’t stand AF).
While you’re in AF mode, change the camera setting to Continuous Autofocus (AI Servo or AFC, depending on your camera manufacturer) so that you can adapt to the model’s movements instantly. The adjustment occurs when the shutter button is semi-pressed.
13. Use the Correct Shutter Speed

Ballet is all about movement. Thus, your models rarely stay in one place for more than a second, which makes proper focusing more important than ever.
This is why you need to increase the shutter speed and keep it at 1/1000s minimum. You should also consider using your camera’s Continuous Shooting mode.
Remember to keep the shutter button pressed when taking a series of photos. This tip is essential for the most exciting and movement-heavy moments of the dance.
14. Keep an Eye on the Aperture

Another aspect of ballet photography that you need to master is the lighting. Even when working at a concert, the lighting can be poor. There’s also a chance to use red or blue lights. In this case an aperture should be of f/2.9 at the minimum.
However, if you’re lucky enough to shoot in a professional dancing studio with good lighting, everything will be simpler. In that case, you can stick to the more common f/3.5 or f/4.
15. Shoot in Multi-Exposure Mode

Some of the latest cameras have a multiple exposure feature. You can use this function when shooting in Burst mode to capture several stages of a movement in a single frame.
The built-in multi-exposure mode is best suited for shooting scenes with a bright background and dark subject or dark backdrop behind a bright subject. By the way, I prefer shooting such scenes with my EOS 7D Mark II.
16. Try the First Arabesque Pose

The First Arabesque is one of the most popular and elegant ballet photoshoot poses. The model has to extend one leg from his/her body while balancing on the second one. The hands can be raised in several different ways.
This pose always looks very attractive so you can confidently use it in the studio, on the streets, or during a silhouette or nude photoshoot.
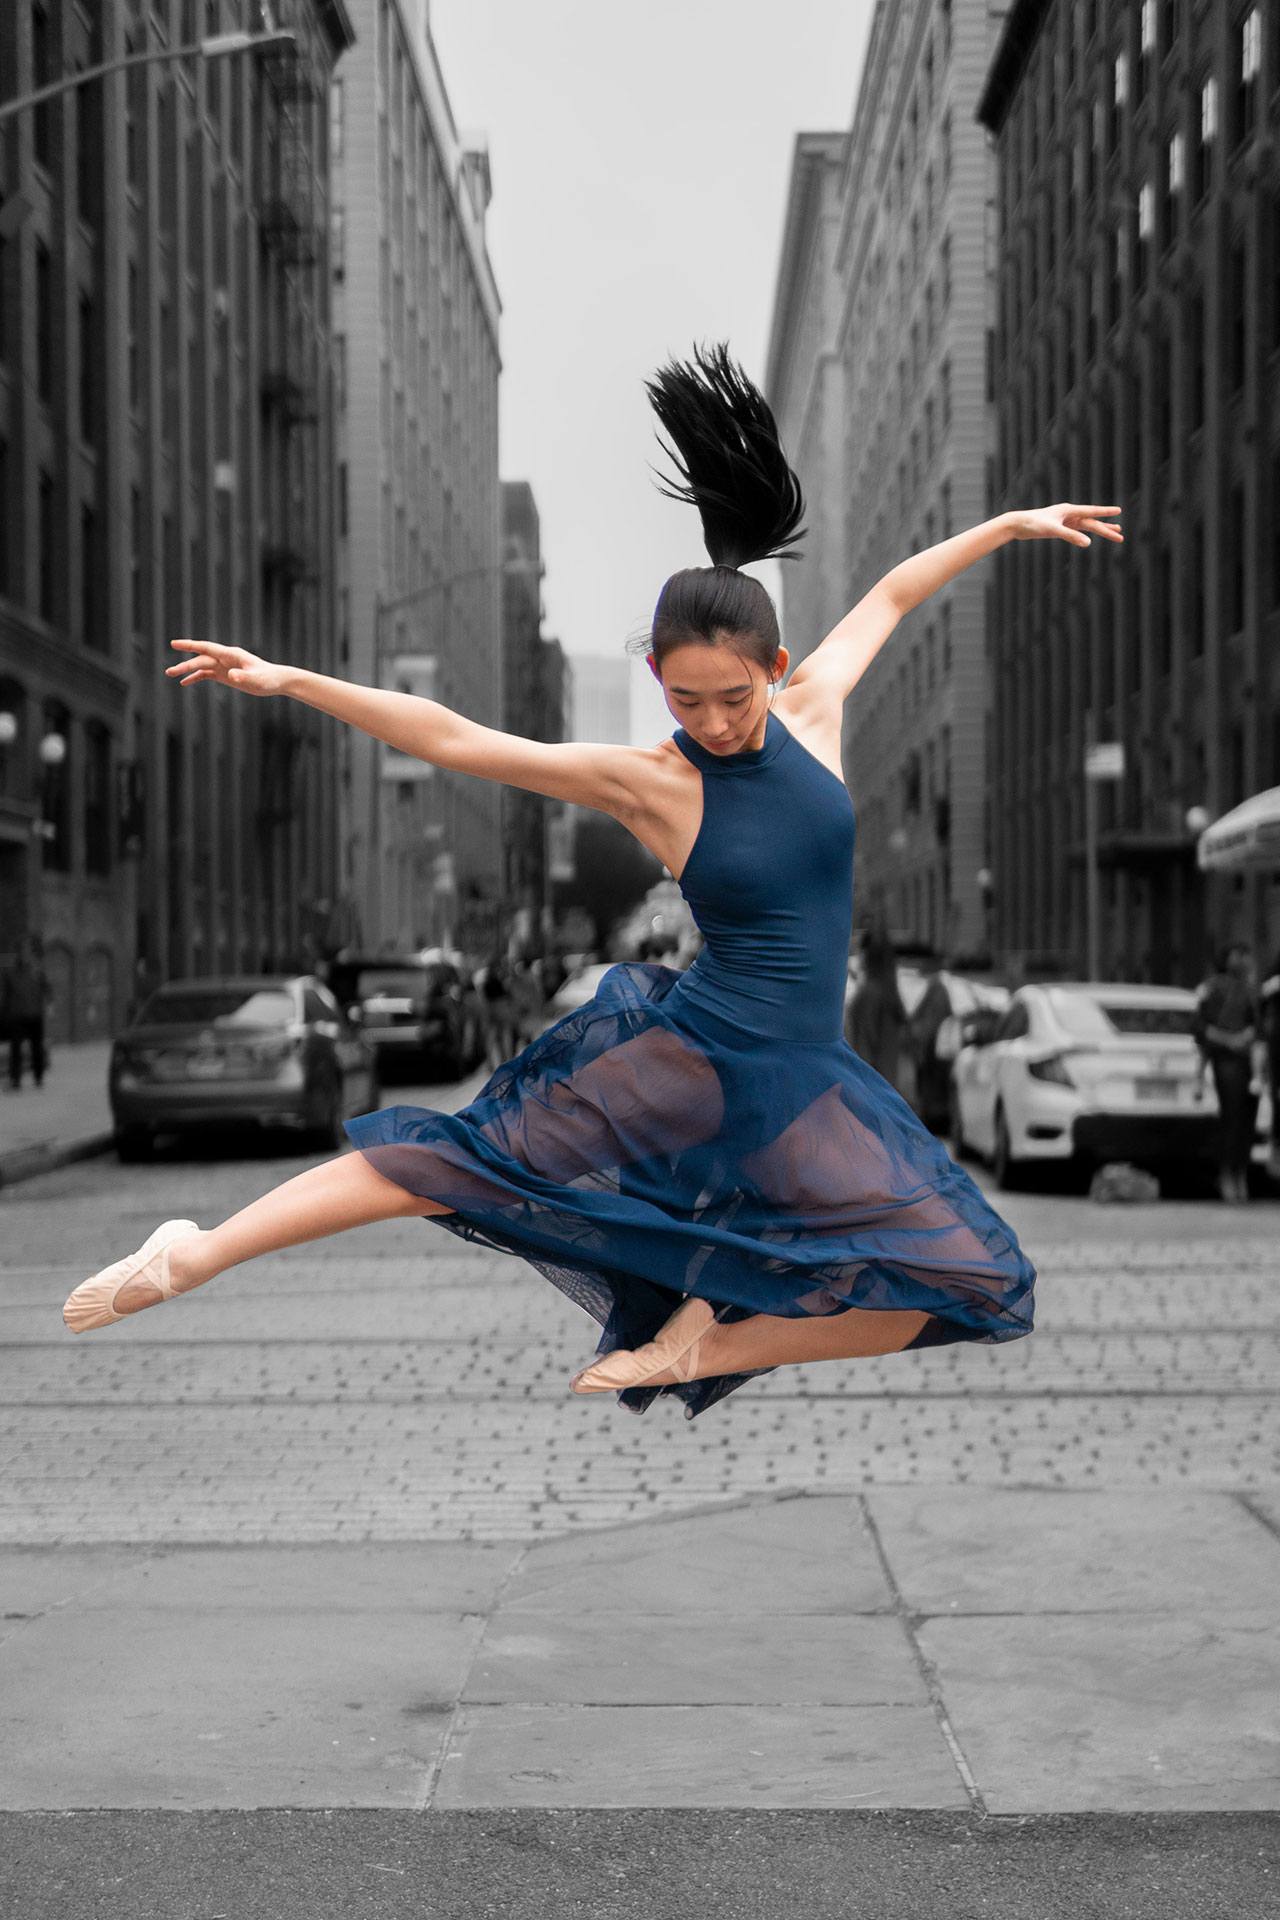
17. Don’t Forget About Split Jumps

This pose will allow your models to show all of their skills while highlighting the gracefulness of their bodies. Moreover, you can use is for both studio and outdoor ballet photography.
The second option will be more artistic, especially if you’ll have the city lights or a beautiful landscape in the background.
18. Ask the Model to Stand in a Vertical Split

There is no better pose than this one to show off the model’s flexibility. Additionally, you can experiment with different camera angles and shoot the dancer from different sides. The focus should be on the legs and straight line.
19. Use the Classic Sitting Splits

This pose can be shown on any flat horizontal surface and you are guaranteed a “wow-effect”. You can ask the model to either raise his/her hands or extend them in front of the body and rest on the elbows.
Suitable locations for such ballet photography poses include dance studios, stages, and beautiful cityscapes.
20. Use Flour to Make the Photos More Dynamic

If you don’t want your pictures of ballet dancers to look motionless, but rather convey a sense of movement, you can use flour or holi paints that will disperse during the model’s dance. You can also try using water for the same purpose.
21. Ask a Model to Bend the Spine

Such a pose is great for showing off flexibility and making viewers wondering if that’s even possible. You can either take a full-body photo to show the leg positioning or focus solely on the model’s upper-body part.
22. Reaching for the Stars

The primary focus of this pose should be on the model’s hands and the overall line of his/her flexible body. When attempting this pose, try not to overload the background with distracting objects, and shoot in a studio if possible.
23. Take a Photo of the Model from the Back
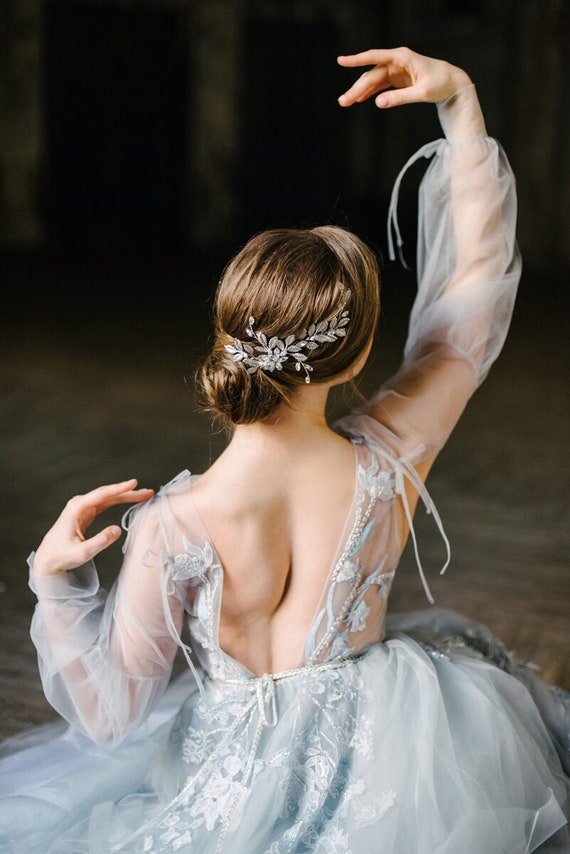
This pose looks especially great if the back is slightly naked. Furthermore, you can “play around” with cropping – take an upper-body photo while focusing on the arms, or a full-body shot, where the model stands in her/his favorite ballet pose.
Pay special attention to the hair and decorate it with flowers, clips, and other accessories.
24. Leaning leg to the side


This is a fairly simple at first glance pose can be very effective if the model is in this jump. At the same time, you can do with a minimum of accessories, and the main emphasis is on a strong body.
It should be borne in mind that on the skin of any model there may be minor defects that can be eliminated with the help of retouching. If your skills in Photoshop are not very good, I advise you to turn to professionals.
25. Ask the Model to Hug Her Legs While Standing

Another pose that successfully emphasizes the flexibility and agility of the model’s body. The dancer doesn’t necessarily have to stand for this shot as long as you capture the moment of the body’s maximum contact. When picking clothes for such a shoot, I suggest avoiding lush outfits.
26. “X” Letter Pose
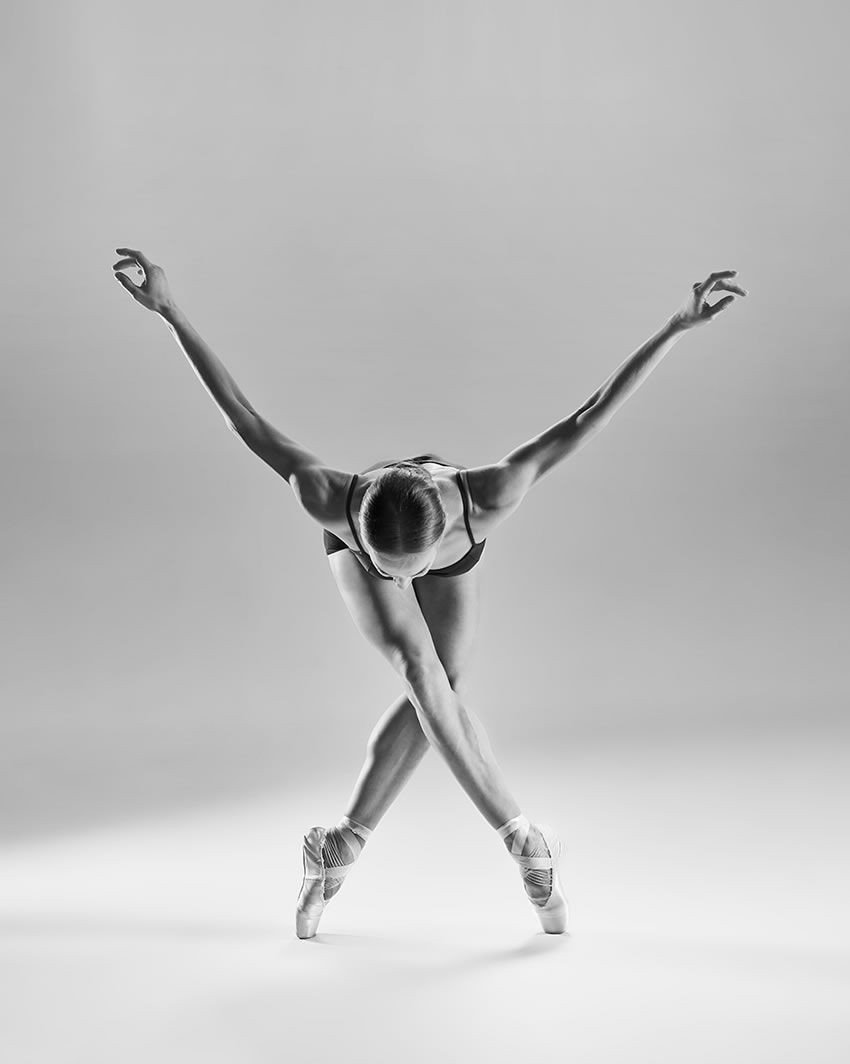
I often use this pose to highlight the beautiful lines and curves of the model’s body. The dancer can look either directly into the camera or in a different direction. Thanks to this pose, you can show the smoothness of all body parts.
27. Capture the Model’s Jump

To an outside observer, it will look like you’ve used Photoshop for this ballerina photography pose and made the model levitate since such a photo can force the viewer to rethink everything they’ve known about gravity.
I should note that this pose doesn’t have strict rules regarding the positioning of the arms and legs. Outfit-wise, you can use both lush dresses and training clothes.
28. Take a Picture From Above the Model

I adore the color contrast between the ballerina’s clothes and the floor. You can shoot from various angles, both from the back and the front, and your model shouldn’t feel obliged to always look into the camera.
29. Use the Training Facility as Your Photoshoot Location

I recommend organizing such a shoot on a sunny day to work in beautiful natural lighting. Ask the model to do her usual routine while you shoot the entire process to get original ballet portraits.
30. Take Photos of Dancing Couple

A shared photoshoot will be more interesting for both the models and the viewers that will look at the photos. You can use any location you want, but I suggest emphasizing synchronized movements and lifts. In doing so, it’s not necessary to bring along many additional props.
Best Ballet Photographers
For an uninitiated person, photography is the easiest way to acquaint themselves with the art of ballet. Moreover, despite how closed-in the world of ballet photographers is, it includes a quite large number of masters.
In this part of the article, I’m going to talk about the works of famous ballet photographers, who stand out from the rest thanks to their artistic approach and incredible sincerity.
Annie Leibovitz
An American photographer, who took nude photos of movie and show business stars and worked with country leaders, couldn’t possibly ignore the topic of ballet in her photos.

Being in love with ballet, she doesn’t just take photos of dancers but creates true works of art. In 1983, Leibovitz started cooperating with Vogue, creating ad campaigns and projects for Mikhail Baryshnikov, the American Ballet Theatre, and the Brooklyn Academy of Music.
Patrick Demarchelier
Here’s where the union of fashion and ballet is presented in a particularly harmonious and subtle way.
The most sought-after fashion photographer in the world takes photos of dancers, turning them into gods and goddesses, highlighting their grace and the beauty of their bodies’ lines and curves, while conveying the strength and sensitivity of their character simultaneously.

Demarchelier is a French artist, whose style is easily recognizable among hundreds of others.
James Bort
A French photographer who had the honor of shooting the collaboration of Balmain and Opera Garnier Paris.
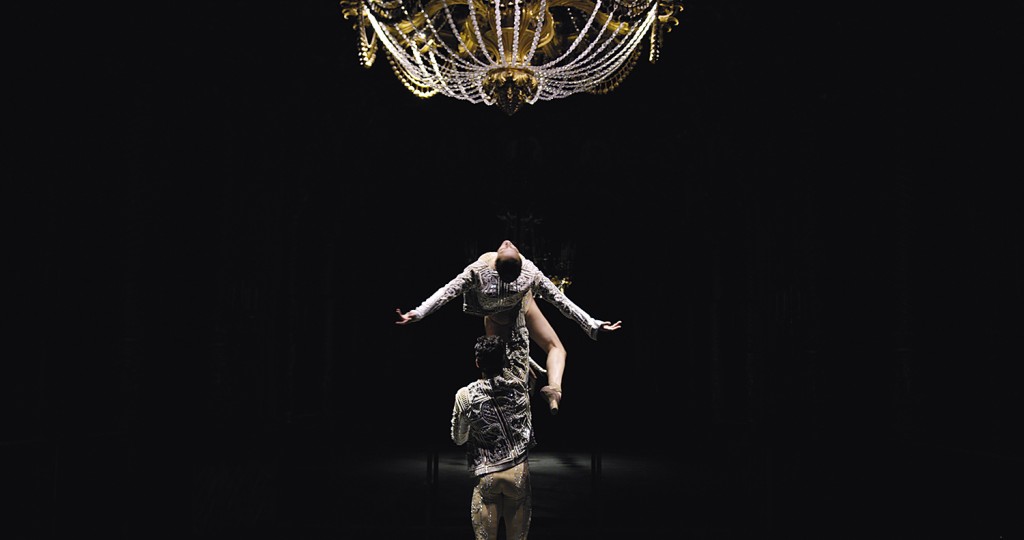
The stars of the French Opera are his favorite subject. Whether we’re talking about behind the curtain or onstage photos, it’s almost like he’s peeping on the artists in the best sense of the word, telling a unique story about each dancer, celebrating their inner freedom.
Henry Leutwyler
For four years, the Swiss photographer Leutwyler worked with Peter Martins, New York City Ballet’s choreographer, and had complete freedom to shoot everything in their “inner sanctum.&rdquo
In 30 days, he took the photos that served as the base for the “Henry Leutwyler. Ballet: Photographs of the New York City Ballet” book, published in 2015.

Being a master of still life photography and having an inclination for social topics, Leutwyler used details and small objects to show the ins and outs of the ballet world to his viewer.
Ruven Afanador
The works of this contemporary Columbian master are the embodiment of tradition and innovation. He shows familiar personalities in unusual ways, be it puppets or painting heroes that come to life as if they were stolen from the artists. Theatrical, extraordinary, and very tasteful.

Freebies for Ballet Photography
To make your ballerina photography even better, I’ve prepared an array of special free tools that will turn a regular photograph into a masterpiece in a couple of mouse clicks.
Sandstorm Action


With this action, you can easily make ballet portraits more dynamic without using additional props during the shoot by creating an effect of a sandstorm that the model is surrounded by.
Black & White


This professional tool makes photographs black and white while improving the contrast to preserve all the textures and details.
Contrast


With this preset, your photos will become more vibrant and contrast, helping the model stand out even more. I suggest using this preset for photos that have poor lighting or taken during a ballet photoshoot outside.
Film


You can use this preset to create a subtle cinematic effect, achieve vibrant colors, and significantly improve the contrast of a photograph. It’s perfectly suited for photos that lack color.
Matte


This free preset will add an artistic feel to your photos by applying a subtle matte effect. The color palette will become more saturated and you’ll receive a slight vintage look.


