No matter whether you like recording videos for personal needs or do it professionally, you are likely to face the necessity of combining several pieces into a longer movie. Though this process isn’t that simple, I will share useful ideas on how to fulfill this task in Adobe Premiere.
Adobe Premiere has a special feature called Merge Clips, which allows combining audio and video fragments into a coherent film. In fact, it makes the process smooth and quick even if the source files were recorded with different devices.
Following this method, you can choose a clip and sync it with 16 channels of audio without impediments. The constituents of a larger video are called component clips.
Start Adobe Premiere Pro and navigate to the top menu bar. Click File > New. Thus, you will create a new project. Next, upload video pieces you want to combine by choosing File > Import.
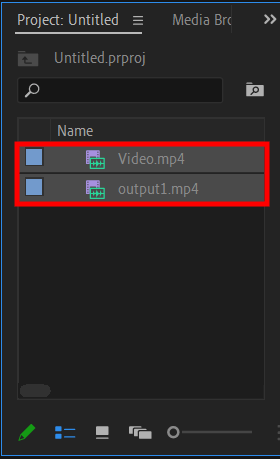
All uploaded files are displayed in the Project panel. Drag and drop them onto the timeline and choose videos for merging. Alternatively, you can press and hold Shift and select clips one by one. This works best if you don’t need all videos on the list.
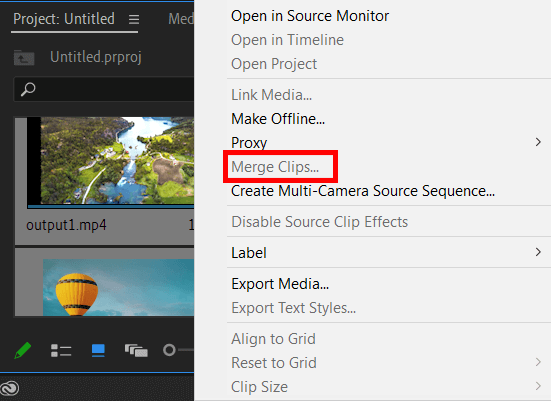
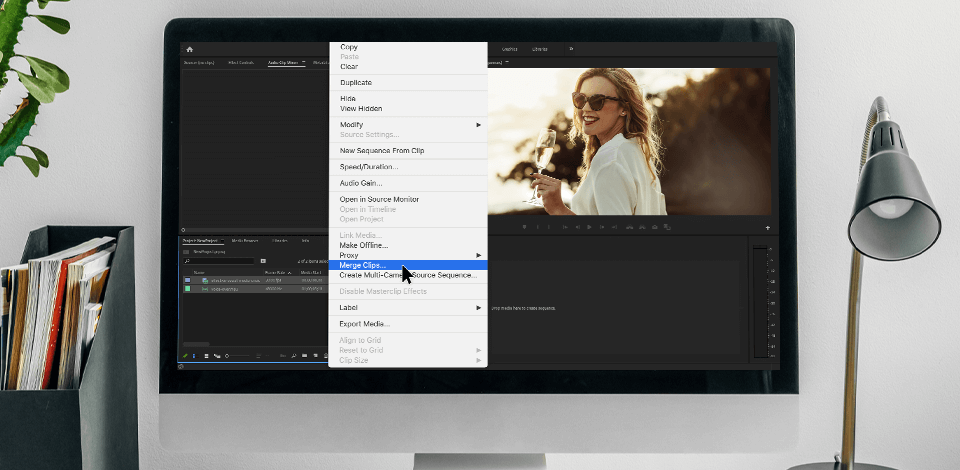
Right-click on the selected clips. There will appear a drop-down menu – choose Merge Clips there. You will see the corresponding dialog box with the list of available synchronization options:
Based on the In point: For launching sync based on the In point, e.g., at the clap of the slate.
Based on the Out point: For initiating sync based on the Out point, e.g., at the clap of the tail slate.
Based on matching timecode: To start synchronization of clips with a common timecode.
Based on clip markers: For detecting a sync point based on a numbered clip marker in the middle of the shot. This function is inactive unless all components have at least one numbered marker.
Click OK. The finished clip is located in the Project panel. You can proceed with further adjustments right in this program. For example, you can rotate video in Premiere Pro and perform other changes.
Now you know an easy method of how to merge clips in Premiere Pro. If you don’t feel like making more serious edits yourself, delegate this task to professionals. They can adjust audio, add cool effects, etc.
This process actually involves aligning several clips in the Timeline panel. Then, you can get down to merging. This method is rarely described in Adobe Premiere Pro CC tutorials, but I’d like to focus on it.

Drag all the pieces onto the timeline.

Select the files and click Clip > Synchronize. You will see the Sync dialog box. The list of available options consists of Clip Start, Clip End, Timecode, Clip Marker, and Audio. Choose the one you like and click OK. Now you have synced videos.
The program is capable of adding multiple audio tracks to one video, which is a real lifesaver if you used different microphones, e.g., during an interview, and now need to make a coherent clip. Besides, you can drag & drop your pieces onto the timeline without considering time intervals and the program will automatically arrange them to match up with the video.

Open audio files by choosing File > Import or holding down Ctrl+I. You can add one or several sounds to your video. The maximum number of audio files you can insert is 16, including combos of mono (equals 1 track) stereo (equals 2 tracks), and surround 5.1 clips (equals 6 tracks).
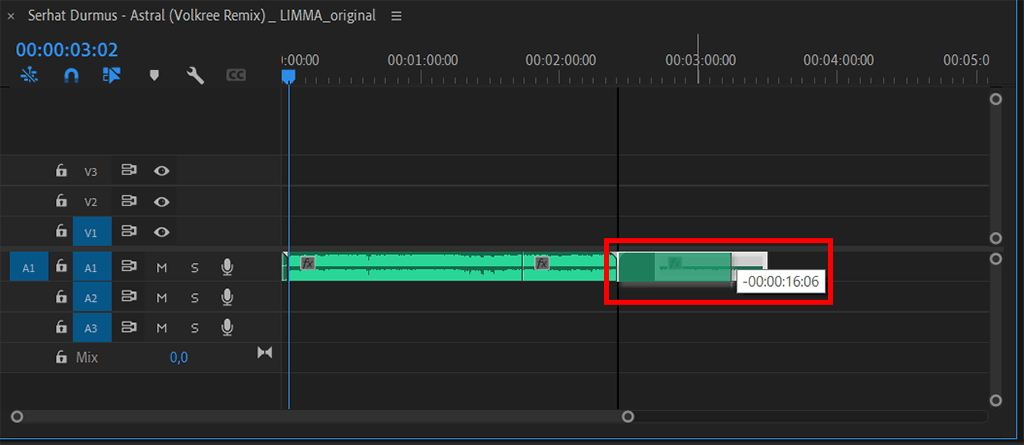
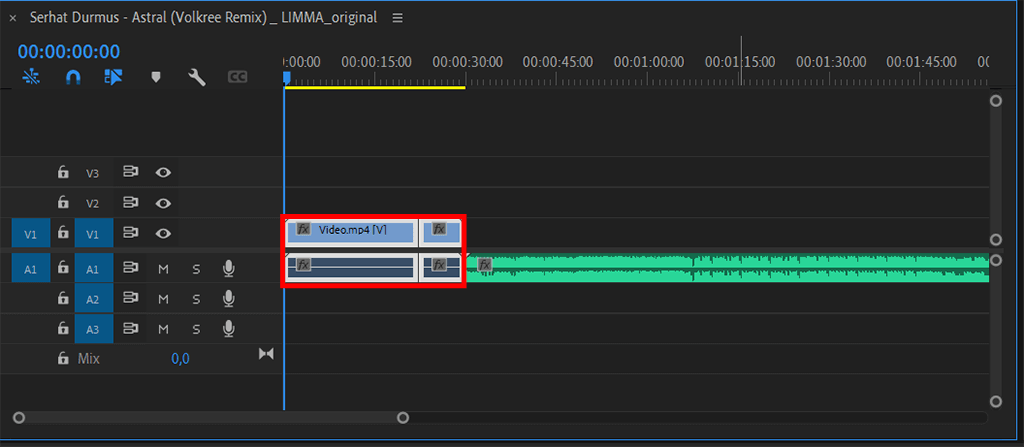
Drag and drop clips onto the timeline and arrange them in the needed order.
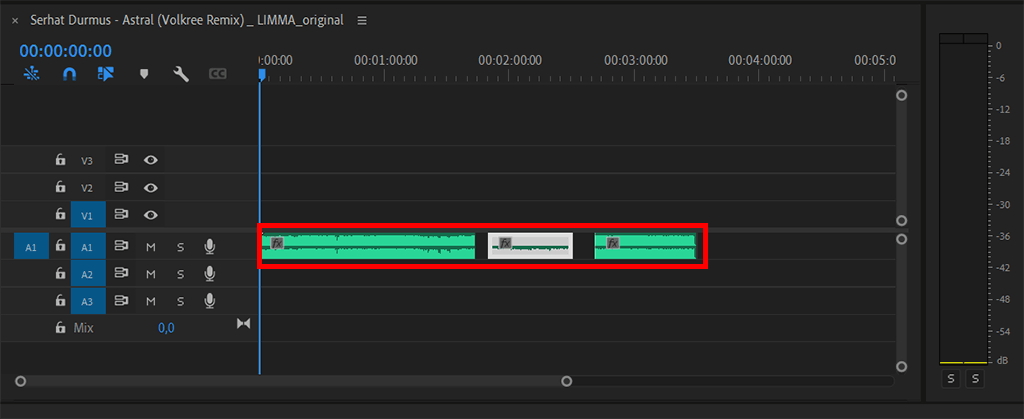
Place audio files as close as possible.
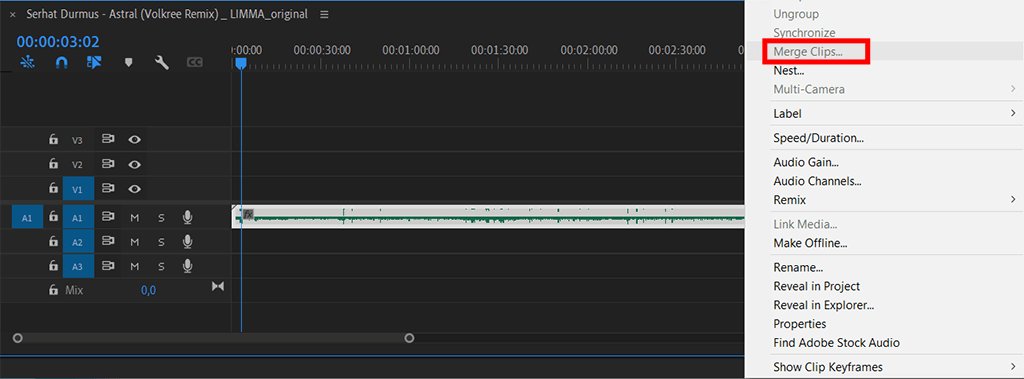
Right-click "Merge Clips". There will appear the Merge Clips dialog box. Select the needed setting and click "OK".
Hope you figured out how to merge clips in Premiere Pro. Keep in mind that you can do the same in Adobe Express. The program has a straightforward interface and many handy features. In fact, it is best suited for total newbies who strive to learn the ropes of video editing.
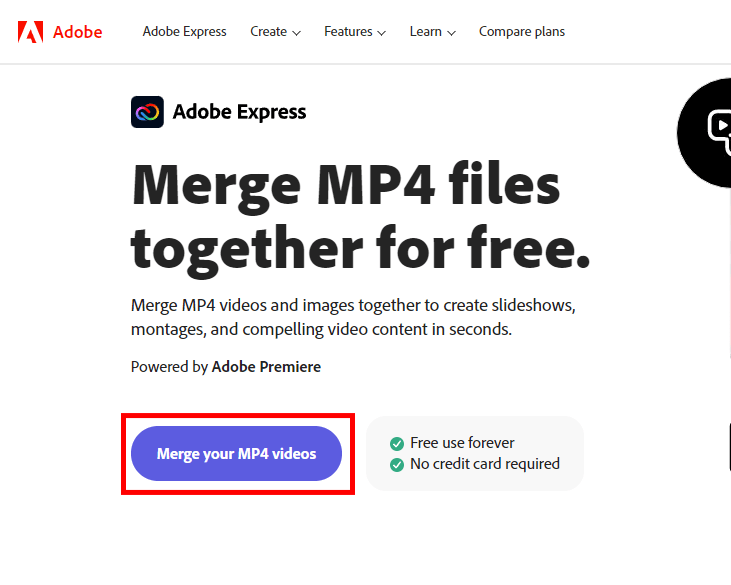
Head to the Adobe Express website. Click “Merge your MP4 videos” and register. The process is identical both on desktops and mobile devices. You need to import your clips and initiate merging.
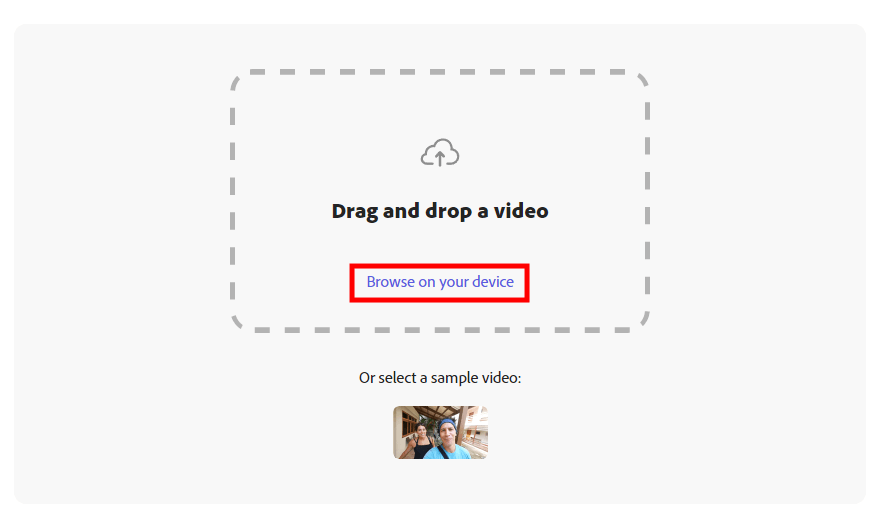
Once the merging window appears, you need to drag and drop your files. Or, you can click the “Upload” button to do the same. Keep in mind that you can work with videos that last no more than 60 minutes.

You can edit every file independently. Use the Trim tool to define when one clip finishes and combines with the next video. You can get very accurate results by moving the handlebars across the timeline. If you want to have a video without sound, you should select the Mute option.

You can rearrange files by selecting them with the left mouse button hold down.
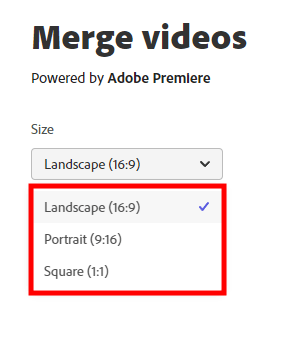
Using Adobe Express, you can also resize your videos. Actually, there are 3 available options but they suit most scenarios. So, you can select Landscape (16:9), Portrait (9:16), or Square (1:1) when merging clips.
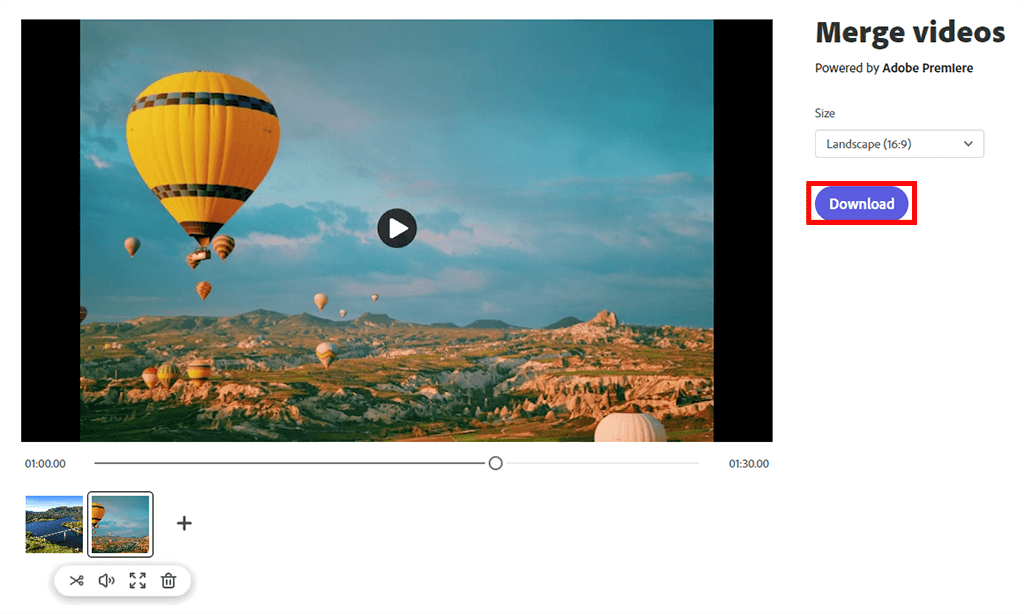
Once you are done merging videos in Adobe Express, you can save your creation by clicking Download. Besides, you can instantly share it with your followers or relatives.

Correcting colors in videos is a truly complicated and tiresome process. Fortunately, it is possible to expedite it with the help of professional LUTs. I have selected the best tools that you can use to tweak colors in your videos quickly and effortlessly. First off, install LUTs in Premiere and get down to the creative part.
Have a look at the Merge Clips box. If it is greyed out, there are no video and audio files in the Project Window. So, you need to import them to the program. After that, there will be no difficulties with merging clips.
By nesting clips in the program, you can use a while sequence as a clip. When done properly, such an operation allows achieving fantastic results with minimum time spent. Video editing specialists frequently resort to nesting when they need to combine a series of short sequences into a master sequence.
Using the delete feature, you will remove a clip and end up with a gap. The ripple effect option doesn’t leave a gap.
The software has a scalable architecture, so its performance depends on the speed of the entire system, which, in turn, is influenced by the tasks you are fulfilling. Adobe recommends users to have at least 4GB of RAM per core for multicore setups. In case you usually use several professional programs simultaneously, you’d better embed 16GB RAM into the case.
A sequence stands for several options in Adobe Premiere. In general, it denotes a separate timeline, which means a single clip is processed in a single sequence. Of course, you can try to edit several clips in a single sequence but I don’t recommend doing so.


