During basic editing, it is important to maintain a consistent style and ensure that all video materials are in the same format. Besides, you need to know how quickly rotate video in Premiere Pro horizontally and vertically for a professional outcome.
If you are just getting started with video editing, this detailed tutorial can come in handy. Take the following steps and you are sure to improve your skills.
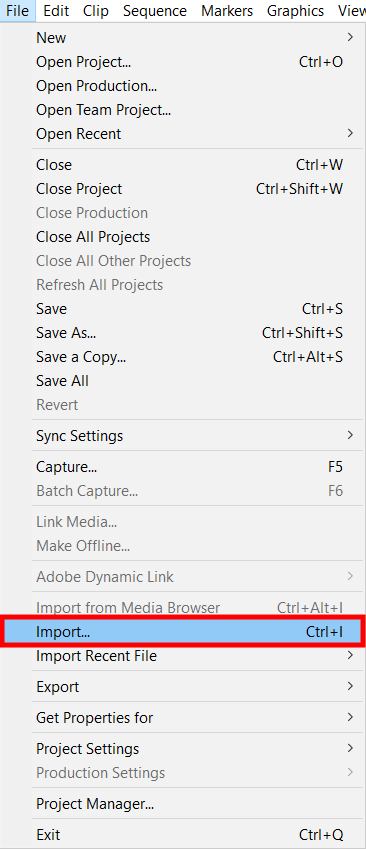
Launch Premiere Pro and upload a video that is not displayed correctly (horizontally/vertically), in a new project. To do this, click “File” - “Import” and select the desired video.
Also, if you have a lot of videos, you can create a project folder. Go to the main menu, click “Windows” - “Project”, and you’ll see a new tab with projects. Then double-click on an empty space and select the video you want to rotate.
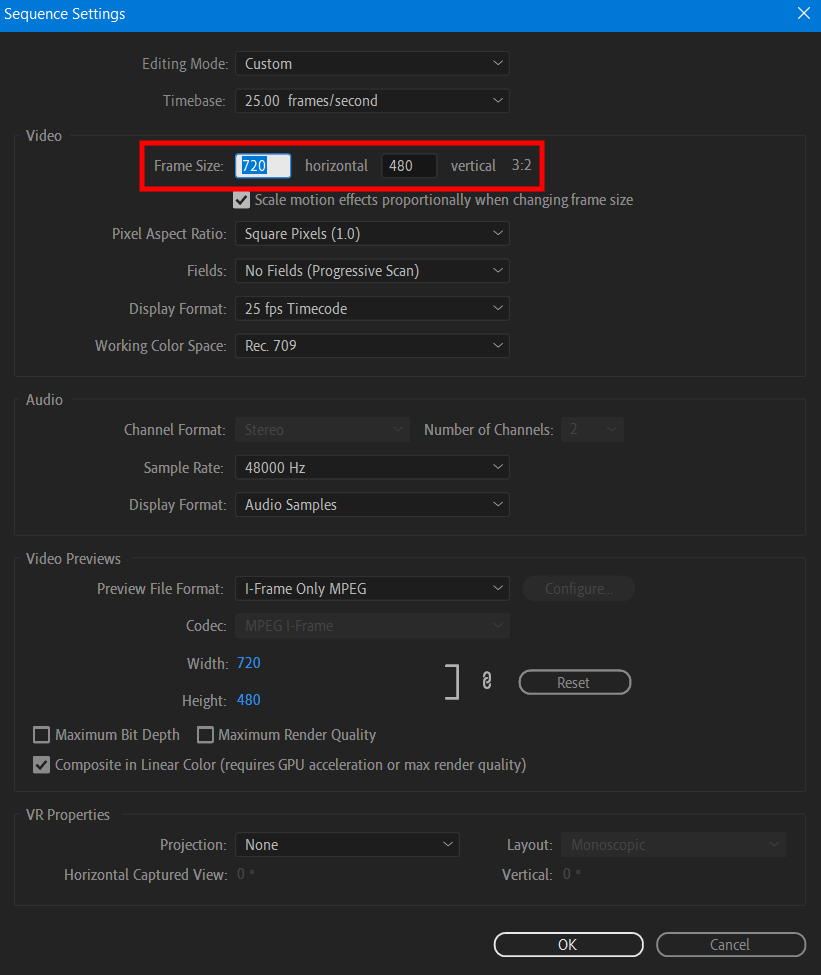
In the upper part of the toolbar, find “Sequence” - “Sequence Settings…”. In the menu that opens, swap the video size values. After confirming the changes, you will get a vertically cropped video. You should do so to avoid cropping your file during further rotation and to preserve its quality.
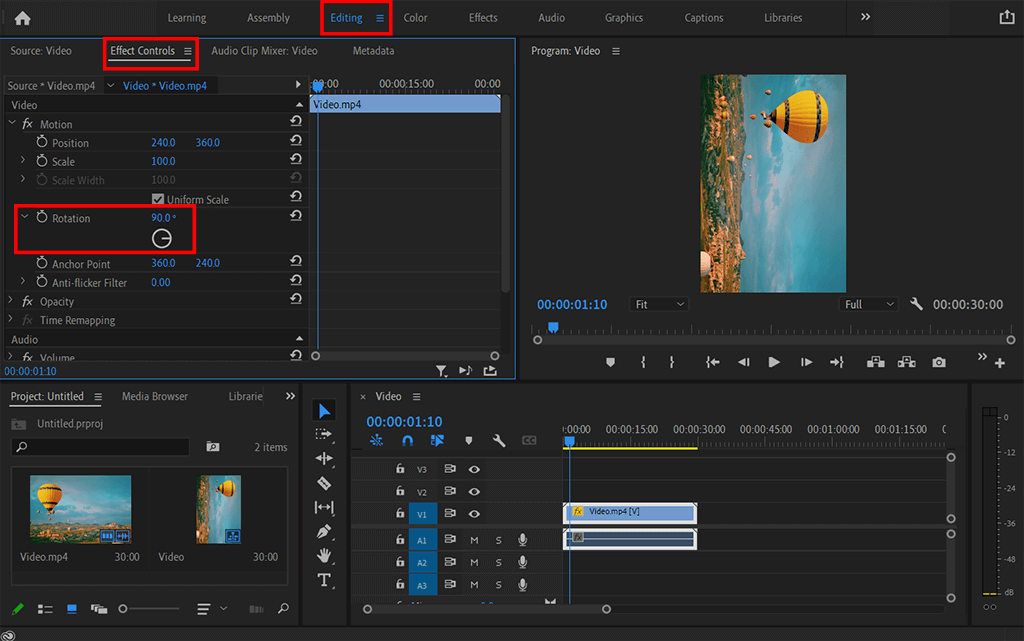
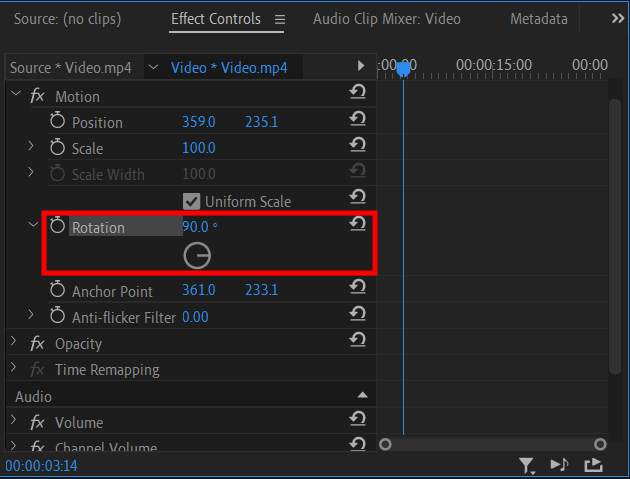
Go to the “Editing” – “Effect Controls” tab and change the Rotation value to the side you need to rotate the video (left/right/flip). Enter the exact degree you want to rotate video in Premiere Pro:
Done! Save the video and add it to your project.
If you don't have time to rotate many videos, or if you lack skills for such manipulations, you can always delegate the task to experts. You can send them numerous videos from your wedding and order the creation of a movie. They will take care of the right color correction and a uniform style.

Select the clip you want to rotate on the timeline. Open it from your projects or download it separately as a new file.
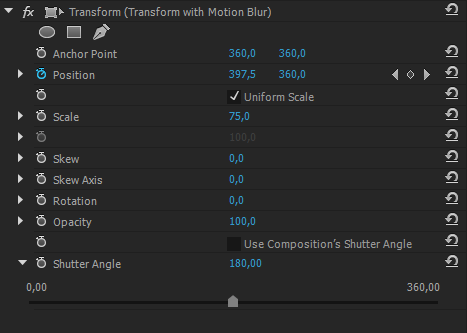
Next, on the toolbar, go to the "Effects" - "Distort" - "Transform" tab and double-click on the effect or drag it onto the clip you are using.
In the Effect Controls panel, scroll down to Transform, then uncheck the box for Single Scale. With this action, you will open access to editing.
Done! Save your work in the desired or original format and head to your project.

Now you know how to rotate video in Premiere Pro and use a single format in your project. You can add creative overlays to finished videos, apply smoke or sparks, add graininess or glare imitating the sun, and more. All you have to do is check out my tutorial on how to add overlays in Premiere Pro.
Most likely, you are using an outdated version of the editor. Try updating Premiere Pro free to the latest version or install the licensed version of CS5 or CS6 if you have it on disk.
No, this feature is not available in Premiere Pro. However, you can create a project and load several videos that you want to rotate at once.
Yes, you can, but in this case, your video may be cut off or the quality will be severely degraded.
Yes, you don't have to rotate the video in 90-degree increments. If your video is a bit skewed, you can straighten the horizon by entering a smaller number. Try rotating it just a few degrees and evaluate the result.
To fix this problem, you can increase the video scale in the Effect Controls panel. This leads to the increase in the video size in the frame and the removal of the black color that shows the image has been rotated.