Adobe Connect is a widely used software that allows users to employ a variety of communication tools to hold online meetings and create recordings. After the release of the latest version of this software, many users started wondering how to record Adobe Connect meetings. In this article, we have rounded up the easiest methods that will help you solve this task simply and efficiently.
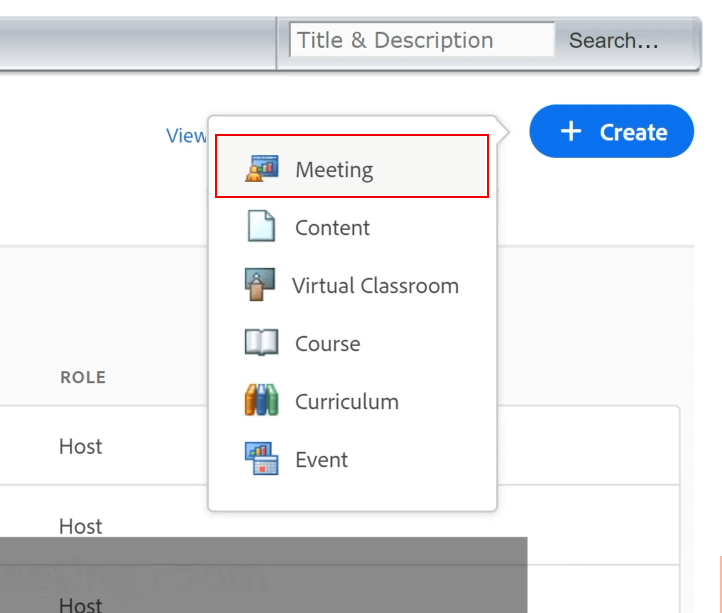
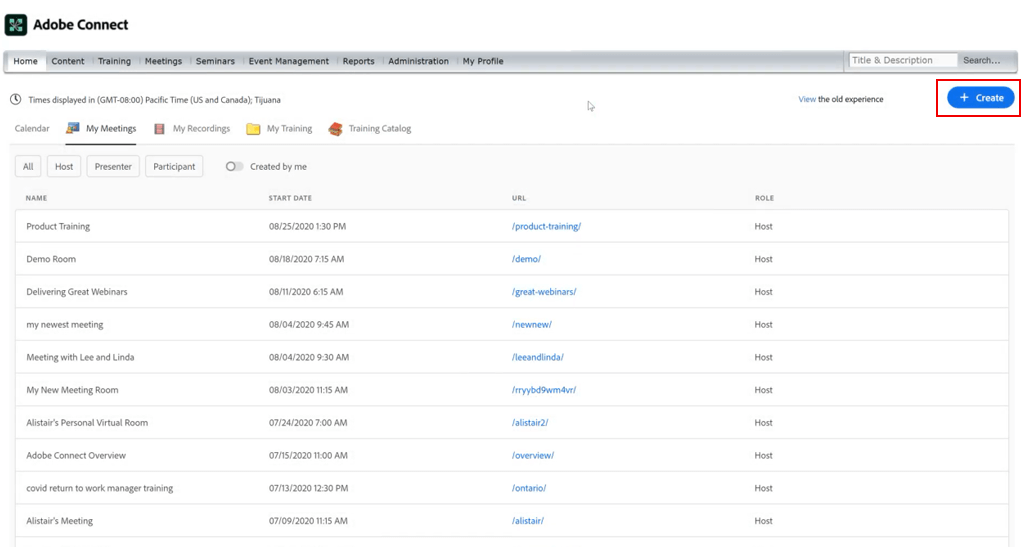
After clicking on the «+ Create» button, you will see a list of the available options. Click on «Meeting».
If you are wondering how to record and edit video using Adobe Connect, you can outsource the enhancement of your footage to the professionals working for FixThePhoto. The company provides a variety of videography services and specializes in editing raw footage. The experts can edit your family videos, footage taken during your trips, videos capturing children or training materials created for your company’s employees.
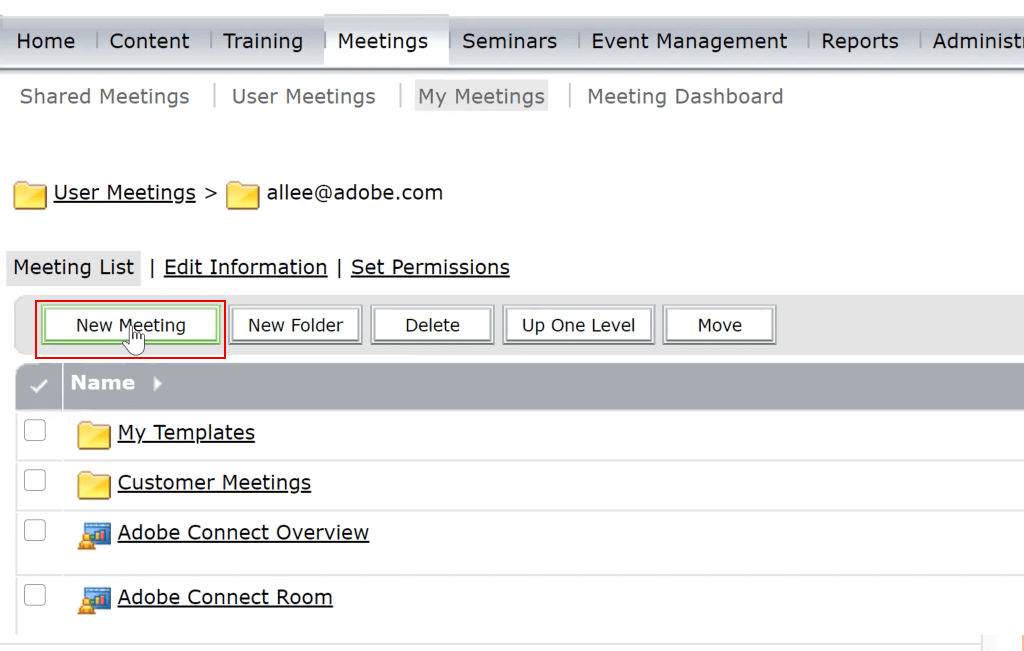
After selecting the Meeting option, click the New Meeting button. It will allow you to select the settings of an event that you are about to create.
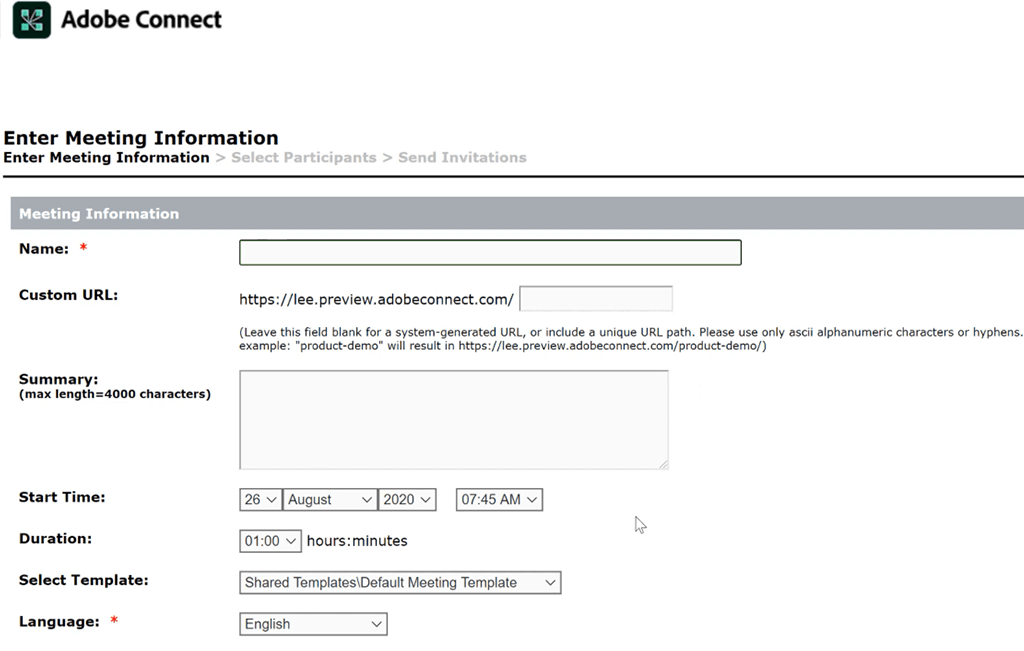
Select a suitable name for a new event and configure other settings with the help of this webinar software. Besides a name, you may indicate a URL, add a short summary, set a date, expected duration, select a language, set access rights, etc. In addition, you can adjust audio settings. Users can choose a suitable audio profile or enter the audio settings manually if they know what parameters suit them best.
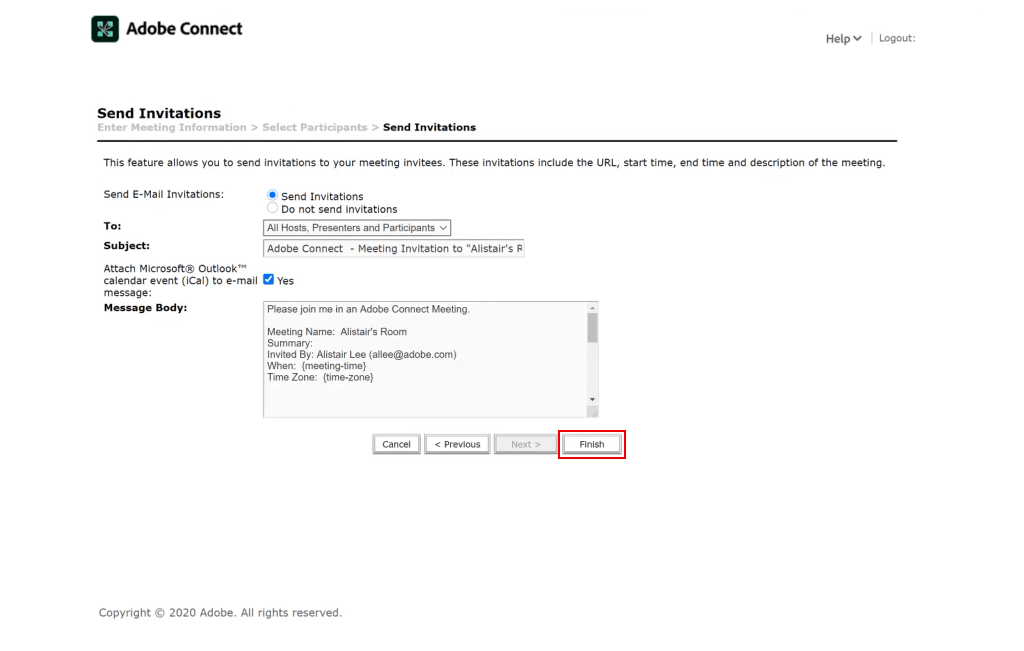
After taking these steps, you can finally invite other people to the meeting. Go to the Invitation tab and copy and paste the available text into a new email or message that you want to send via other communication channels. Then, click Finish to confirm and return to the main page.
Pro Tip: If you don’t know how to use Adobe Connect and configure its settings, you can create a new meeting using a template. It will allow you to add the latest version of the content to your room. When editing embedded content, you don’t need to worry that your edits in the source file will affect the content in the room that you have created. You will need to upload a file with your edits to the Adobe Connect Server to ensure that the content in your room will get updated. Then, you just need to replace the content in your meeting room.
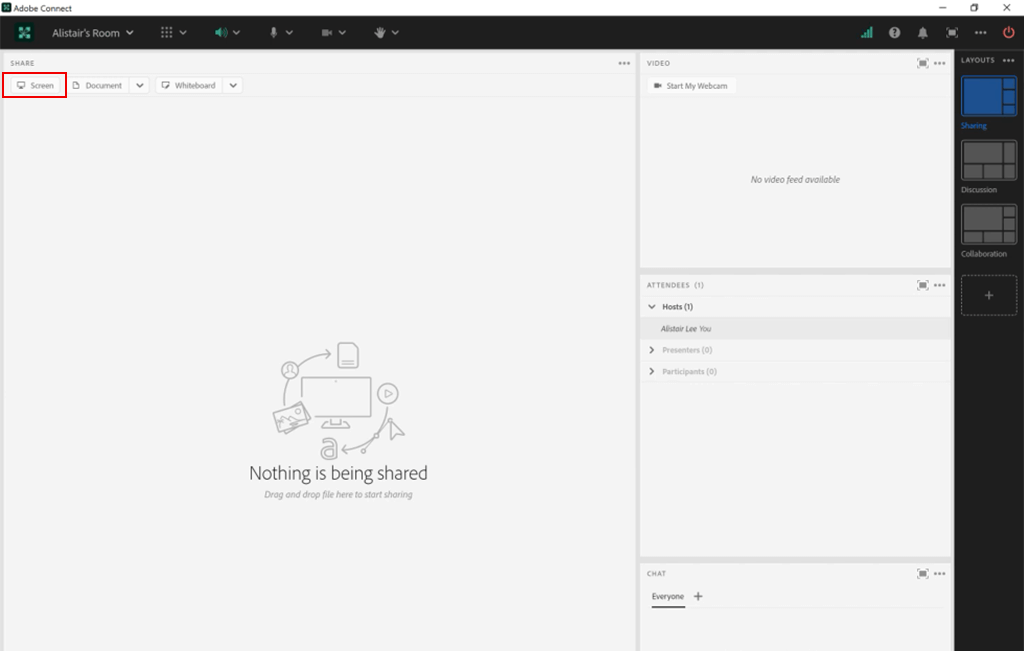
If you or your team members have never used Adobe Connect before, you will need to download and install the desktop version of the software. Fortunately, this video conferencing software doesn’t take up a lot of space. Besides, you can install it even without admin rights. After installing the software, open it on your PC and select Screen.
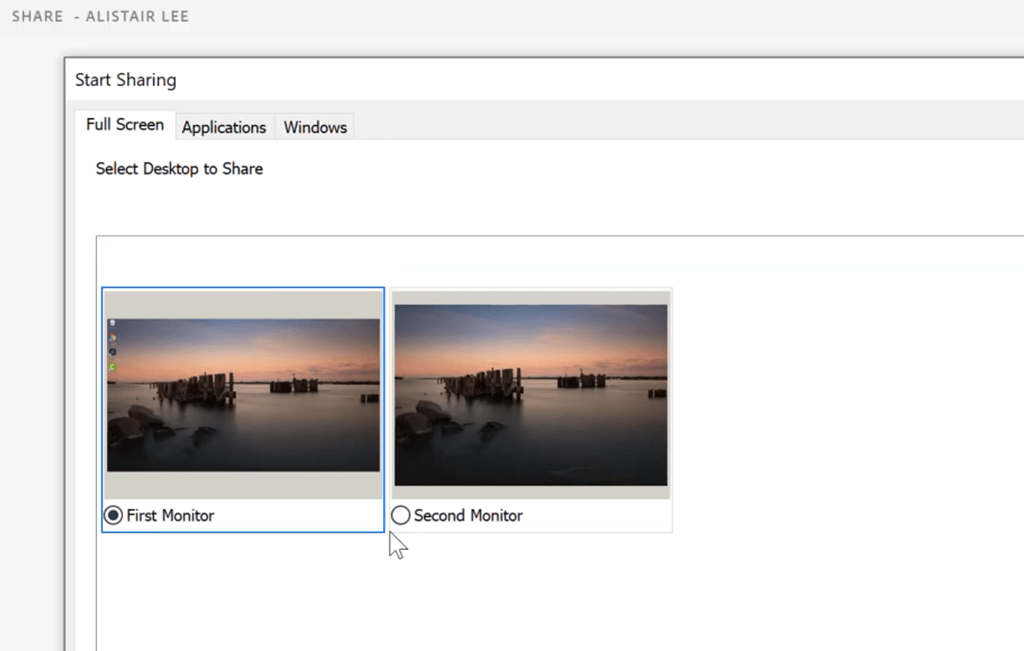
If you have several monitors, select the one that you will use when creating an Adobe Connect video conferencing recording.
After selecting a monitor, you will see a video recording menu.

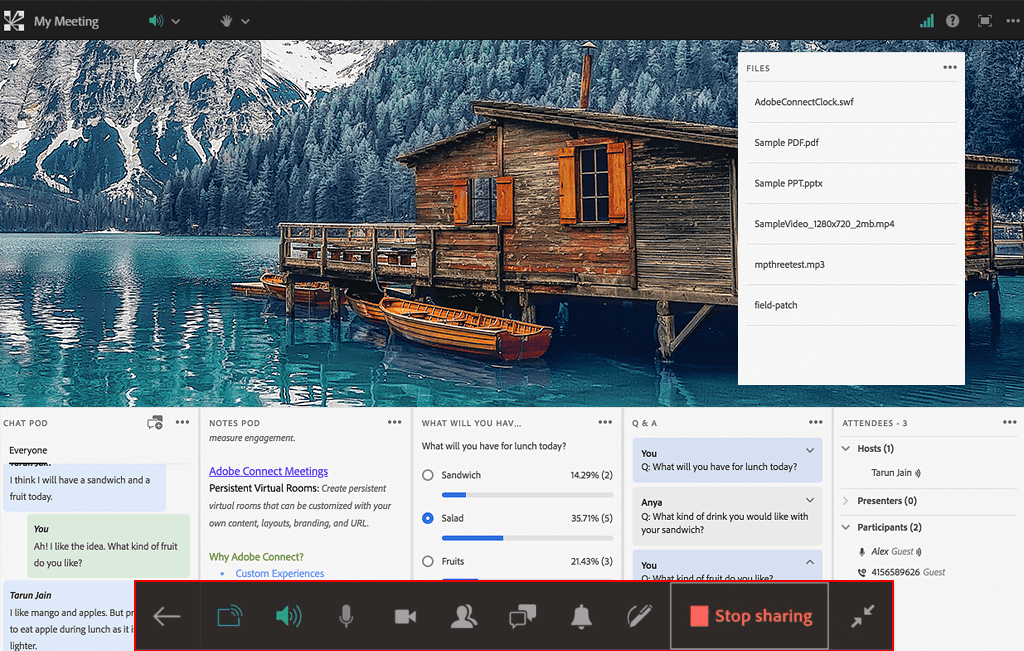
Using an in-built video editor, you can edit your Adobe Connect recording in real time. You can use rectangles and circles to edit your video as well as add text. With the help of the available tools, you can make your videos more engaging.
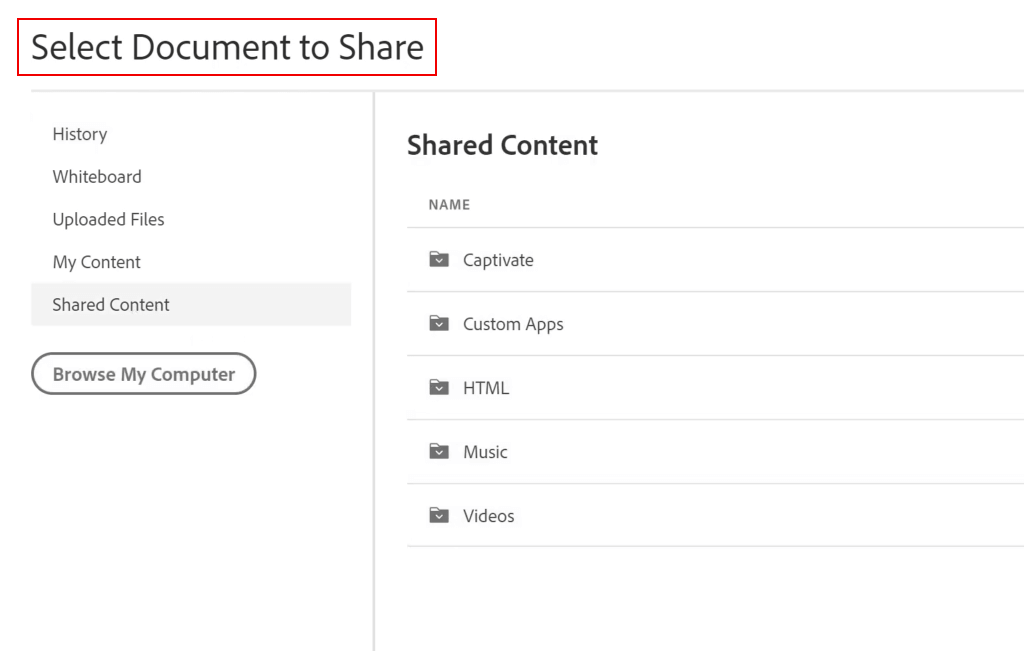
When creating a recording, you can share files, documents and videos. To do it, go to the settings of the meeting and select «Shared Content».
Note: If you want to get access to more features, you can use the Pro version which makes it easier to create professional recordings, schedule tasks and record videos on iOS devices.
Adobe Connect allows you to save videos in FLV format. After the release of Adobe Connect 10.6, HTML format is not used by default anymore. After creating an Adobe Connect recording, you can convert it to MP4 format to watch it later.
Besides, you need to ensure you have the latest Adobe Connect downloads and updates.
Everything depends on your network’s bandwidth. With unlimited bandwidth, even if you have a lot of participants, you can have up to 100 webcams. Keep in mind that the resolution won’t be impressive because of the small size of the display.
Yes, you can either use the same ULR or come up with a custom URL when creating a new meeting.
Yes, Adobe Connect provides features to trim or cut specific segments from a recorded video. It is possible to remove unwanted portions of a video, ensuring that your final content is concise and focused on the most relevant information.
Adobe Connect does not have built-in features for adding captions or subtitles directly to a video within the platform. However, you can add captions or subtitles to your video using third-party video editing software.