Nowadays, 3D modeling is the most effective way to recreate objects we see around us. So, if you want to learn how to create 3D model from photos, this article will come in handy. 3D modeling is the creation of digital, three-dimensional graphics.
Thus, you allow viewers to see the width, height, and depth of an object. The process of transforming a photo into a 3D model is called photogrammetry.
Carefully select your object. If you choose a large object, it may not fit the frame. Also, it may be difficult for you to move around your structure. With larger objects, you will probably need to stitch together multiple images to create a virtual 3D model.

The result of your project depends on the number of pictures and their resolution. The higher quality of your images, the more precise 3D model you will get.
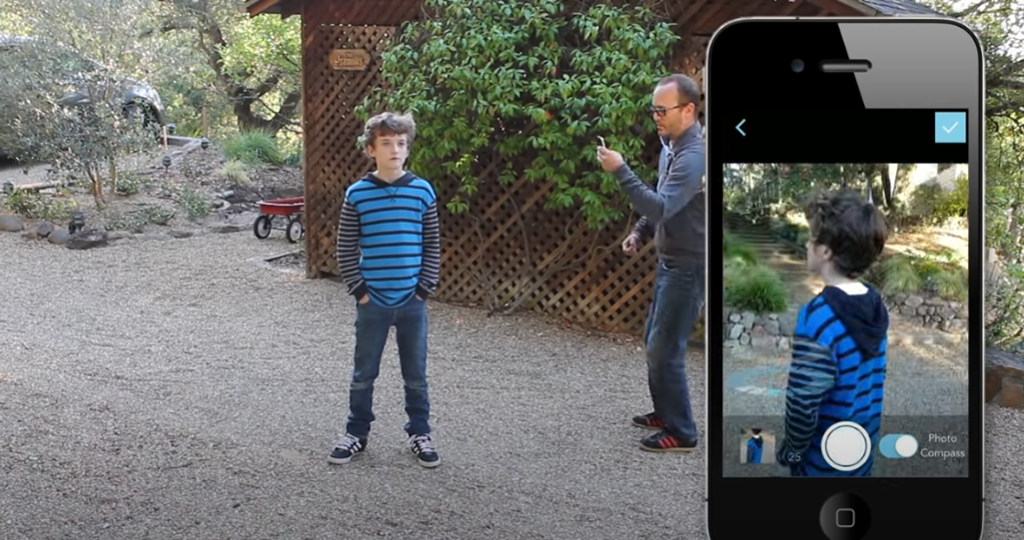
The next step of making picture 3D is to properly capture your object. Position your object in the center of the frame, and take a photo loop while moving around. Change the angle and take another photo loop of the top of the object.
Your series of images should include 30-40 photos. To achieve better results, place newspaper or sticky notes around the object. It will facilitate the process of working with 3D modeling software and distinguish your object. Choose the appropriate lighting and the most optimal position of the object.
Create a panorama by shooting a scene from multiple perspectives without moving. Take a photo, make a parallel movement to the scene that is photographed, and shoot again. You can repeat the procedure until you get a 360° view of your object.
Once you merge these photos, the entire scene will appear in one image. Use the 80% overlap so that 3D modeling software can stitch images accurately.
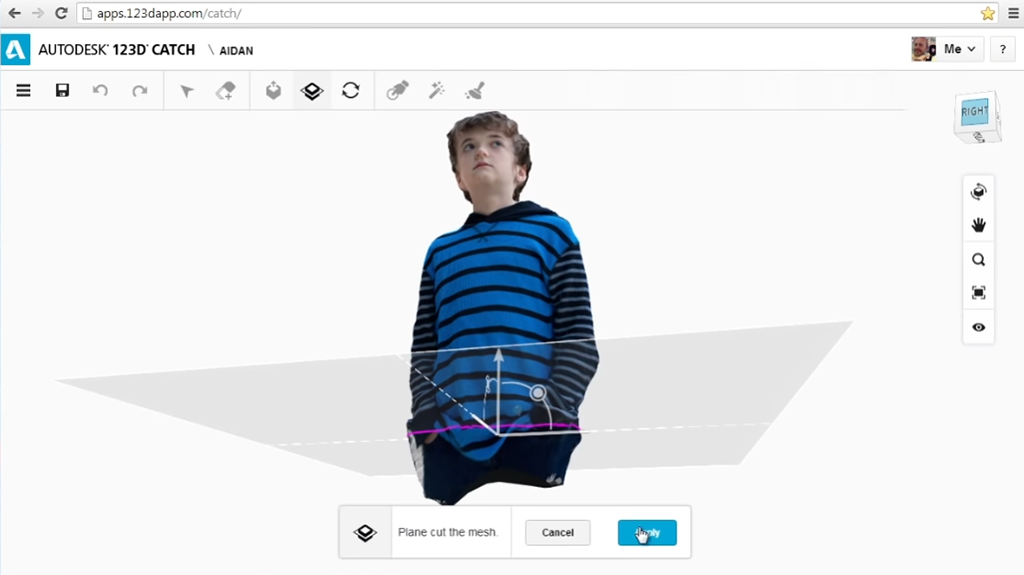
If you want to create 3D image from photos, you need to use proper 3D modeling software. Consider using Autodesk’s 123D Catch. This is a free tool that allows you to make 3D image from photos you’ve just taken. Autodesk uses automatic features to analyze photos, recognize common features of your object and turn them into a single 3D model.
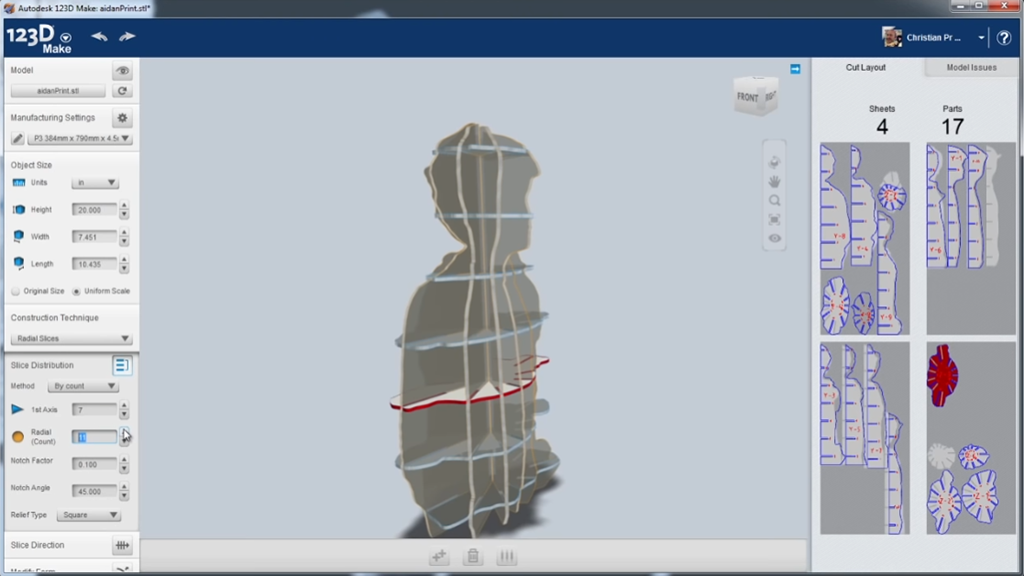
There is no need to be a professional 3D digital artist. If you have basic 3D modeling skills and some time, you can create a decent 3D object and bring it to life with any 3D printer.
Once you download Autodesk 123D Catch, import all your images. The software will automatically create a 3D model from photographs. Once the process is finished, you can export your project to Autodesk’s cloud storage.
It is possible to view your model on the Autodesk 123D website. You can email the link to your inbox and use it to head over to the online version. You can do it from the object view screen by clicking the share button located in the lower right corner.
You are almost done! Use 123D Catch to eliminate blemishes your 3D model may have. You may remove unnecessary elements that can spoil your 3D design. Use the “Lasso” and “Heal” tools for the task. With the Lasso tool, you can select and delete unnecessary elements. The Heal tool allows you to fill in any gaps in your 3D design.
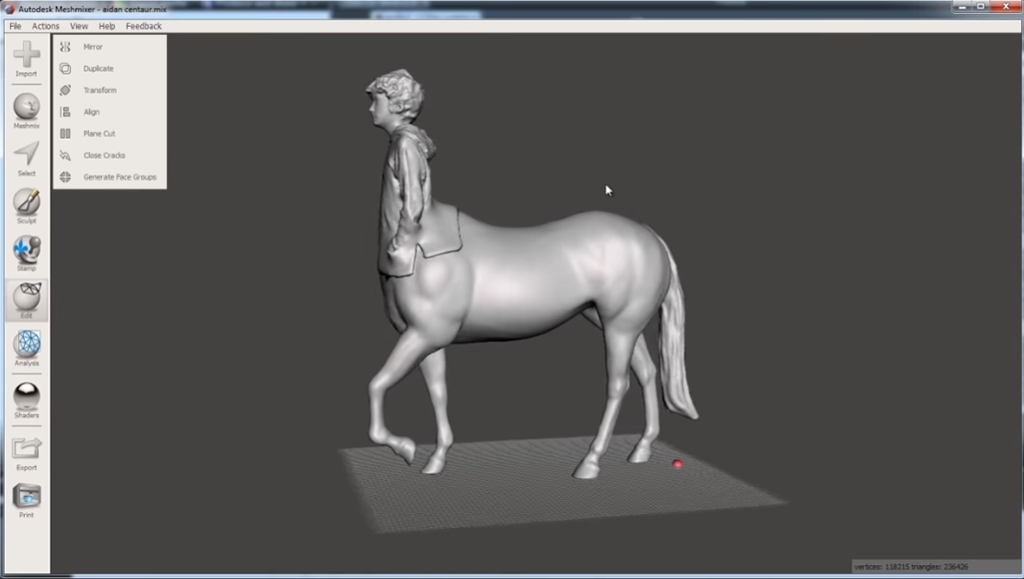
If your 3D model calls for extra editing, or you just want to complement it with more details, use the Meshmixer from Autodesk. You can merge, mash, apply stamps and textures, sculpt or paint your model. If you want to have an additional dose of inspiration, check out 10,000 models in the Gallery or the site for free 3D models.