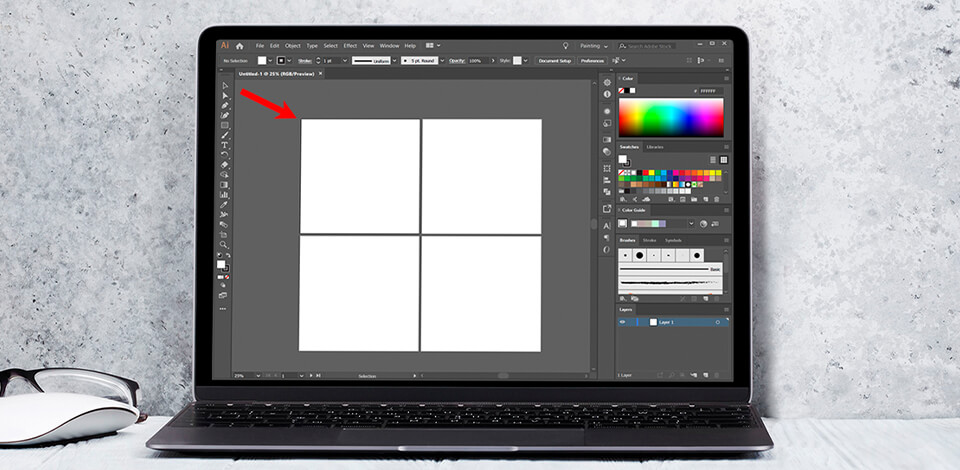
If you don’t know how to add an Artboard in Illustrator in several clicks and start working on a project, we’ve prepared 3 easy ways on adding Artboards in Illustrator. With these instructions, you can create several Artboards per document based on their size.
Reading this review, you will learn how to create in Illustrator new Artboard, resize or remove it if necessary. In addition to info about the Artboard tool, I’ve also described some keyboard shortcuts that can make your work faster.
Artboard is the main workspace for creating Illustrator logos, various shapes and elements. Therefore, by opening a new file, you will create a new Artboard with specific parameters.
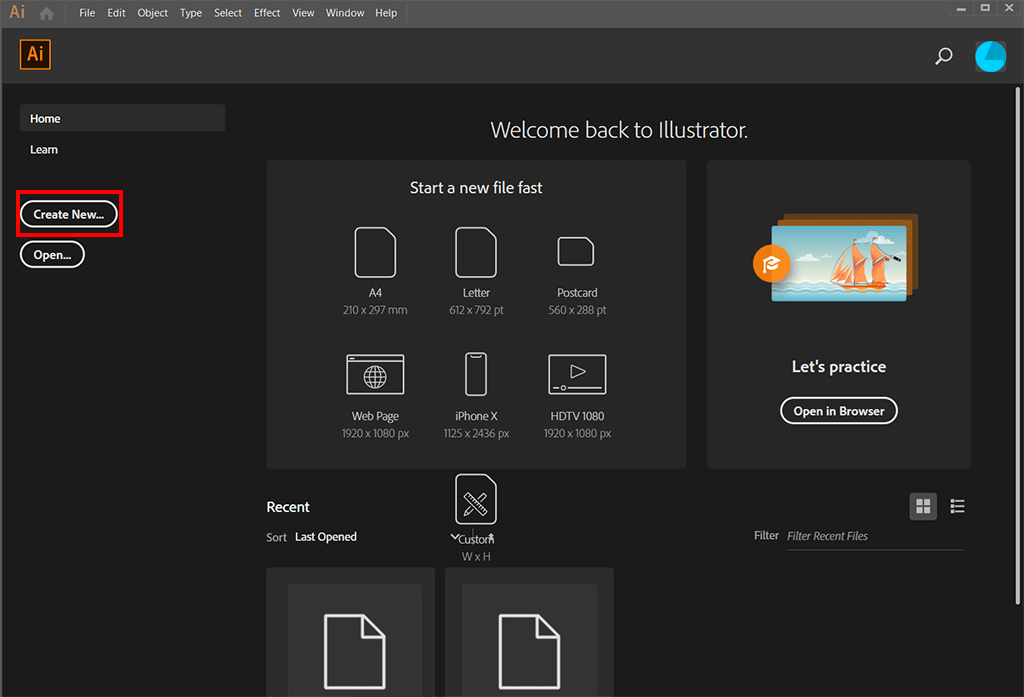
Start Adobe Illustrator, and create a new file (File -> New). Select the desired number of Artboards – enter an exact digit in the Number of Artboards textbox.
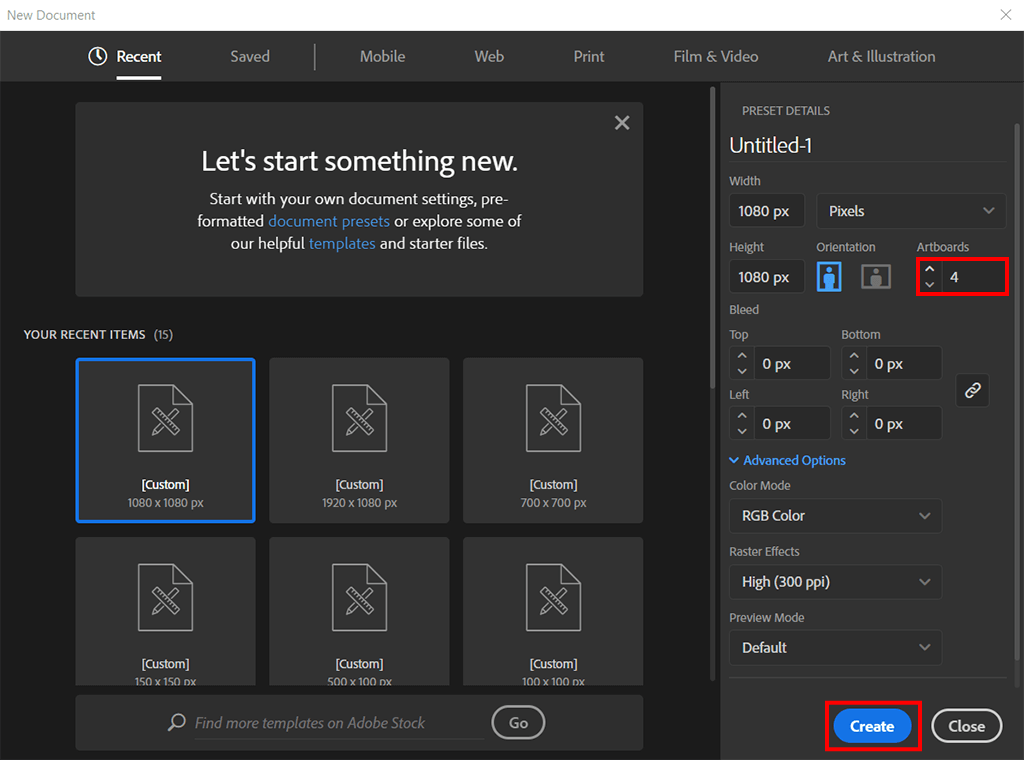
After you’ve chosen the necessary number of Artboards, you need to adjust the Artboards arrangement (e.g. grid, row). Besides, you can define how rows and columns should be set.
Another important value is the amount of space, which specifies how close Artboards are located to each other. The average value is approximately 20 points.
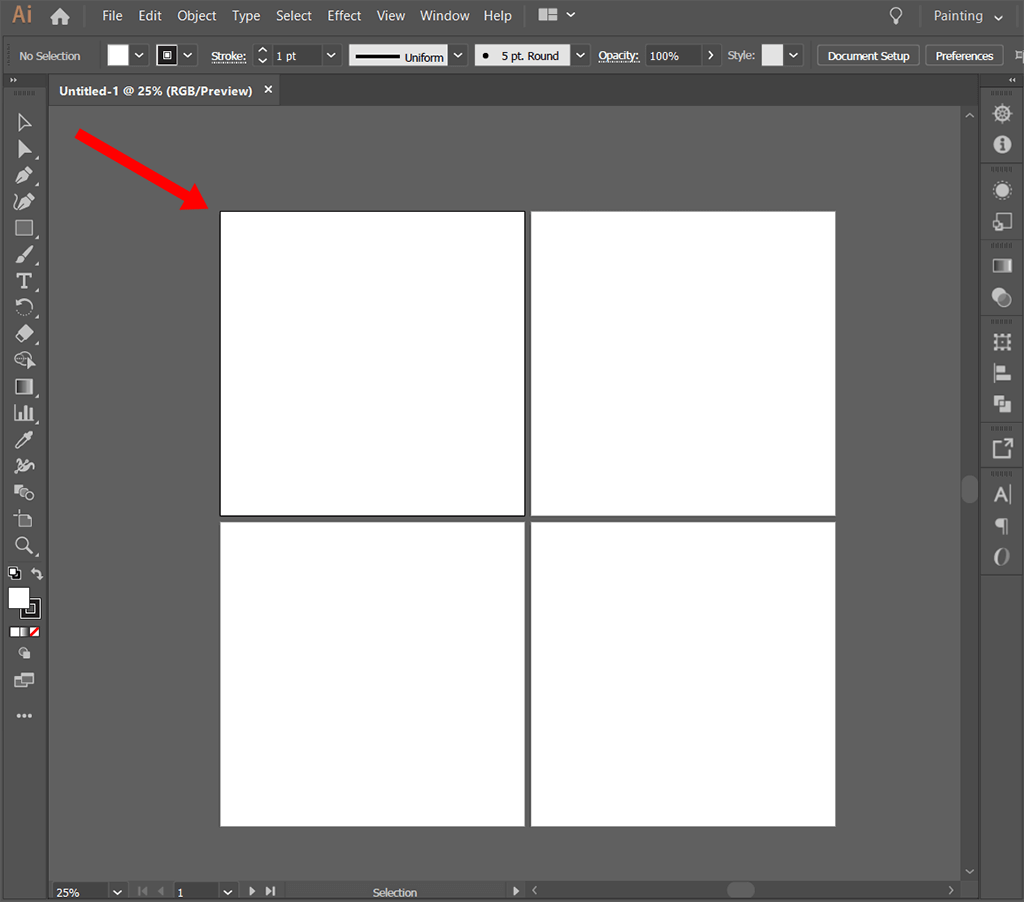
When adding Artboards in Illustrator, you can use the automatic tools in the toolbox. The actual Artboard is selected and you can draw a rectangle of the desired size in a couple of clicks.
If you have already opened the design to work on, I suggest choosing the Artboard Tool (Shift + O).
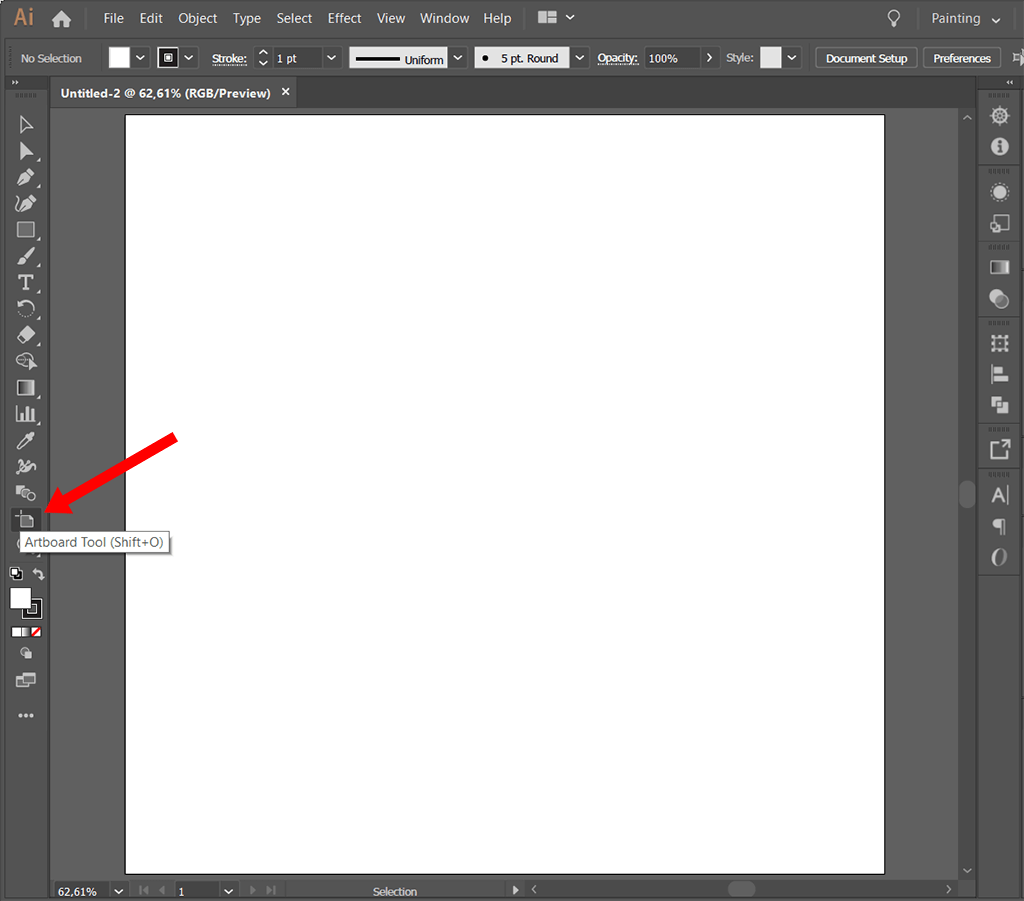
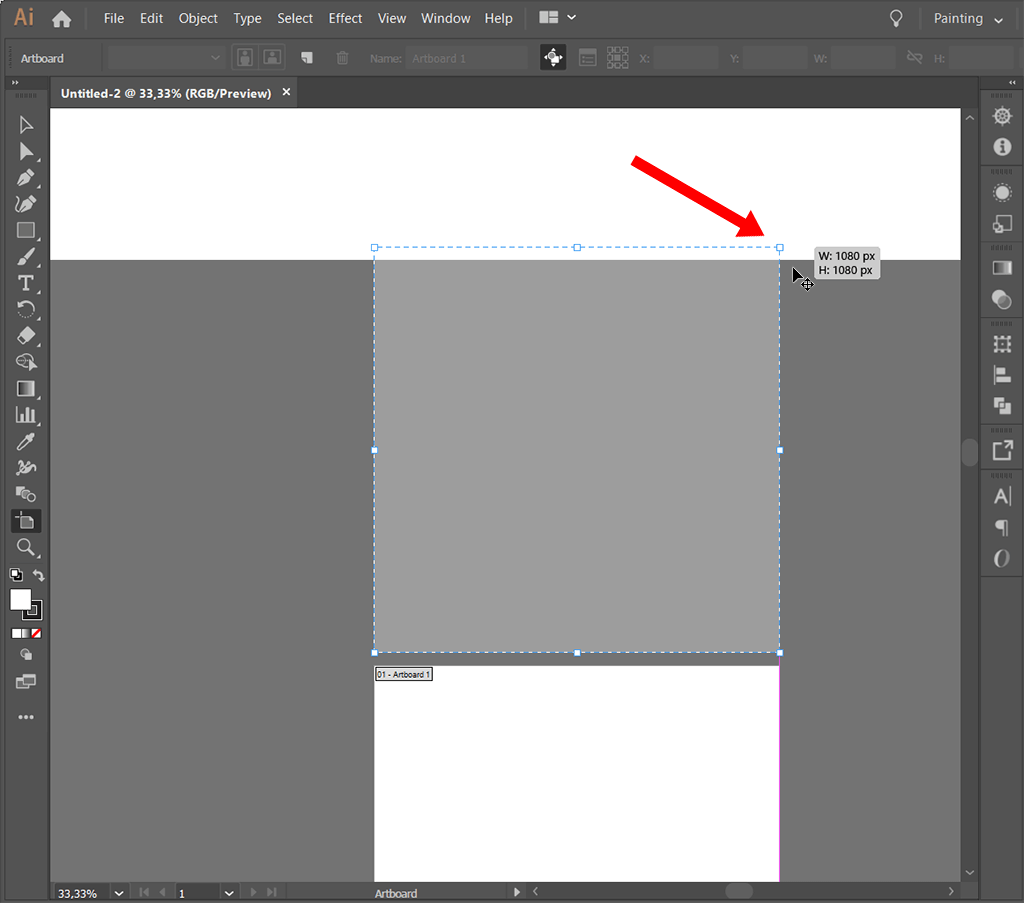
lick and drag the icon to create a new Artboard in the working area. Don't worry if the created Artboard is of incorrect size. You can adjust these parameters later.
Double-click the Artboard Tool to open a dialog box. In the Artboard Options window that appears, enter the Artboard name and parameters. You can add not only dimensions that define the aspect ratios but also the position of the Artboard according to the rulers in the Illustrator workspace. You can find the rulers by clicking View > Show Rulers.
Typically, when you resize an Artboard, it keeps the outside area darker. If this option isn’t selected, the outside and inside areas will be displayed in the same color when adjusting the size.
You can simply copy the finished Artboard with the design and create a new one there. Thus, it is possible to compare colors and fonts while working on the same screen.
Select the Artboard Tool on the toolbar or press Shift + O on the keyboard.
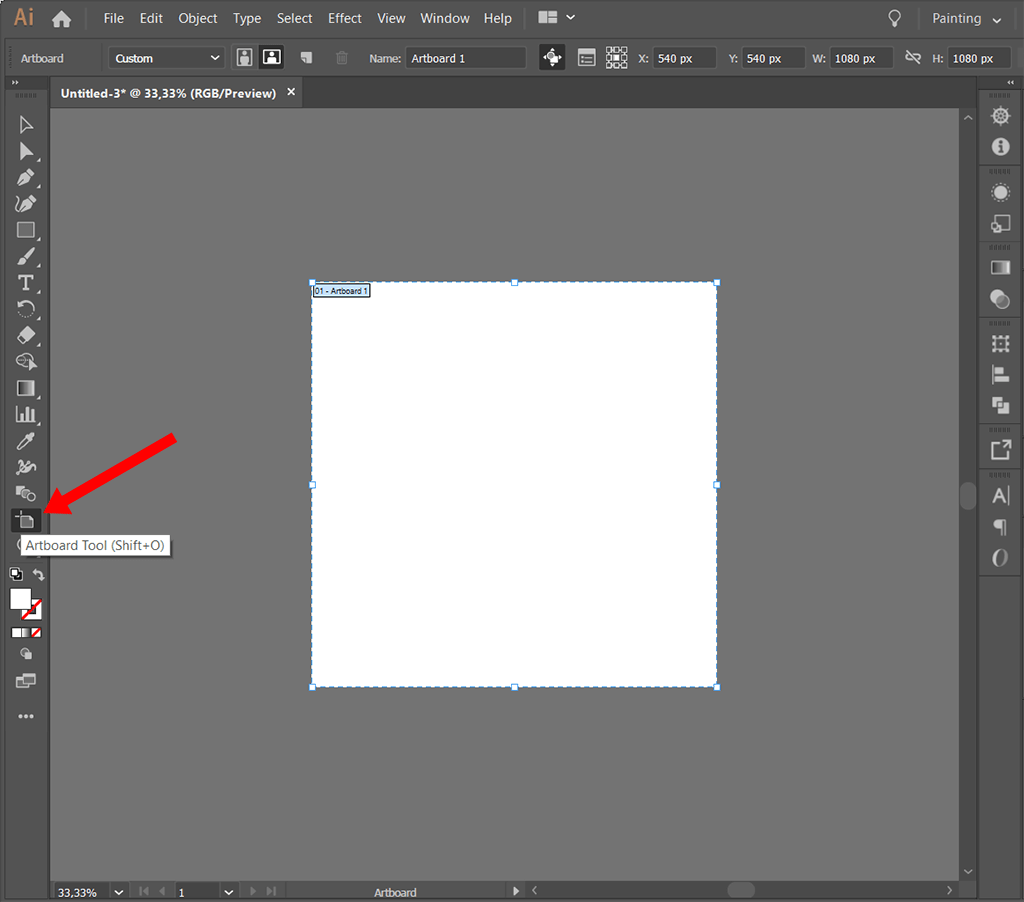
This way, you can add a new Artboard of the correct size/aspect ratio. You can copy-paste designs or change background color in Illustrator to produce several design options.
Those using Adobe Illustrator for Mac need to hold down the Option on the keyboard. Thus, you can easily copy any element in Adobe programs.
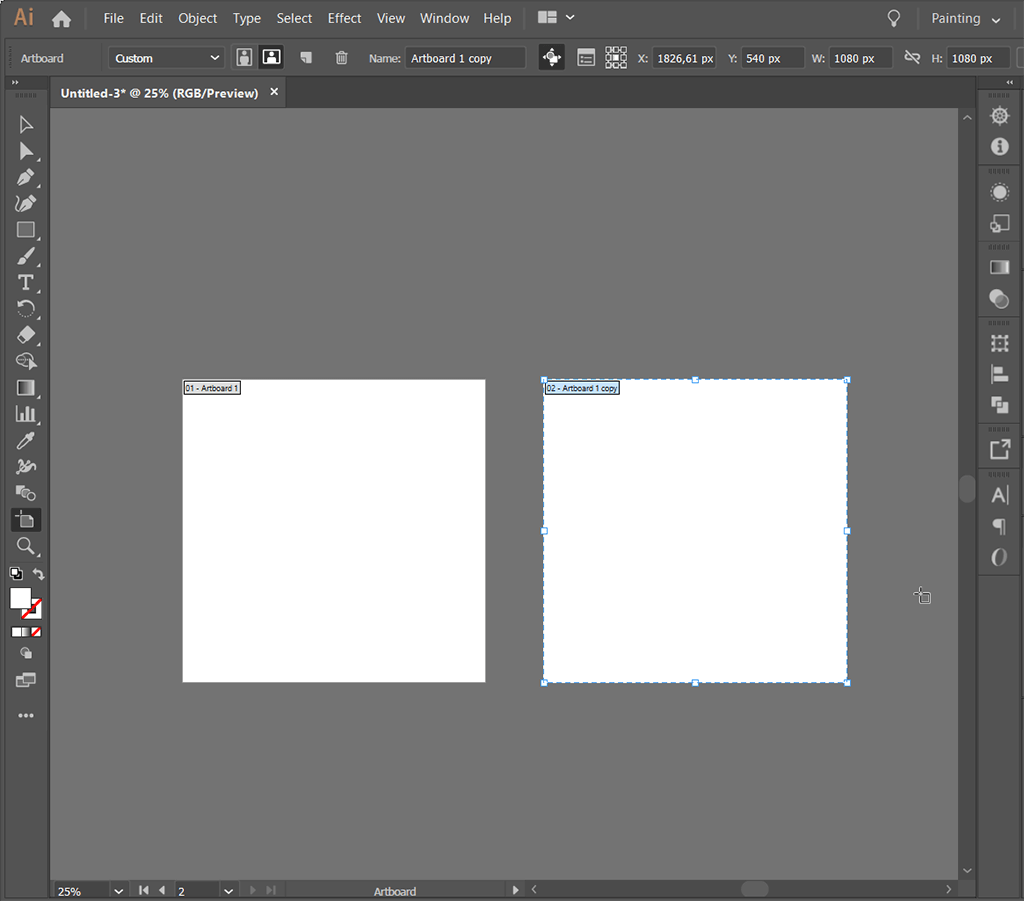
Click on the desired Artboard and drag to duplicate it. There will appear a semi-transparent version of the Artboard on the screen. Don't release the key until you completely drag the Artboard. Unclick to set the Artboard to the desired position.
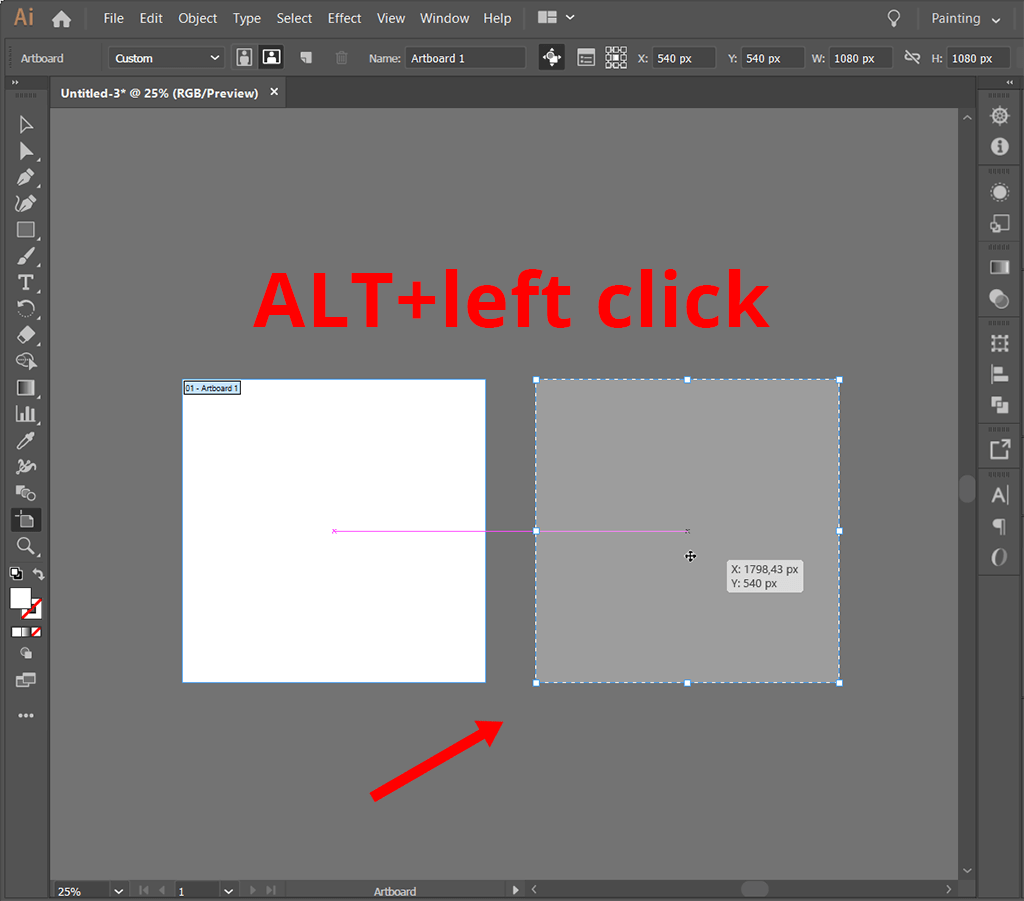
If you use the third method, hold Shift along with the option/alt key. This way, you’ll lock the layer on the desired axis to properly align the area. Use the alt + click option before pressing Shift, otherwise, Illustrator won’t copy the Artboard (if you hold down the option/alt and shift keys before clicking).
By following Adobe Illustrator tutorials, you will get the duplicate Artboard of the desired size. All elements of the original Artboard will also be copied if they weren’t locked.
Once you've learned how to add an Artboard in Illustrator, it's high time to start creating unique designs. These free brush sets will help you unleash your creativity and speed up the process of making layouts.