Adobe Illustrator Tutorials
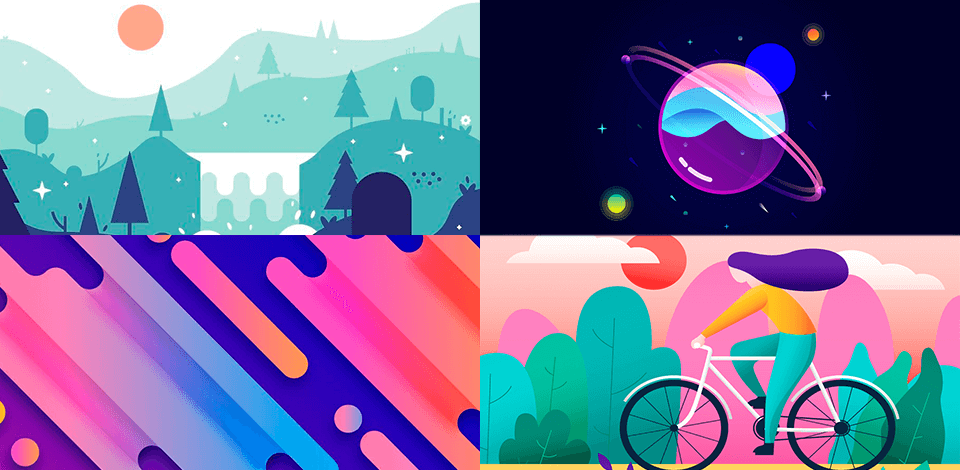
With the help of Adobe Illustrator tutorials you can expand your skillset and learn various new tricks using the familiar tools of Adobe Illustrator. Watch how to use Adobe Illustrator and you will be able to create fantastic illustrations, detailed infographics and typography.
35 Adobe Illustrator Tutorials for Beginners
These are 35 Adobe Illustrator tutorials of varying degrees of complexity. There are general techniques of each tutorial summarized in the overview. The goal is to choose an Illustrator tutorial based on experience in an area that needs improvement.
1. Desert Landscape Flat Design
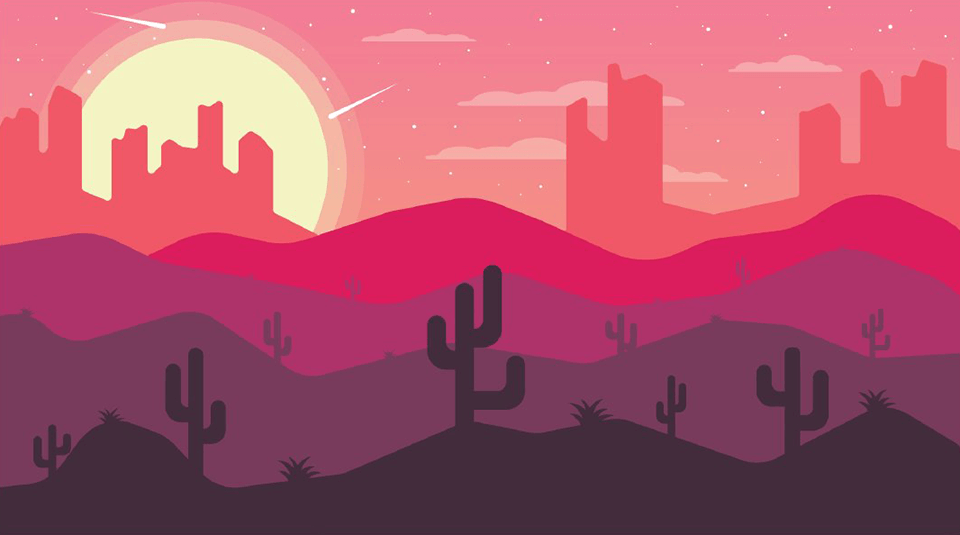
A simple technique in the given color palette will help you create desert plants. The main idea of this flat landscape design lies in creating a sunset with a silhouette shadow on objects in the desert.
Before you get started, install the given color palette and place it outside of the artboard with values ranging from light to dark.
2. Caveman Character Flat Design

This Illustrator tutorial provides detailed instructions on how to draw a caveman character in a flat design style. You will have to use various geometric shapes, which is rather simple.
Don’t be afraid to experiment and try designing not only cartoon characters but also famous personalities and faces.
3. Waterfall Landscape Flat Design

In this Adobe Illustrator tutorial the author demonstrates the process of creating a waterfall landscape in a flat design style. The design features plenty of details and uses a monochromatic color palette. In order not to miss a step, just set the video playback speed that is convenient for you.
4. Landscape with Paper Cut Out Effect

This video will be of interest to those who wish to figure out how to design a mountain landscape that looks like it has been cut out of paper. You will see the way the 3D effect is applied to achieve this design, as well as the process of adding shadows for a more prominent result. The author uses standard tools, like ellipse, rectangle, pen, pencil and width.
5. Circle Night Landscape Illustration

This landscape illustration is created with the use of certain gradient tool tricks, namely Opacity in Gradient. You will need only standard shapes and gradients to recreate this illustration.
6. Fantasy Planet Flat Design

The tutorial offers a thorough instruction on creating a flat planet design with the use of pathfinder and shape builder tool, as well as a pattern builder. The author of the tutorial makes the corners rounded by applying the direct selection tool in the CC version of Illustrator.
7. Ice Cream Cone Illustration

It is one of those Adobe Illustrator tutorials that has to be followed in the CC version. Before you get started, mind that the shortcut key for the direct selection tool is “A”.
Besides, if you need to draw small circles on the corners, look for corner widgets in the CC version. Or simply go to Effect > Stylize > Round Corners.
8. Mountain Flat Landscape Background Design
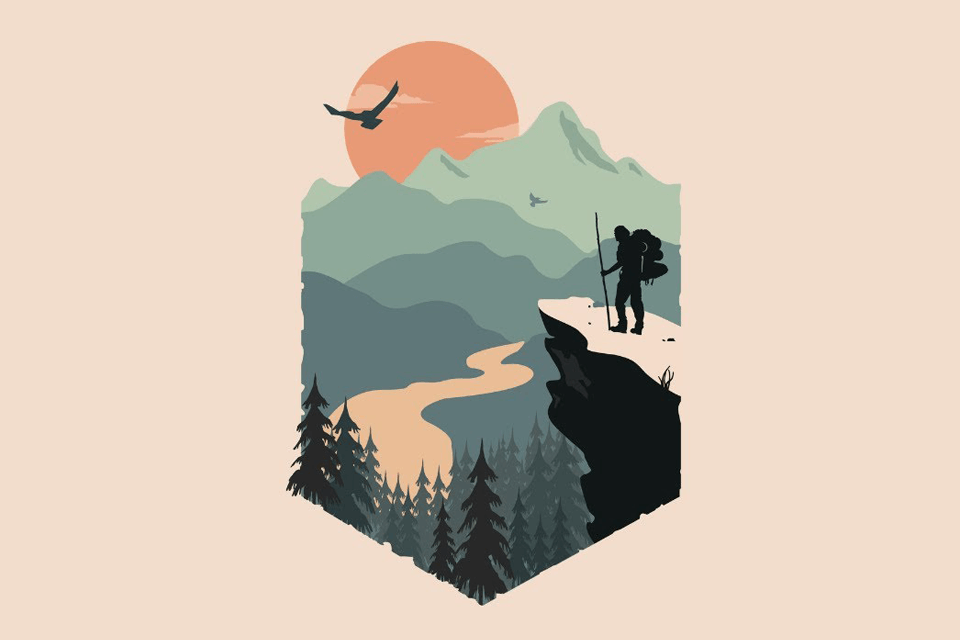
This tutorial explains how to properly work with a clipping mask. You need to ensure that the shape from which clipping mask is made is placed on top of the other objects in the working area. The color palettes may be found at the end of the tutorial.
9. Creating a Minimal Vector Portrait

Pick the Curvature tool and start drawing the face. Then select the shape and pick the Reflect tool. Click on the center guide to adjust the reflection point. After that, select the shape and Shift + Alt (or Option) as you are dragging a reflected copy of the face shape.
The next step is to pick the Selection tool and select both sides of the face via Shift + click. Find the Unite option in the Pathfinder section on the Properties panel (Window > Properties). Pick a Fill color and set the Stroke to ‘none’. With these actions, you will be able to draw facial features and accessories.
10. Boombox Sign with Neon Effect

Here is one of the most effective Adobe Illustrator tutorials on YouTube on creating neon text effects and glowing neon signs. To design this 80’s boombox, the author used the scissors tool to make the text more realistic (he created text and made cuts with the scissors tool), as well as rectangle, line segment, ellipse and pen tools (for drawing the boombox itself).
11. Cat with Grain and Noise Texture

The video shows the process of creating a grain and noise gradient texture. As an example, the author created the cat illustration in a flat design style, which will come in handy for drawing and graphic design projects.
Besides, the author explained how to use enormous noise brushes for gradients – simply choose one brush, make several movements, and you are good to go.
12. Drawing a Pattern in Neo Geo Style
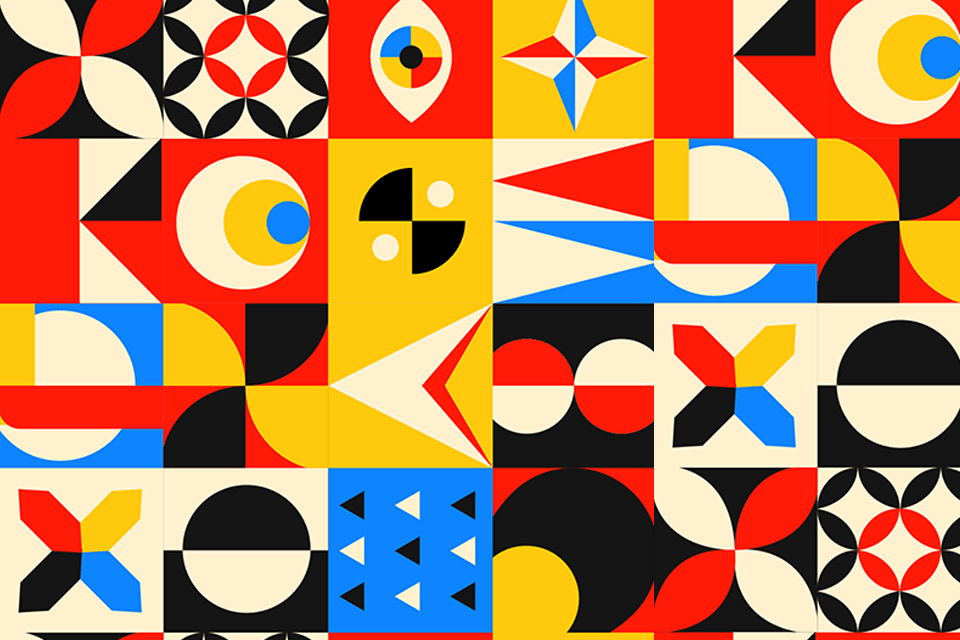
Watch this Adobe Illustrator tutorial to find out how to draw a spectacular pattern in Neo Geo (Neo Geometric) style using standard geometric shapes. You can use Adobe Illustrator icons to make your patterns more diverse.
13. Design an Ice Cream Truck Illustration

Here is another ice-cream-related tutorial since the summer is very hot. Follow the tutorial in the CC version of Illustrator as it has the round corner feature, which is called corner widgets. To deal with window glare, use the shape construction tool (Shift + M) and hold ALT to subtract unnecessary details.
14. Donuts Outline Illustration

For this iconic design, the shape builder is the easiest tool to work with its far better from the Pathfinder panel. Simply select two shapes, then pick the shape builder tool (via Shift + M). After that, click on elements that have to be merged or alt-click on elements that have to be eliminated.
15. Flat Room Door Background Design
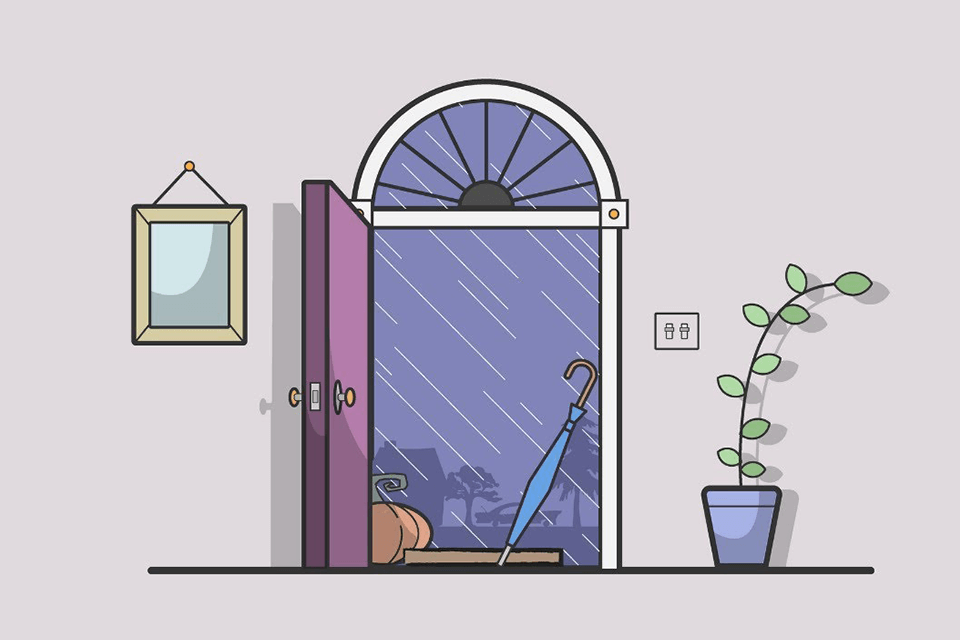
The author of the video explains how to create a flat room door background design with several elements of a non-standard shape based on the above-mentioned tutorials. Watch the video till the end to find the color palettes.
16. Fir-Tree Landscape Background Design
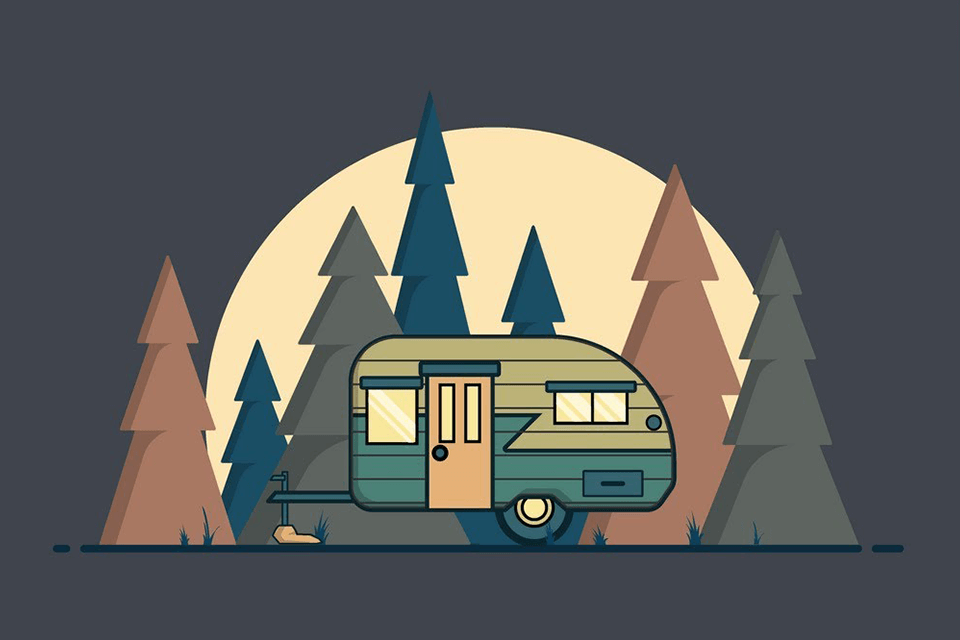
Finally, here is another flat landscape background design that you can easily recreate by following the tips from previous tutorials. Don’t forget about color palettes at the end of the video.
17. Glass Planet Vector Illustration

This is one of the advanced Illustrator tutorials on designing a glass planet from scratch. The author used standard shape tools along with a pathfinder tool to create line art. Then he was building out gradients with a custom color palette for a more eye-catching result.
The author suggests starting with building background, then first outlines. A heavy highlight has to be created with scissors.
18. Character Grain and Noise Texture Illustration

Would you like to make a character illustration with grain and noise texture based on them that also resembles characters from Icons8 apps?
To get started, pick up the pen tool and draw the outline base on the sketch. After that, apply gradient color and shadow to a character.
19. Evening Romance

Why buy artwork when you can create a similar illustration yourself? Here is one as a typical example: the standard cost is more than $10 but with Adobe Illustrator tutorials, it is free.
20. Girl on Bicycle in Flat Style

This illustration of a girl on a bicycle in a flat style looks cute and appealing, doesn’t it? To design such a character from sketch to stunning flat illustration with gradients and shadows, take advantage of the pen and gradient tools, shape builder (to add shadows), as well as several blending modes.
If you have never dealt with minimal flat style illustrations, it is one of the best Illustrator tutorials to figure it all out.
21. 3D Background with Gradient Color Combinations

Practice working with gradients as using color transitions correctly, you can achieve a three-dimensional effect.
22. Drawing Perspective Vector Art

Watch the video to discover how to design vector perspective 3D art, namely vector architectural apartment interior using negative space, without having to download interior design apps.
23. Flat Design Guy on Scooter

Another tutorial on creating character illustration in a flat design style features a guy on a scooter. To begin with, you will learn the basics and more complicated techniques on the use of pen and shape builder tools to redraw illustration from a sketch.
24. Folded Text with Paper Cut Out Effect
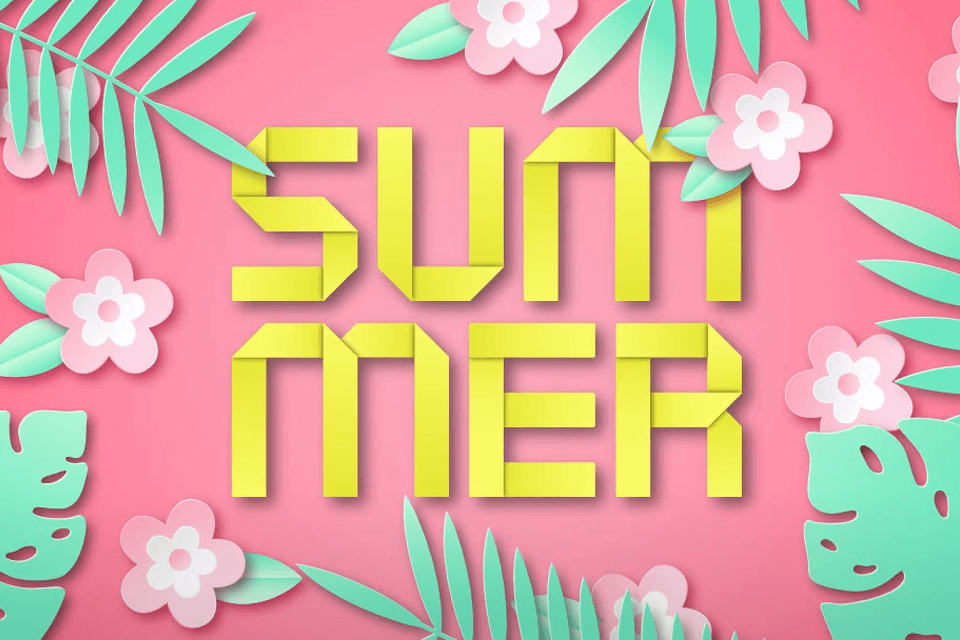
This tutorial is a must-see for those who wish to discover how to create a folded/origami text effect in Illustrator. Rectangle and gradient tools, drop shadow effect and clipping mask are used.
The author of the tutorial presents two methods of adding paper cut out effect: offset path and freeform gradient to create flowers, as well as the application of a 3D effect to create tropic leaves.
25. Creating a Character from Sketch
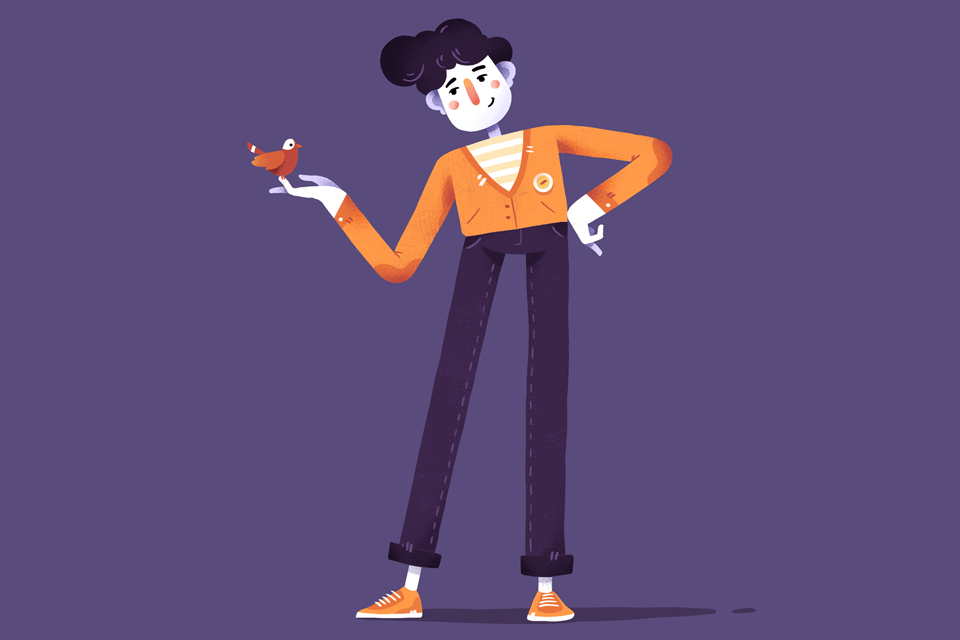
The tutorial demonstrates the process of creating a character from a sketch. The provided tips are quite versatile and can be applied not only in Illustrator.
Just don’t hesitate to play around with colors, various textures and brushes. I assume that as an advanced designer you already know how to draw in Illustrator.
26. How to Draw Birds with Vector Watercolor Brushes
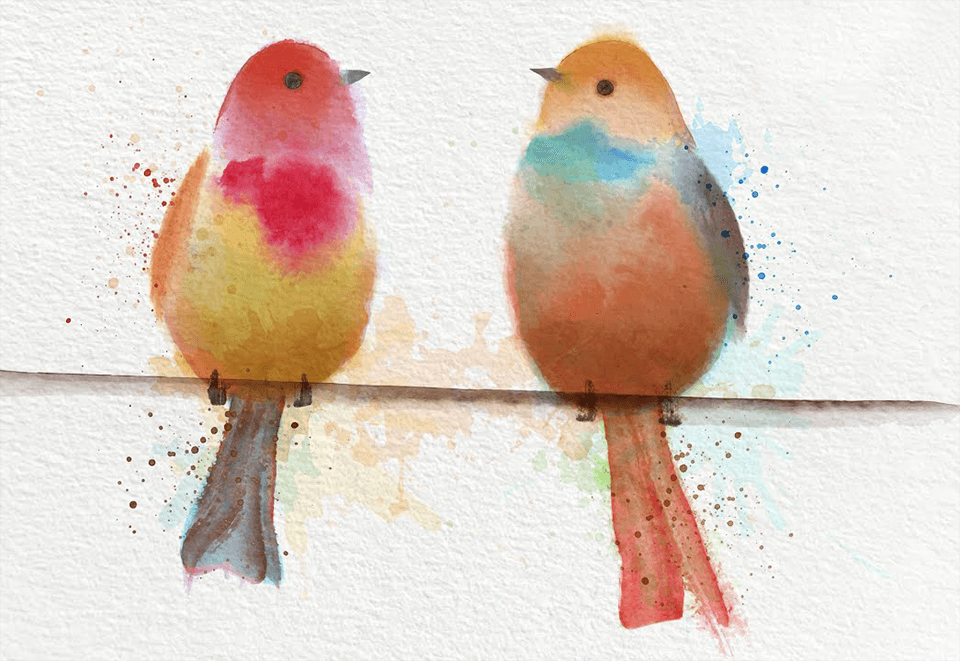
In this tutorial, the author shows the process of drawing birds from sketch to final vector with vector watercolor brushes. Watch it to understand how to deal with and paint with brushes. Birds were drawn using the mouse. Ai stamps and strokes along with vector watercolor splatter were used.
27. Popping Vector Background Design

In fact, it isn’t difficult to recreate a background in this style. You only need to be aware of several helpful techniques to make the background more vivid. The author of the tutorial added masks, gradient and drop shadows to the vector background.
To optimize the background for web-based graphics so that its effects and colors appear nice and crisp on smartphones and PCs alike, save the file as an RGB document in Illustrator.
28. Flat Mountains Landscape Design

Watch this video to find out how to create a flat mountain landscape design. Yes, I have already covered Adobe Illustrator tutorials with mountain design but here it is created in a slightly different way.
29. Landscape at Dusk Flat Design
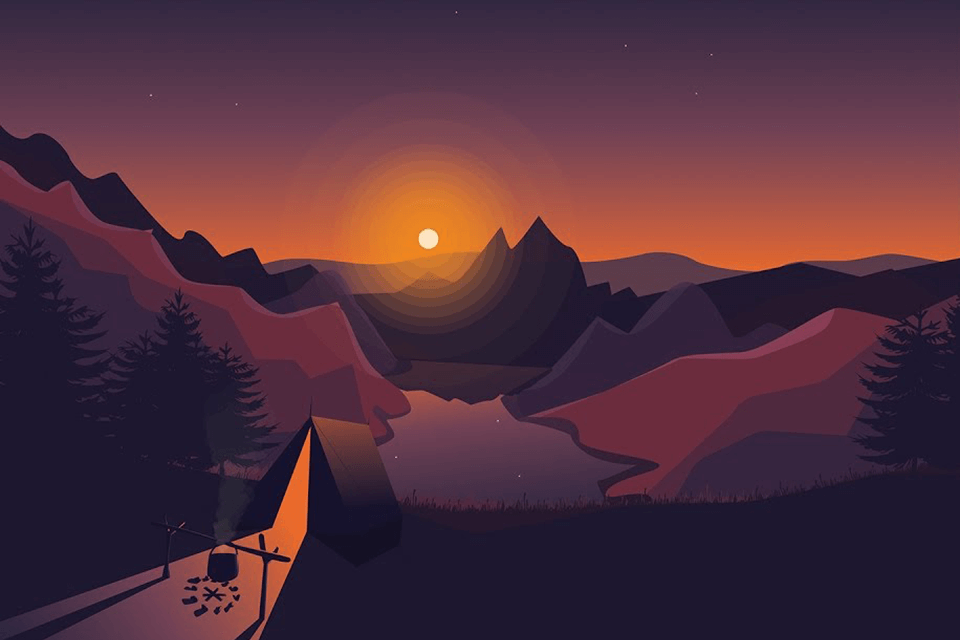
Here is the last mountain-themed design, but with the addition of the setting sun effect. If you have coped with simpler tutorials on mountainous terrain, this one will be easy to master.
30. Making a Fields Landscape Background Design
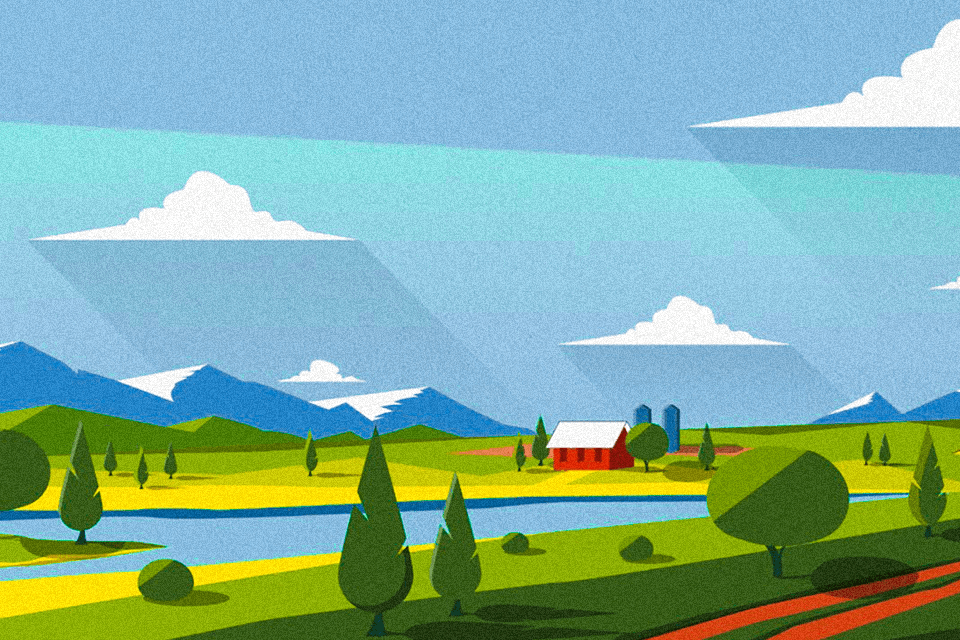
A great tutorial to figure out the process of creating a flat mountains and fields landscape background design. Look for the color palettes in the end of the tutorial.
31. Anime Style Music Girl

This speed art video is aimed at inspiring artists to create a character in the popular anime style because everyone dreams of working in this genre.
32. Vector 4-Color Portrait
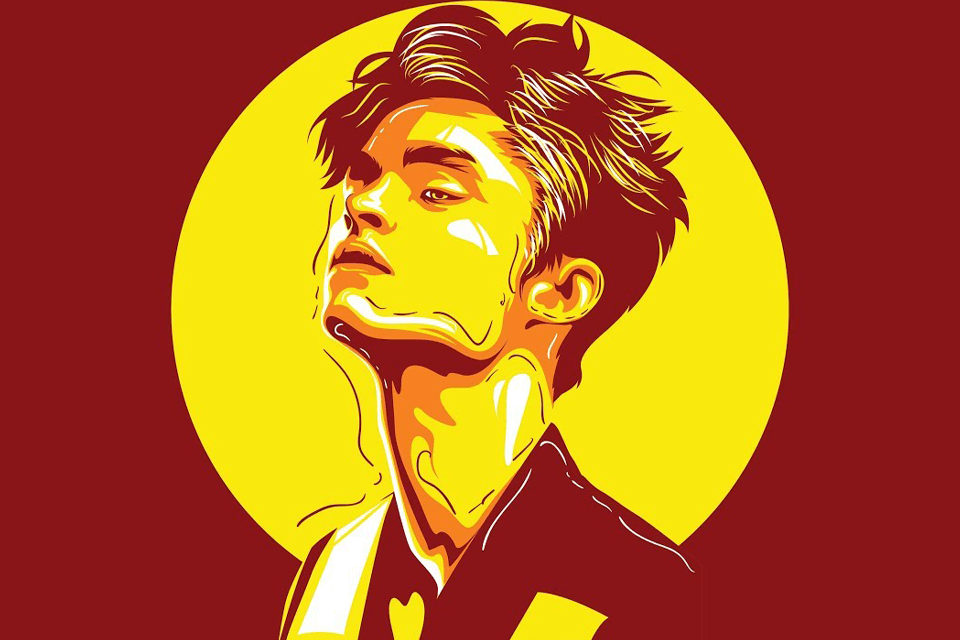
Make your selfie unique by applying this not too complicated technique. It is nice that you can pick the color scheme to your liking.
33. Comic Art Explosions Design

If you are interested in drawing comics, pay attention to this speed art video. It demonstrates the process of creating a comic art explosion expression design without using free fonts for Illustrator. To enhance the design, Illustrator’s pattern maker was used.
34. A Winter Village Design

Standard shapes and tools are powerful enough to help you create any imaginable design. This tutorial on creating a winter village in Adobe Illustrator will prove it to you.
Besides, you will discover how important it is to group and align elements for a professional-looking design.
35. Liquid Color Gradation Design

Finally, let's conquer the “Design” itself, enclosing it in a liquid volume form. Get ready to use the Mesh tool for gradient mesh fill and blending mode.
