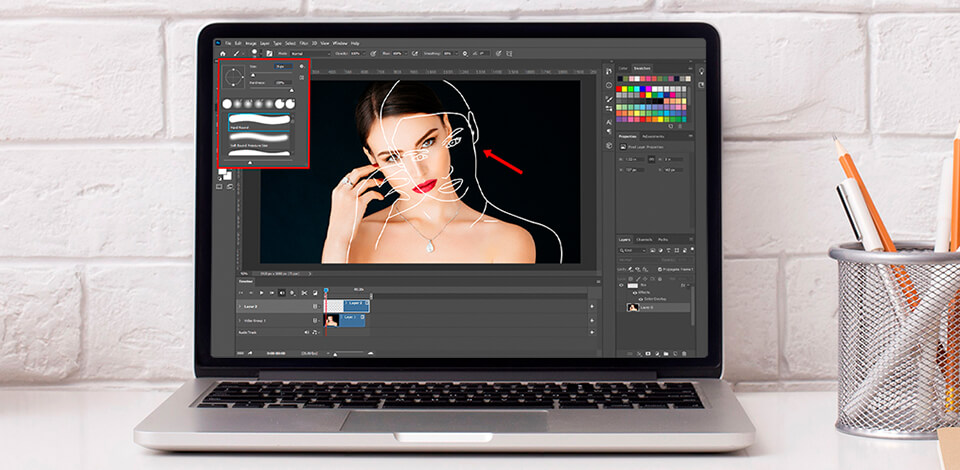
Learn about the most efficient method of how to make a rotoscope animation in Photoshop in 8 steps. This way, you can create animated silhouettes with realistic movements that can be used as a guide for character animation.
Rotoscoping is one of the rendering techniques that involves redrawing a shape from a video clip/movie and looping it as a GIF. Check out this quick tutorial to learn how to draw animation right in Photoshop without using third-party rotoscoping software.
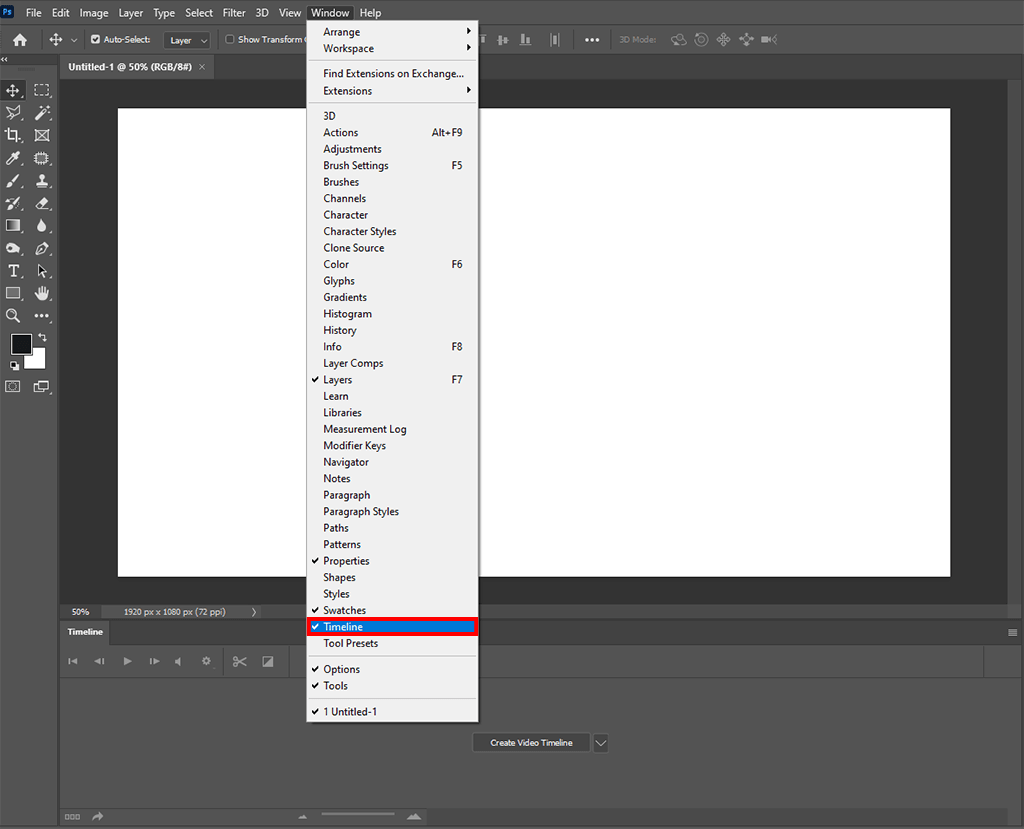
First off, create a new video timeline in the window menu. Select “Window” → “Timeline” → “Create Video Timeline”.
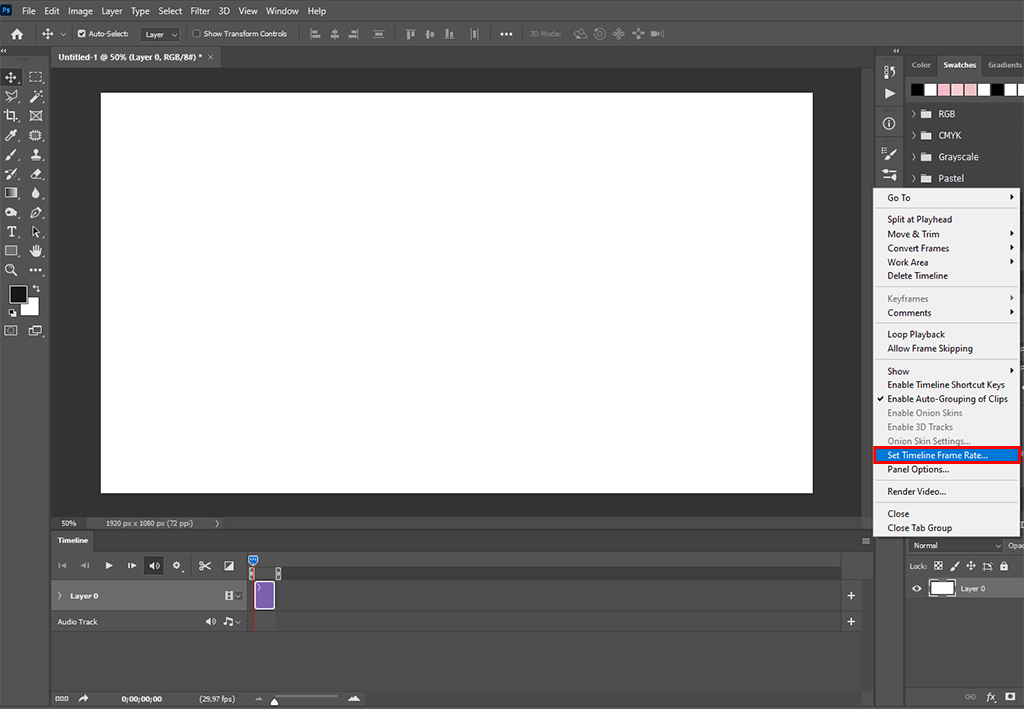
This is a very important step because it takes much time to sketch each frame. Select “Timeline flyout menu” → “Set Timeline Frame Rate” → indicate the desired value.
I recommend choosing 20-25 frames. If you are limited in time and want to ensure there are no errors in your sketch, you can decide to 6 or 12 frames.
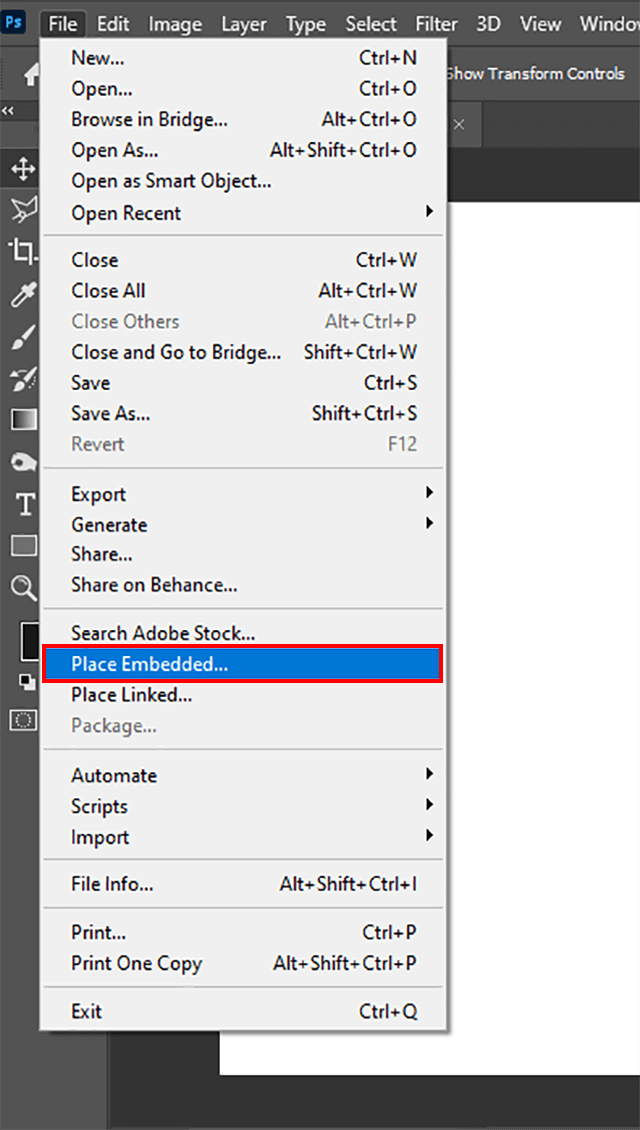
Import a video clip or movie to the “prepared platform”. Choose "File" → "Place Embedded". In the pop-up window, you can select the desired section of a video or download an entire file.
Choose the exact number of frames you want to see in your Photoshop rotoscope animation. Usually, 10 frames are enough for a short animation that lasts 3-8 seconds. Besides, make sure you’ve ticked the "Create Frame Animation" checkbox.
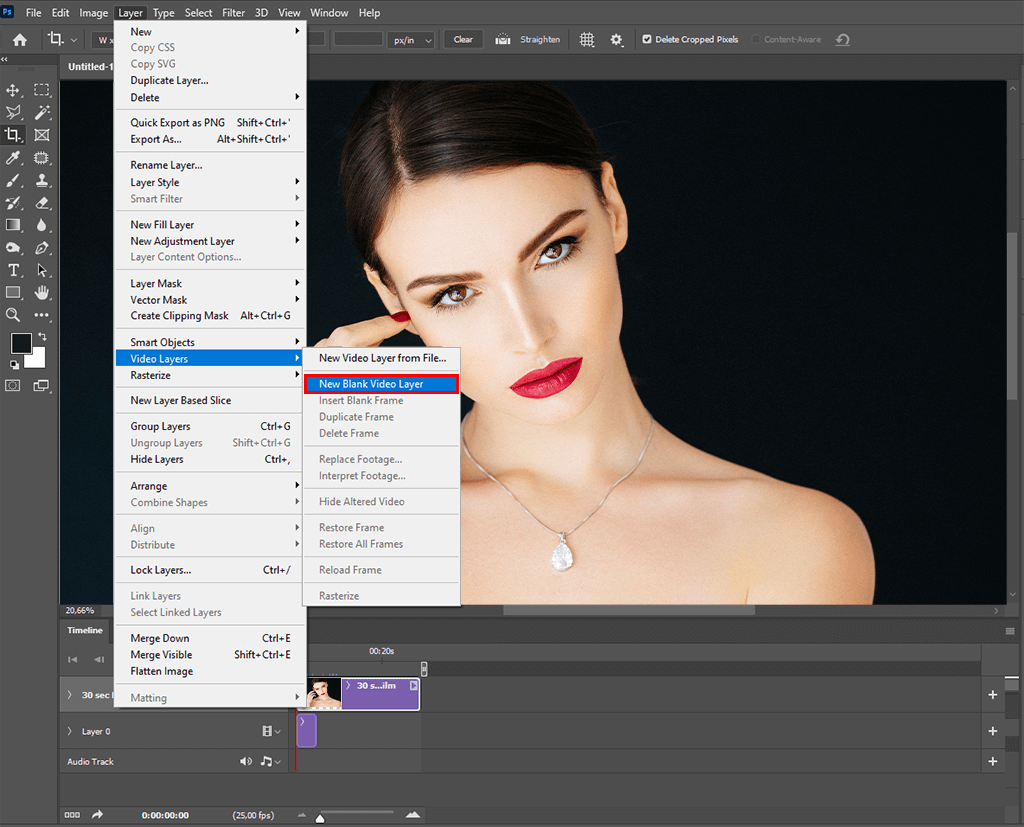
The final step before sketching is to create a new layer outside all folders, with a solid color or texture, depending on what you want to see as the background. Under the Layer menu, choose "Layer" → "Video Layers" → "New Blank Video Layer".
Return to the animation panel and turn off "New Layers Visible in All Frames". Now every new layer you create will be visible only in the selected field in the animation panel.
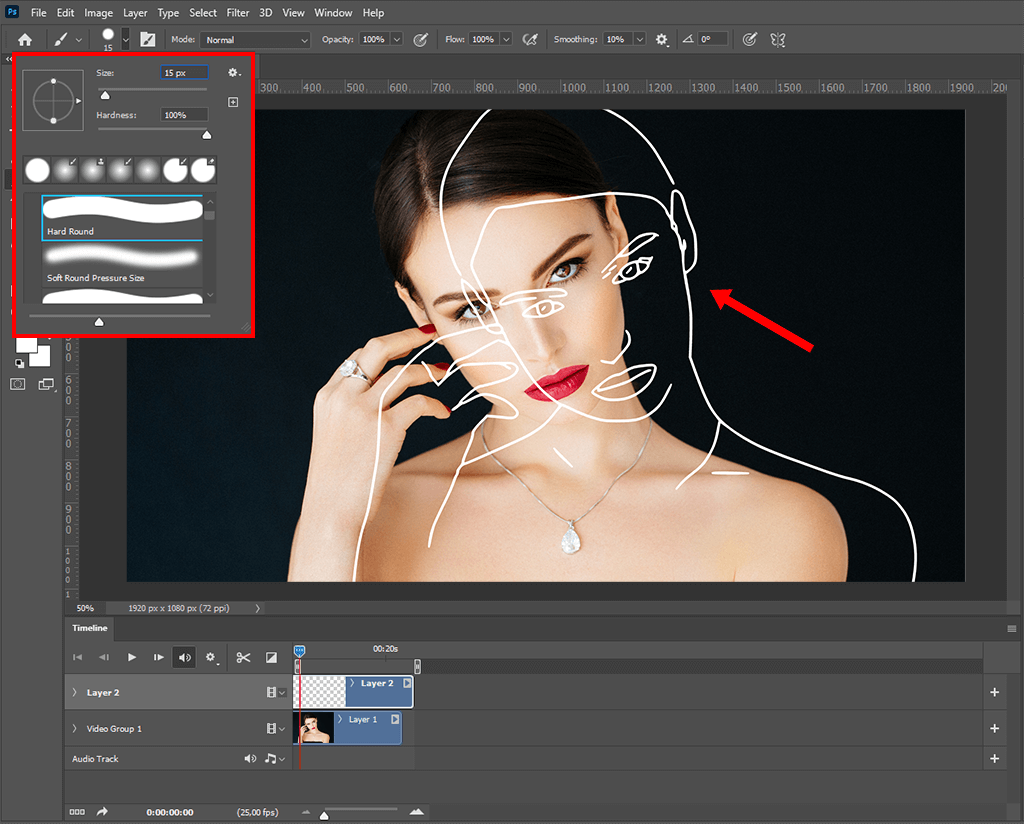
Go to the first frame in the animation panel, click the drawing folder and create a new layer. Set the foreground color to black. Using the Brush tool, select a small, hard brush, and draw the outlines of each frame. Once the first frame is ready, move to the next or the previous frame using the left and right arrows, or drag the Playhead on the timeline. Repeat this procedure until all frames are ready.
When the basic sketch is ready, you can return to step 6 to create a new video layer with color fill.
Go back to each frame one more time and color each outline frame using built-in or third-party free watercolor brushes Photoshop. This is an optional step, which you can take to embellish your rotoscope Photoshop animation.
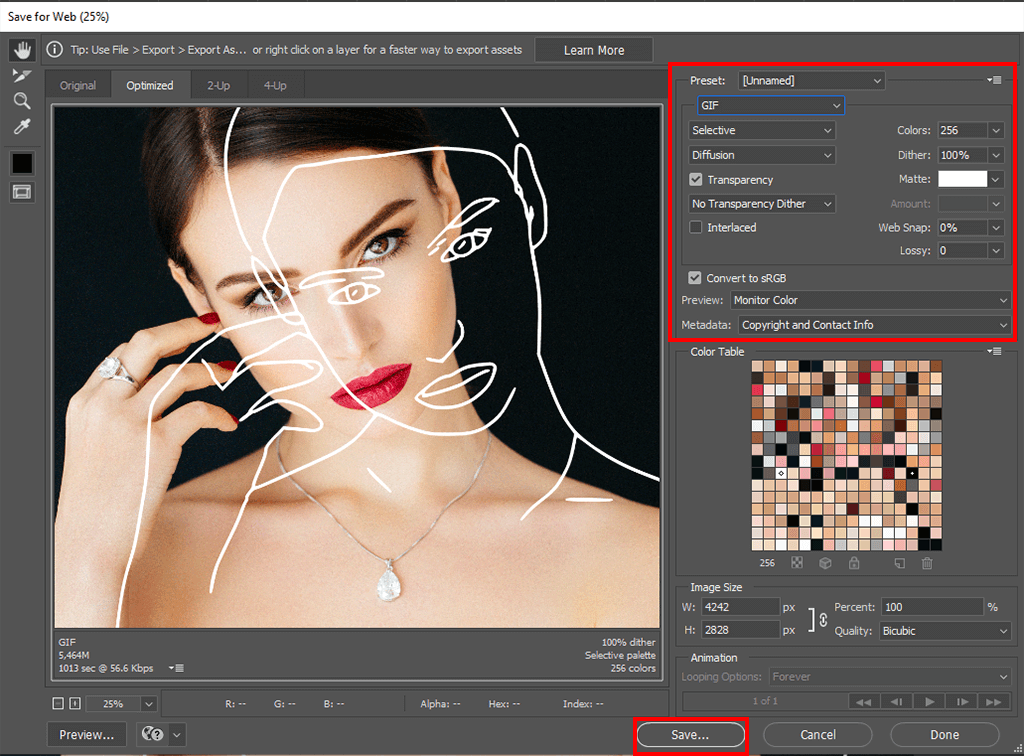
Once you are done, you can export your work as a GIF. Close the folder with video frames and go to "File" → "Export" → "Interpret Video". Select "Forever" under looping options, then "Save".

In addition to the above-mentioned method, you can speed up your workflow by using third-party plugins and actions. They can automate such processes as contour filling, creating a new layer, and exporting. They are absolutely indispensable for large-scale projects, as they help come with the task much faster.
I also suggest you learn how to create an action in Photoshop and use your own automatic settings.


