If you are just learning how to edit images and want to improve your RAW files in an intuitive manner, Luminar Neo is a great program to use. With it, you can open your Fuji’s RAF pictures 75% faster and achieve a 58% speed boost when dealing with Nikon’s NEF images. However, these values are valid only if you use Mac.
Another argument in favor of this program is that the highest memory consumption when editing RAWs is 18% lower than when using previous versions of the software. However, the best thing about Luminar Neo is that it’s absolutely user-friendly, so you can learn the process at a convenient tempo.

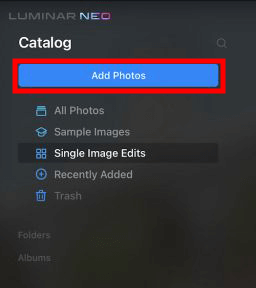
Open Luminar Neo and upload your file, by clicking the blue Add Photos button. Head to the folder with the needed file. You can import a standard RAW file or its version supported by your camera, e.g., ARW (Sony), NEF (Nikon), CR2 (Canon), or RAF (Fuji). Choose a picture and click the Add button.

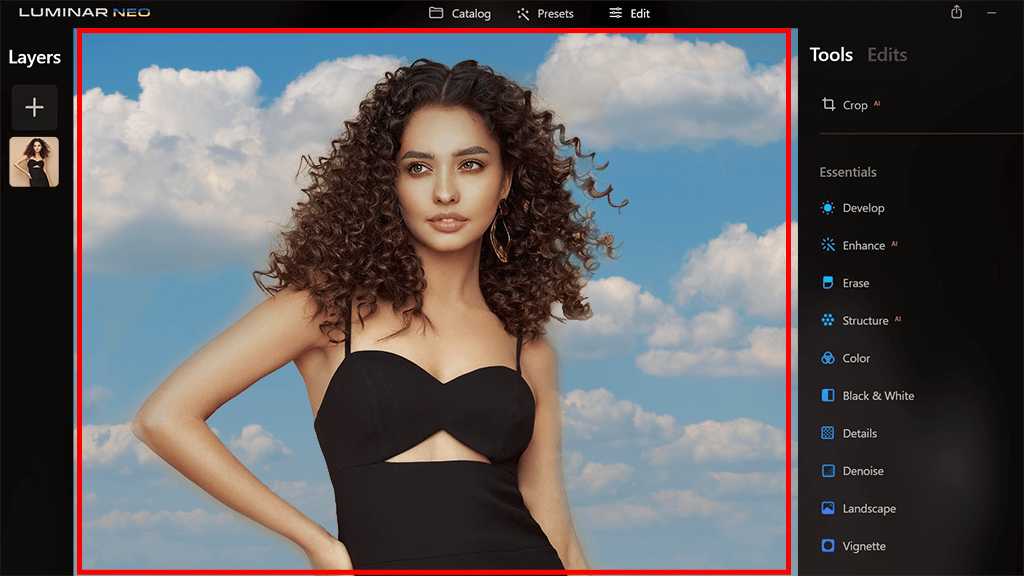
You will see your image in the program. Go to the Edit tab in the upper part of the program to get access to all editing tools and features.

RAW files contain more information than JPGs, and professionals recommend saving shots in this format to have more possibilities during photo processing. When editing RAW photos in Luminar, you should pay special attention to exposure and contrast. The program has a special Develop option in the right-hand navigation menu. By clicking it, you will see several sliders, including those for adjusting Contrast and Exposure in RAW files. Move them accurately to achieve the desired result.

The developers of the software constantly update it and the range of tools for editing RAW files is increasing. It’s great that the latest instruments are built on AI. Among them are Structure AI, Relight AI, Sky AI, and Atmosphere AI. Thanks to their automatic nature, users can cope with complicated tasks quickly.
AI-powered Luminar Neo features for improving RAW files:
Sky replacement — Used for selecting and replacing sky reflections in the water. You only need to indicate the part of a photo and let the program does the rest. If you want, you can manually fine-tune colors.
Auto-fix power lines — This instrument will detect and remove power lines automatically. Another tool that you can use for the task is called Sensor Mark.
AI masking — It scans the entire photo and creates masks for every object or area detected.
Relight AI — Using this feature, you can immediately fix lighting and exposure issues considering the image depth. Besides, it improves background and foreground in portrait, landscape, and real estate shots.
Portrait Background Removal — Use it for 1-click background removal.
FaceAI and SkinAI — Aimed at deleting skin defects and highlighting natural beauty.
Portrait BokehAI — Generates a winsome bokeh effect in any part of an image.
StructureAI — Raises contrast and makes details more defined, without altering natural features.

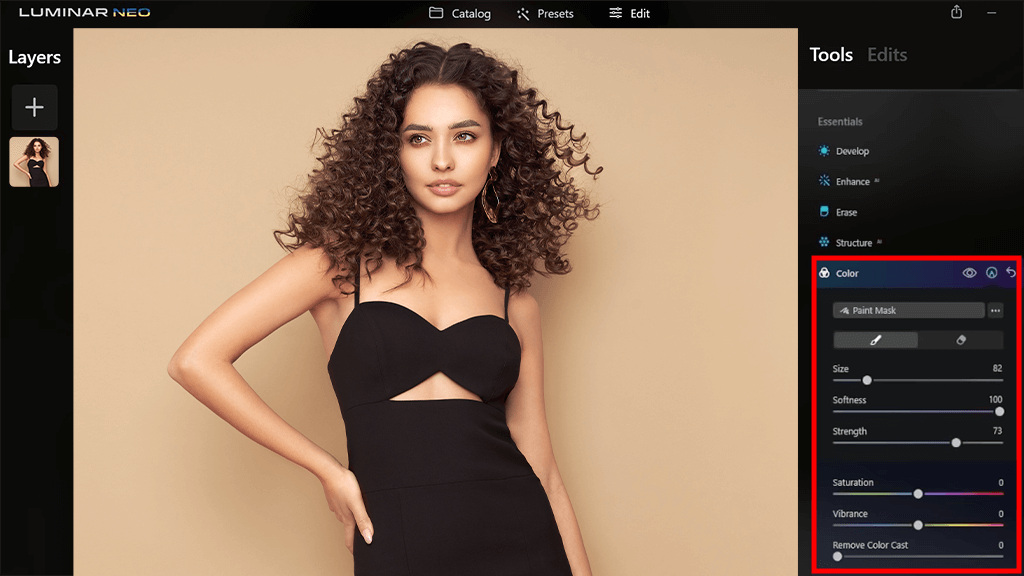
When you edit RAW in Luminar, you may want to make colors brighter and apply whimsical effects. Fortunately, making such tweaks is easy thanks to AI instruments. You need to open the Color tabs and drag corresponding sliders.
If you use modern cameras by Canon, Fuji, Kodak, Nikon, and Olympus, you can take full advantage of this engine.
Luminar AI is also suitable for editing RAW files. However, this program version isn’t fitted with such a powerful engine, so RAW processing will take more time. Besides, the Neo edition contains more tools, many of which operate on an AI basis. Thus, you can replace the sky, get rid of distracting power lines, apply smart masks and more without making any manual adjustments.
Luminar Neo functions as a standalone program and as a plugin. The latter can be integrated into Lightroom Classis (6+), Photoshop (CS5 and higher), and Photos for Mac and used for editing RAW files.