For some people, it might be difficult to use professional photography services since it takes time and practice to get comfortable in front of a camera in lingerie. Besides being quite expensive, professional photo sessions are also quite difficult to schedule.
If you are on a budget but still want to take stylish and elegant shots, follow this DIY boudoir photography guide.
Use the tips below to create impressive boudoir photography without leaving your home. You can take such photos without using professional photographer’s services or studio equipment.
To make your photos more memorable, you need to select an unusual location with a background that won’t distract a viewer from the main subject. Make sure to choose a location where you can pose freely. It’s better to avoid using locations with many distracting objects in the background.
White bedsheets are always the best choice for minimalist photo settings. Make sure that there are no unwanted objects in the background, otherwise, it will look messy and cluttered. You can also use curtains or fabric as a solid-color background. Besides, you can simply hide the objects that you don’t need in the frame.
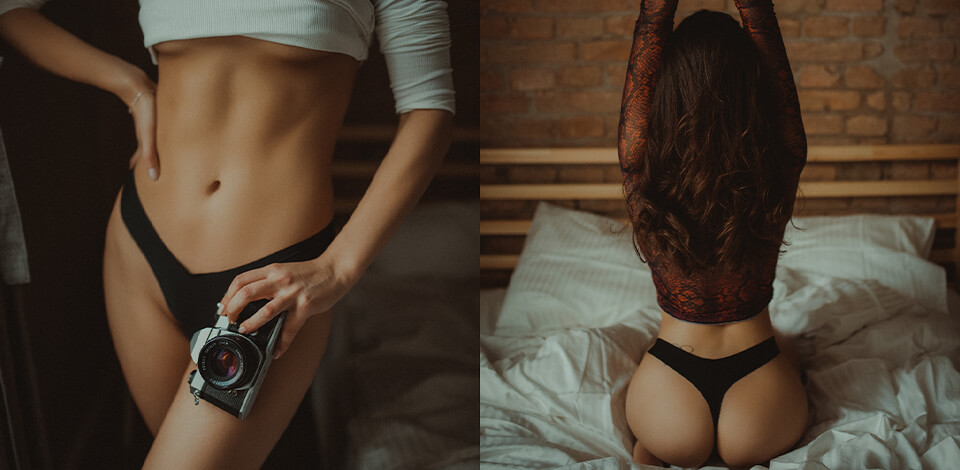
While it’s important to pick a matching bra and panties that will emphasize your curves in the right way, make sure not to focus your attention solely on lingerie, especially if you don’t feel comfortable wearing it. Boudoir photography is all about creating the right mood so you don’t need to show as much skin as possible.
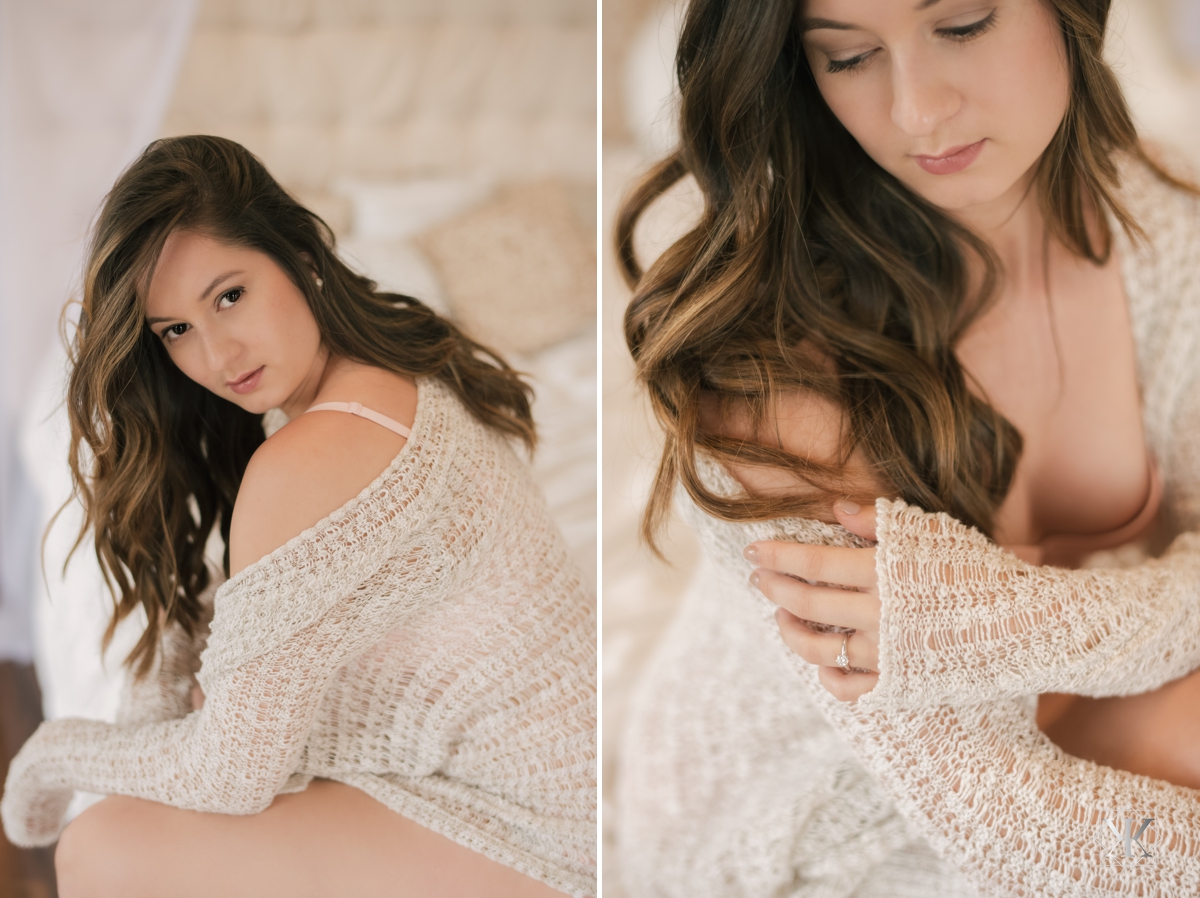
Try implementing these attractive boudoir photography outfit ideas to take more eye-catching photos. For instance, you can wear a T-shirt with a photo of your favorite band or a leather jacket without a bra beneath and combine it with high-waist underwear. If you don’t feel comfortable showing too much skin, opt for a bodysuit or a sweater. Besides, you can experiment with bedsheets or blankets.

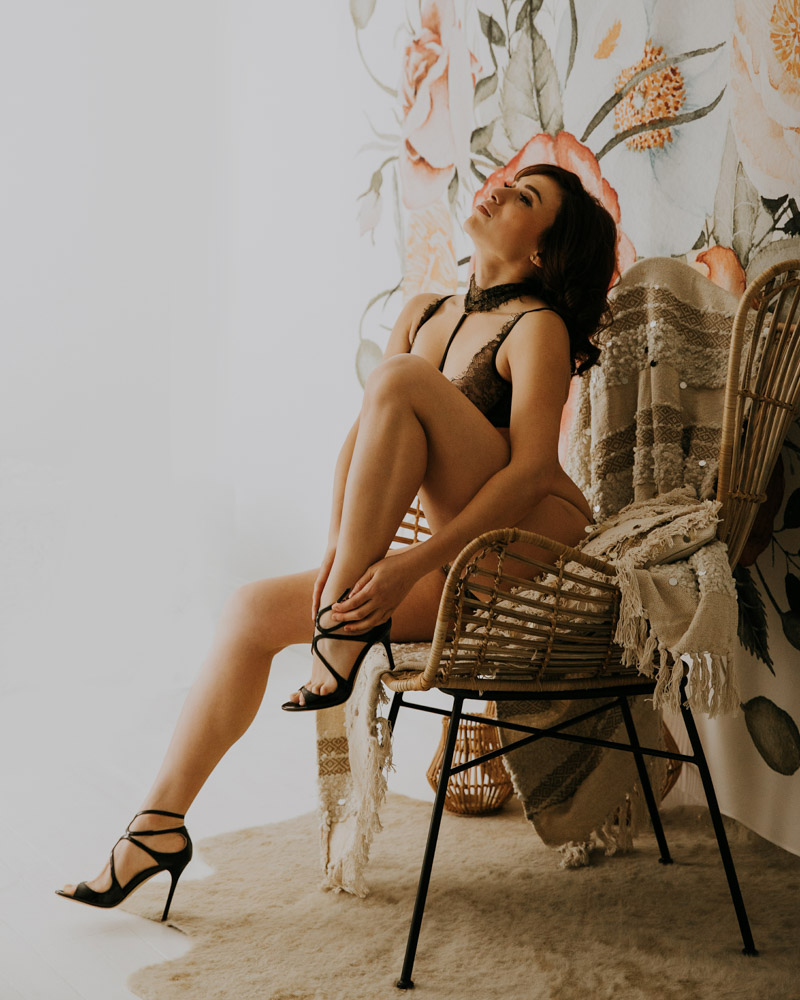
By selecting the right props, you can make your DIY boudoir photography more attention-grabbing. For instance, you can use a variety of props that will help you create a sensual and relaxed atmosphere. Try using feathers, pillows, mirrors, chairs, handcuffs, teddy bears, lollipops, etc.
If you take photos outdoors, you can experiment with natural props, such as flowers, tree branches, or rocks. While you can use a prop at hand, it’s better to select options that match your main theme. Make sure to select simple props that look good in the frame without distracting a viewer from the main subject.

It’s important to avoid using props that will make your photos look too artificial or staged. The props should not clutter the frame. It always better when their color matches the color of your clothes or lingerie.
When taking DIY boudoir photos, you need to pay attention to your facial expressions. For instance, it’s better to relax your mouth so that your lips look more natural. If you keep your mouth shut all the time, it might also look unnatural in a photo.
By stretching your chin toward your phone, you can make your jawline look more attractive. Keep in mind that it’s better to keep your shoulders back as it will emphasize your facial features.
Make sure to wear more makeup if you want to use it, otherwise, your face might look too bleak when you take photos using flash. Besides, use semi-matte, matte foundation or powder to make your skin less shiny.

Some people mistakenly believe that one should take only full-height boudoir photos. However, by paying attention to details, you can make your photos more unique and focus a viewer’s attention on various parts of your body.
For instance, you can take photos of the curve of your neck, capture the images of your lips, the lace on lingerie, or feet in high heels. Guys can take photos of their back and shoulder muscles.

When the photo shooting is over, you can embellish your pictures by using dedicated software. You can also use free photo editors, however, it might be difficult to achieve good results if you aren’t a professional photo editor. It might take you a long time to edit DIY boudoir photos, which is why it’s better to contact a professional service that specializes in this type of photo shooting and post-processing.
Such services will adjust colors to make them more appealing, retouch the skin to hide minor imperfections, and, if necessary, edit the shape of your body. Besides, they can remove distracting items in the background or even replace the background. The only thing that you need to do beforehand is to decide whether you need to make your photo dark and moody, or light and airy.

If you want to take photos for your beloved one, you can ask them to assist you. It will allow you to take photos that will appeal to them the most. When taking photos, you can ask your partner what poses they like and which poses they consider to be the most flattering.
Besides, your partner will make you feel more relaxed and confident. You can also invite them to join you so that you could take photos of just two of you.

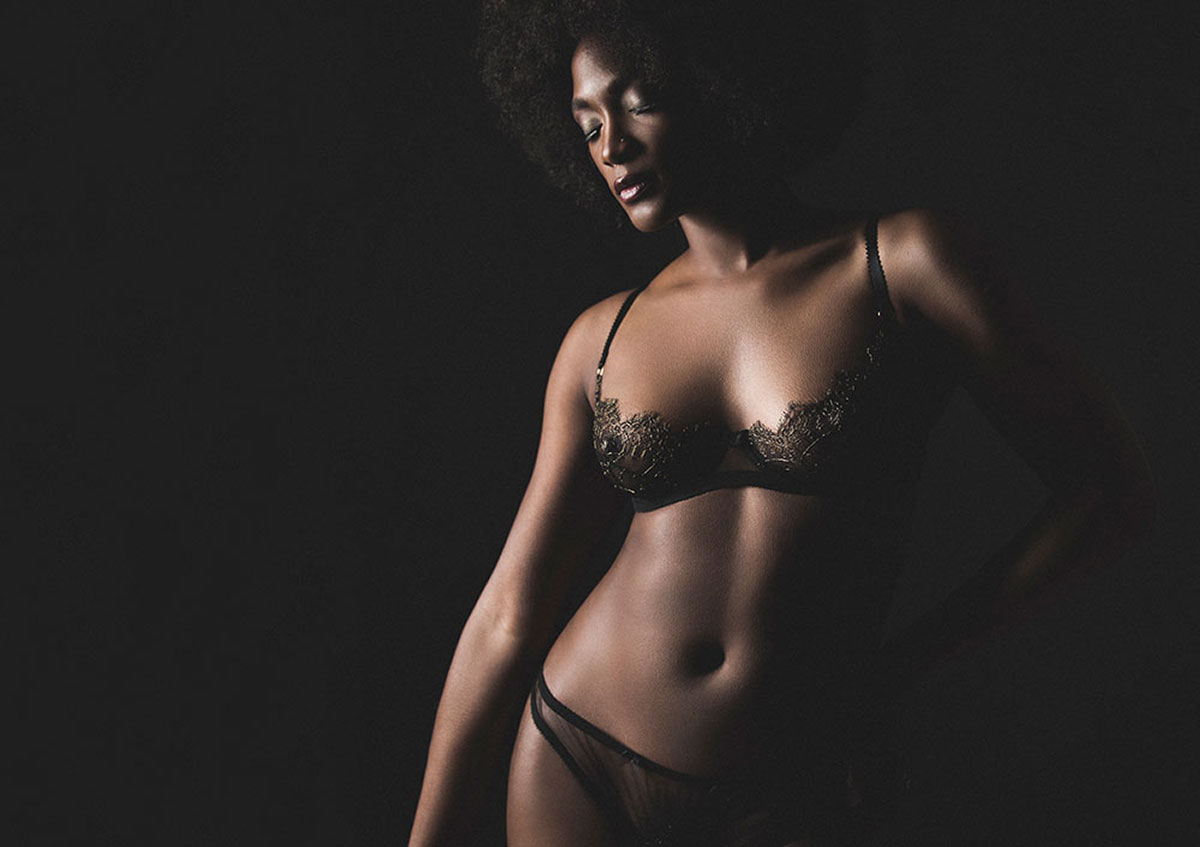
If you take photos indoors, it’s better to find a place near a window. It will ensure that there will be a sufficient amount of light, which will eliminate any unflattering shadows. Pay attention to the direction of your light source. If you are interested in silhouette photography, you can use various backlighting ideas to emphasize the shape of your body.
By turning your face to the side, you can draw a viewer’s attention to your facial features. Front lighting helps hide minor skin imperfections, while side lighting is perfect for those who want to emphasize curves.

If there is no natural light source in your room, it’s better to buy ring lights for photography, such as this Aureday ring light. The best thing about a ring light is that you can adjust its height, dim the light, and even select the light temperature.
If you don’t want to take selfies trying to extend your arm as far as possible or don’t like photos taken with the help of selfie sticks, buy an inexpensive iPhone tripod, like the Ubeesize phone tripod.
If you are on a budget, you can also learn how to create a DIY iPhone tripod without spending a dime. For instance, you can put your phone on a chair, s stack of books, TV tray table, dresser, etc. The only thing you need to do is to find a furniture piece of the right height.
You might have a smartphone with a timer, but it might be quite inconvenient to use it when you are posing while lying on the floor. You will need to stand up, start the timer, and hurry up to assume the next pose. It might get tiresome too quickly, so you might even decide against continuing taking photos.

To avoid this, it’s better to purchase a phone remote or a camera remote that can be connected to your device via Bluetooth. It will allow you to take DIY boudoir photos by pushing one button.

First, you need to look at yourself in the mirror and assume various poses to see how the shape of your body changes every time. You can also go to Pinterest or other similar platforms and search for models with a body type similar to yours.
Keep in mind that plus size boudoir photography poses aren’t similar to regular popular boudoir poses. Besides, if you want to use a certain theme, make sure to find a reference photo with a pose that you can use.

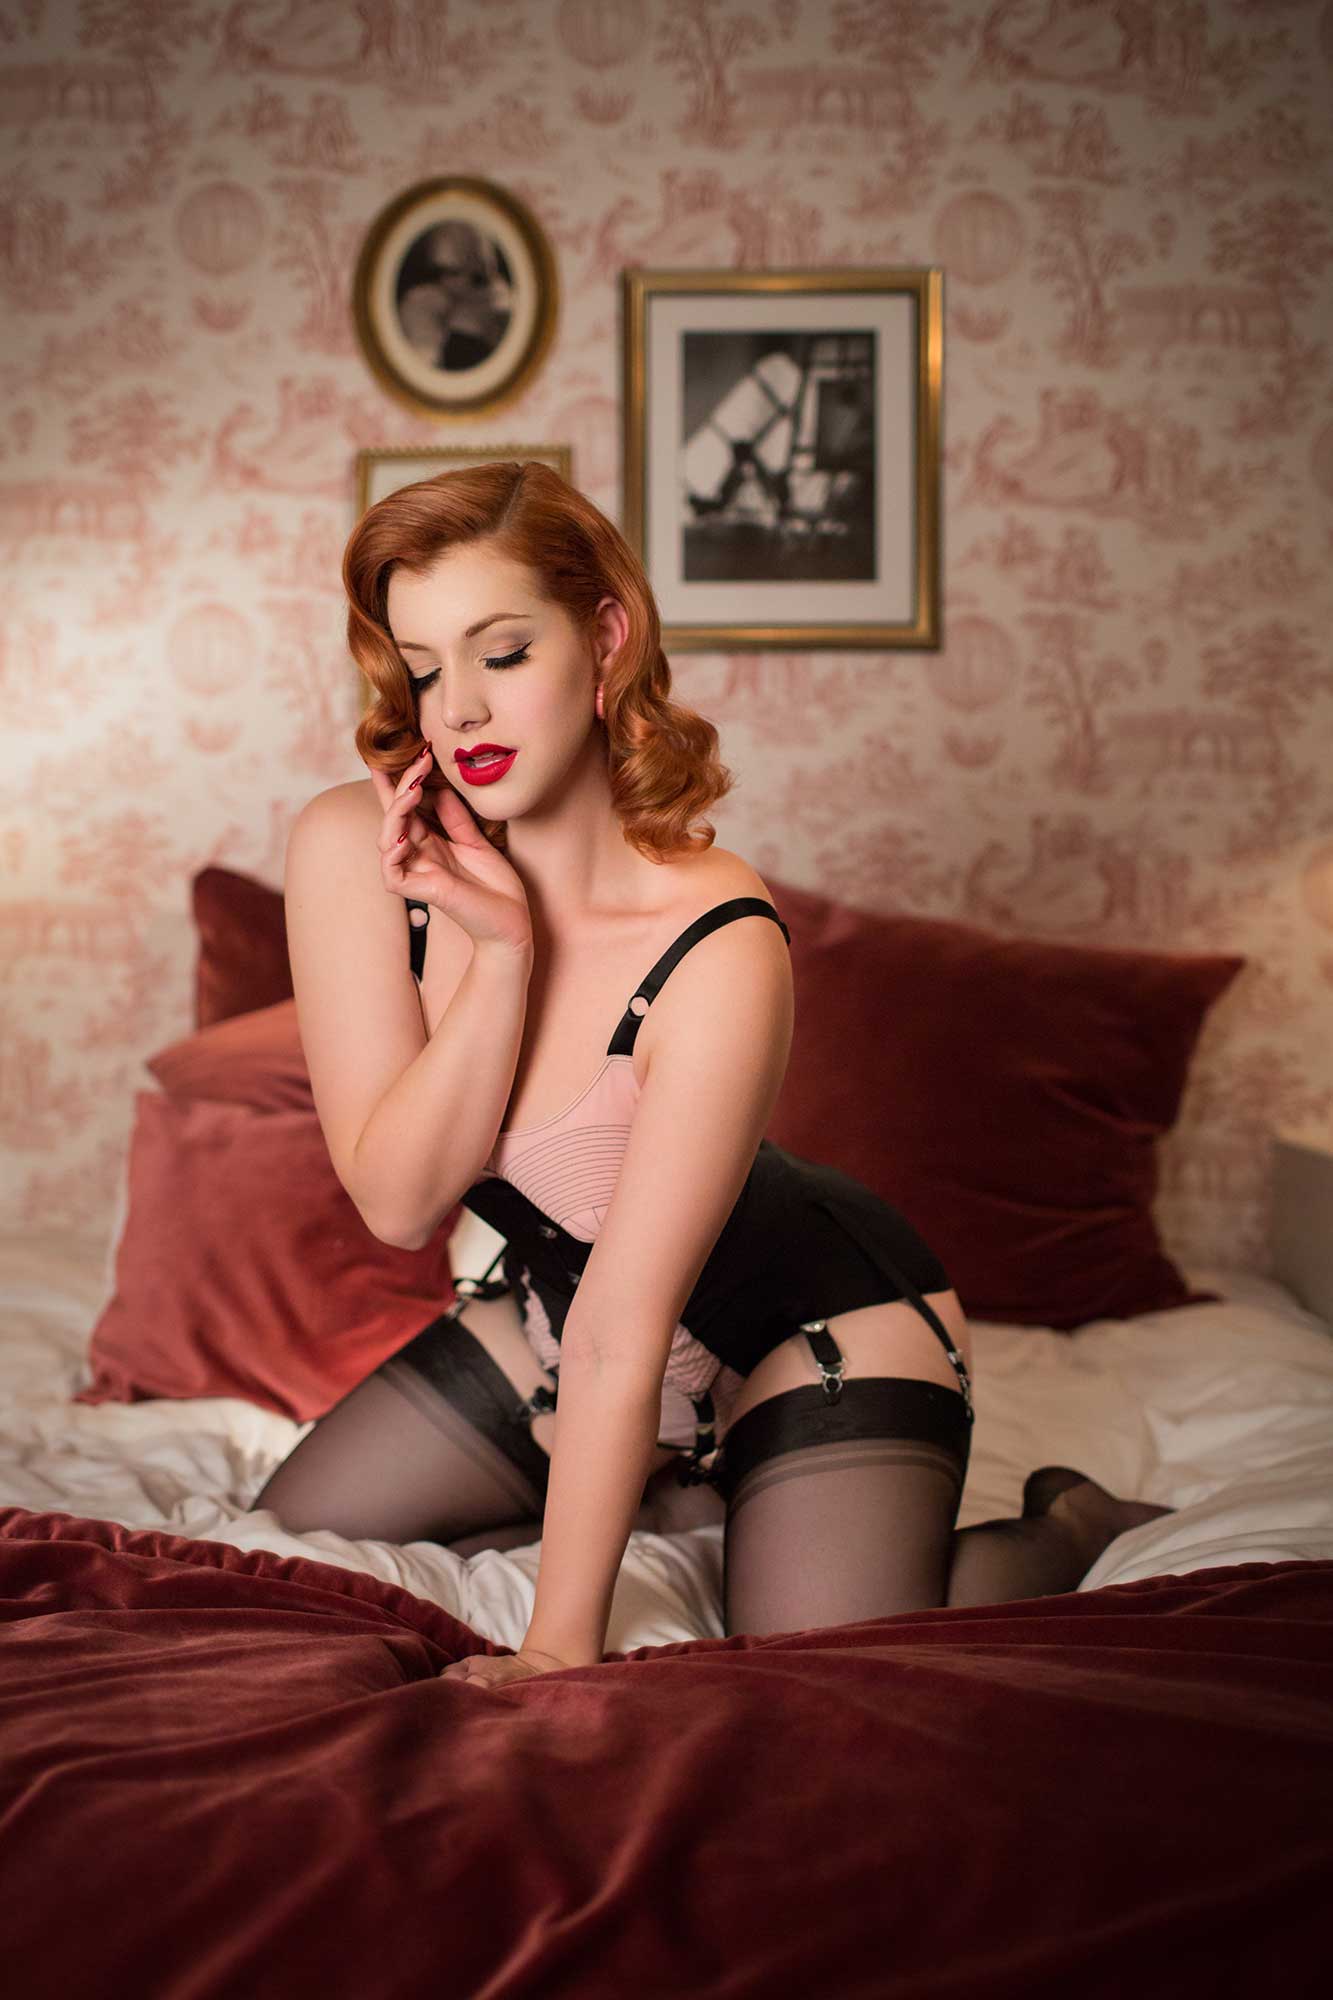
For instance, you can use various pin-up poses to take stylized pin-up photos. Besides, you can go to the websites of professional boudoir photographers and look for photos that you can use as a reference.
Many poses might be uncomfortable, however, they allow you to take naturally-looking photos. Professional models often need to arch their backs and elongate their limbs too much.

To take DIY boudoir photos, you need to select the right theme. Your choice will depend on the type of lingerie that you are going to wear as well as props and locations that you want to use. Depending on the result that you want to achieve, you can implement various boudoir photo ideas to take sensual or provocative photos.
You can use any theme that you like, such as pinup, steampunk, BDSM or gothic setting. Before selecting a location, props and outfits, think about which type of boudoir photos suits you most. It is very helpful if a knowledgeable photographer can help you and direct during a photo session. For instance, Evgenia Ribinik, a seasoned boudoir photographer always helps clients choose the most comfortable theme for them. Depending on your preferences, you can take glamour photos or opt for a natural style.
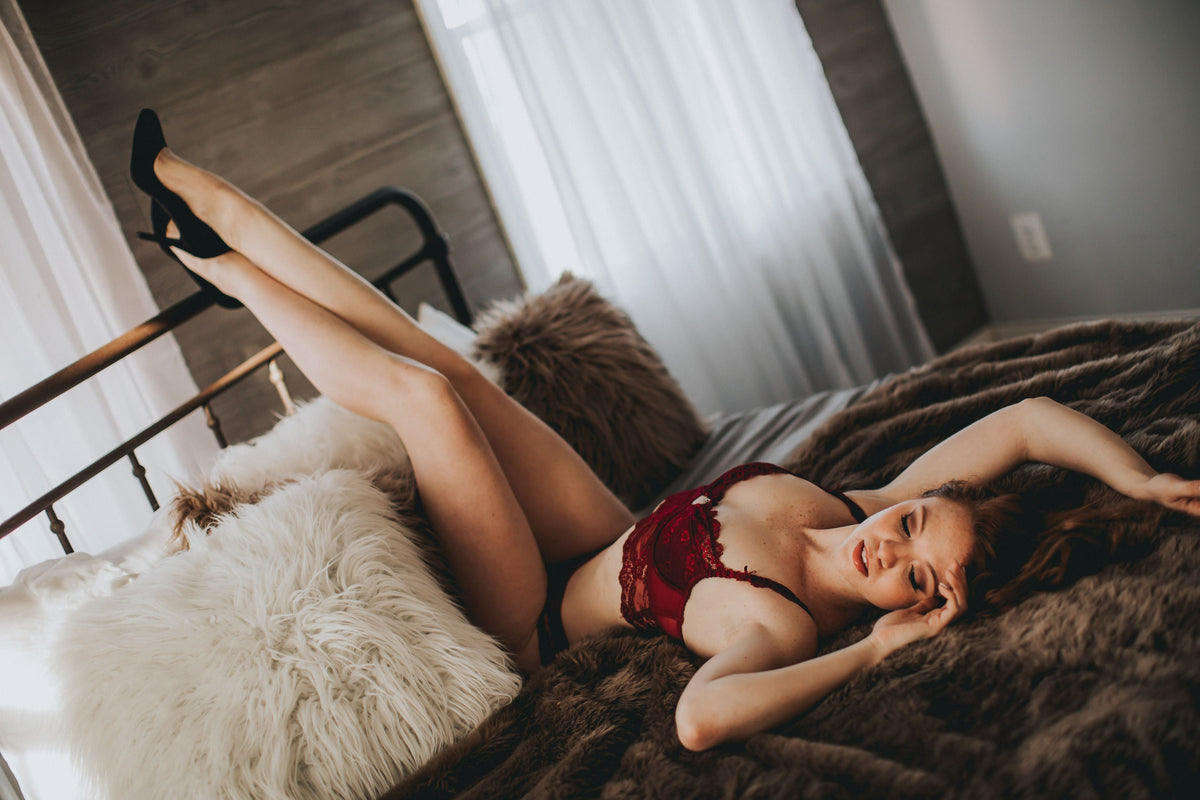
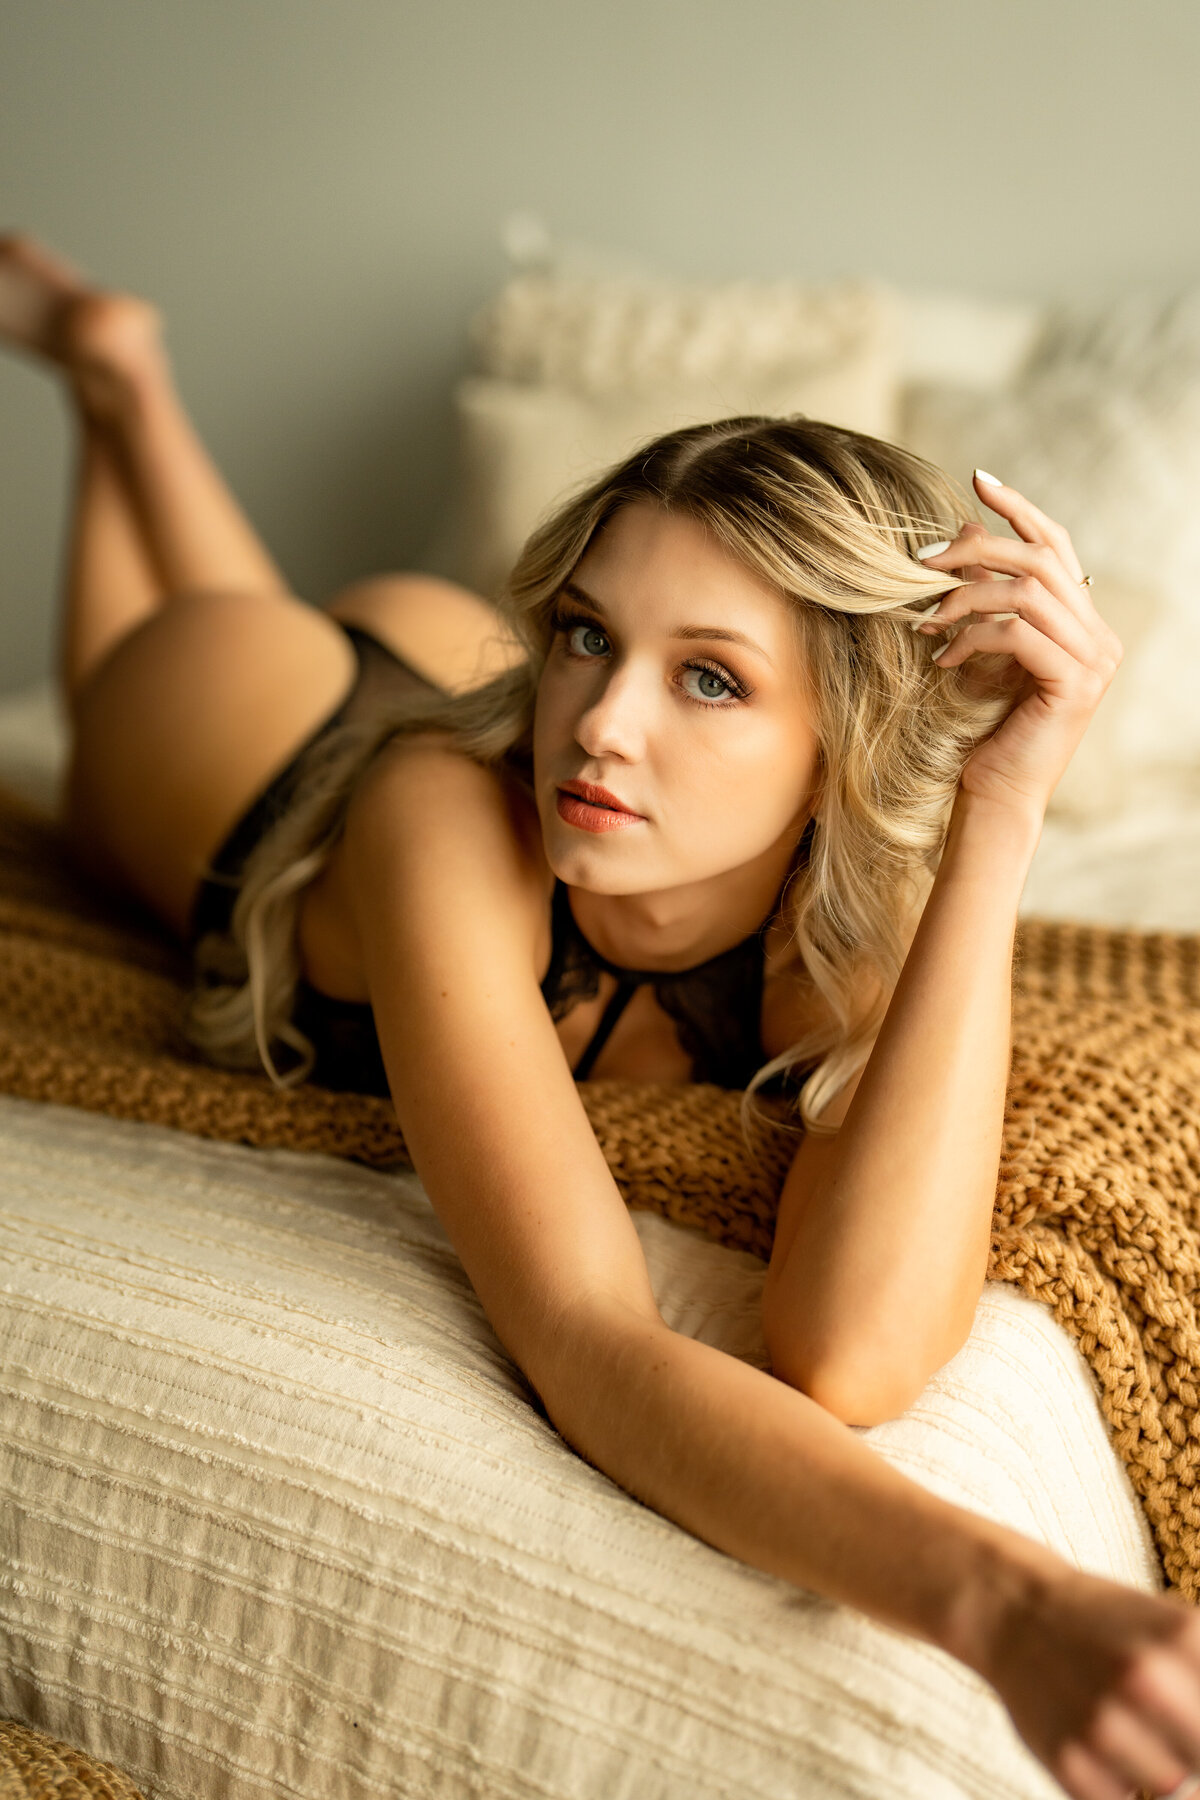
This pose looks quite flattering for every woman. It allows you to visually elongate your legs by stretching them out. You can keep your legs straight up or bend one of them to focus a viewer’s attention on your stylish high heels.
Don’t forget that you need to find the right position for your hands as well. For instance, you can place one hand on your chest while fixing your hair with the other.
It’s one of the best boudoir poses for those who want to focus a viewer’s attention on their back or bottom and show off their curves in a flattering outfit. For instance, you can sit back on your heels, kneel and look directly at the camera from over the shoulder.
By placing some props in the frame, you can make your boudoir photo more stylish. Besides, you can hold a flower or lollipop.
You can strike this pose even while being in your bed. Try lifting your arms and fixing your hair. Make sure to use different angles and experiment with hand posing until you get the result that satisfies you most.

When it comes to DIY boudoir photos, the overhead look is one of my personal favorites. It allows viewers to focus on the eyelashes, chest and legs of a model. To take such a photo, you just need to lift your chin while keeping your back arched. Try moving your hands around to find the right position for them and assume a boudoir pose that doesn’t look staged.

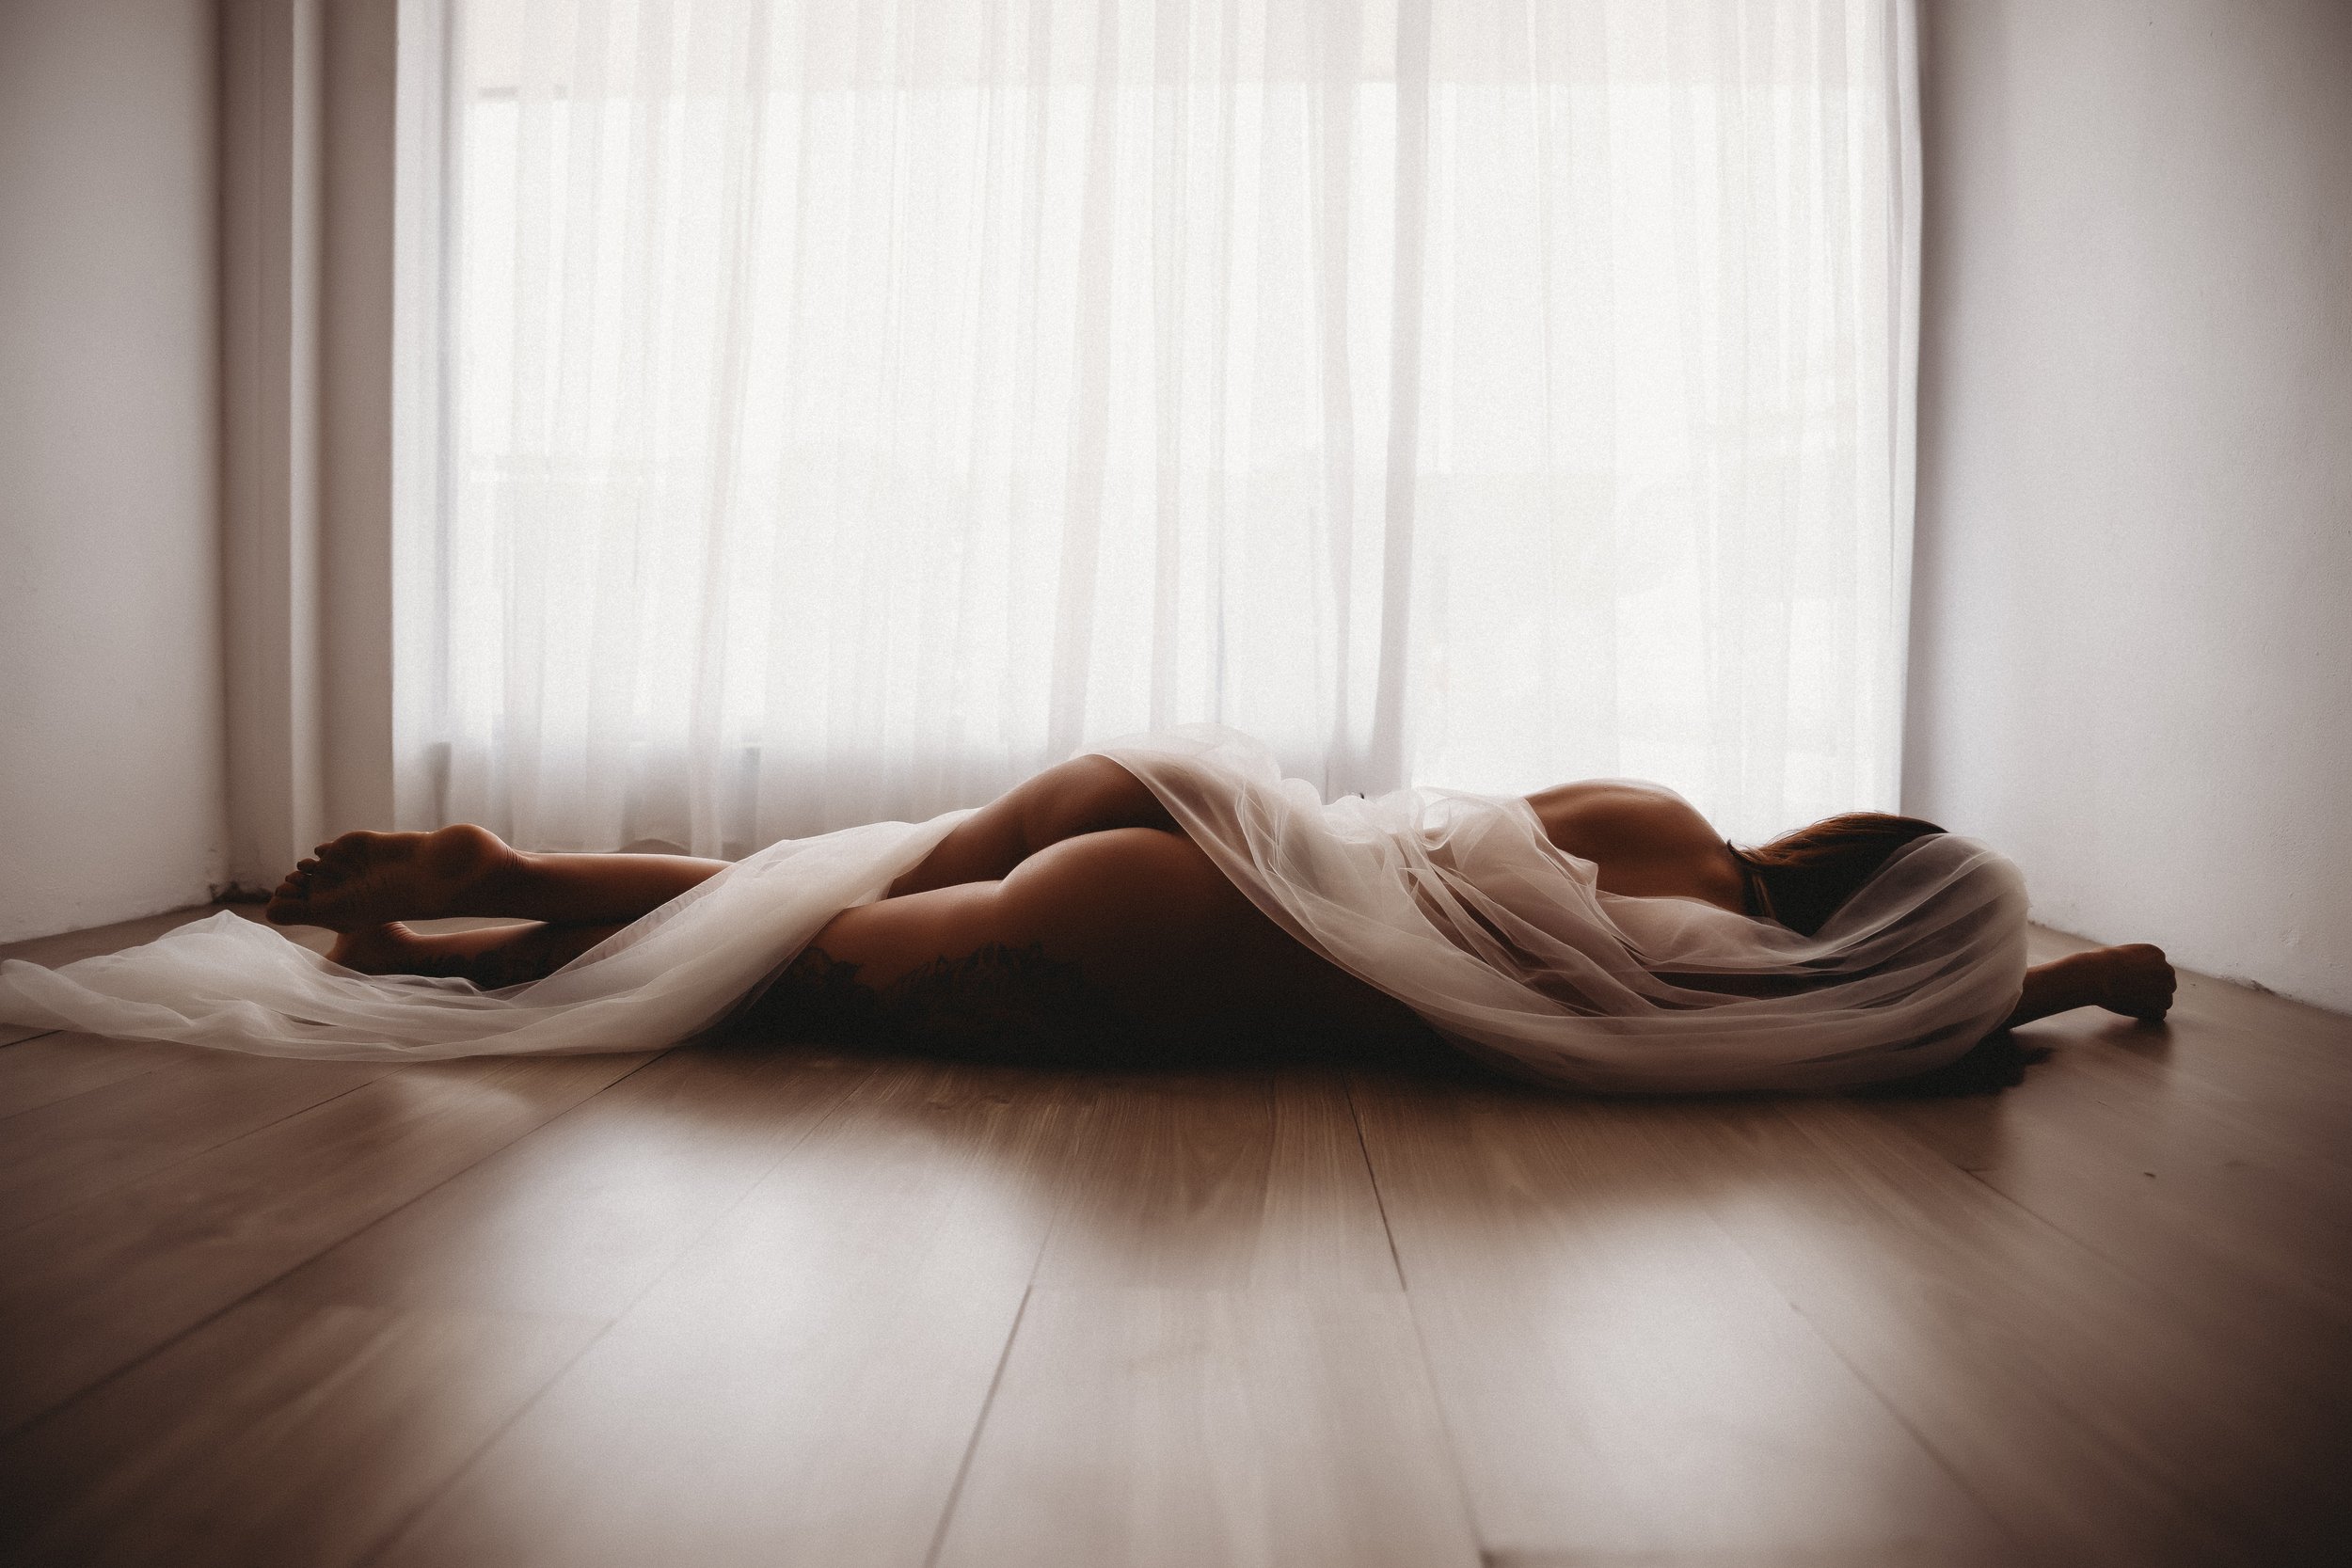
Lie on your side while leaning on your arm and stretching your legs. By putting your top leg over the bottom one, you can focus a viewer’s attention on the curves of your body. To assume an even more graceful pose, place your arm on your top leg.
This pose is perfect for various surfaces. For instance, you can pose this way when lying on the bed, floor or couch.
This boudoir pose is perfect for creating a relaxed look. For it, you need to lie on your stomach. With your legs lifted, you can put your hand in your hair to assume a more attractive pose. Besides, it will allow you to add some volume to your hair. To capture a photo, you need to put a camera above eye level to frame your entire body.
If you have a flexible body, you can lie down and try arching back. Keep your legs bent with your feet pointing up. Stretch your arms above your head to strike an attractive pose.
You can also stand on all fours instead of lying on your back. By exaggerating the arch in your back, you can focus a viewer’s attention on the curves of your body.
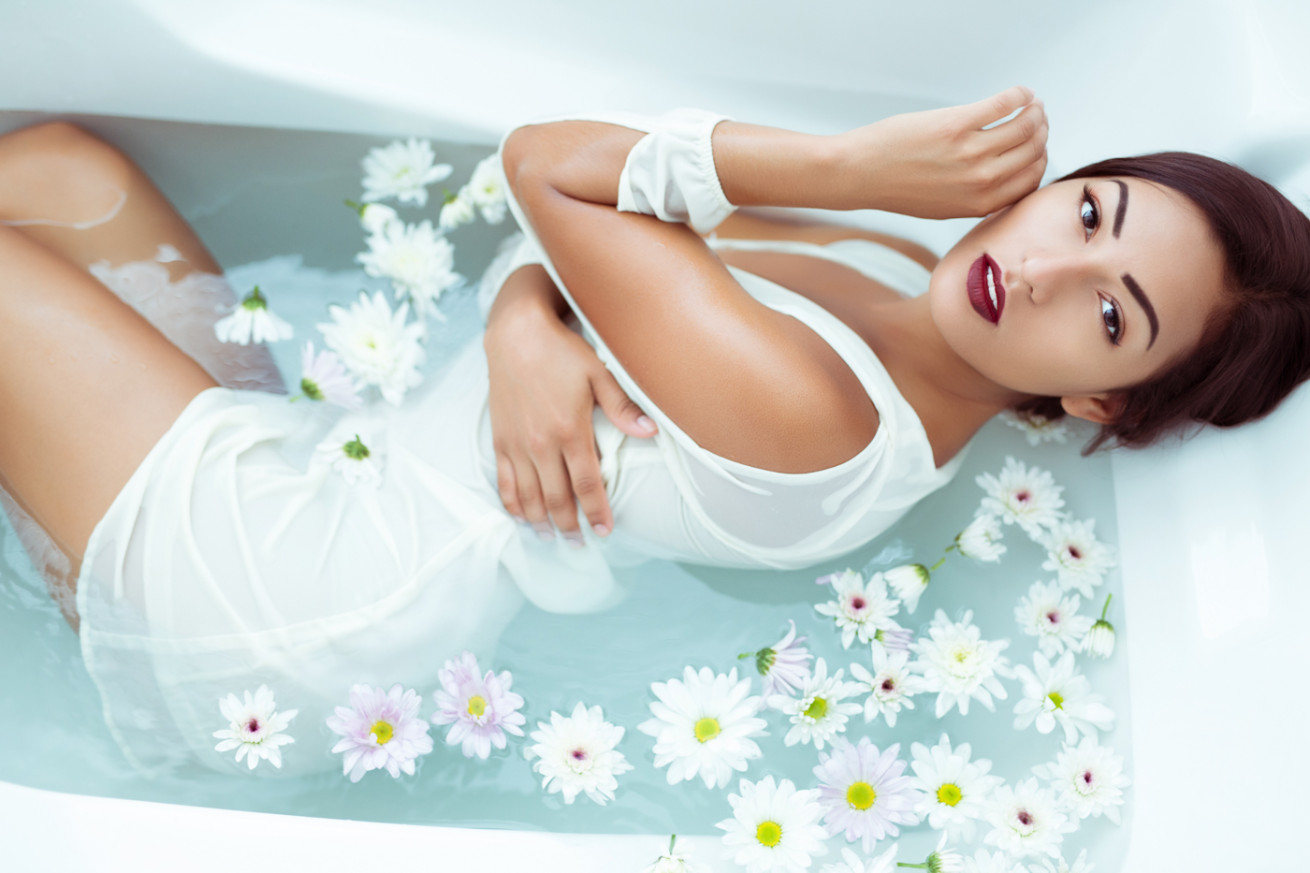
When lying in the bathtub, put one leg over the other and look directly into the camera. You can use the tub to frame your body in the photo. Besides, you can fill a bathtub with water. For a more creative result, try milk bath photography to take eye-catching images.
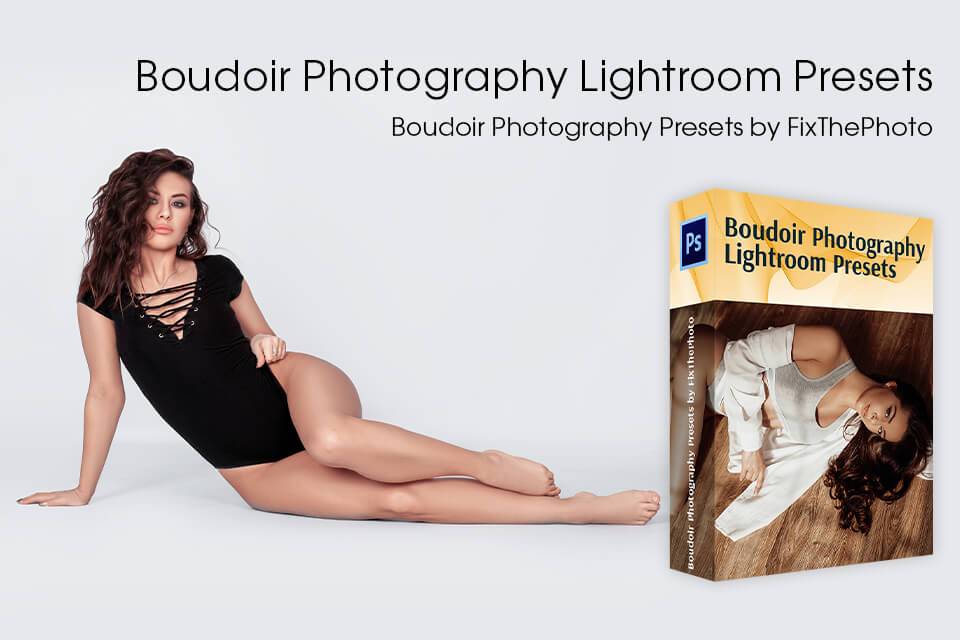
If you want to quickly edit your DIY boudoir photography images to make them more attention-grabbing, try using these Lr presets. They were created by professionals who specialize in boudoir photography. With them, you can perform color correction or turn your photo black and white. Besides, these presets come with brushes that will help you in editing too.


