
The search query “Why are my pictures blurry” is common among beginner photographers who are just taking their first steps in the trade. I decided to dwell on the intricacies of the shooting process in detail, paying special attention to the factors that make images blurry. Read the article till the end not to experience such difficulties in the future.
Some people believe that ending up with blurry images isn’t that terrible, as you can simply use photo sharpening software or a blurred photo app to give them a sharper look.
However, this is a very unprofessional approach to photography and if you aspire to become a real expert you need to know how to work not to get blurry photos at all (unless you need this effect on purpose).
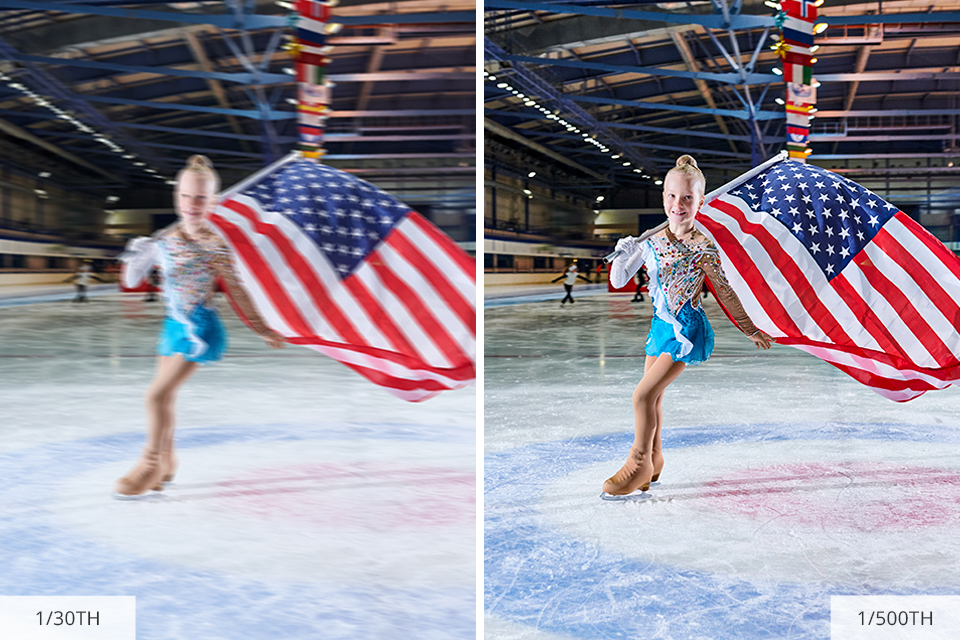
The most frequent reason why you get blurry pictures is an incorrect use of shutter speed. The higher the parameter gets, the less chance you’ll experience camera shake when shooting without a tripod. People, who typically photograph handheld decide on shutter speed around 1/60th second.
A good rule of thumb is to set shutter speed in accordance with the lens’ focal length. For instance, if you have a 50mm lens, you can safely rely on 1/50th sec shutter speed. In case you are using a lens with an image stabilizer, you can keep this parameter lower.
However, the choice of shutter speed also depends on the object you want to capture. When it comes to high speed photography, you are likely to need faster shutter speed.
Aperture and depth of field are no less important parameters to consider if you want to avoid fuzzy pictures. If the object in focus is super-sharp while the rest of the frame is blurred, then you’re shooting with a shallow depth of field. This is the case when you use a wide aperture, e.g., f/2.8.
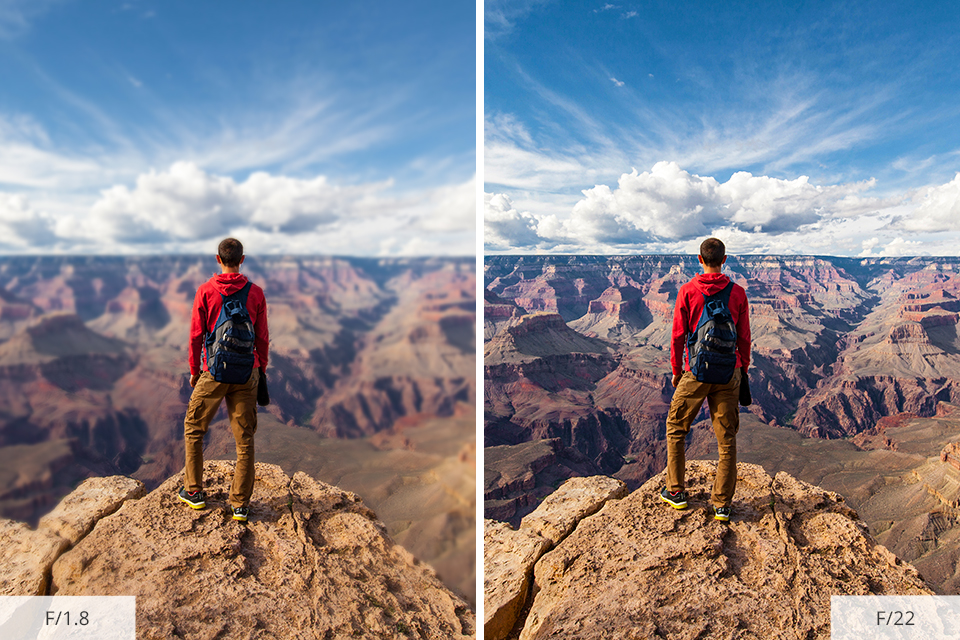
When adjusting camera settings for portraits, many photographers frequently keep a model’s face sharp while the background is intentionally blurred. However, this principle doesn’t work for landscape photography, because a huge area in an image will be blurry, which looks far from eye-pleasing.
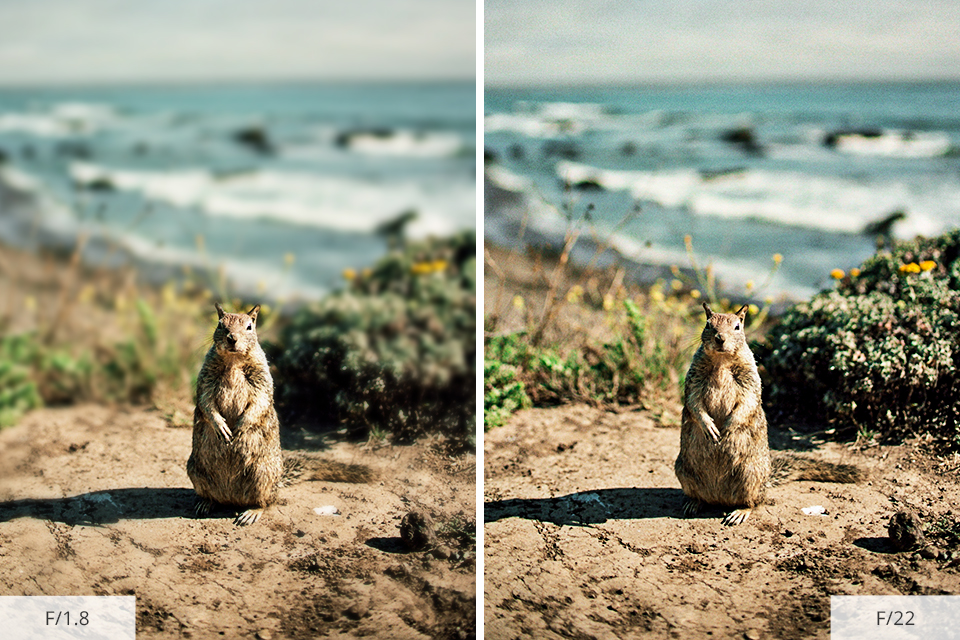
To incorporate the background in focus, increase the depth of field. F/8 is a good starting point, and you can make it smaller to get a greater DOF. However, such alterations with aperture inevitably affect shutter speed, so keep tabs on both settings to get the desired result.
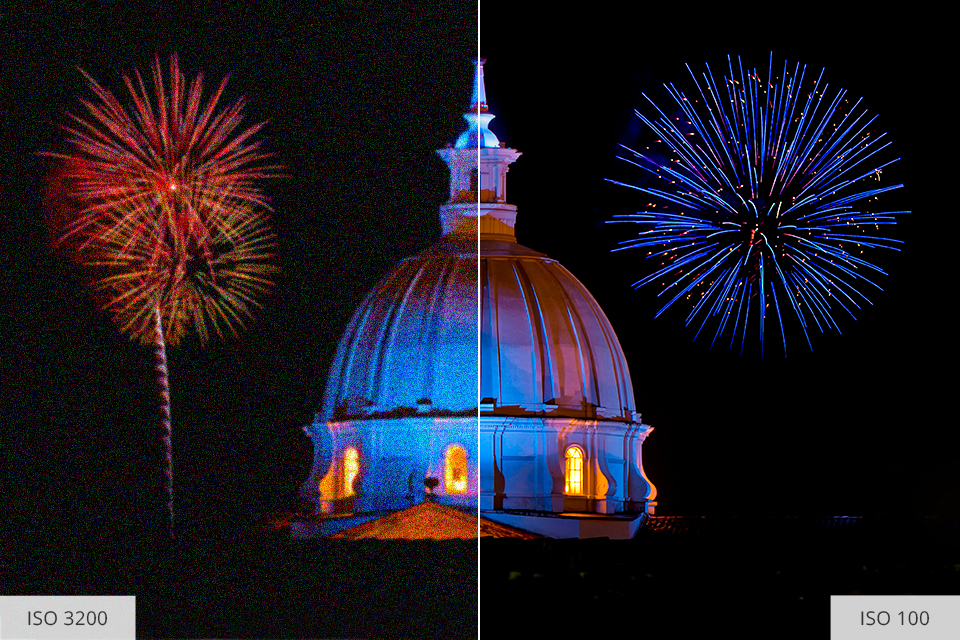
There are situations when photographers have to choose really high ISO in order to compensate for camera shake. This is especially relevant if there is no firm support for a camera. However, when the settings get insanely high, your photos will lack details.
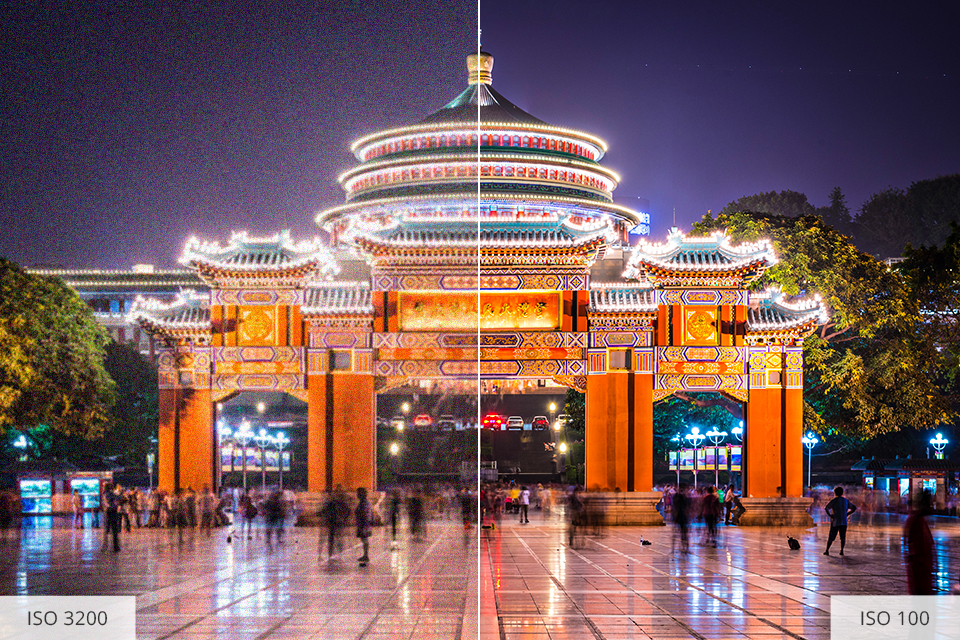
Photos become extremely fuzzy if you shoot JPEG because the internal noise reduction mechanism in your camera automatically suppresses noise which also affects details. To save your shots from such quality degradation, I recommend shooting RAW and then edit your photos in purpose-built programs to preserve details.

Talking about focal point in photography, we need to remember that most cameras usually have 2 FA Area Modes – single-point and multi-point areas.
With a single-point AF Mode activated, your camera instantly focused on a predefined object. You’ll see a highlighted rectangle in the viewfinder or on the monitor when using live view. In case you want to define a focal point yourself, I advise focusing on person’s eyes in case you are taking a portrait.
When switching a multi-point AF mode on, you let your camera choose a focal point from the grid of available points. Sometimes, you can define the number of points in the grid and their arrangement.
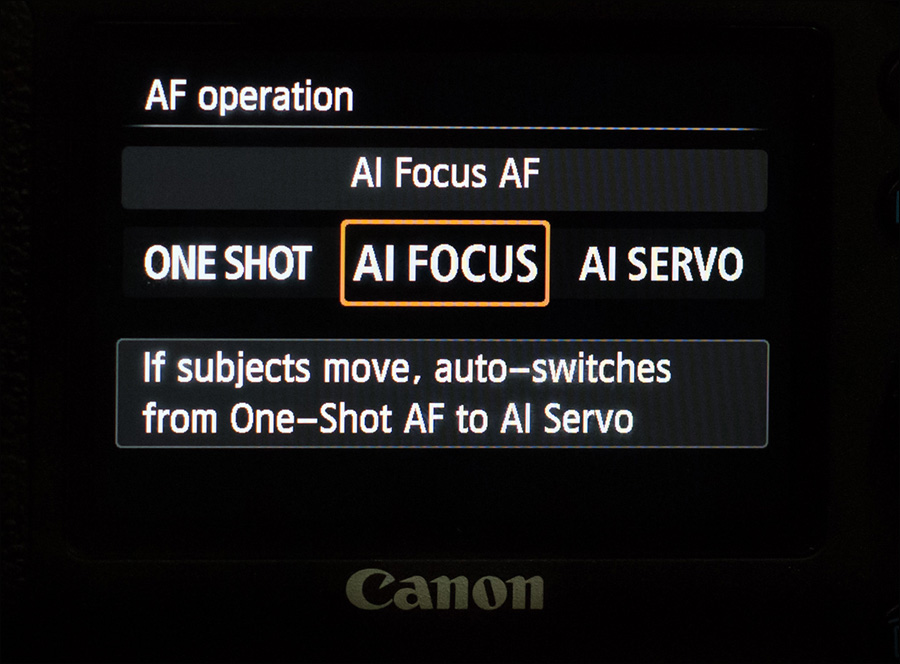
People googling “Why are my photos blurry?” tend to forget about different autofocus modes a camera offers, so the device may automatically activate a wrong option. In general, there are 3 AF modes:
One-shot. A camera focuses on the object you’re directing the lens at. The focus is unchanged until you release the button. This is probably the best mode for photographing static objects. If you use Canon cameras, this mode will be marked as AI-Focus.
Continuous focus. An invaluable assistant if you take images of moving objects. You need to set a focus on a particular object once, and it will track it along the route.
Autofocus. If the objects you need to capture are constantly changing, it makes sense to use the AF, which provides agile switching from a single and continuous mode. However, you need to be very accurate with AF, as a camera can mistakenly focus on an object that is actually of no importance.

If you want to get no more blurry photos in the future, you may benefit from using a burst mode. This is actually the best mode for shooting a fast-paced object. Shooters engaged in event photography, football photography, and other sport-related genres, can’t do without this mode. Besides, you can take a sequence of action shots and then select the sharpest picture from them.
If you look through the sequence of photos, the first and the last frames are likely to be blurry, which happens because at this moment you press and release the shutter button. But the rest of the shots, especially those taken in the middle are bound to be crisp.
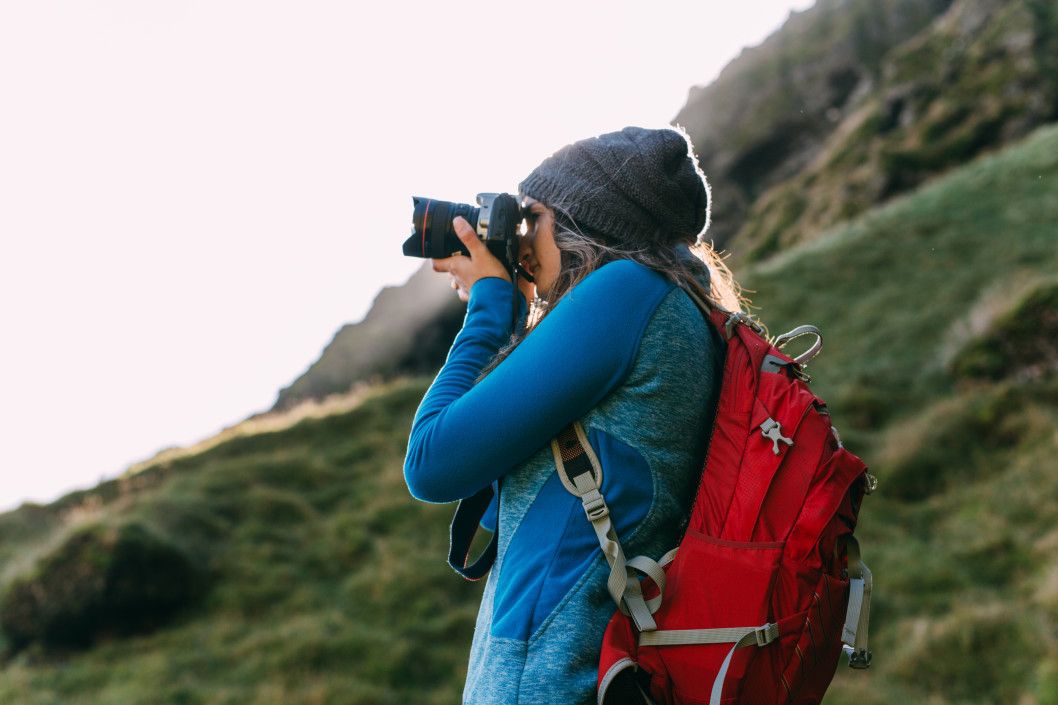
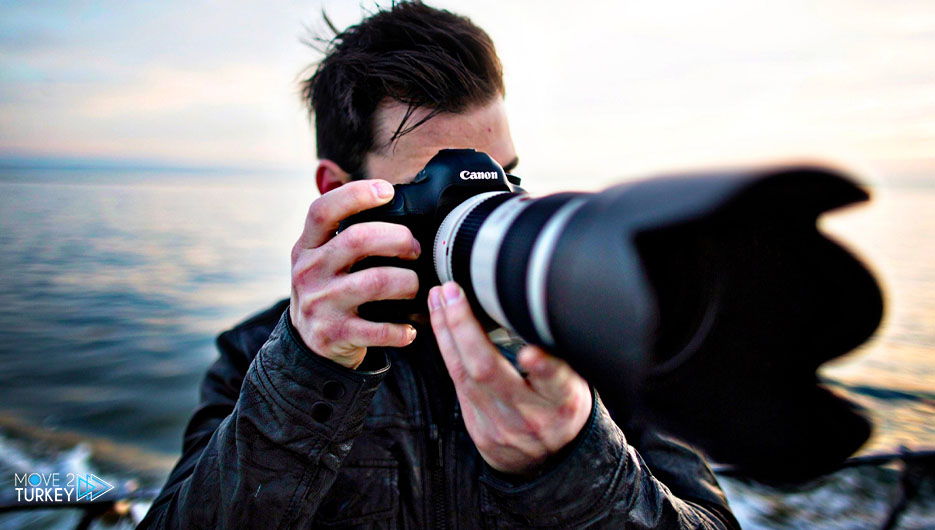
This seems like an obvious thing to do, but still, many photographers hold and support their equipment incorrectly. In fact, many beginners and some experienced shooters alike, hold a camera on its sides, which causes shake.
Primarily, make sure you firmly support your camera. Hold the lens from below using a non-dominant hand. Keep elbows close to your body and eliminate all extending movements.
Instead of using a rear display to build up a shot, you’d better raise your camera to your eye for this task. Since the lens is supported by your hand (usually left), you get a stable base for shooting.

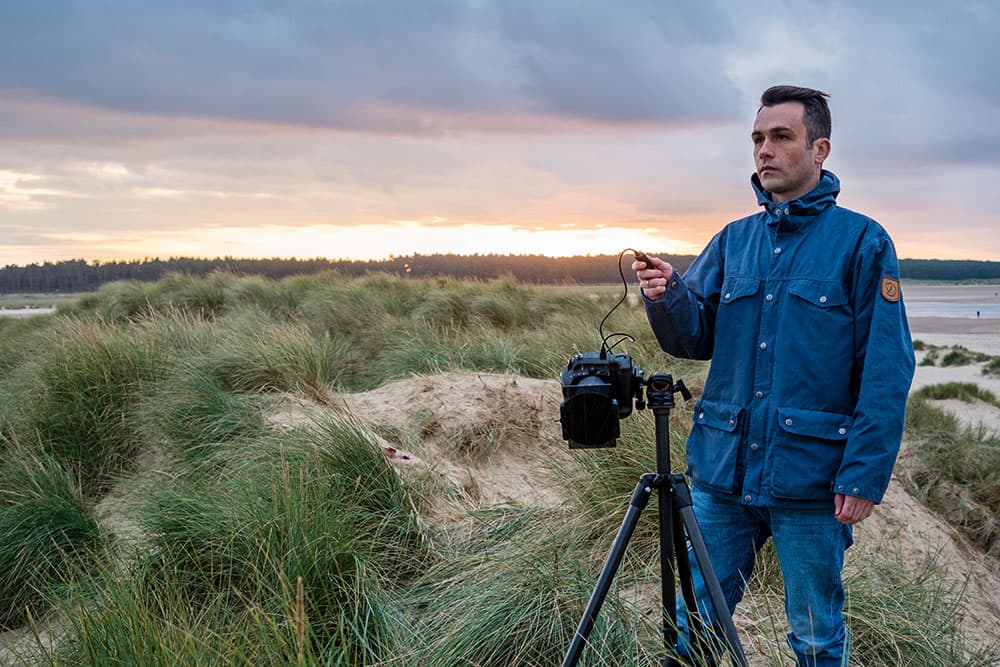
If you get fuzzy photos because of camera shake but can’t take advantage of a faster shutter speed as you are working in low-light conditions or experimenting with long exposure photography, the only way out is to refer to one of popular tripod brands.
Such a support can ensure your camera removes motionless even if you set exposures of 1 second or longer. There are many products available, but professional photographers claim that nothing stays on par with a top-quality carbon fiber tripod. Just remember to check its load capabilities, so it can securely support your camera.
Before placing your camera on a tripod, you need to turn off a built-in image stabilizer. If you forget about it, a camera will look for movement, which is actually absent. Therefore, a camera starts “generating motion” itself, which can result in blurry images.
Those seeking absolute sharpness, need to operate a camera without touching it because even gentle pressing of the shutter button causes movement.
The best way to snap photos without physically manipulating your camera is to use a camera remote or an internal self-times. Nowadays, many cameras are supplied with dedicated mobile apps, which you can install on your phone to control the shooting process.
If an object is located to you rather close, you may get a blurred photograph every time you press the shutter button. This happens because of the limitations of your lens because most optics have a predefined minimum focusing distance, which makes close focusing a fool’s errand.
The easiest way out is to take several steps backward to make the distance between you and an object larger. However, this will affect the crop, which won’t be as tight as you need. An alternative solution that involves financial expenses is to get a dedicated macro lens, which makes focusing on nearby objects a delight.
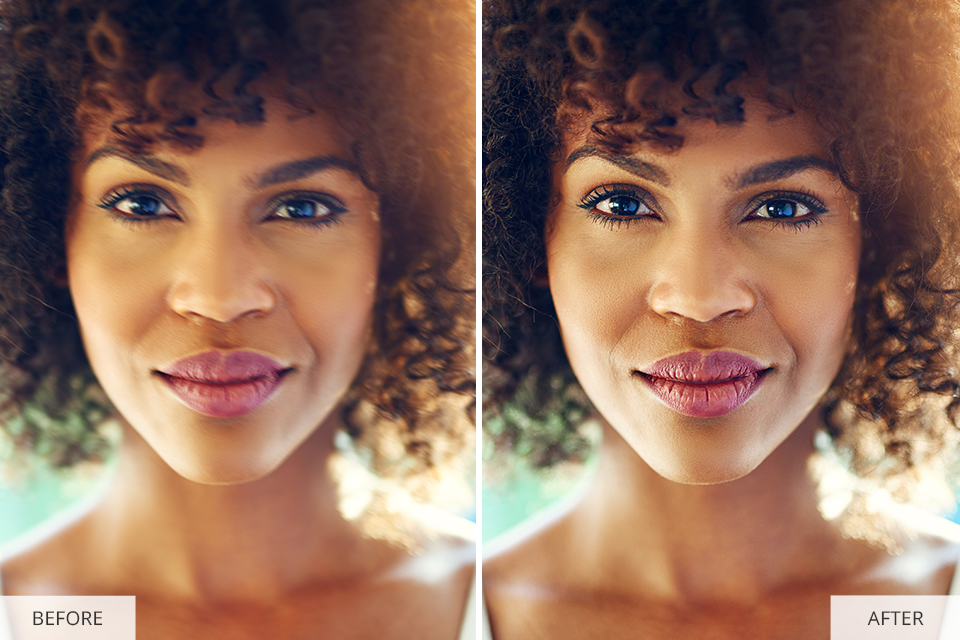
If something went wrong at the shooting and many of your photos still look blurry, you should address experts to save your images. You can send your poor-focused pictures to a professional service, and skilled retouchers will fix defects caused by incorrect focus and camera settings at a moderate cost. They will raise sharpness and accentuate the main details.
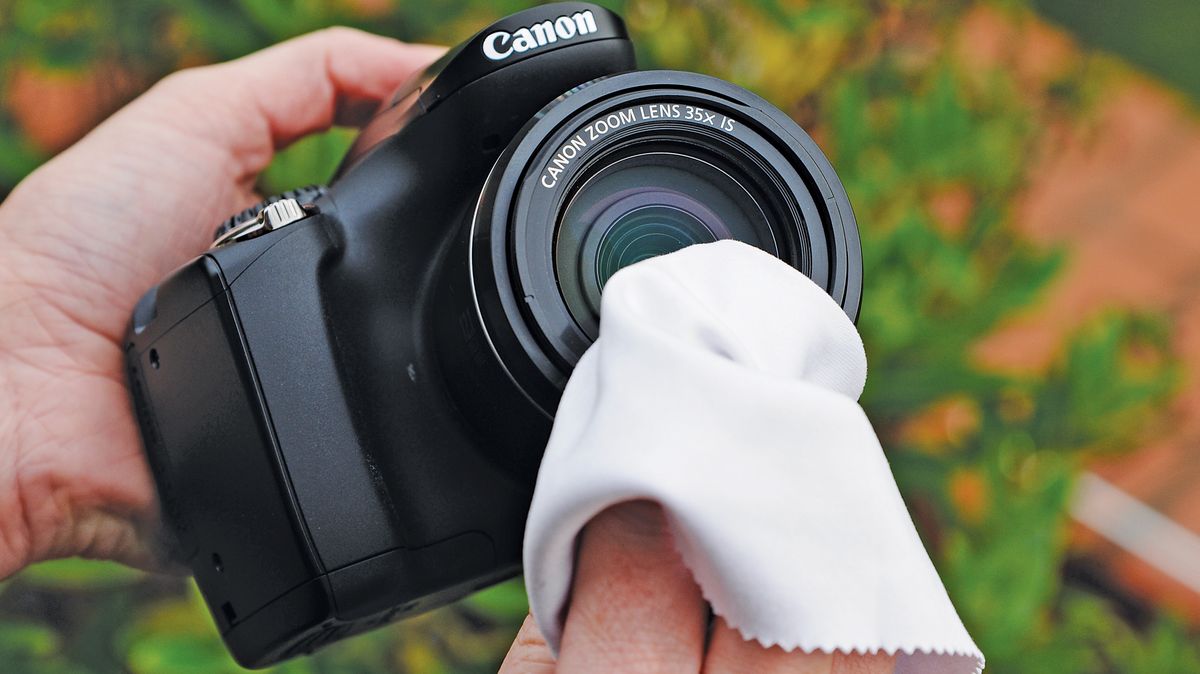
Not only wrong camera settings or focus can be the reason for blurry pictures. Sometimes the problem arises because of your negligent attitude to your equipment, namely lenses. If you plan to work in a high-humidity environment, your lens may mist up, which will be manifested as a soft-focus effect in photos.
The same happens if you initially shot in a warm place and then relocated to a cold area. Other things to keep tabs on are greasy smears and finger marks. If there are any, use a camera cleaning kit o make your lens perfectly spotless. Since such kits are usually compact, you can carry one with you at every photo session.
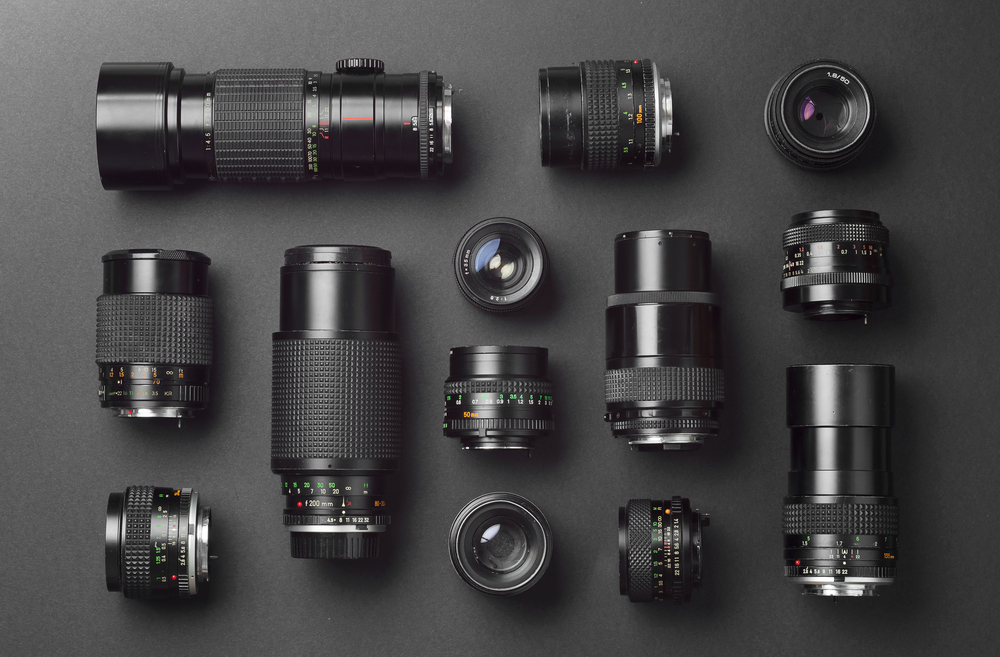
Lenses that are included in the camera kit may be of poor quality. Many of them are too soft or have only a sharp center, while peripherals are blurry. Another frequent case is that they are sharp at certain apertures but get slightly fuzzy at others.
You may buy prime lenses, like Canon 50mm f/1.8 to get sharp photos. However, such lenses are usually bulky, so it may be better to invest in a single, all-purpose zoom if you are just starting out.

Want to get high-quality photos without spending all day long in image editing programs? These Lightroom presets can make your pictures brighter, fix lighting defects, and assist with attractive color correction. The best thing about them is swift changes, so you can spend more time photographing rather than editing.


