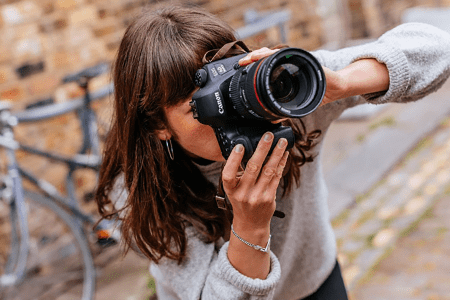


I often take photos in RAW format to be able to edit them at an advanced level during post-processing. Lately, I have started to look for mobile RAW photo editing apps that would allow me to import files from my camera and edit them quickly on my phone when I don’t have a laptop nearby.
That’s when I decided to test 40+ RAW photo editing apps recommended by colleagues, Redditors, and YouTubers to check whether they would allow me to export and preview RAW files quickly without lags.
Some apps have intuitive sliders for adjusting settings, whereas others come with a set of pro-grade tools. They allow users to use masks and selective editing features to enhance bright areas or adjust the settings for dark corners.
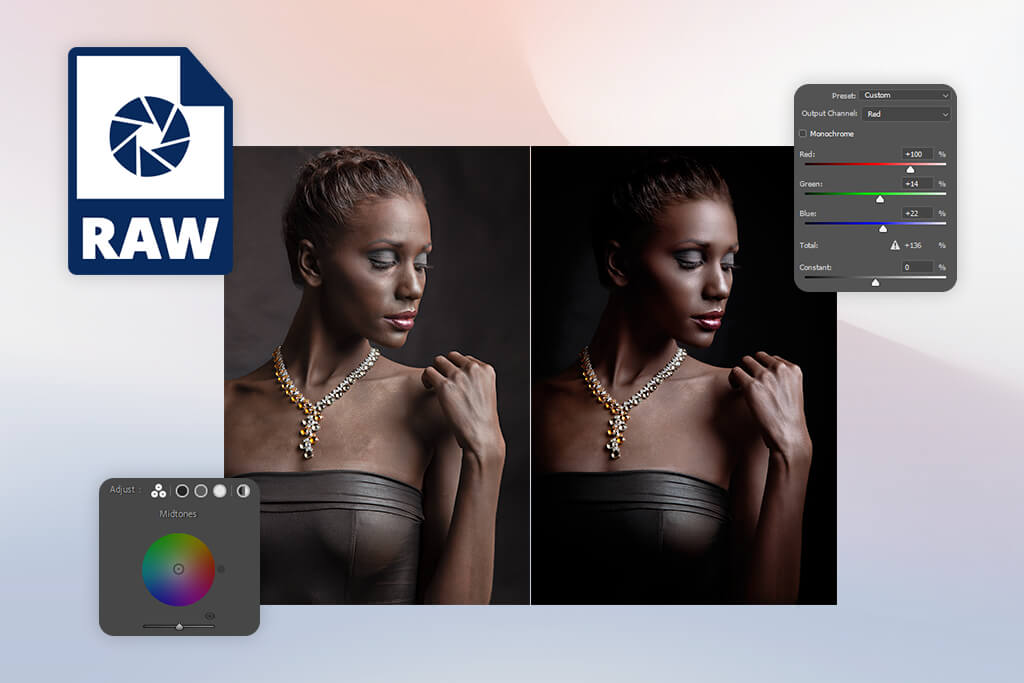
Yes, it’s possible to edit a RAW photo taken with a DSLR or bridge camera using mobile apps. Many photographers these days occasionally need to edit their images on the go. RAW files can be called a “digital negative” captured by a camera.
What makes them different from JPEGs is that they record more information in highlights, shadows, and color. It allows you to recover details from overly exposed areas, fix issues with indoor lighting, and highlight texture in dark corners without impacting the rest of the image. A powerful RAW editor analyzes and handles sensor data the same way desktop software does.
To work with RAW images on mobile devices, you should have a powerful tablet or phone. RAW images take up a lot of space, so it’s better to use a newer device, especially if you need to reduce noise or process batches of images. When importing images, it’s better to use a cable or card reader instead of Wi-Fi.
Here are the best ways to transfer RAW images to a mobile device:
After importing files, photographers use mobile RAW editors to adjust exposure, fix highlights, lift shadows, and fix light balance without making their images look overly edited.
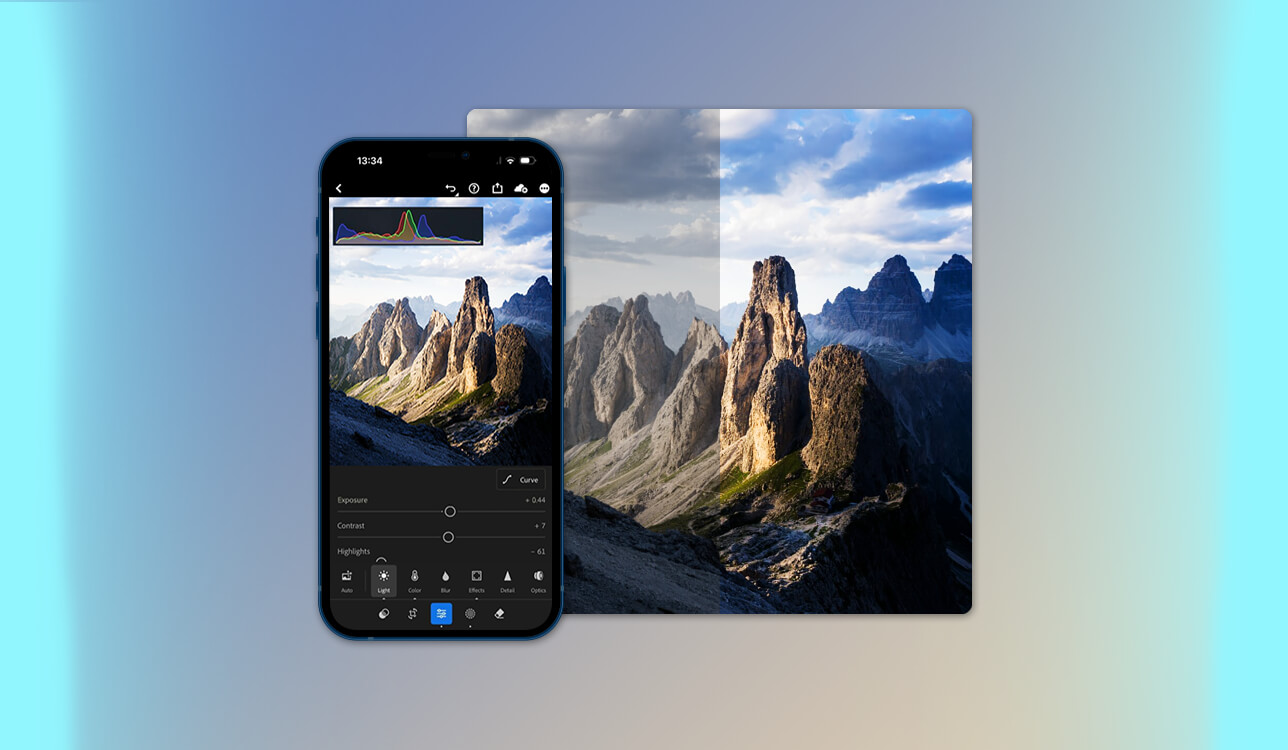
Many photo editing apps for Android and iOS also allow users to adjust curves, perform color grading, make images sharper, and reduce noise. Besides, you can perform selective adjustments if you need to make a specific area brighter without impacting the rest of the photo.
A powerful mobile RAW editor usually allows you to do the following:
The main limitation of mobile apps is that not all of them allow users to edit RAW photos of different types. Some apps handle Canon and Sony files perfectly, but have issues with Nikon or Fuji files. Besides, it’s easier to edit batches of images on a computer, making desktop software more suitable for professional workflows.

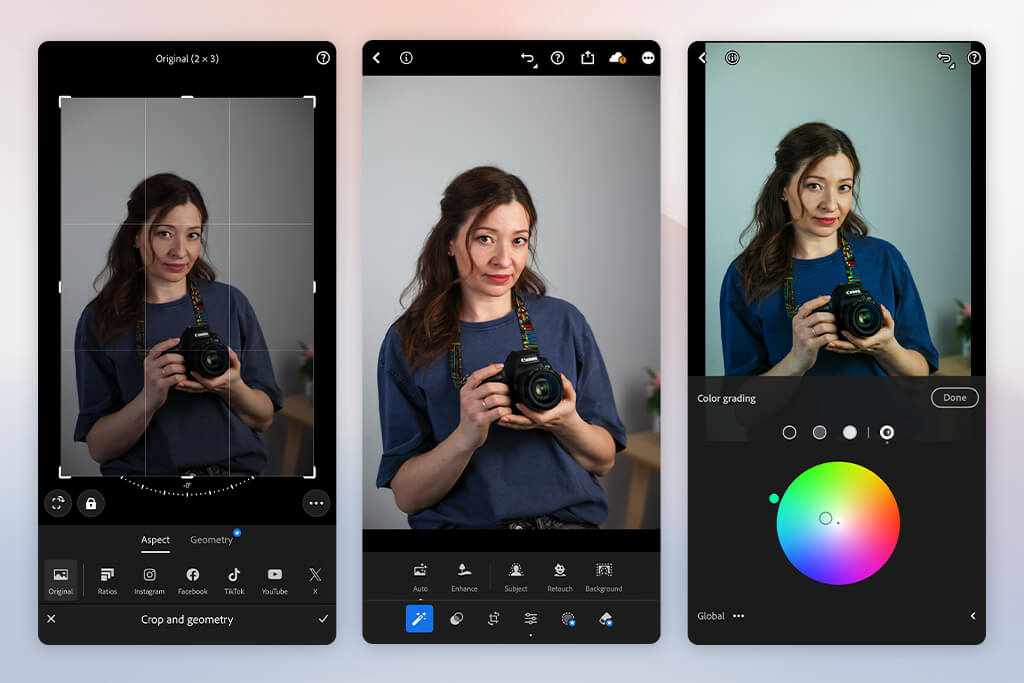
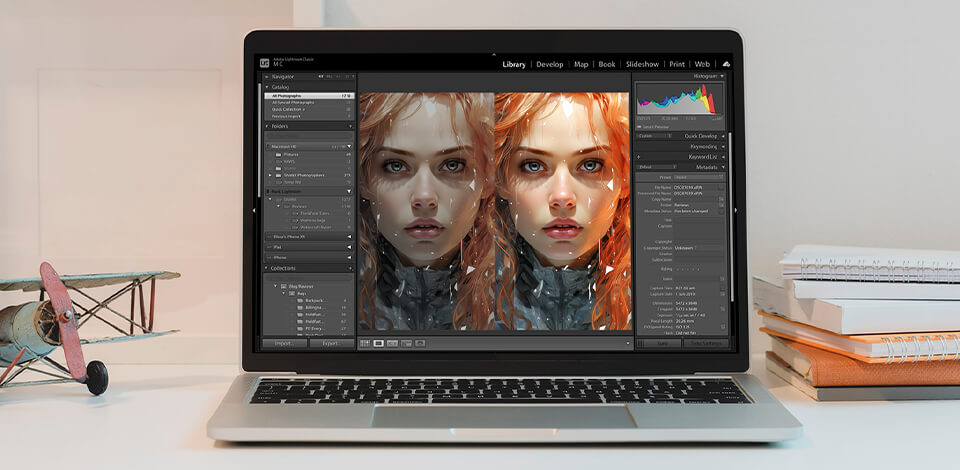
When I imported my RAW photos into Lightroom Mobile, I was pleased with the preview generation speed. There was no lag even when I uploaded large photos taken with my Canon camera.
I liked using sliders on the touchscreen, as they were quite intuitive. Using them, I was able to quickly adjust exposure, highlights, and shadows. The RAW editor retained all the details in my factory photos. I was able to adjust white balance without affecting the original quality.
I used presets to expedite my workflow when I needed to edit multiple photos taken in similar lighting conditions. In addition, I tested local adjustment tools. The selective brush and radial filters helped me make selected metal beams brighter and recover details hidden in shadowy areas. I adjusted curves and performed color grading.
“It’s easy to make adjustments using Lightroom’s sliders and tools. I also like that my edits synchronize to my laptop automatically.”

The noise reduction tool helped me enhance low-light photos. However, it was a bit challenging to work with photos taken with extremely high ISO settings.
As this RAW image editor supports batch processing, I was able to export multiple images simultaneously. I would save the outputs in TIFF format to print them later or save them as JPEG files to share them online. Thanks to cloud synchronization, I could switch between my tablet, phone, and desktop Lightroom version with ease.
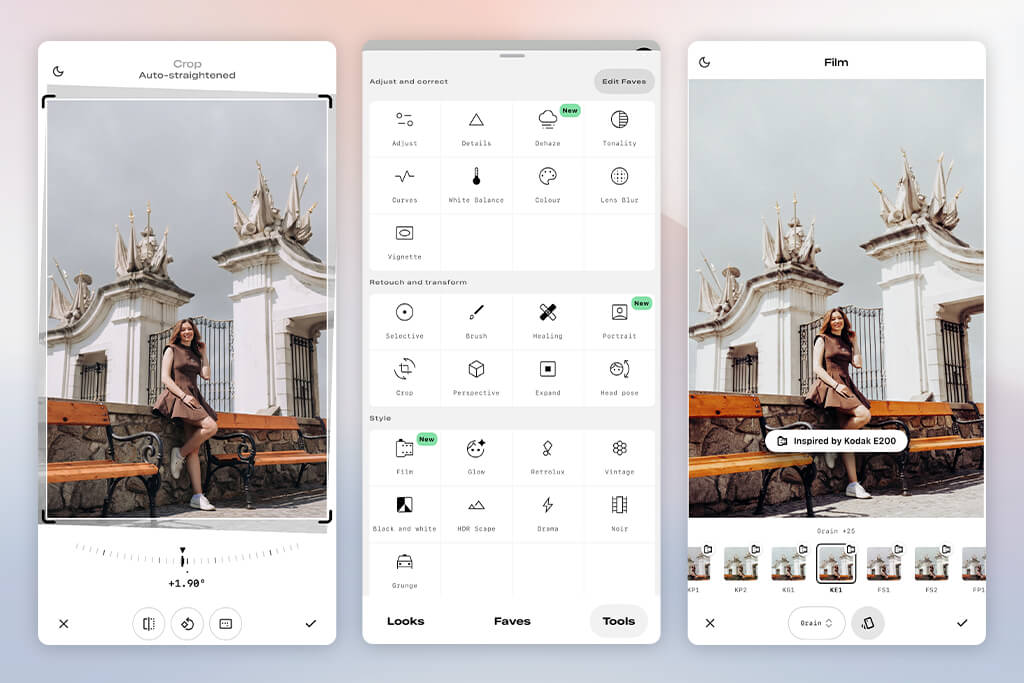
Snapseed is my favorite app for editing RAW photos on the tablet. When I imported my Canon RAW images, the app loaded them without delays. I could quickly adjust exposure, contrast, and white balance. Using the selective adjustment tool, I was able to enhance each area. With the help of the healing brush, I was able to remove dust spots from the factory floors.
Unlike many similar apps, this free RAW editor allows users to adjust curves and make images sharper. With the help of the noise reduction tool, I improved my high-ISO photos without making the textures softer. Even though it does not support batch processing, the UI is intuitive. This Canon RAW editor allows me to edit my photos quickly.
“This free app is extremely powerful. It comes with precise healing and selective tools. Using them, I can improve my photos from my phone without installing desktop software.”
I liked using the available filters and presets to achieve consistency when editing my photos. Using the “Drama” and “Tonal Contrast” filters, I was able to emphasize industrial textures.
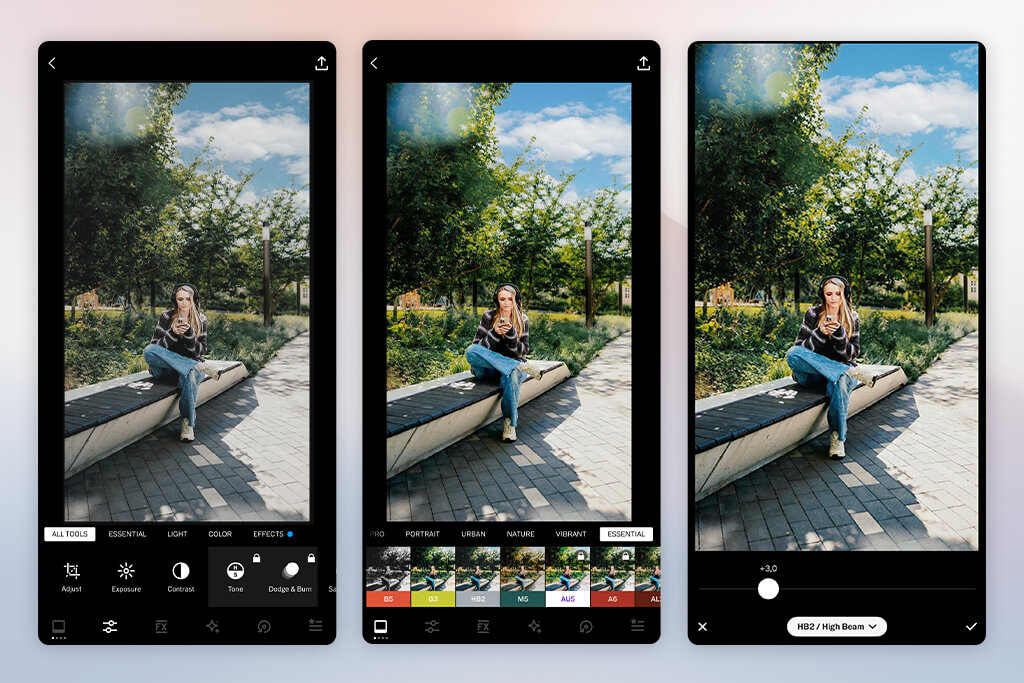
VSCO is an excellent choice for those who want to adjust the style of their RAW photos quickly. After uploading the photos captured with my camera, I used presets to edit them in a cohesive style. It was easy to adjust exposure and colors. The UI is easy to navigate on mobile devices.
I could adjust the intensity of each VSCO Lightroom preset and change contrast and saturation depending on my needs. Even though this app does not support advanced local adjustments, it’s perfect for global exposure edits.
“I’m more interested in atmospheric, film-style edits, which is why I like the collection of presets here so much. The interface is streamlined and responsive.”

I could save my files in one of the supported formats quickly. The outputs looked the same across various devices. This free RAW editing software enables users to create and save custom presets to use later.
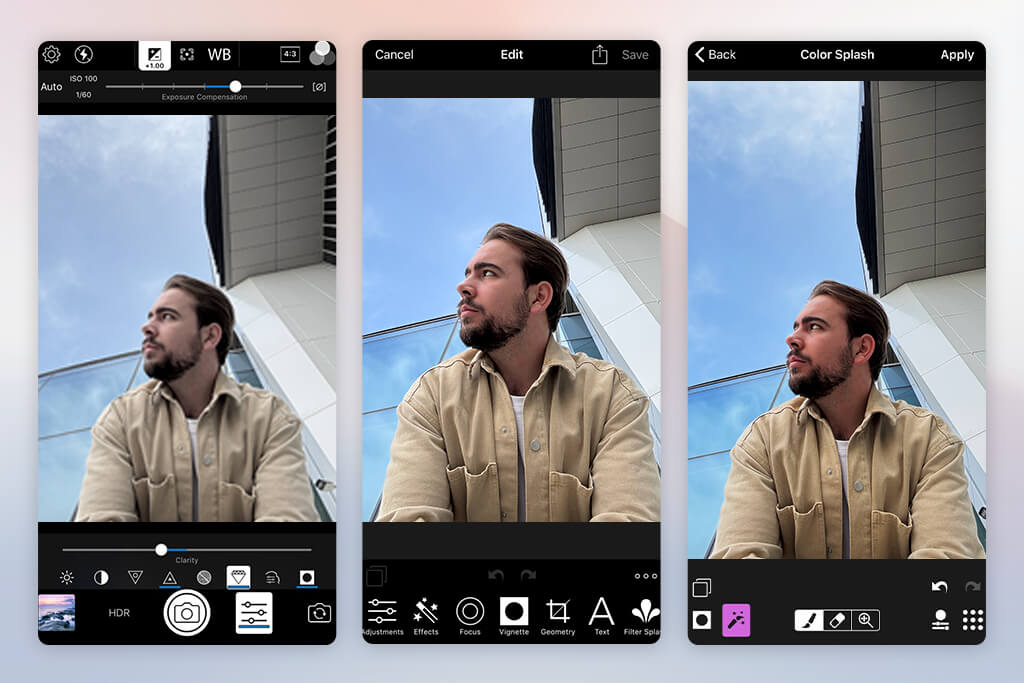
ACDSee has outstanding tools that allow me to organize and manage RAW files on my tablet. With it, I could import the photos I took with my Canon and Nikon cameras, rate them, and add tags. It helped me organize dozens of industrial photos. The app supports high preview rendering speed, making it easier to review large batches of images.
I liked using editing tools when adjusting exposure, contrast, and white balance. The UI is intuitive and responsive. I did not notice any lag even when I was processing RAW files. I could quickly switch between organizing, editing, and exporting images without disrupting my workflow.
“I was impressed that I could organize and filter thousands of RAW images quickly. Once you learn how to navigate it, it’s perfectly suitable for large photo collections.”

I decided to test the effectiveness of local adjustment and masking tools. This app also allows me to make certain beams of light brighter and highlight textures on metal and brick surfaces. The noise reduction feature is perfect for editing high-ISO photos captured in handheld mode and reducing grain.
Using the color grading tools, I was able to adjust shadows, midtones, and highlights separately. It was especially useful when I needed to achieve consistent tones when editing a series of photos. I could use this RAW photo editor free of charge to edit my images without affecting the source files.
In addition, I focused on batch editing features and exporting options. I applied the same settings to several RAW photos of factories simultaneously, which saved me a lot of work hours. Besides, adjusting metadata and adding watermarks was intuitive, which expedited client delivery. The batch photo editor also supports exporting files in TIFF or high-quality JPEG formats.
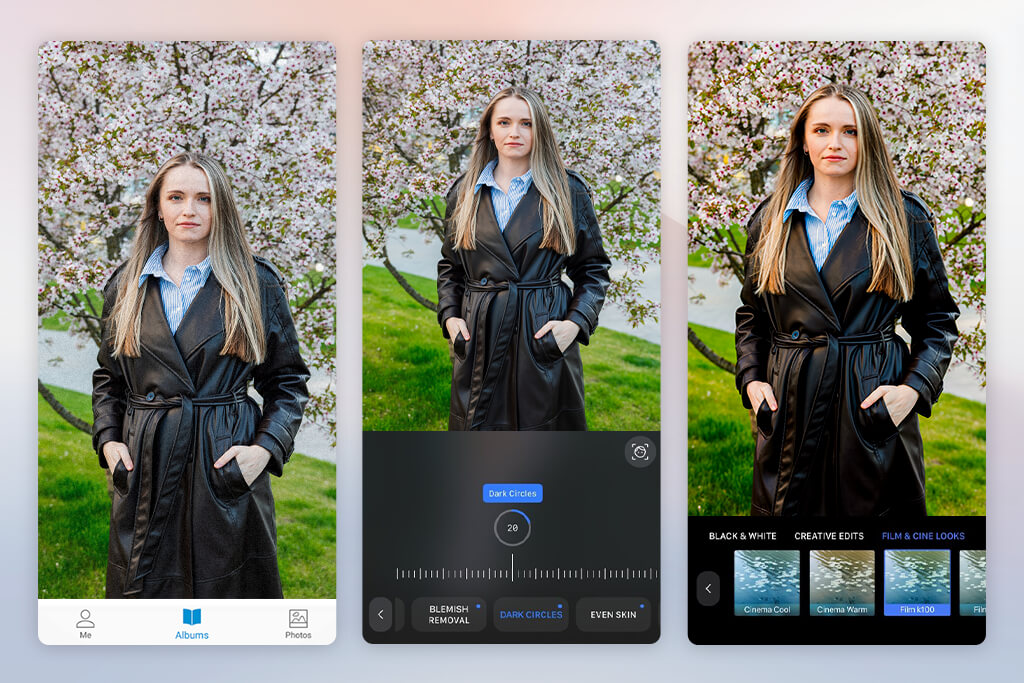
When I started to use Capture One, I was struck by the high precision of its tools when I was adjusting color and tone. It was easy to import the RAW photos I took with my camera. Their shades remained true to the real ones after adjustments. Color accuracy makes this option better than many other apps I tested.
I could adjust exposure and white balance using sliders and touch gestures. When editing factory photos taken in low-light conditions, I was happy that this free RAW editor preserved highlights and shadows. If you compare Capture One vs Lightroom, you will see that the former makes it easier to edit photos.
I used this app to perform local adjustments and use masks, make some beams brighter, and fix some areas without impacting the rest of the photo. The fact that this app supports layer editing makes it similar to desktop software. Using it, I was able to edit certain textures selectively.
I used the noise reduction feature tool to enhance high-ISO images. It helped me improve their quality while keeping the details in concrete and metal surfaces intact. I was able to compare the before and after versions by swiping them.
“This app is similar to pro-grade photo editing software. The colors and details are impressive, and the masking tools allow me to fix barely noticeable defects.”
While this app supports limited batch editing options, I was still able to use the same settings for different images. It helped me save a lot of time when I was editing photos taken in similar lighting conditions. I could export my files in high-quality JPEG and TIFF formats. Due to this, I did not need to use third-party RAW file converters, which streamlined client delivery.
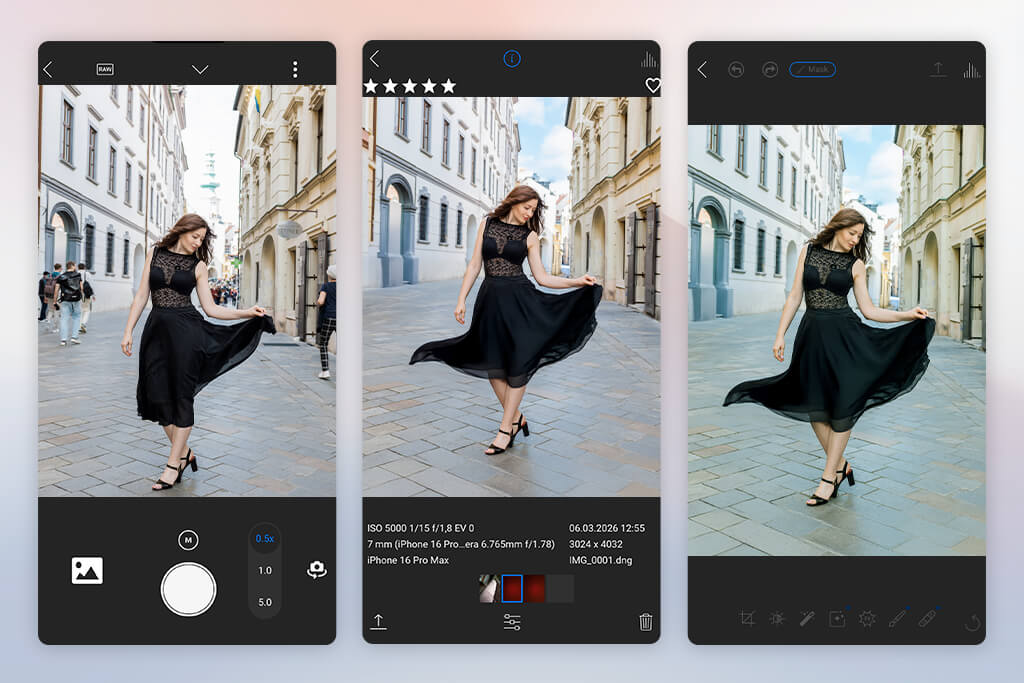
ON1 Photo RAW Mobile is similar to desktop software for editing RAW images, but it’s available on a tablet. After importing the RAW photos captured with the help of my camera, I used masks, layers, and selective adjustment tools to edit them. Everything functioned perfectly.
Using AI-based tools, I was able to tweak highlights, shadows, and textures when editing photos of industrial scenes. They helped me achieve realistic outputs. The app was responsive even when I started to work with large files, which made my editing experience more enjoyable.
I tried sharpening and noise reduction tools, and was pleased that the app preserved the original texture while minimizing grain. Using presets, I was able to create consistent moods when editing photos and refining them manually. This free RAW image editor supports pro-grade editing and allows users to use curves and adjust color balance with high precision.
“This mobile app handles RAW images perfectly. The presets are fun, and I can make advanced edits without using any desktop software.”

I was able to quickly export my files in high-quality TIFF and JPEG formats. Besides, it was easy to synchronize files with cloud services to streamline collaboration. Even though, unlike the desktop version, it has a limited choice of batch editing tools, I could edit small batches of photos with ease.
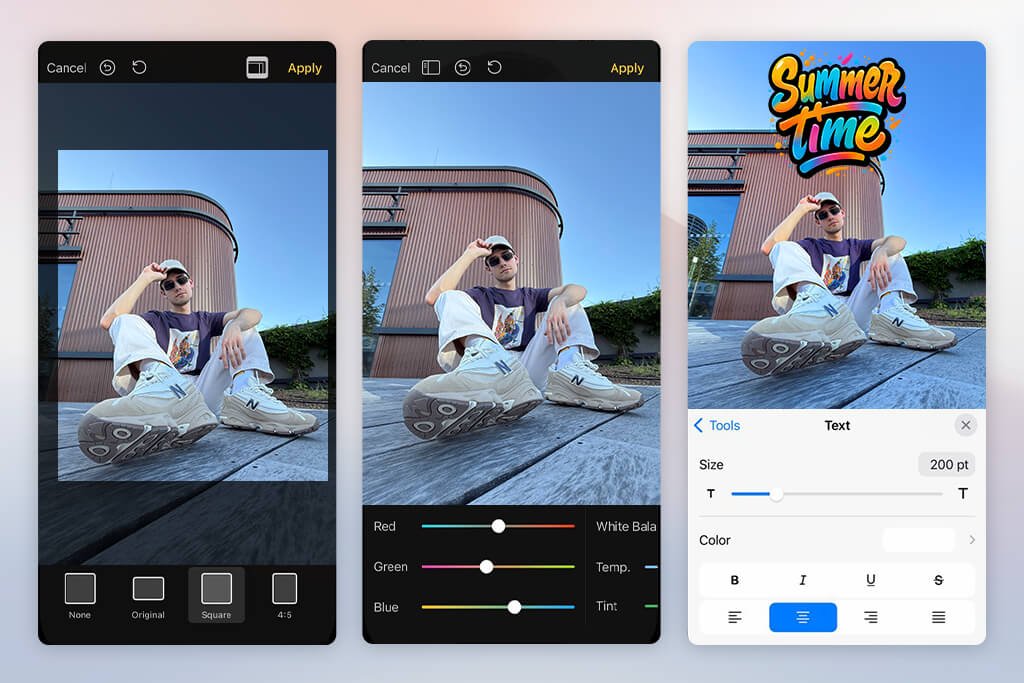
When I started to test Pixelmator Classic, I was impressed with the functionality of this lightweight tool. I imported RAW photos from my camera and used masks and layers to enhance them. The app helped me adjust exposure, contrast, and colors quickly. I was able to focus on certain areas to make selective adjustments.
Using the healing and clone tools, I was able to remove dust and distractions from industrial photos quickly. In addition, I decided to experiment with more creative tasks and tried enhancing textures and adjusting light settings to restore details in dark corners.
I used noise reduction tools on high-ISO areas, which helped me maintain a high level of detail in shadows and on metallic surfaces. There were no noticeable lags when I used this open source RAW photo editor to process medium-sized RAW files, making it especially suitable for quick edits on the go.
“It’s suitable for basic editing tasks and quick compositing. I like that it supports layers. Besides, it’s much easier to master than some other pro-level apps I’ve tested.”

I was able to save my images in TIFF and JPEG formats quickly. The app allows users to share files to the cloud platforms and on social media. Pixelmator Classic is the best choice for photographers who want to find a mobile app with fast performance to edit RAW files without using a desktop photo editing software for Mac.
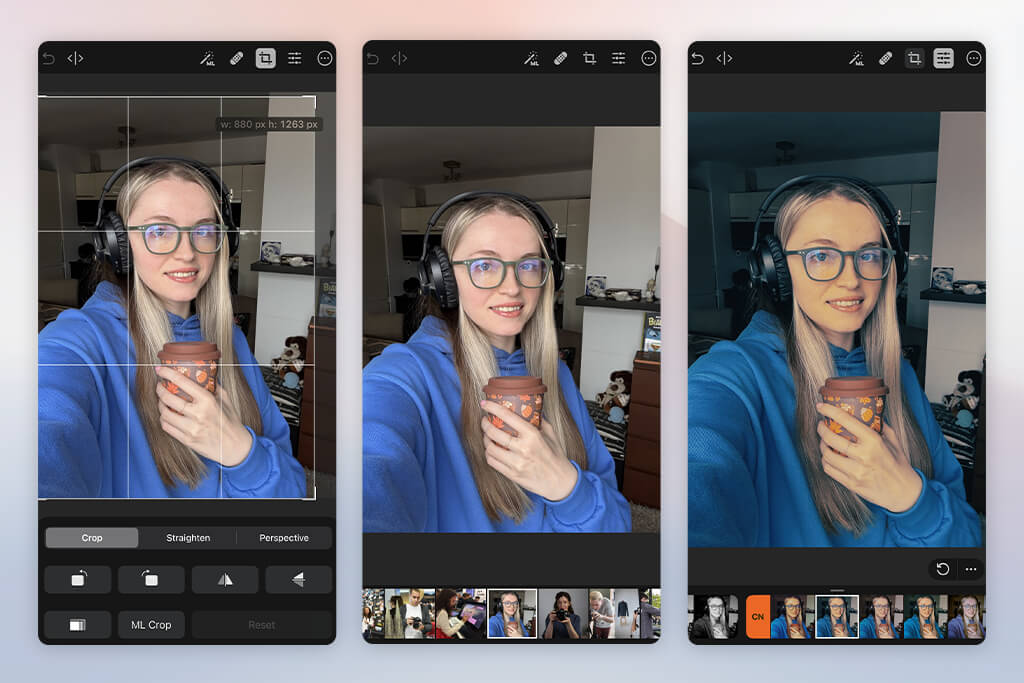
When I started to use Photomator on my iPad, I was pleased that I was able to import my RAW photos smoothly. It loads large Canon and Nikon files quickly. I can see previews almost right away, which makes it easier for me to review multiple photos.
This Nikon RAW editor helped me adjust exposure, highlights, shadows, and white balance. I liked the quality of the outputs, as this app preserved the original texture of my industrial and architectural photos. The interface was extremely streamlined. Touch gestures facilitate making complex edits.
“This app is perfect for Apple devices, as it it integrates with my iCloud library, has a clean UI, and does not glitch. The color controls are easy to use.”

I thoroughly tested the local adjustment and masking tools. It was easy for me to make beams of light brighter and restore shadows with the help of the selective brush tools. I was able to achieve the right mood using color grading tools and curves. Besides, I was able to adjust individual color channels to achieve better accuracy.
I was pleased with noise reduction tools when editing my high-ISO photos. The textures remained sharp, and there were no unnecessary artifacts. This RAW photo editor also supports batch processing and allows users to save files in various formats. I was able to apply the same settings to multiple images, which saved me a lot of time and helped me maintain consistency.
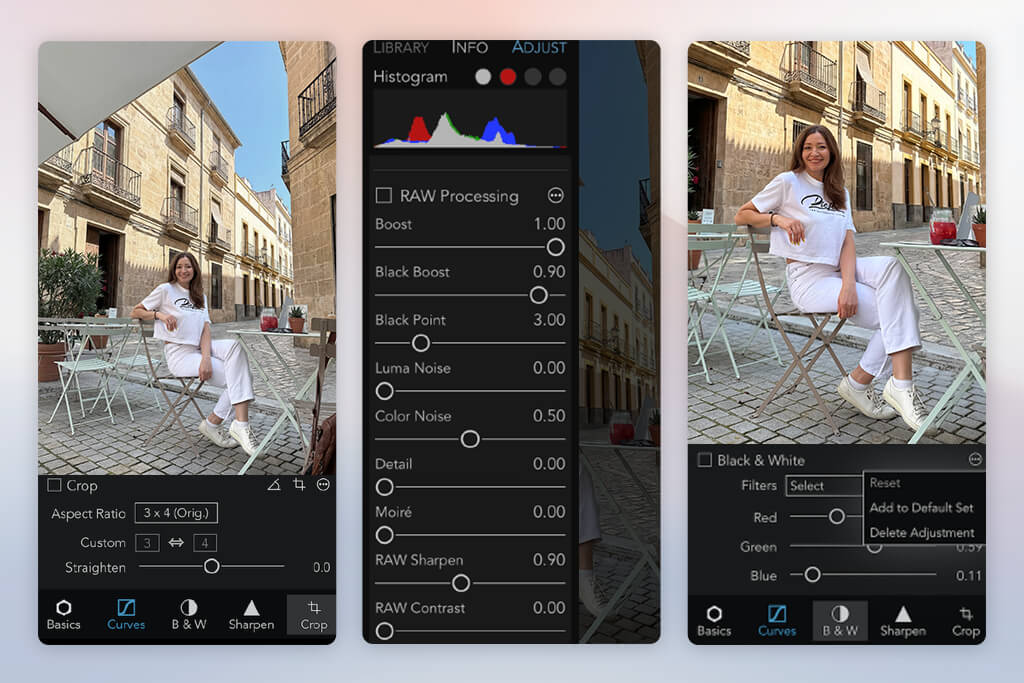
RAW Power on iOS makes it possible to edit RAW images on mobile devices at a professional level. After importing RAW files, I was able to adjust curves, exposure, and colors with ease. Using the masking tools, I adjusted highlights, shadows, and textures in my industrial photos. This app preserved the original detail of the source image.
I was pleased with applying noise reduction tools to high-ISO images. Using presets, I expedited my workflow. Manual editing tools helped me make precise adjustments. Touch gestures were responsive, which made it easier to edit my images on a tablet.
“I was pleased with the high level of control I have here. I can fix highlights and shadows, like in a desktop app. It produces perfectly crisp RAW outputs.”

It was easy to export my images in TIFF or JPEG formats. The cloud integration streamlined sharing. I did not notice any lag when working with medium-sized RAW files. RAW Power is the top choice for photographers who want to access pro-level editing tools on the go.
Using them, you can enhance your RAW photos without a computer. However, I do not believe that it’s the best photo editing software for beginners, as it might be difficult to use without any experience.
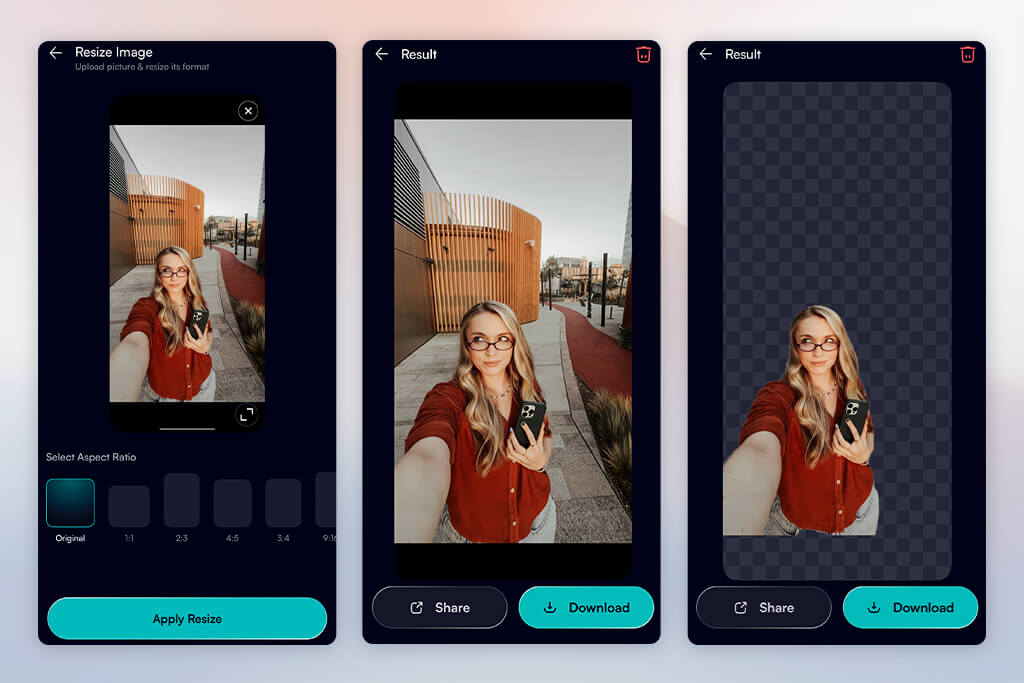
I was able to access Photopea from my tablet's browser. I was pleased to discover that this service streamlines RAW editing on mobile devices.
After importing the photos taken with my camera, I created layers, added masks, and used adjustment tools in the same way I typically do in a desktop editor. I was able to adjust exposure, white balance, and contrast with high precision. Besides, it supports selective editing, making it perfect for those who want to know how to edit RAW photos at an advanced level.
“I often use this app when I need to quickly edit my photos for free in a browser. It does not have many professional tools, but it supports layer-based editing.”

Sharpening and noise reduction tools exceeded my expectations. I was able to quickly export high-resolution JPEGs and share them with our clients and on social media. The interface is easy to navigate for those who have used Photoshop.
I noticed a drop in speed when working on very large RAW files. However, this app is still suitable for those who want to make quick edits without installing any software.
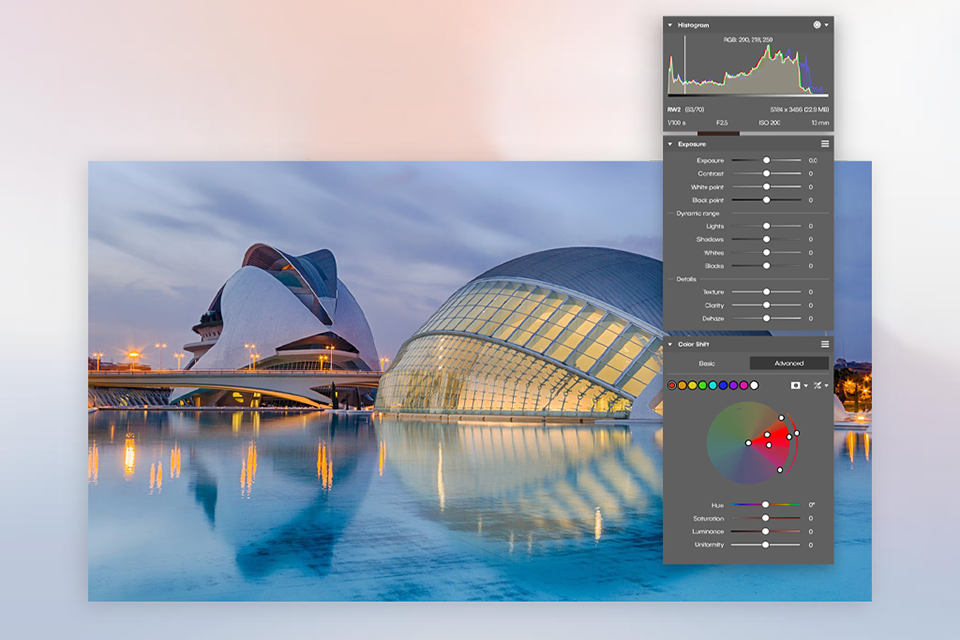
As an editor for the entire photo workflow, Zoner Studio appealed to me. Without switching apps, I could browse a shoot, select the RAW files I wanted to work on, and begin editing. In order to maintain consistency in a travel series, I would begin with a preset and then adjust exposure and color on individual pictures.
When multiple images require the same initial modifications, its batch features come in handy. In addition to the standard photo settings, Zoner Studio offers HDR editing, background removal, and video features. The UI is user-friendly and allows me to make more intricate changes as I gain experience with it.
“I like being able to organize a shoot and edit its RAW files in the same workspace. The batch tools are especially handy when I want a consistent look across a series.”

I can test the workflow on my own images before subscribing thanks to the seven-day trial, which grants me complete access to the tools without requiring payment information. For Windows customers looking for an accessible RAW editor with sufficient tools to manage huge photo collections, I would suggest Zoner Studio.
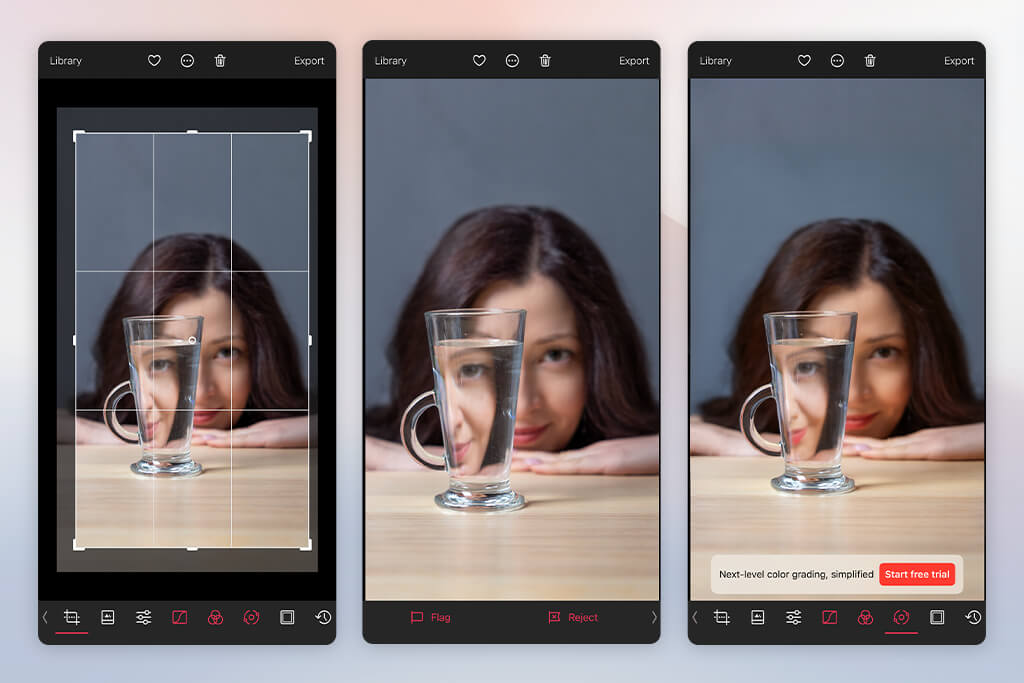
Darkroom delivers a fast performance and has a streamlined UI, making it perfect for fieldwork. After importing the RAW files, I was able to adjust exposure, highlights, shadows, and hues quickly with a few swipes. While this RAW photo editor supports limited local adjustments, I was able to make certain areas brighter, especially beams or walls.
I also liked the noise reduction tools. They are similar to the ones you can find in dedicated photo editing software for PC. They helped me preserve the original textures in poorly lit photos. Using the batch editing features, I was able to edit several images in the same way. It saved me a lot of time and allowed me to achieve consistency when working on my project.
“This app became one of my favorite mobile editing tools. I use it daily, as it has a streamlined UI, supports non-destructive edits, and delivers decent performance.”
It was easy for me to export my files in high-quality JPEG or TIFF formats. The interface is streamlined and intuitive. Due to this, I can use the app on a tablet or phone with ease.
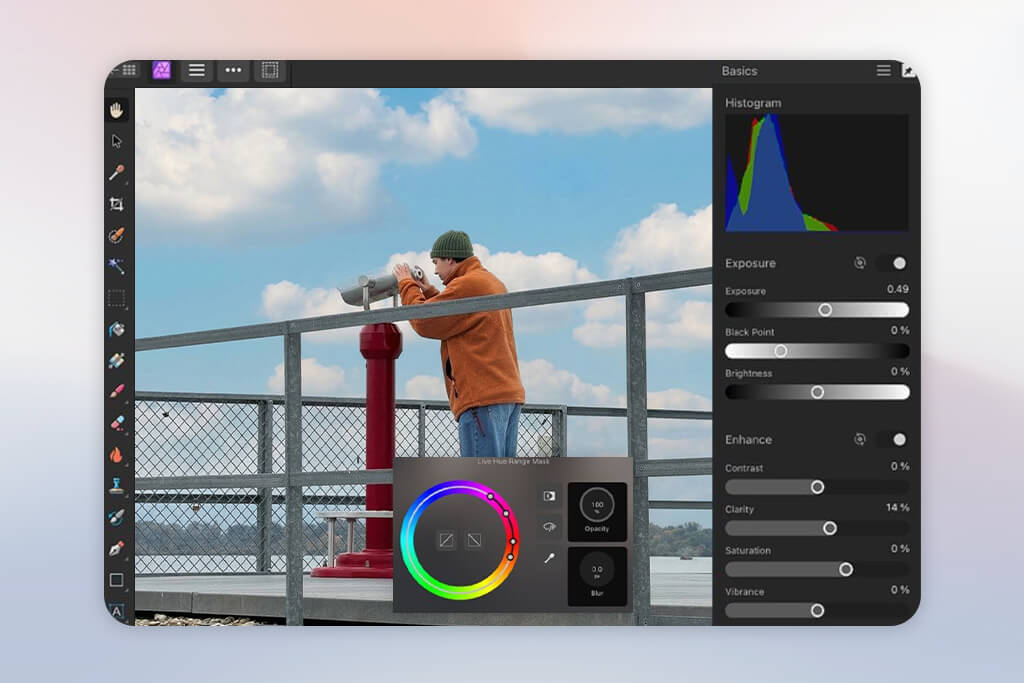
Affinity Photo for iPad is similar to a full-fledged desktop editing software accessible from a tablet. It allows me to work with adjustment layers and masks to edit RAW files with a high level of detail. I liked that I was able to adjust exposure, curves, and colors with high precision. Besides, healing and cloning tools facilitate cleaning up industrial textures.
“It’s a desktop-level editor available on the iPad. With it, I can perform advanced masking, work with layers, and make detailed edits the same way I typically do on a laptop.”
Noise reduction allow me to maintain a high level of detail when editing high-ISO images. Using them, I can make textures sharper without adding artifacts. The touch interface remains responsive even when one processes large RAW files. Using the presets, I was able to expedite my workflow.
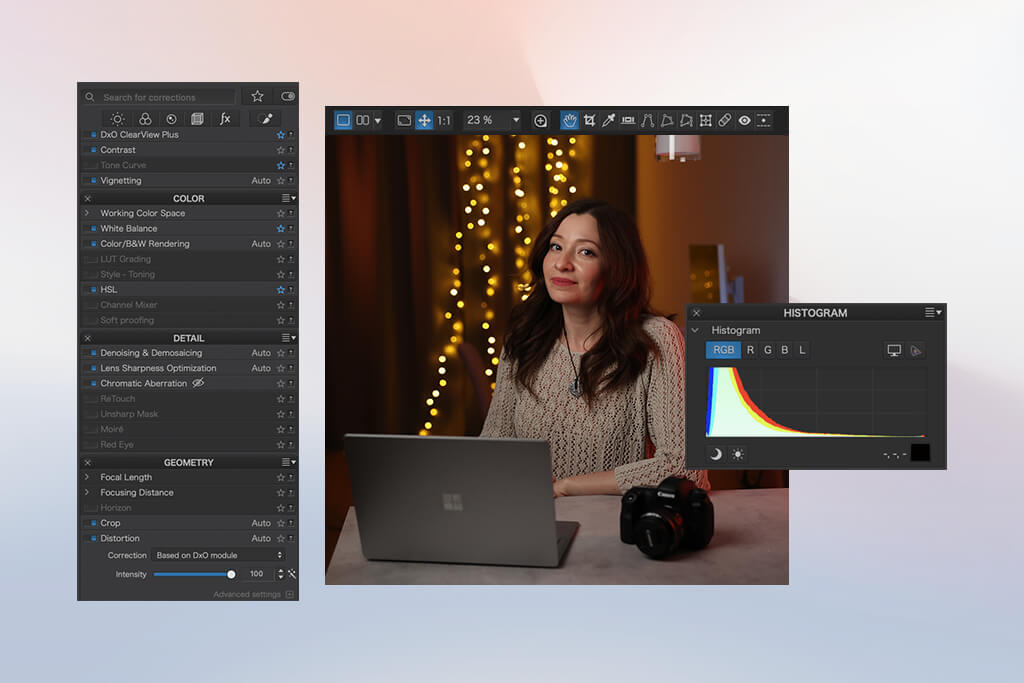
What struck me about DxO PhotoLab is that it supports automatic lens corrections and PRIME noise reduction. When I imported RAW files from my camera, I noticed that this app automatically fixed aberrations and distortions. Shadows in photos captured in dimly lit environments looked sufficiently detailed. Highlights were perfectly balanced.
I was pleased with selective adjustments, as they helped me make individual beams brighter and fix issues with dark corners. Color grading tools were quite intuitive, and the edits looked consistent. I used noise reduction tools on high-ISO images to keep the original textures intact when removing grain.
“I was impressed with the automatic correction tools. Using them, I was able to improve the quality of imperfect shots with little to no effort.”
Batch exporting felt intuitive. The TIFF and JPEG files did not require any additional adjustments, so I was able to print or share them online quickly. This RAW photo editor delivered stable performance even when I used it to work with large RAW files. The touch interface facilitates making accurate edits.
If you compare DxO PhotoLab vs Lightroom, you will see that the former is especially suitable for photographers who need to make RAW edits quickly and streamline their workflows by using automated and manual adjustment tools.
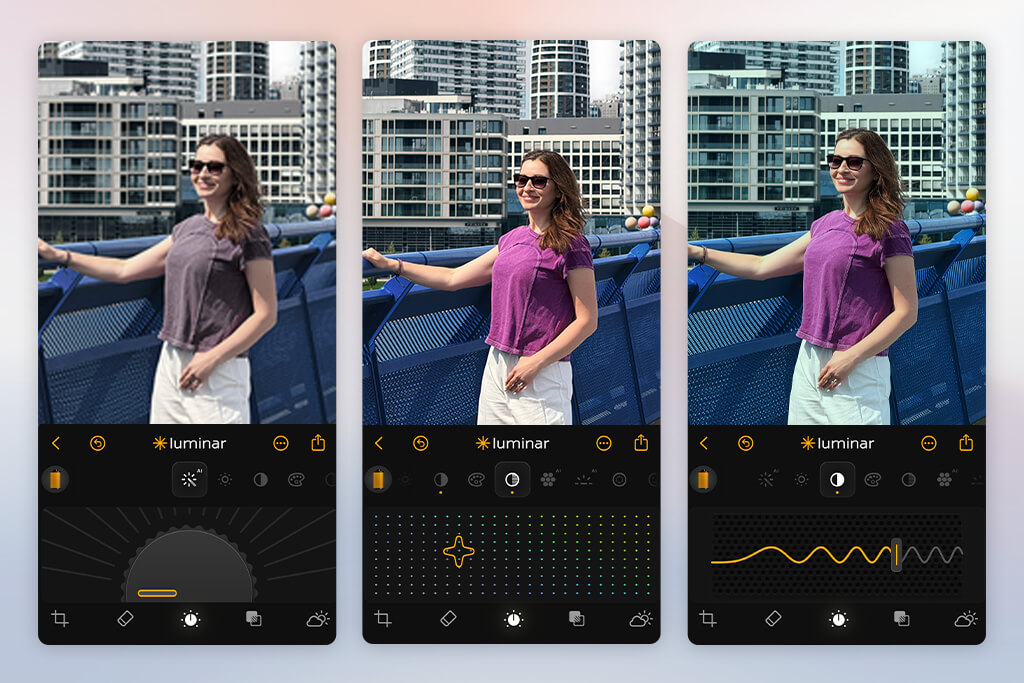
When I started to use Luminar Mobile on my tablet, I was impressed by its performance speed. It quickly imported RAW images from my cameras. This app did not have any issues, even with handling large photos taken with Canon and Nikon cameras. The home screen is clean and intuitive.
When I started using this RAW photo editor, I was pleased with the responsive touch controls.
Firstly, I decided to fix basic exposure and white balance. The app maintained even barely noticeable details in the shadows and highlights. I was able to immediately tell that it wasn’t just a regular filter app, as it was processing RAW images with high accuracy.
“I prefer to use this solution for quick, fun edits before publishing my content. The AI filters are easy to apply.”

The key advantage of this app is its AI enhancement features. It recovered lost detail in dark areas nicely, increased contrast to add some depth, and adjusted the midtones without increasing the highlights too much.
I liked the variety of the creative features and presets available in the app. Using different looks and styles, I was able to create different moods, use gritty industrial hues, or emphasize architectural details. I could save the settings I used as presets and apply them to other pictures taken during the same photo shoot.
When testing these services, we used RAW images captured with the help of Canon, Nikon, and Sony cameras, including indoor pictures taken at low ISO settings, architectural scenes with high contrast, and HDR images with bracketed exposures.
My colleagues from FixThePhoto team and I wanted to understand whether these apps were suitable for intensive workflow and deliver seamless performance under pressure.
Kate Debela performed import and compatibility testing. She copied RAW files to iPads and Android tablets using SD card readers and USB-C connections. Some apps she tested were quick to load previews, while others had issues with large 45MP files. Kate was interested in the highlight recovery capabilities of these solutions.
She tested them by overexposing shots and decreasing highlights to see whether it would be possible to recover detail. The best apps kept the window details and sky texture perfectly visible.
Vadym Antypenko focused on color accuracy and manual adjustments. He examined the quality of white balance corrections across different apps using the RAW photo captured in mixed lighting conditions. When using some basic apps, he discovered that skin tones looked unnatural or shadows became muddy when he increased them too much.
The best apps kept tones natural even after significant curve adjustments and supported in-depth HSL corrections without adding any artifacts. Vadym also tested noise reduction features on pictures taken with ISO 3200 and 6400 settings, as he wanted to see whether there would be enough detail after cleanup.
Tati Tailor was more interested in workflow and export quality. She focused on batch editing features, preset synchronization, and export formats, as she wanted to see whether these apps supported exporting in high-resolution JPEG and TIFF.
Some apps compressed photos too much, while others maintained the original sharpness and color depth, making them more suitable for those who work on client projects. Tati was also interested in user experience. She tested whether the masking tools were easy to use on a touchscreen and whether it was possible to make accurate, selective adjustments.
After testing these apps, we were able to choose several apps that supported high-level RAW processing. Our top options supported quick file rendering, consistent highlight recovery, accurate color science, and noise reduction. They delivered reliable performance without crashes or overheating.
Even though desktop software like Adobe Lightroom and PaintShop Pro is still more suitable for large batch projects, we discovered that many mobile RAW editing apps are more suitable for editing photos on the go, enhancing travel photos, and creating previews for clients.