Those engaged in food photography often have a hard time, trying to come up with proper shooting angles. The process gets even more complicated when you have to joggle several cooking and presentation styles, or photograph different types of dishes. The thing is that some food looks its best only at a specific angle, while a slight camera shift can totally ruin a composition.
If you are looking for expert tips on how to choose the correct angles for food photography, this guide can perfectly fit the bill.
To choose the best food photography angles, you need to answer several questions. Which angle allows demonstrating all the ingredients? How many plates do I need to locate in the frame? Does the finished dish have height? It is obligatory to capture depth? Are there any interesting patterns and designs on the top that I have to photograph? After you’ve completed such a questionnaire, you’ll know what angles to stick to.

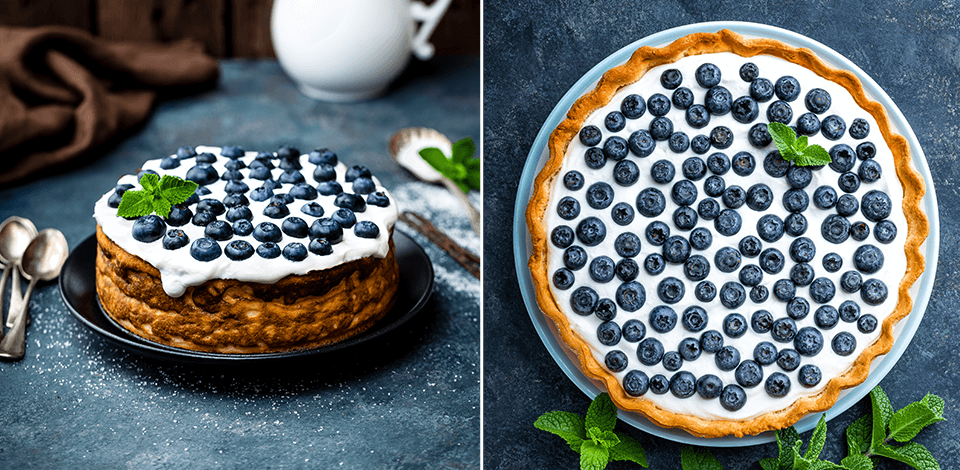
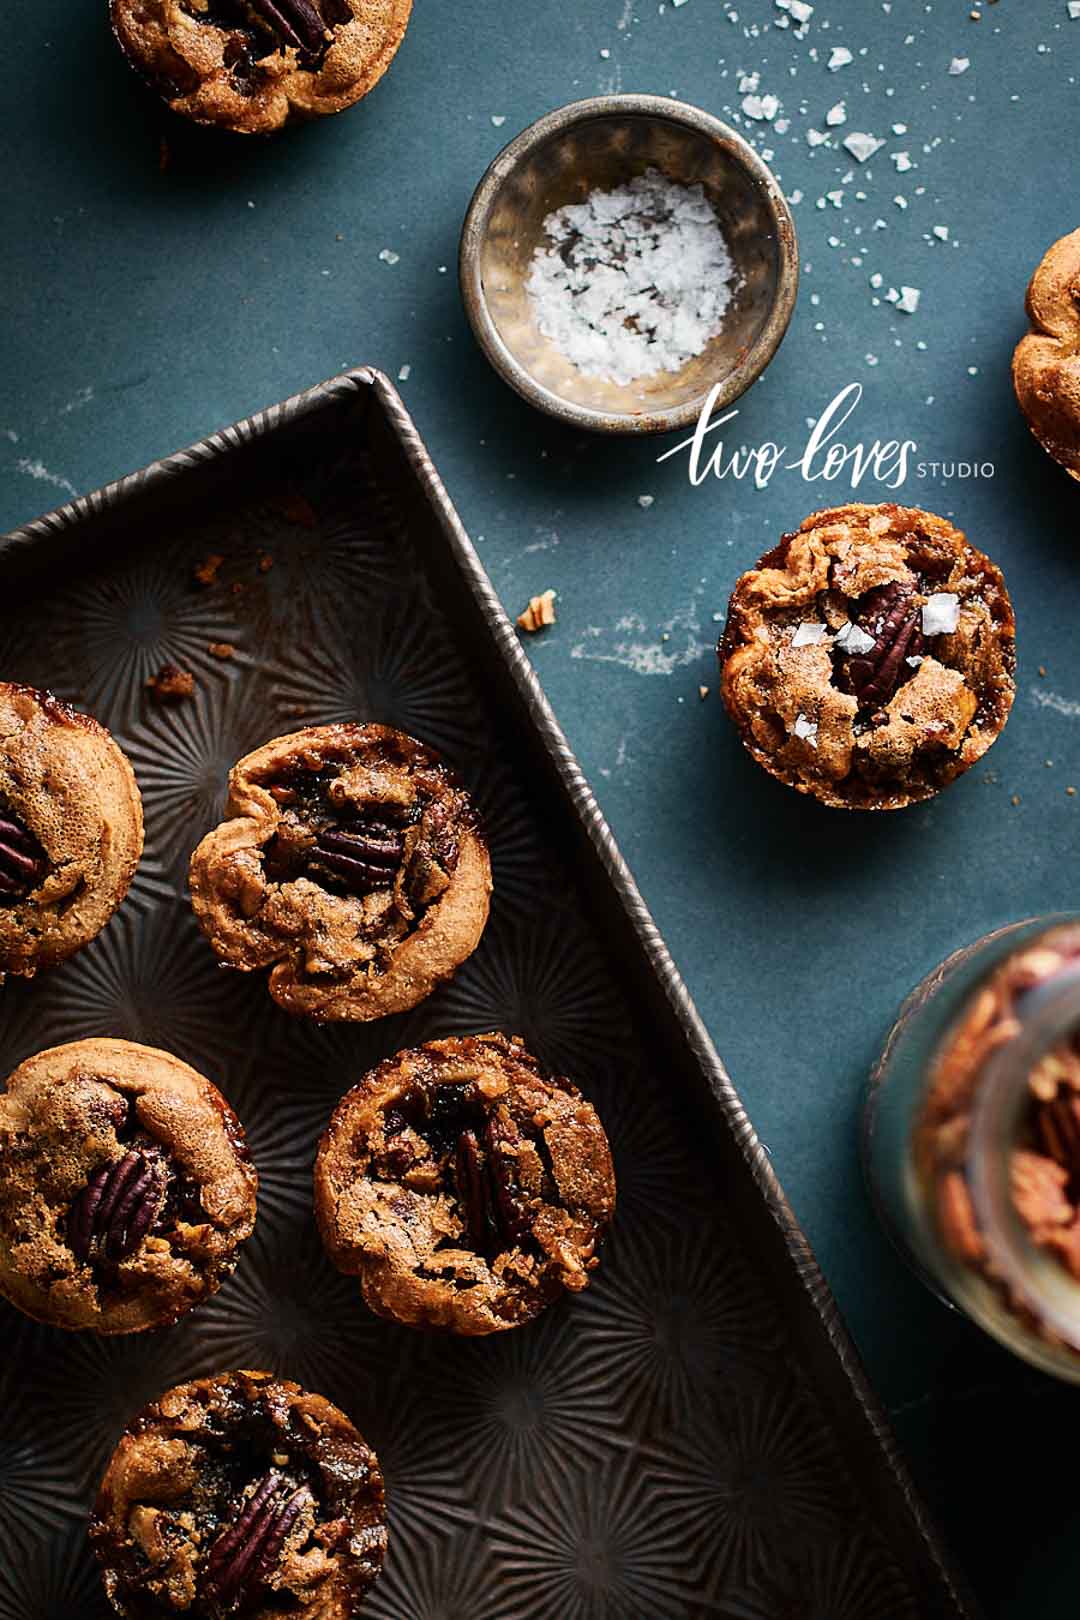
Flatlay photos also known as images taken from an overhead angle are very popular on Instagram, so no wonder more and more food photographers want to jump on a bandwagon. This angle is ideal for iPhone product photography as modern phones have a super wide-angle lens for food photography.
The overhead angle has several advantages. First of all, it allows realizing food photography ideas, when you need to capture several dishes/elements located near each other. Thus, you can try your hand at storytelling. Moreover, it allows for creative experiments with props, ingredients, dishes, etc.

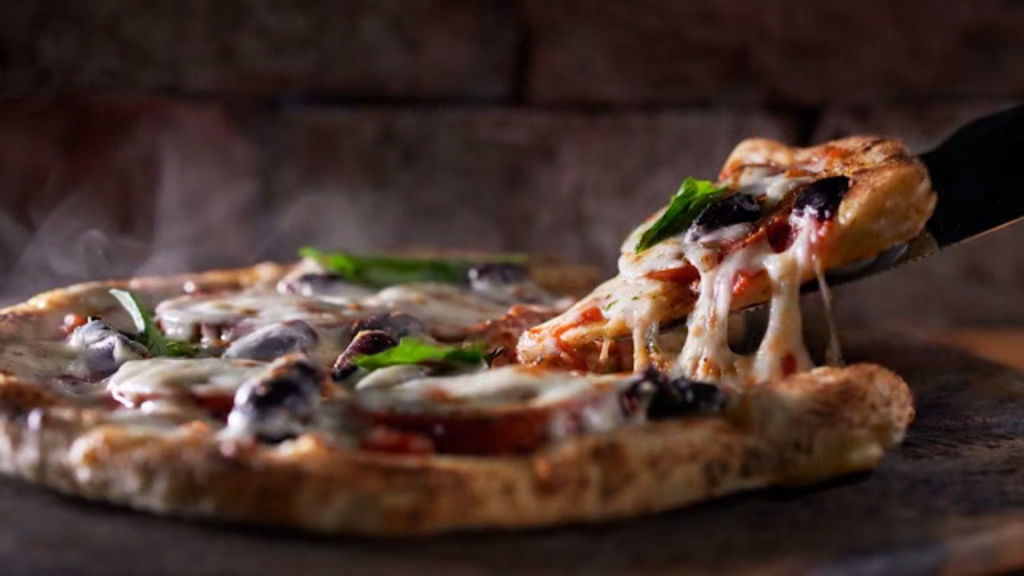
I opt for this food photography angle when I shoot flat dishes (pizza or pie) or food without in bowls and deep plates (soups). I highly recommend using this angle if all important details of a dish are arranged on top.

The 0-45˚ is much liked by seasoned shooters, who also run food photography blogs. It enjoys such popularity because of the versatility it brings to your fingertips. Shooting at this angle, you can show the front, the surface, and the sides of the dish. The angle is used for descriptive purposes when it is obligatory to provide viewers with as much visual info as possible.
Taking photos this way, you need to accurately arrange all food photography props, as your camera will capture some background details. Images taken at 0-45˚ are very eye-pleasing because this is actually a standard angle we perceive food at, while eating it.
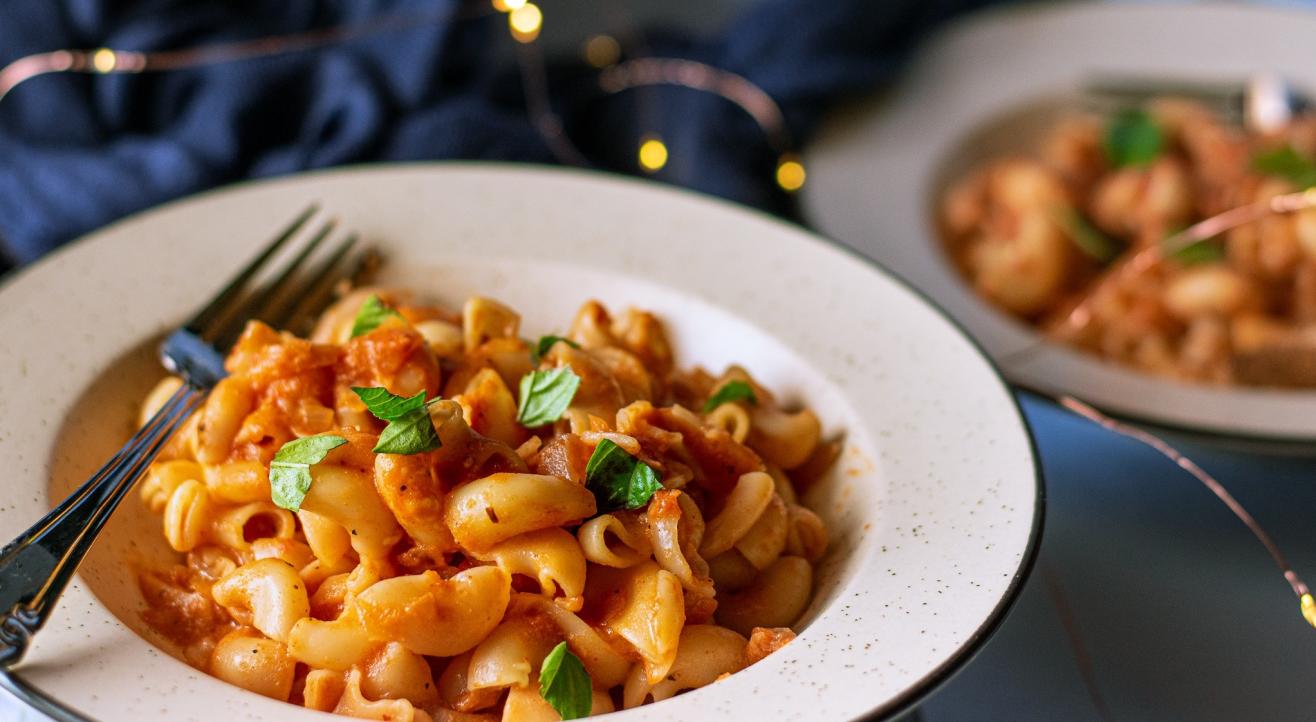
Typically, photographers choose this angle for showing the texture and styling of dishes or beverages in tall mugs, soups and smoothie bowls with toppings, layered desserts in glasses, beverages in glasses cakes, cupcakes, pancake, waffle, or cookie stacks, dishes held in hands.
If you don’t know how to edit food photos or simply lack time to do it on your own, get in touch with our experts and they will take care of all your images. Professional retouchers can correct colors, create a specific mood, mimic the style of famed food bloggers, etc. The turnaround is remarkably fast and prices are moderate.

You get this food photography angle when your camera is directed right into the food or is parallel to one face of the dish. Everything that stays in the focus will be sharp in images. You should go for this angle when you photograph layered food, that where height and depth matter, as well as dishes with props located around.
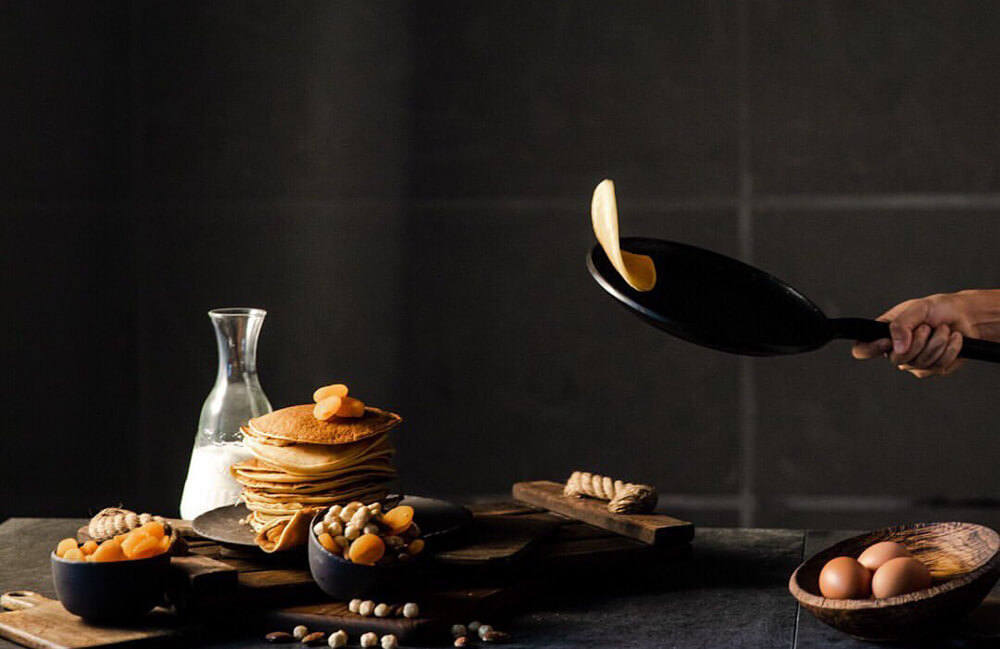
Whenever I have to shoot layered cakes, stacked burgers, ice cream in cones, beverages in tall glasses, sandwiches in a bun, pouring or dusting shots, I choose this angle. Of course, you can try photographing from above, but the result is unlikely to please your eyes. A straight-on angle is frequently used in wedding cakes photography and drink photography.

This is an interesting variation of the previous angle. In this case, you have to stay a bit lower than the food you’re photographing. As a result, your food will look bigger than it actually is. This is one of the most popular food photography tricks you can track in ads. It works especially great for taking images of stacks of pancakes, burgers, or any other dish with a focus on height.

This is one of the best food photography angles for accentuating the textures of a dish. It originates from a 45º angle, but here a camera is slightly lower and a photo incorporates the background. Such images are pleasing to the human eye as they have depth.

The list of dishes you should photograph at this angle includes cakes, beverages in tall glasses, dishes held in hands, pavlovas, cupcakes, dishes in shallow bowls, or plates of waffles, pancakes, and cookie stacks.

Though the angle also results in flatlay images, here you need to tilt your camera slightly. If you want to become a food photographer with a rich portfolio, this angle is a must to master. Choose a 75-degree angle while photographing drinks in tall glasses to keep the backside of the rim visible.

This angle is also at an advantage to a standard overhead perspective when it is needed to show a shine or texture of a drink/dish without keeping a camera straight above a glass or plate. You can use it for shooting beverages in opaque glasses, mugs, and the like.
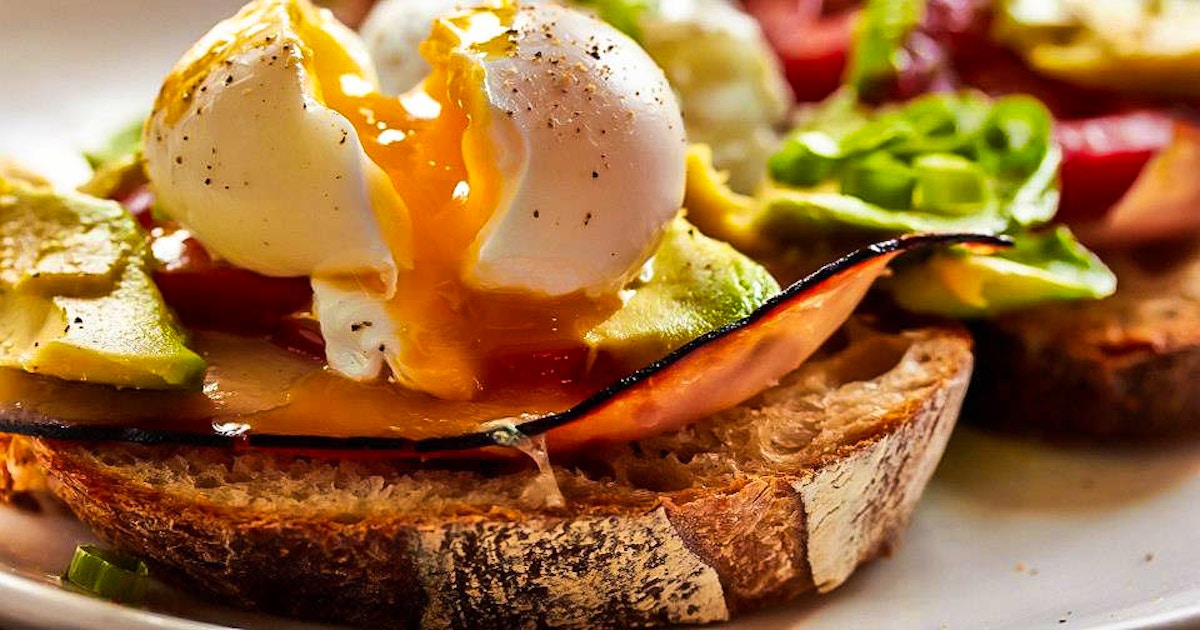
Have you examined multiple food blogging tips, trying to figure out how to show the ingredients of a dish? Don’t look further as this angle is ideal for this goal. Taking a close-up photo, you can perfectly demonstrate different components arranged on a plate as well as highlight textures and even transitions.
While looking at such pictures, people can even “feel” how the food tastes. However, this perspective is suitable only for complementing the main photo. This means you need to take the main photo where not only the dish but also other elements of the scene are clearly displayed. Then, you can narrow the focus by showing the constituents of a dish.

Locate your camera for food photography in such a way that a subject starts in one corner and ends in the opposite one. Thus, you will break the space diagonally.
This method has proven to be very efficient when it is needed to direct viewers’ gaze across certain lines in images. Moreover, this is one of the winning food photography angles for adding movement to pictures.
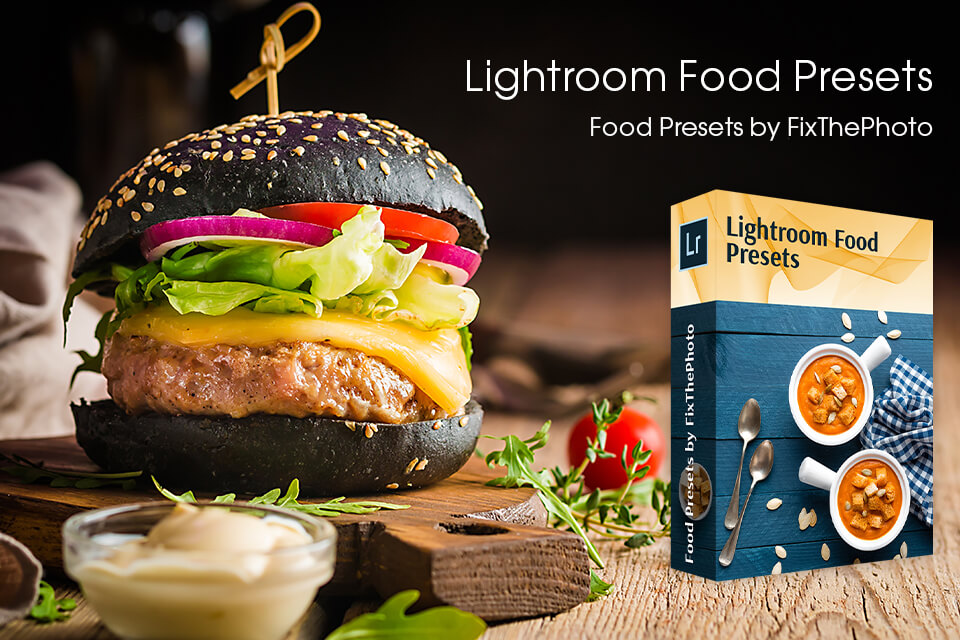
Even if you managed to choose the best food photography angles, your images still require thorough editing. Want to cope with the task faster? Then download this pack of bonus tools and give your food photos an irresistible and appetizing look. Whether you specialize in dark food photography, take pictures for Instagram, food blogs, restaurant menus, etc., these instruments will surely come in handy.


