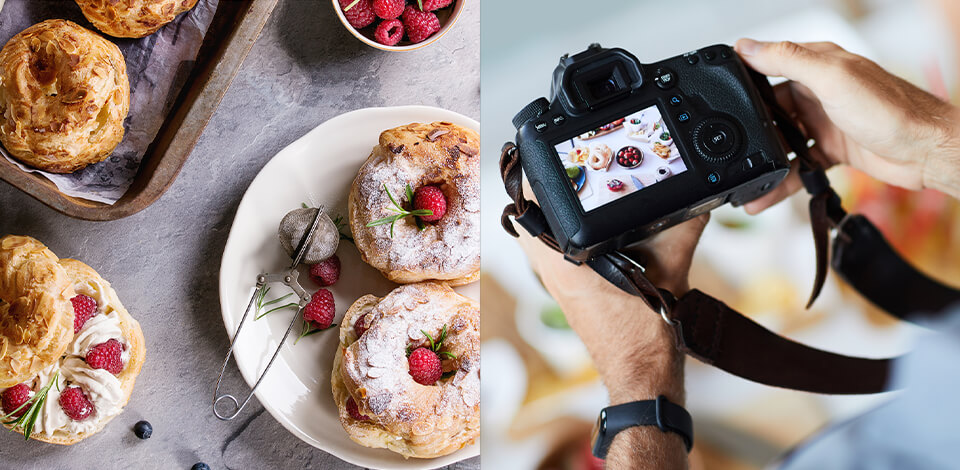
Are you a food blogger or photographer, or maybe consider starting a blog or one of those delicious Instagram pages that are filled with beautiful food shots? Are you such a huge fan of food that you want to share your passion with the world through food photography?
In that case, I am here to help you improve your photography skills by sharing with you my top 7 delicious tips for food bloggers.
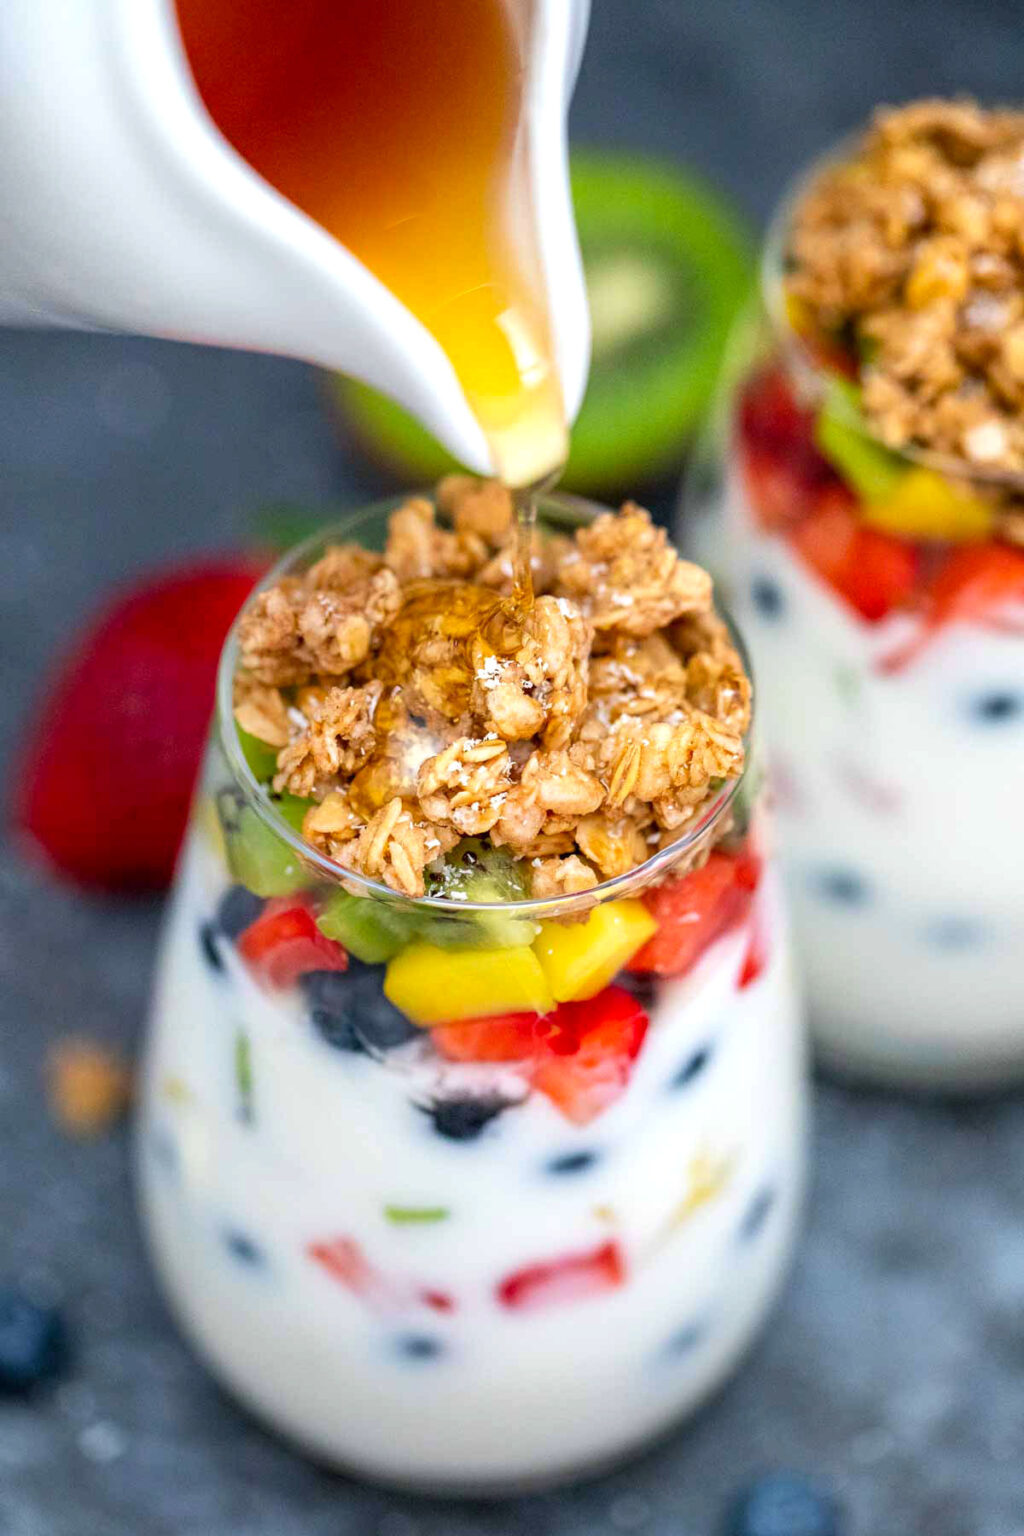
First things first, to take beautiful pictures of food you need to have the right equipment. While if you just maintain an Instagram page of tasty and good-looking meals, an iPhone and some image editing apps will do the trick, food photography blog is more complex. You will need:

You can make your own or check Etsy and other online shops that specialize in product photography backdrops. These are basically surfaces on which you will take your beautiful photos. I recommend investing in a few, so you have options. For some recipes where you want to concentrate less on styling and more on the food, you can use lightly-colored boards.
For others, where you need to create an amazing composition and have colors that complement each other, you can have some fun with colorful surfaces.
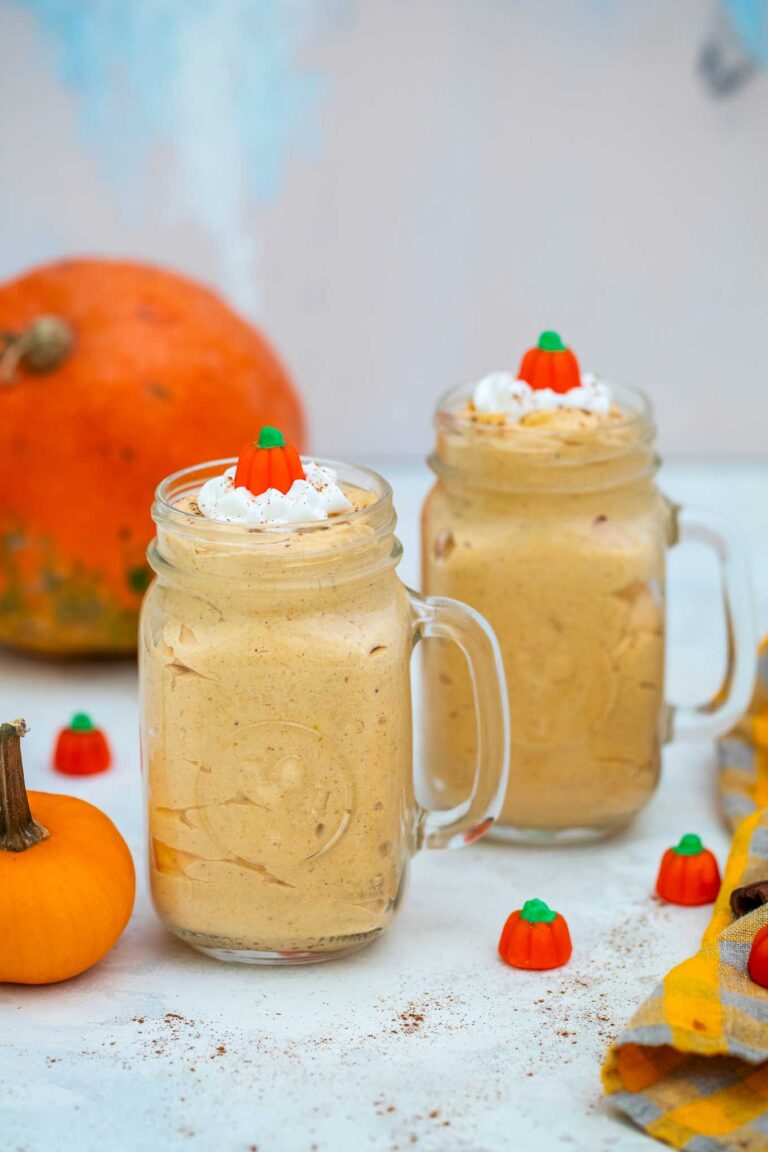
Another food blogging tip that I always give my fellow bloggers is to always be on the look-out for interesting and unique props you can use in your shots. Etsy, flea markets are a great place to search for cheap photography props which you can buy or do by yourself. Make sure you have a few kitchen towels that could add distinctive texture and pop of color to your photos. Also, vintage plates, forks, spoons are nice additions.
You can use it as food photography props many things that you already have available. If you are making a recipe with fresh berries or take fruit photography, make sure you have some in the background in a bowl. This will add a pop of color to the photos and also it will help the viewer quickly understand what the recipe contains, which increases the likelihood of him clicking on your recipe and checking it out.
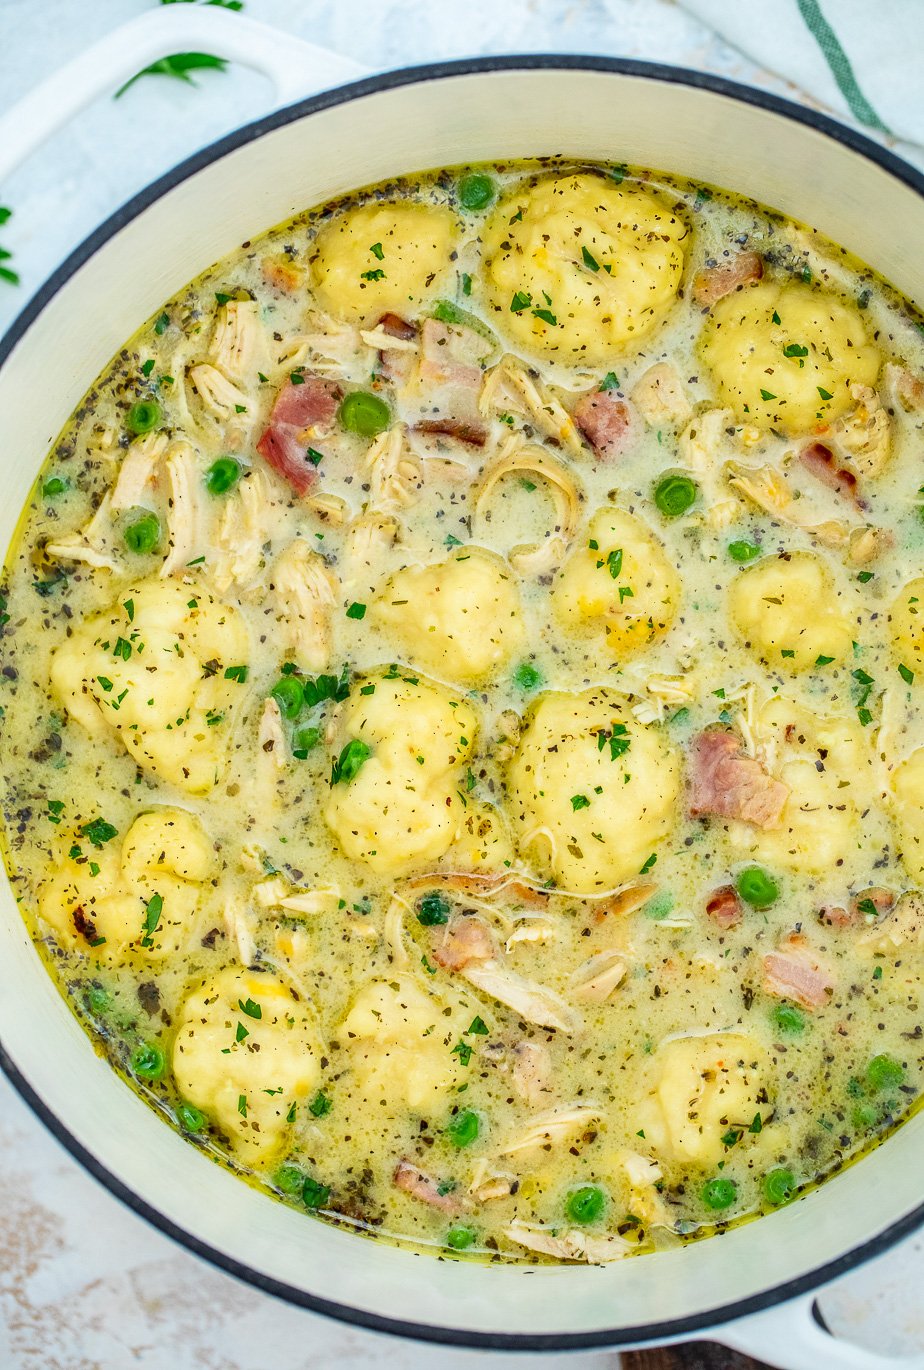
But keep in mind, never use items that clearly do NOT belong in the shoot. For example, if you are shooting a delicious chicken noodle soup, it would not make any sense to have as props a fork and vegetables in the background that you didn't use in the recipe. A photo should tell a story, and confusion should be avoided.
This is definitely one of the most important food blogging tips I can give you. While I own a professional studio, we always try to take out photos using a combination of natural light and some artificial sources.
If you are a beginner food blogger or don't have finances to invest in artificial lighting, I highly recommend you schedule your shoots during the time of the day when the light is best in your apartment. This may involve some planning, but the results will be well worth it.
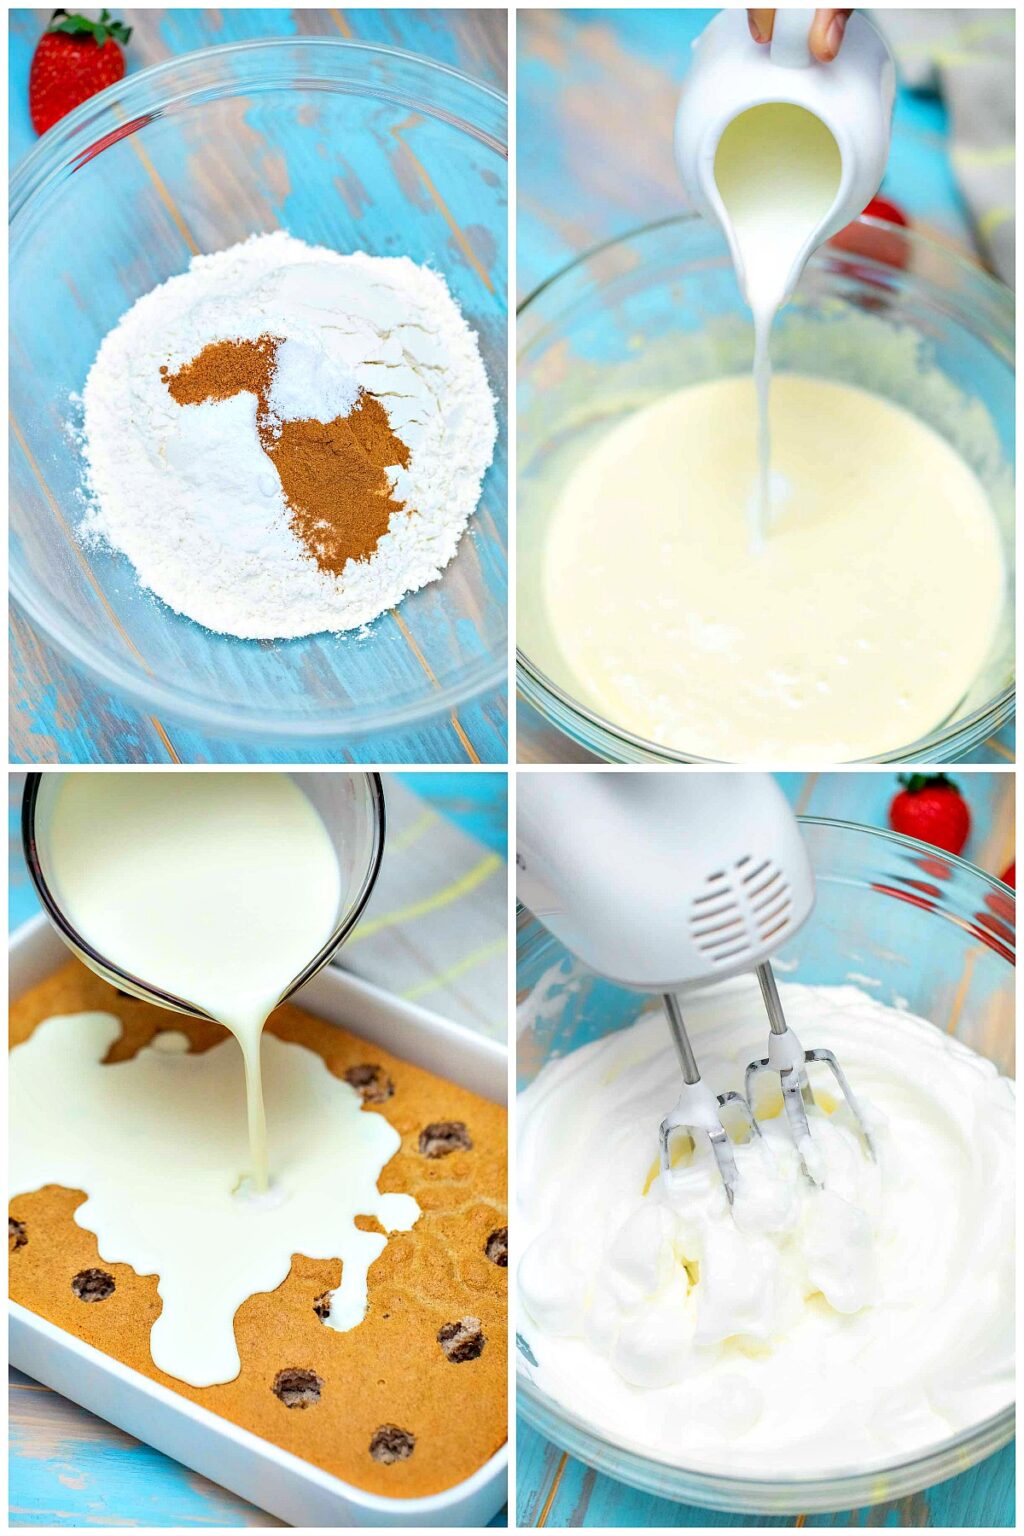
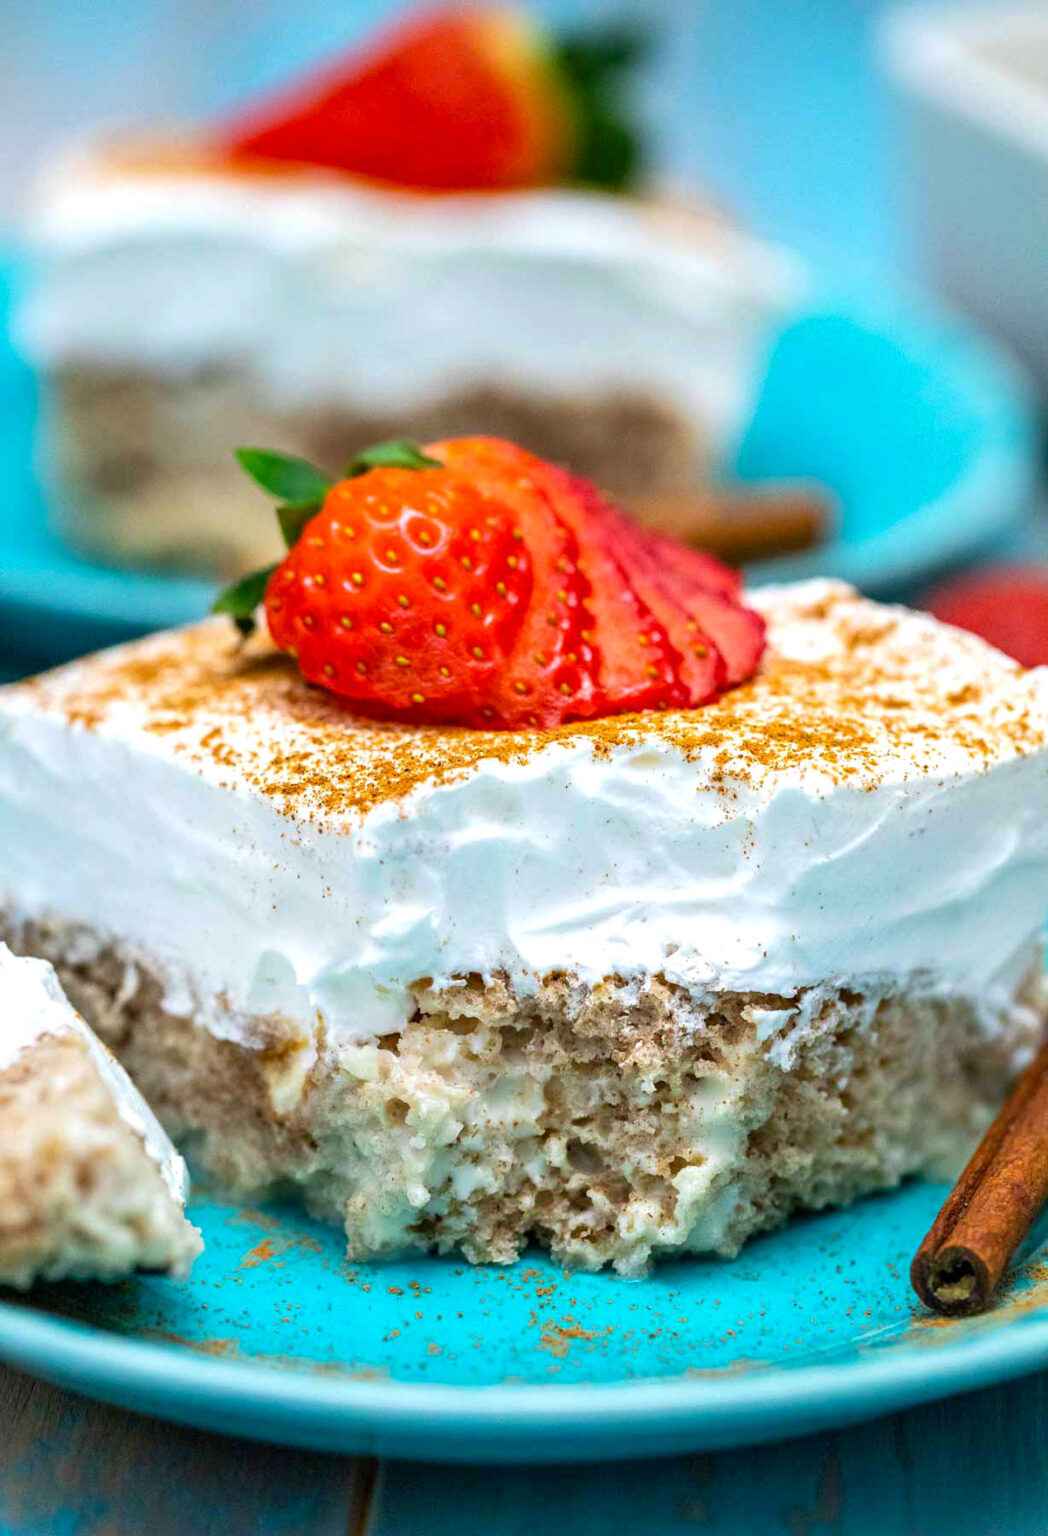
Shooting food needs a lot of advance planning. I highly recommend that you take photos of how the food is being prepared, to help the reader visualize the recipe making. A great example is this Tres Leches cake recipe, you can see a mix of "process shots" and "hero shots".
The hero shots are the final product pictures that you will use to promote the recipe and share across social media platforms. While the process photos are more to stay on your blog, to help the readers navigate the recipe.
Do not be afraid to take very close images of your food. Play around, find the perfect angle, use a macro lens and get close to your food. Keep in mind that 80% of people will check your recipe from a smartphone, so having those close shots is very important as they show the food in all its glory and details.
Sometimes the food that we make may taste great, but not look very appealing. These are the type of recipes that are harder to photograph. A few tips, if your food is red, brownish or yellow, would be to never use yellow surfaces or props.
I usually recommend going for a light white surface, some simple green garnishes to add some contrast: like parsley or green onions, and some serving props. If the food looks bland, adding some garnish always helps, that pop of color that ties everything together.
If you are cooking meat and it looks dry, spray it with some vegetable oil to make it glossy, juicy and appetizing, Also, if you just made chocolate truffles, but don't have enough to fill a bowl high with them, use some paper towels to fill the bowl halfway and arrange the truffles on top. Be creative with things that you have on hand to help you in a visible or invisible way to elevate your photos.
Different dishes may look good from various angles, so do not be afraid to play around when you style the shot. I always tell photographers not be afraid to restyle your shot. Especially, if you find it that it is not great or not working the proper way for you. Also, do not be afraid to move around, or to move the plate. Sometimes it can take hours and dozens of attempts to get that juicy hero shot.
The food imagery world is always evolving, so to keep things interesting make sure you have fun with your photos. For example, instead of adding all the process shots to your blog post, create a collage in one of the popular collage apps or add text to your photos to help the reader better understand the steps.
Use Pinterest or Foodgawker to see what are the recent photography trends. This way, you can get inspiration and food photography ideas for your own photos. There are so many talented bloggers that take absolutely stunning photos and give ideas about how to edit food photos, you can always find something that will amaze and inspire you to get better and better.
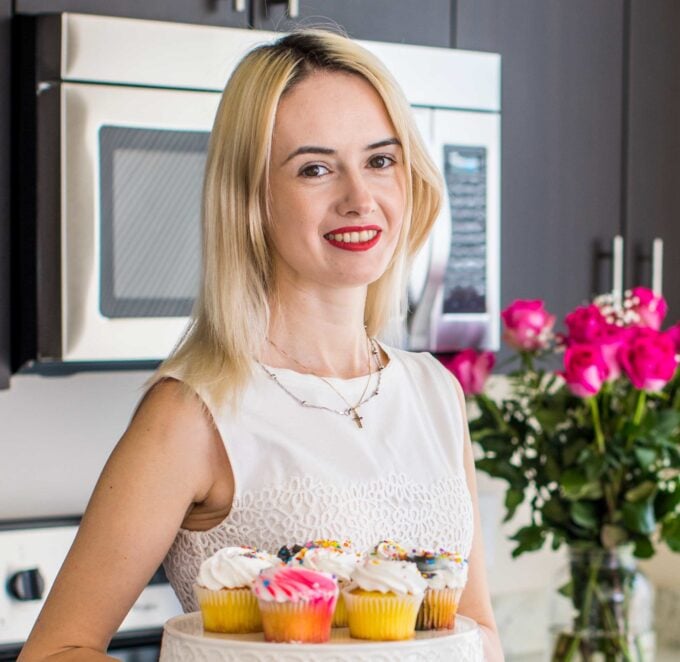
My name is Catalina Castravet, and I am the owner of Sweet and Savory Meals. I am a professional chef and food blogger who is always on the lookouts for delicious recipes and creative photography ideas.
Over the past 10 years, my team and I, have created well over one thousand recipes all accompanied by beautiful photos that make your mouth water. All the recipes are shared for free with our beloved followers and readers.
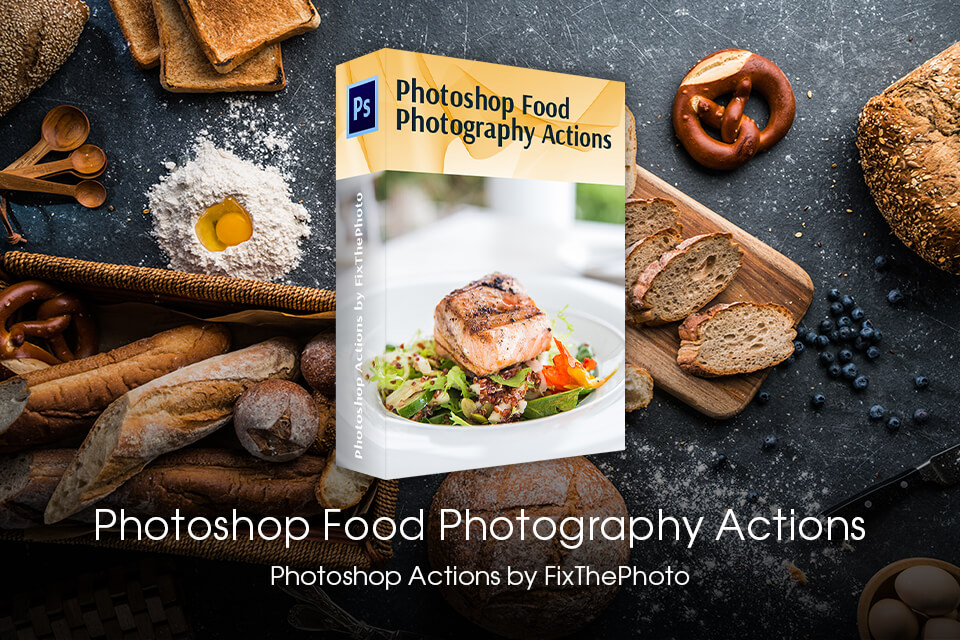
If you want to spice up your photos of delicious meals before posting them on social networks or in your blog, you can quickly put a spark in your images by using Photoshop actions. They will help you fix lighting issues, make colors more vivid, and highlight textures to make the dish in your photo look amazing. In a few simple steps, you can highlight fine details and give your photos a professional look.