If you want to create mouthwatering images of food, you definitely need to learn how to edit food photos in Adobe Photoshop. I’ve prepared a short guide on how to achieve the desired look in food images following 10 simple steps.
Food photography doesn’t boil down to the photo session only, as success also depends on how skillfully you edit such images. You have to pay attention to all details, starting with the background and ending with shadows and colors of individual items.
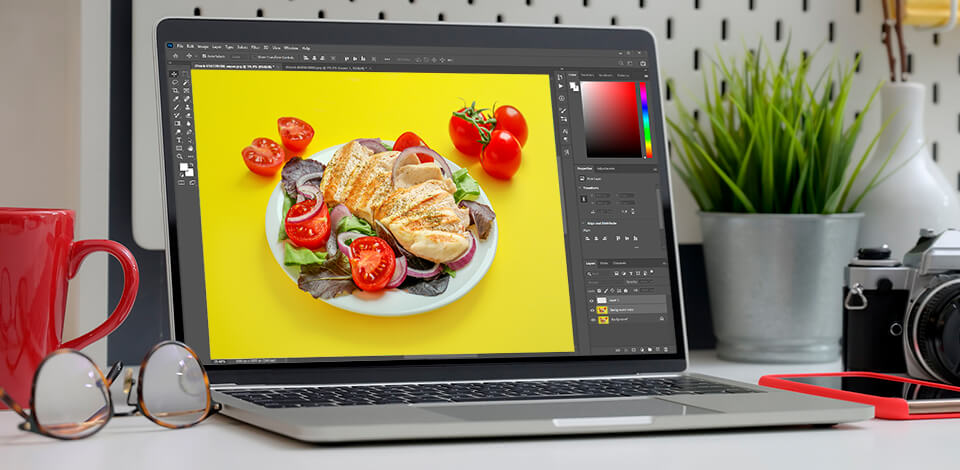
I took a shot of a delicious chicken breast with salad, shot under the studio light, but the light source was placed incorrectly. Thus, there appeared harsh shadows in the photo and I’ll try to get rid of them.

Primarily, you need to correct colors. Go to Filter - Camera Raw Filter ... or press Shift + Ctrl (Cmd) + A. Choose the same settings as in the screenshot, but you may need to alter them a bit to suit your photo. The main thing now is to raise shadows and reduce blacks.

You need to make a quick selection. This is a more convenient method than trying to do it manually. Besides, it takes less time. To do this, click on Select - Subject. Wait several seconds till the download is over.

If you notice that some objects are not selected correctly, then you can fix this using the Quick Selection Tool (W). Just click on objects that are not selected.
After you're done with the selection, click on the small rectangle with a circle at the bottom; it is located in the lower part of the Layers window. Thus, you’ll create a Layer Mask.

Create an empty layer under the mask layer by clicking on the + icon below in the Layers window.
Take the Eyedropper tool (I) and click on the color next to the plate. Take the Brush tool (B) and set it up this way:
Hardness – 20%; Opacity – 10%; Flow – 100%;
At this stage of food Photoshop editing, you need to trace the deep shadow next to the plate to remove it.

While cooking, you can be as careful as possible so that the dish looks aesthetically beautiful. But when you look closely at the details in an image, you may notice inaccurately cut onion rings, deformed tomatoes, etc.
To fix such defects, use the Clone Stamp tool (S) and the Spot Healing Brush tool (J). Go through all the problem areas.

The centerpiece of this dish is the grilled chicken breast. That’s why, you need to devote more time to it while editing food photos. Select it with the Quick Selection tool (W).

Now create a New adjustment layer. You can find it in the Layers window at the bottom; it looks like a black and white circle. Click on it, then click on Curves. Adjust the settings as shown in the screenshot; they are universal for most images.

Similar to the previous step, select the meat, create a New Adjustment layer - Levels and raise contrast by moving the arrow to the right.

Now you know how to edit food photos in Photoshop CC. We covered this with an easy example, but there are more complex images that require more time. In such cases, it is better to address a professional photo editing service.
You should also learn how to create a reflection to produce cool advertising images and how to add drop shadow in Photoshop if your picture lacks it.

Not to waste time on some repetitive actions in Ps (color correction, creating adjustment layers, selection, etc.), you can download professional effects and use them while editing food photos. Take advantage of this pack and make your post-processing fast and effortless.


![7 Best Lenses for Food Photography [Real Tests Only]](/placeholder-450x300.svg)


