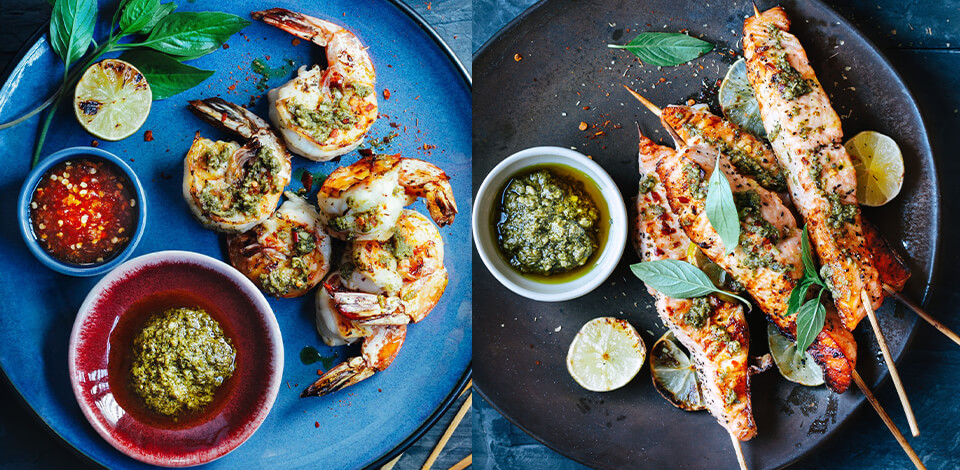
To be successful photographer you need to constantly come up and impress your audience with fresh and creative food photography ideas. However, the more you shoot food the more difficult it becomes to look for new ideas. That’s why, I’ve compiled the ultimate list of cool food pictures ideas that will be a constant source of inspiration for you.
If you are engaged in food photography, you may get in a creative rut from time to time, so this rundown of original ideas will definitely come in handy. Some concepts are cheap to bring to life as they require natural light and regular props; others are more technical, so you need to conduct a thorough preparation.
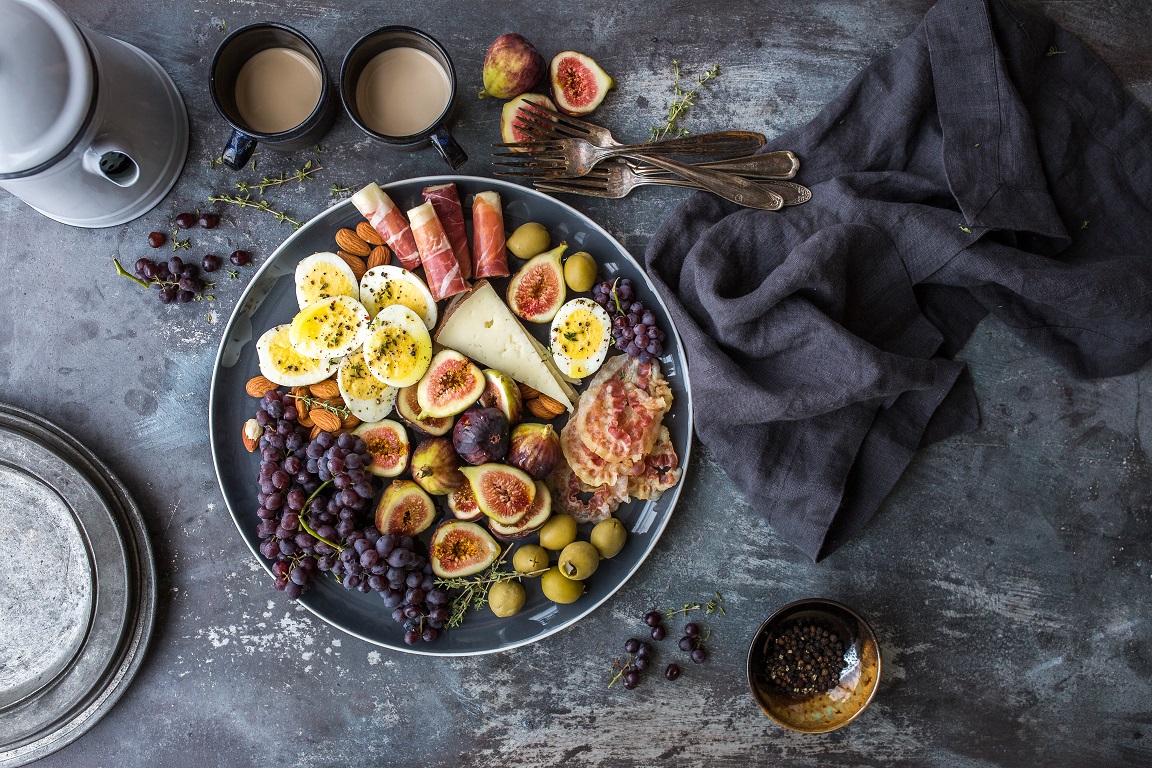
If you are interested in creative food photography, I highly recommend trying a flat lay shooting technique. This is actually the most popular type of tabletop photography which means that all elements of the composition are arranged on an even surface, while a photographer takes images from above. Sometimes, you need to stand on a chair or ladder to capture that “flat lay” feel.

If, for some reason, you can’t achieve such a distance while standing on a chair, you can place your food pieces on the floor and take images from your height. If you plan to make money specializing in flat-lay photography, you definitely need to nvest in a robust monopod with a 90-degree arm from a good tripod brand.

When I take food images and my hands get in the frame, I never remove them at the photo editing stage. In fact, this can have a nice humanizing effect and your picture will look very natural. I believe that such images are great if you want to invite viewers’ hands to also interact.

Frankly speaking, images that depict a cooking process are very dynamic and are bound to attract people. You can capture how a chef pours a sauce, adds toppings, decorates a cake with fresh fruit, cuts meat, etc.
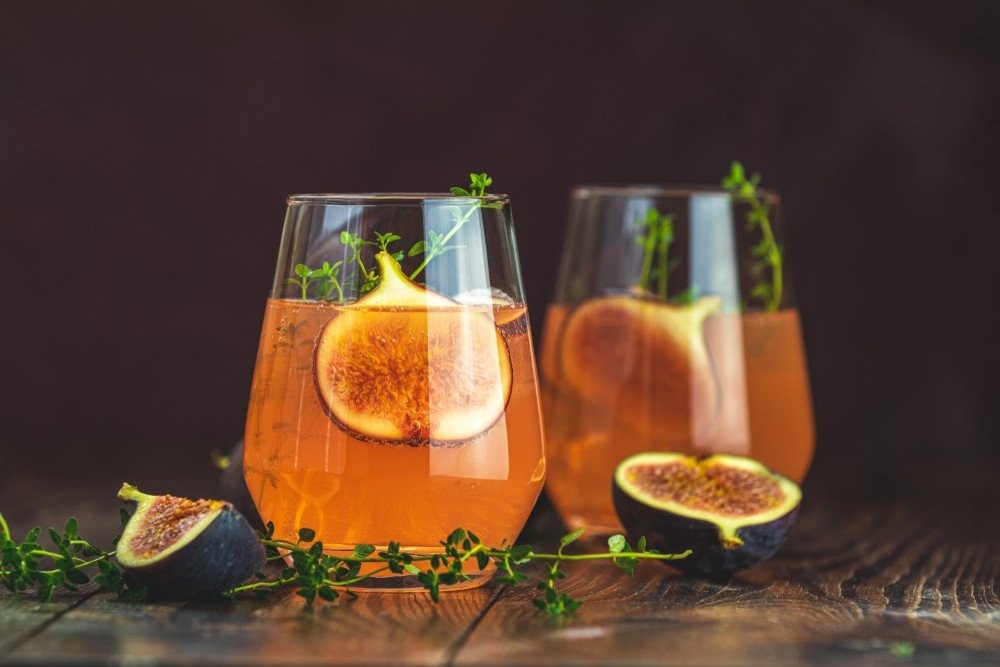
The main idea behind dark food photography is to masterfully play with a shadowed background in order to attract viewers’ attention to the food in the foreground. That’s why you need to select dark props, surfaces, and product photography backdrops very attentively. Wooden tableware also looks great in such photos.

It adds a rustic feel to images. Using various wooden props is also a great idea. This can be an old cabinet door, a tabletop, a shelf, a chair, etc. Just remember to use items of dark tones.

Though this food representation is far from what we see in everyday life, it still looks very interesting and will undoubtedly intrigue your followers and clients. Sakir Gokçenbag created such a composition by forming squares from different fruit and vegetables and locating them in even rows, and you can try to do the same.
Actually, geometry has a special charm, and this is also relevant when it comes to slicing and arranging food. The only thing to keep in mind is that you need veggies and fruit that can preserve their form for some time.

If you want to achieve recognition in the drink photography sphere, you need to take images that contain a dynamic component. The easiest way to get this effect is to capture splashes. In this case, you have to adhere to high speed photography principles and freeze motion by using a fast shutter speed of 1/1000+.

To photograph splashes, you need to switch on a continuous shooting mode and press the shutter button a second before you drop an item that will make splashes. I suggest you keep a towel within easy reach to dry/clean your lens if needed.

Creative photography often involves a bit of mess, which helps your audience get closer to what is depicted in an image. Such pictures look absolutely lifelike as it is easier for us to imagine the process because it is a regular thing to have ingredients scattered across the table rather than neatly arranged in containers.

However, it is impossible to define a proper level of mess when it comes to food photography. If you take images of beverages and there are many drips on the surface, viewers may skip such “untidy” pictures. But if you photograph crusty biscuits and capture little crumps – that looks natural. All in all, you need to decide yourself what is OK for your photos.
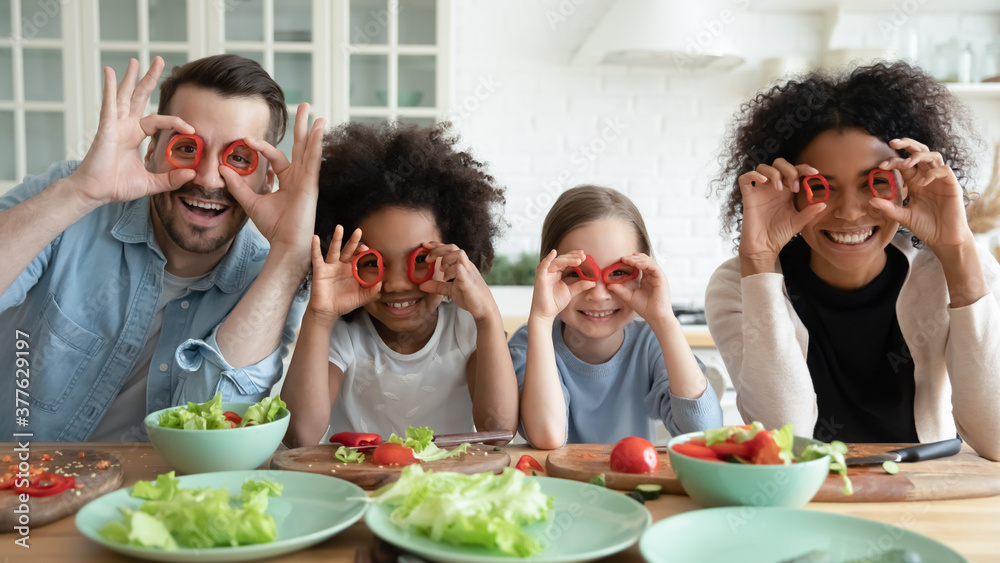
Humor is a great way to create viral food images. This method works especially great with baby food and products. Try making funny faces on your food, or create humorous scenarios with different parts of the dish.
/cdn.vox-cdn.com/uploads/chorus_image/image/46127246/burger-toppings.0.0.jpg)
Deconstruction can be of 2 types – you either cut food up or display the ingredients. A great sample is a photo of vegetables that are being cut up and seem to flow in the air.

You can also follow the deconstruction approach by photographing a final product surrounded by raw ingredients. Alternatively, you can capture only raw ingredients. Such a method is especially popular among cafes with fast food and snacks that want to state that their meals are healthy.
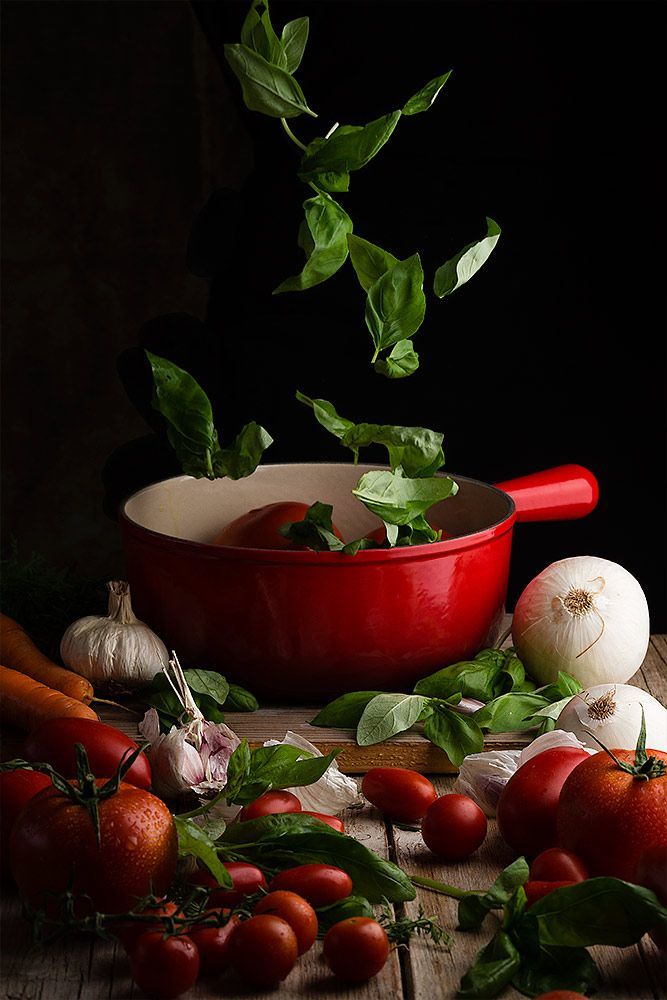
Sometimes cool food pics depict not a finished dish but different ingredients it consists of. That’s why I highly recommend taking images at different stages of the cooking process. You can photograph fresh vegetables and fruit right after they have been washed, then take images of the same raw pieces when a cook chops them and prepares for frying, boiling, etc. People really like such pictures because they incorporate all types of action.

Dynamic food photos enjoy the biggest popularity on the net. Browse through levitation photography ideas to make your images visually engaging.

Buyers tend to opt for those sellers who are absolutely straightforward about their products. One of the easiest ways to establish such trustworthy relationships is to show what your product consists of. To stand out from the crowd, you can not only photograph ingredients but arrange them in the shape of your product.

Becca Clason is known for her creative photographs of food that have a typographic element in them. Of course, to take such an image, you need to spend quite lots of time preparing all components, but the result is worth the effort. First off, decide what food you’ll use and make a sketch. Think about the composition and the type & size of letters.

To make the task simpler, you can use food that already resembles some letters. For instance, bananas look like the letter C, while carrots can substitute the letter I.

The idea of using rotten vegetables and fruit may seem ridiculous, but some shooters still manage to present these items in an interesting way. The biggest advantage of such ingredients is their texture. Colors also deserve special attention. If you ponder on photographing rotten food, I suggest drying it up first.

Once you understand how to work with such food, you can go a step further and add moldy cheese to the composition. You are sure to produce a unique photo.
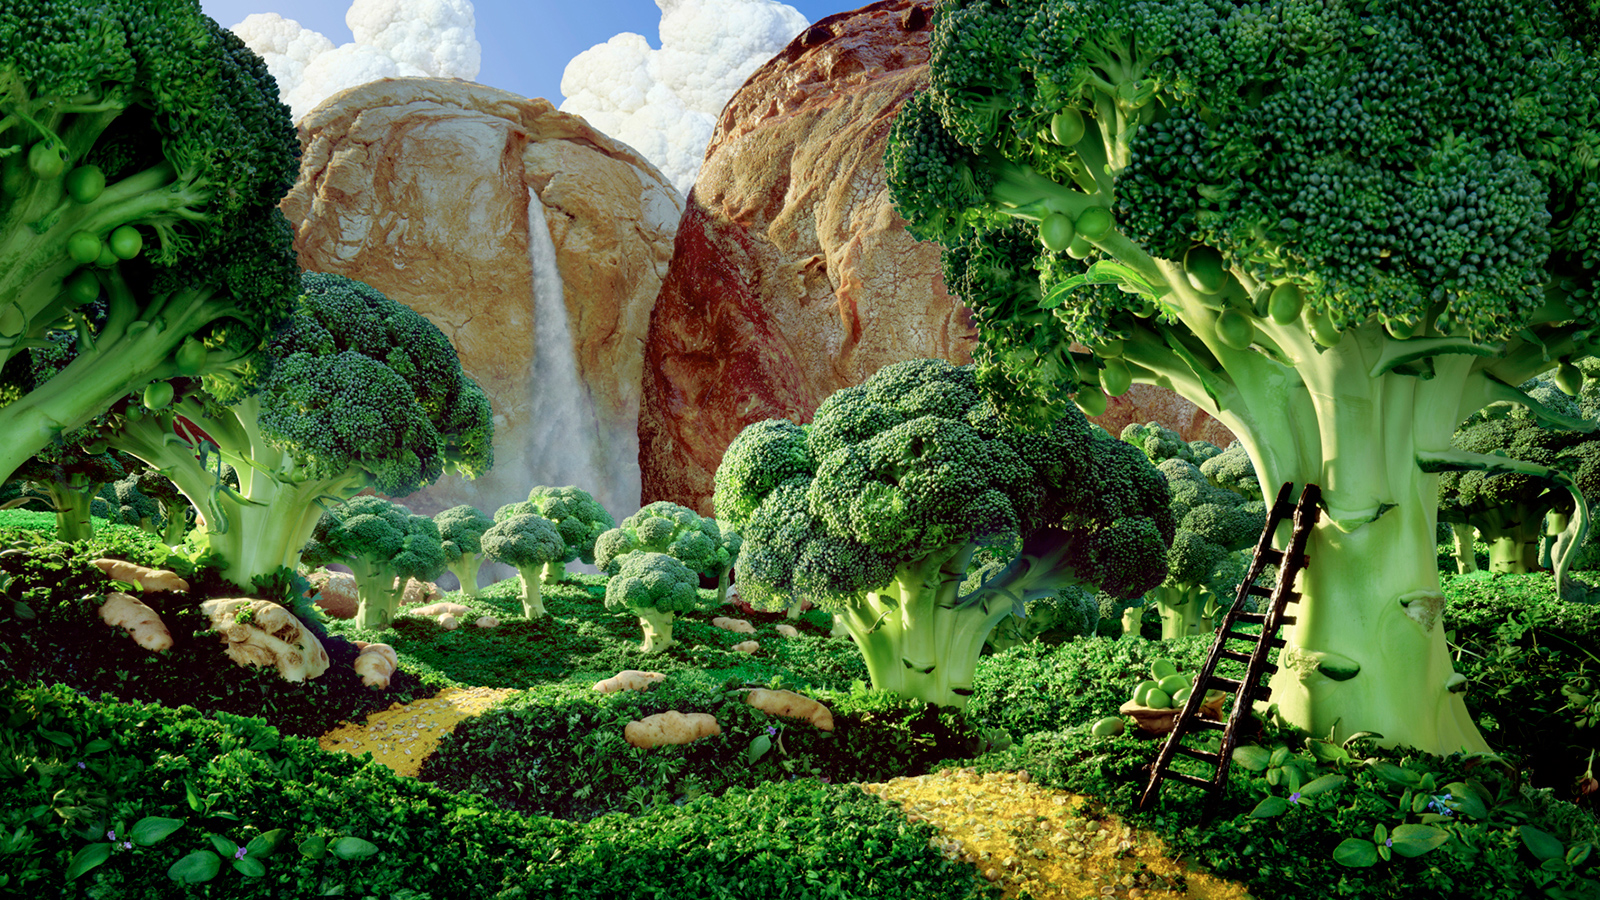
Carl Warner is a renowned master of foodscape photography. He arranges separate ingredients in such a way that they create one harmonious whole. One of the most helpful food photography tricks you should use is to capture ingredients in layers before they wilt under studio lights. Then you need to combine several images into a single photo by means of digital image editing.

Experimenting with popular food photography props is a rewarding practice. If your photo contains food beautifully arranged on a plate and surrounded by forks, knives, etc., you are sure to interest people. The thing is that our mind is accustomed to certain phenomena, so an image of bare food looks unrealistic.
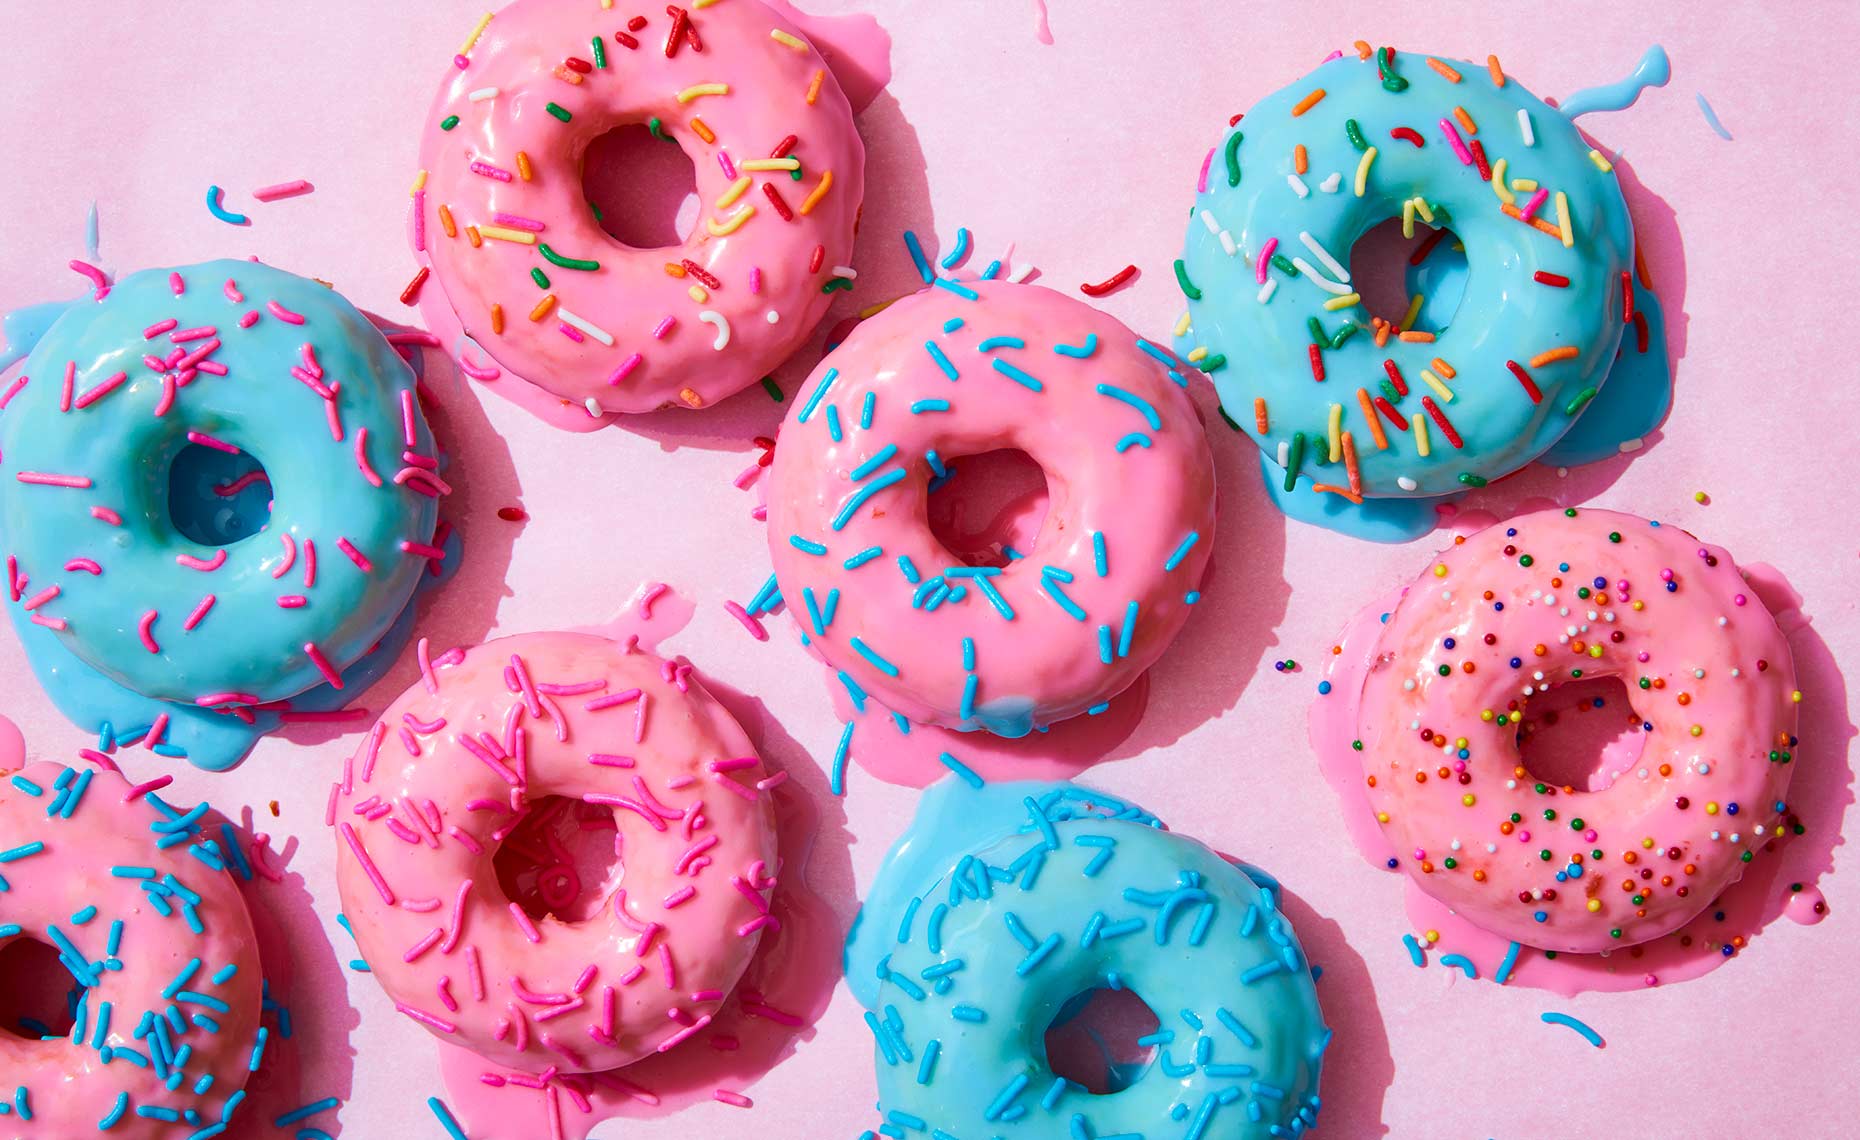
Symmetry can make any composition attention-grabbing and memorable. By human nature, we are unconsciously attracted to items that are placed harmoniously or in certain shapes. To get that symmetrical effect, you can put food in rows, circles, zigzags, etc.

Once you have enough practice with standard symmetry, you can try a more complicated type, namely, dynamic symmetry. This method implies using a dynamic symmetry grid, which is a series of lines that dissect a rectangular shape of your frame.

Placing ingredients at different height can also result in cool food pictures ideas. They also contain a motion element and will induce viewers to study each separate layer longer.
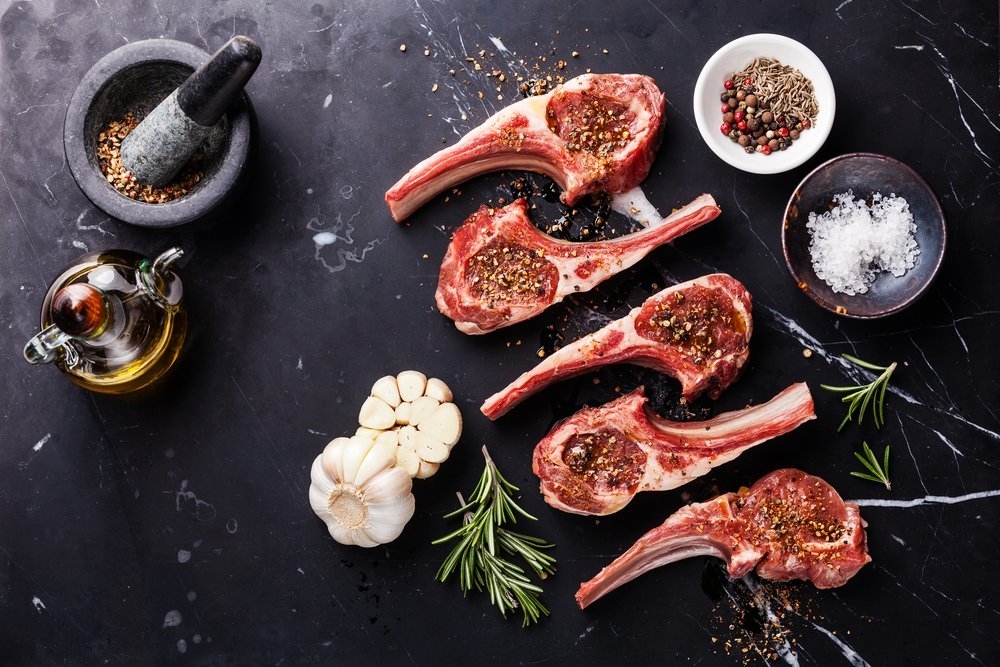
To make your images engaging, you can place identical or similar elements near each other. Thus, you’ll get a kind of pattern. This technique works great for color and black and white photography of food.

Rembrandt lighting in photography is typically used by portrait photographers, but professionals shooting food can also derive benefit from its dramatic effect. This low-key light is unmatched when it comes to accentuating the texture and rawness of an object.

You don’t need to buy many lighting accessories to get this lighting pattern – one light source and a reflector will do. You also need a decent camera for food photography and a lens for food photography. As for the light source, place it at a 45-degree angle to an object or slightly higher depending on what part you want to illuminate. Choose the same angle for a reflector board.

If you are after creative food photography ideas that help show the freshly cooked state of your meals, you should try adding smoke to the frame. Just remember that smoke completely blends with white backgrounds, so you need to place a bowl of soup or a cup of coffee against a dark backdrop.
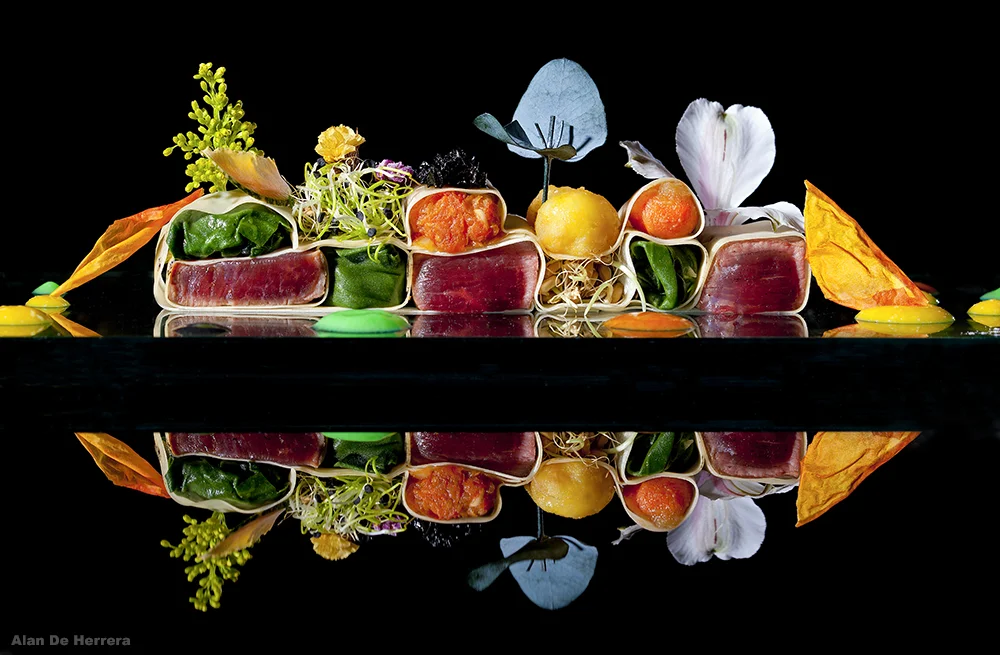
Adding reflections to your images, you can get really unique perspective and contrast. Seasoned photographers usually place an object on a plexiglass surface and experiment with the light beam direction to achieve the desired effect.
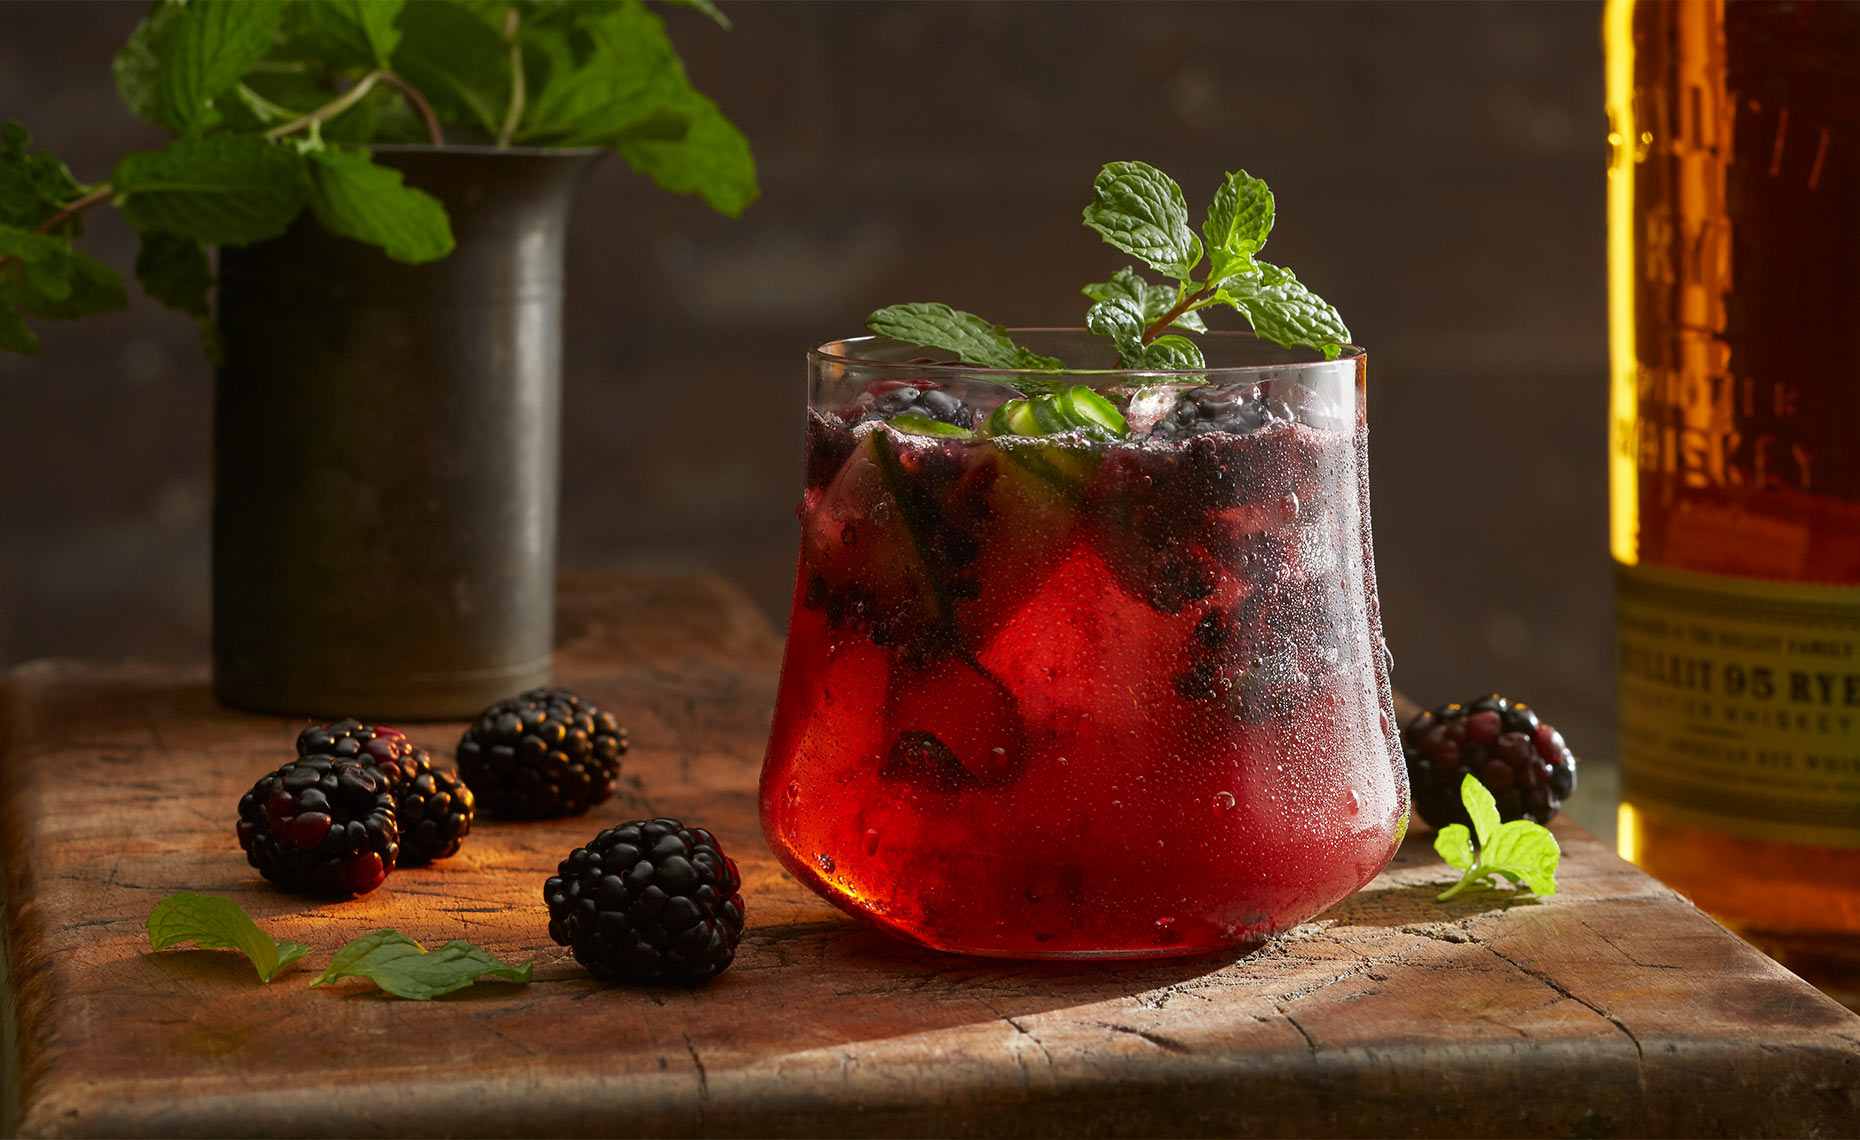
Negative space photography highly relies on the usage of “inactive” space which surrounds the main object. Such space acquires a secondary role and serves for presenting the centerpiece of the composition in an appealing way. By properly using the negative space, you can make your image neat and harmonious.

While selecting food photography ideas, don’t underestimate the importance of a simple rule – build up a composition of an odd number of elements. For some reason, people pay more attention to such layouts, so use this phenomenon to your advantage.
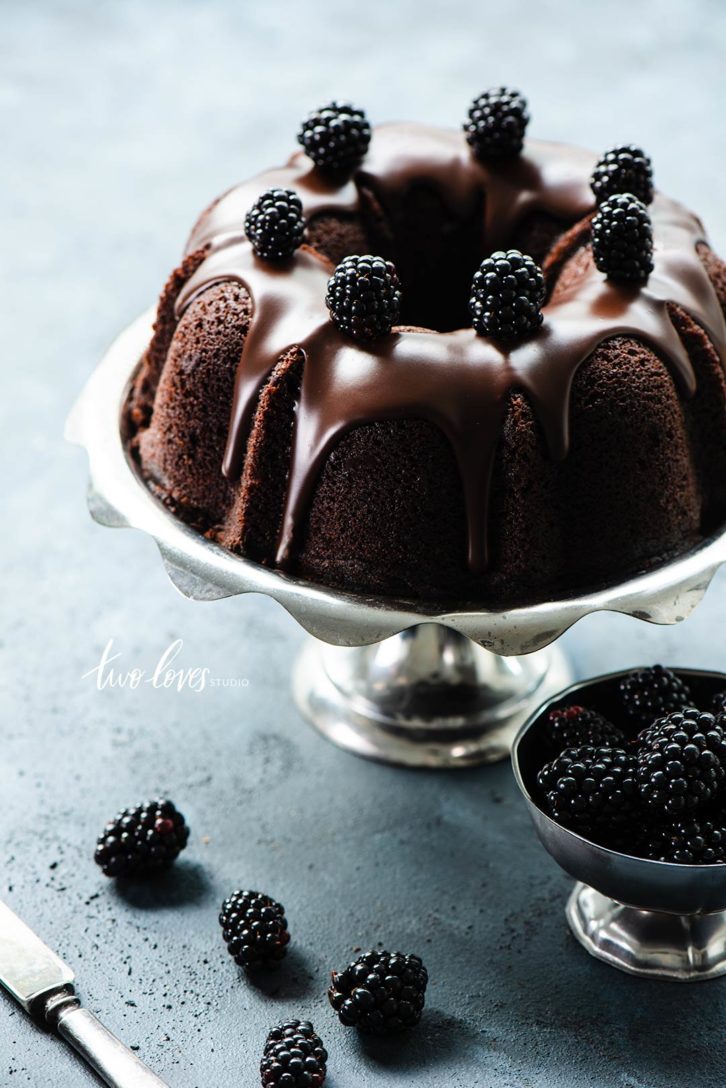
If you want to use the rule of odds in your food images, I recommend placing 2 items near each other and keep the third element at a distance. In fact, you should get a triangle where a relation between constituents isn’t strictly defined but relies on a visual aspect.

If you want to take mouth-watering images of food, you should try to capture the moment of applying fishing touches. This can be a second when a pastry-cook is sprinkling powdered sugar on cupcakes, or when an ice-cream is covered with syrup. To get a crisp image of such a fleeting moment, you need to activate a continuous shooting mode.
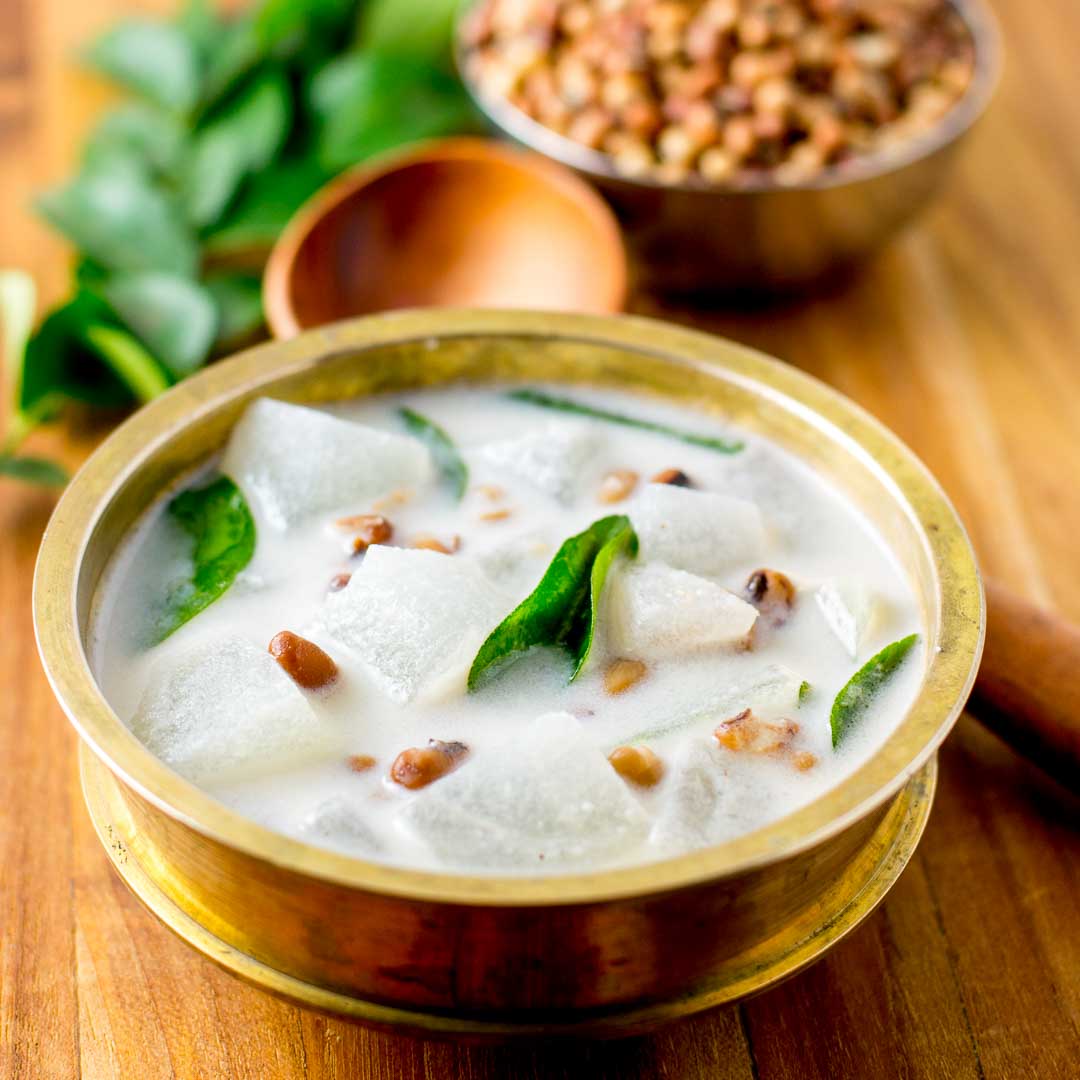
If you have a choice between natural and artificial light, always go for the first option. Artificial light sources usually create an unpleasant orange or yellow color cast that can spoil your image. You need to keep colors as realistic as possible. Natural life perfectly suits this purpose.

When selecting the background for your photo, you need to remember that food is the main element of the scene, and nothing should divert attention from it. That’s why I recommend choosing unhectic and neat backgrounds that show off your food in the best way possible. Don’t use too boring, one-color backgrounds; the main thing here is to find something that nicely complements the object.

A great way to frame a shot is to place your food in the middle and focus on it, while fore- and background are blurred. Use vignetting to bring more attention to the dish. You can use popular vignette apps, or learn how to create vignette in Photoshop.

Some colors look great when combined in one photo, while others result in a questionable composition that is unlikely to appeal to the audience. If you aren’t sure what colors will work for your composition, don’t hesitate to experiment.

If warm colors predominate in your food images, people looking at them will feel comfortable and relaxed. If you want to achieve a dramatic and vibrant effect, you should use contrasting colors. Actually, it is rather easy to affect your viewers’ emotions by combining particular colors in an image.

If there is a candy or chocolate shop nearby, you can address an owner and offer a photo session to advertise the products. The best thing about this idea is that instead of paying for the food yourself, it will be totally free.

Conceptual food photography ideas encourage shooters to be more creative when working on the composition. To make people “feel” the atmosphere depicted in a picture, you need to include different details, props, interesting furniture, etc. It is also advisable to choose a background based on a particular atmosphere.

If you have visited popular food photography blogs, you probably understood that trays are extensively used for arranging food. Fortunately, nowadays you can find trays of all imaginable sizes, shapes, and colors.
There are also metal, wooden and plastic trays, so choosing something fitting for your photoshoot won’t cause difficulties. The best thing about trays is that they allow creating food layers, drawing attention to particular elements.

If you want to get cool food pictures ideas with many colors, you should photograph a smoothie. You can further decorate it with berries or fruit, cover it with coconut flakes or chocolate chips.
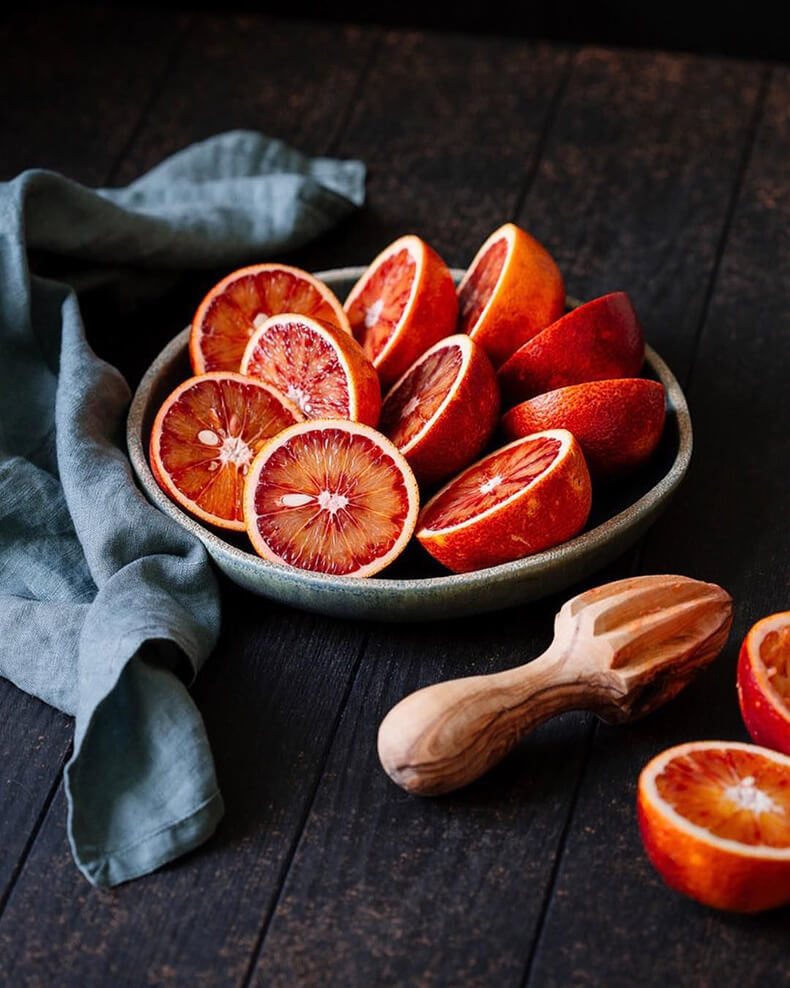
It is also a wonderful idea to take images of different preparation steps – when a cook cuts fruit, squeezes out juice, etc.

This is one of the best food photography ideas if you plan to photograph sweets. You can arrange them in piles without trying to place all elements straight. A bit of chaos won’t hurt.

Sometimes placing a napkin under your meal, you can make your image dimensional and show the entire story in a more comprehensible manner. However, standard napkins look uninteresting in images, so give preference to linen and textured variants. But don’t use napkins with loud patterns as they are too distracting.
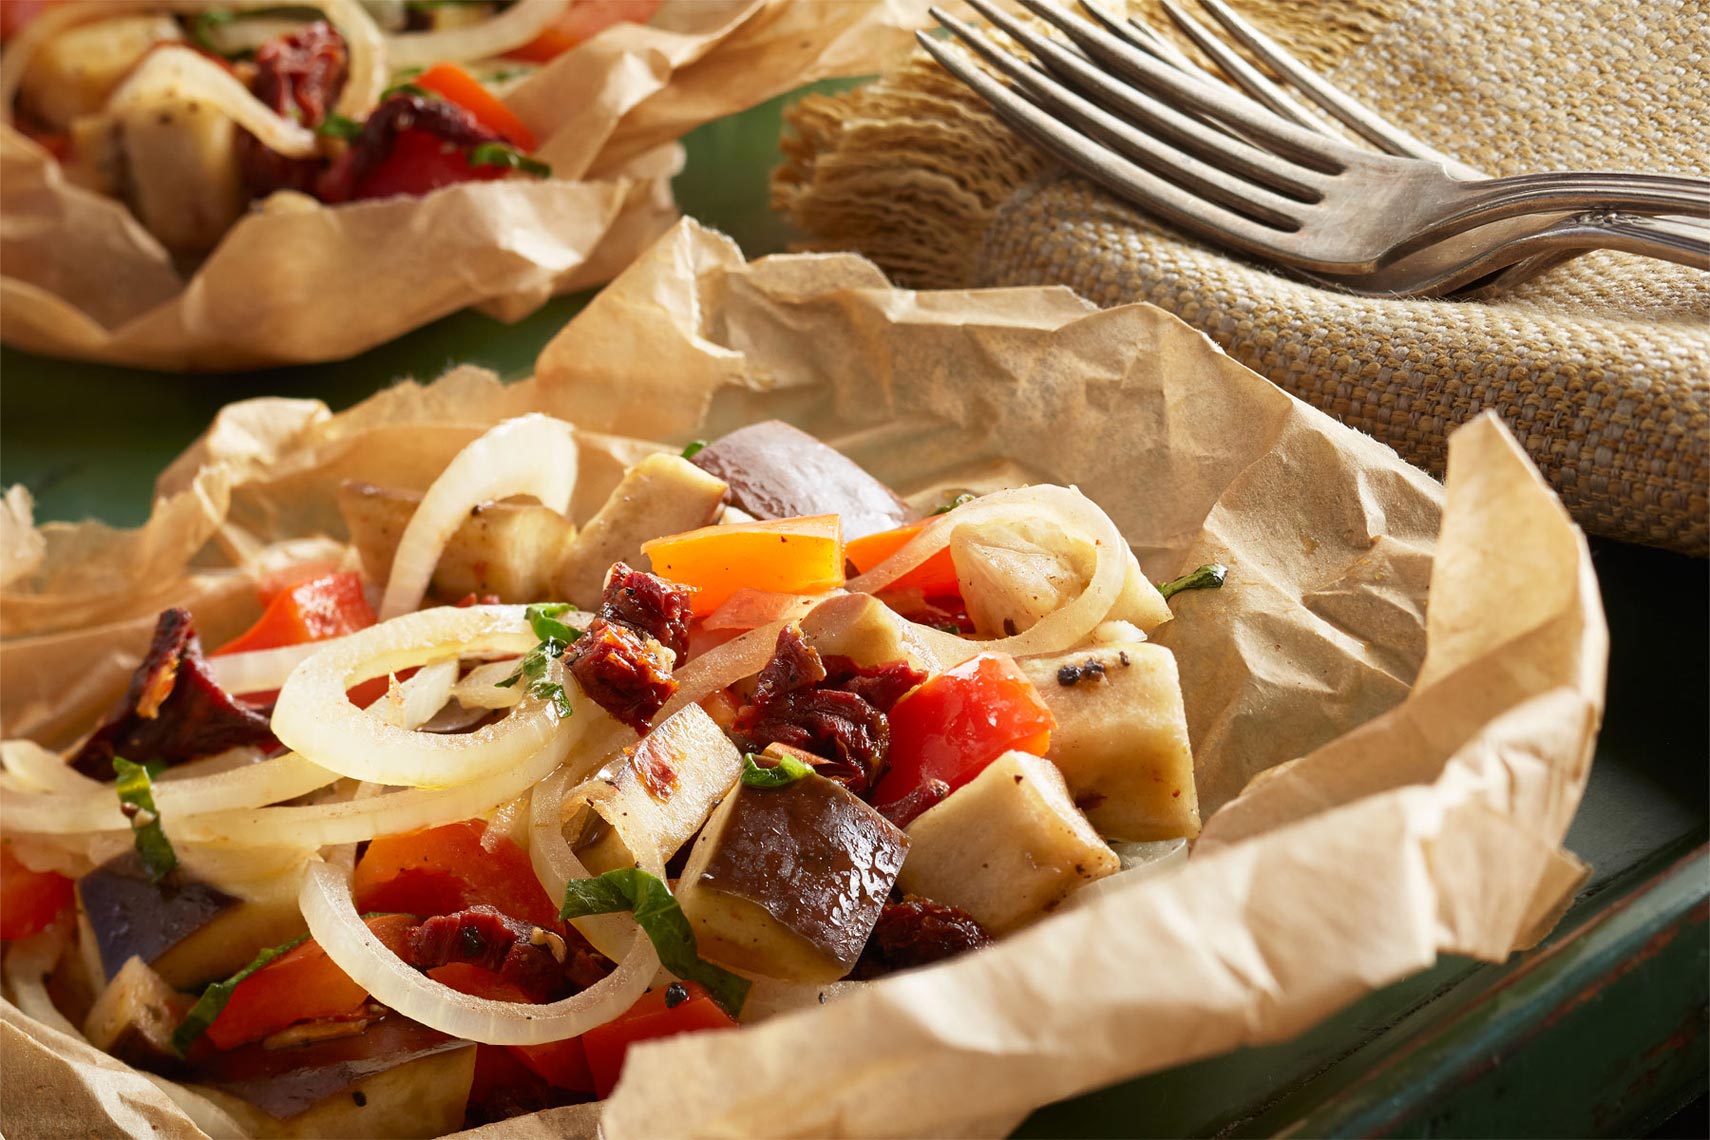
If you need kitchen photography ideas that don’t presuppose using expensive props, make sure to try embellishing the composition with parchment paper. It is a perfect option if you want to photograph backed food. You can even crumple it to get a beautiful texture.
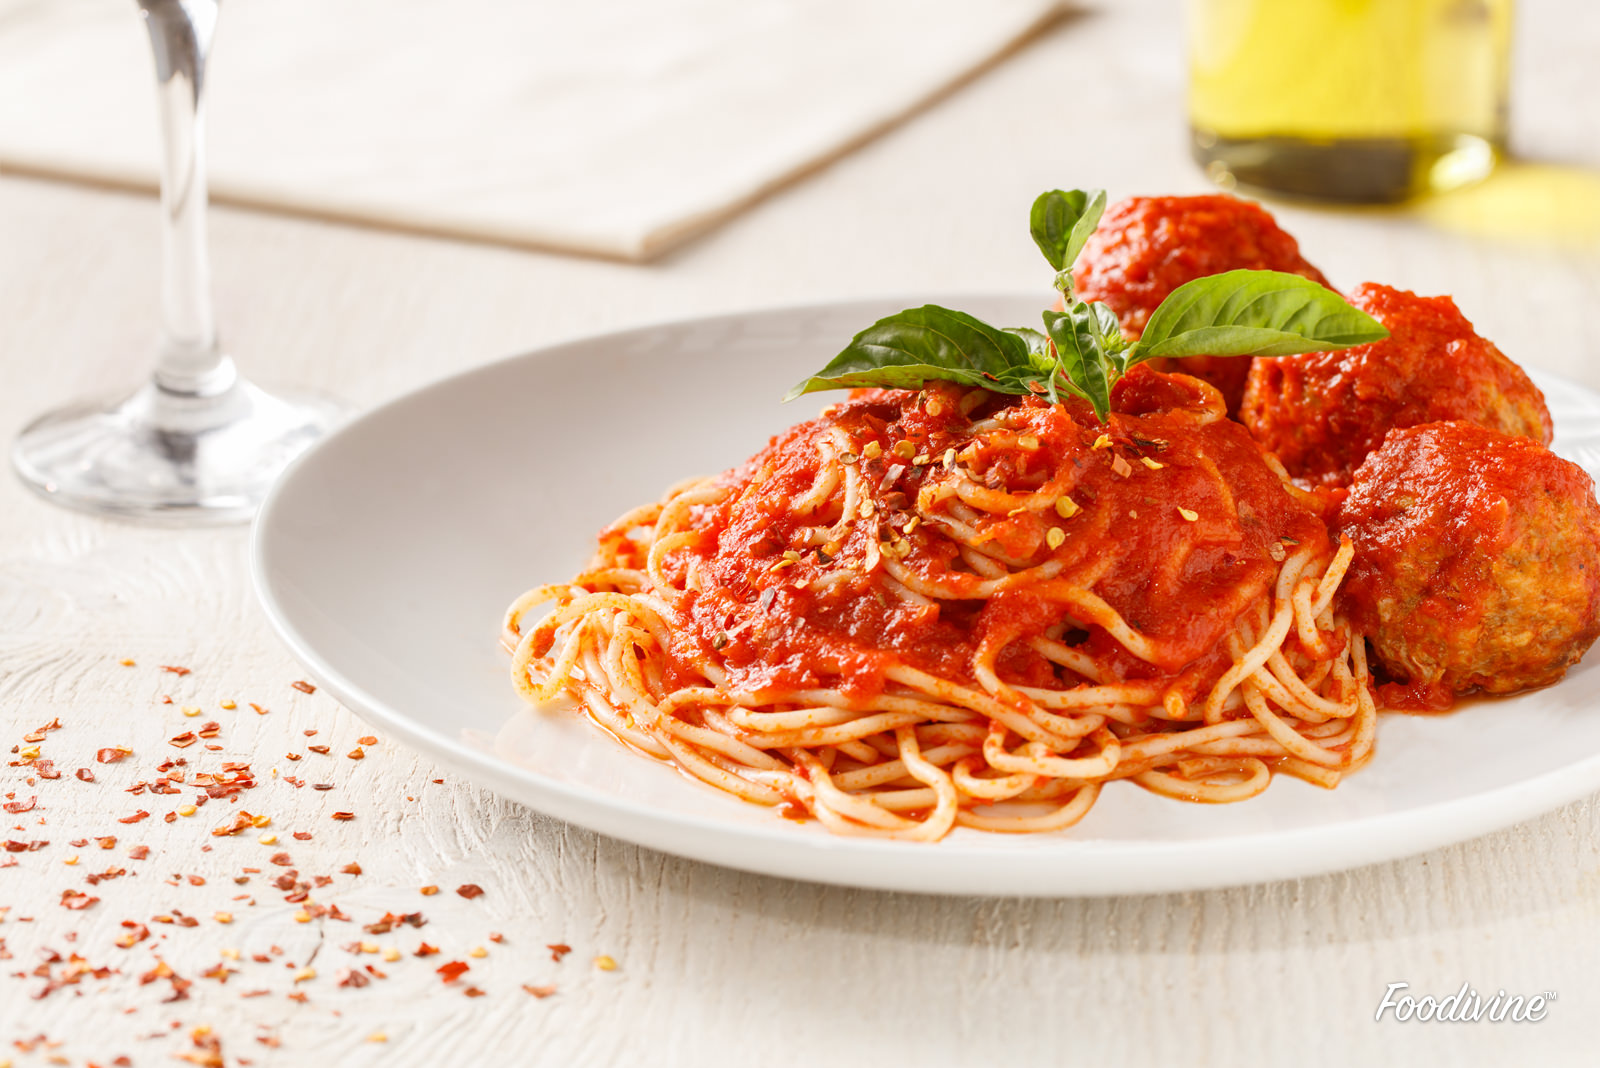
Before taking a shot, you need to evaluate the composition and decide whether it looks inviting. Sometimes, adding a simple side dish can save the situation. For instance, you can locate different sauces near a bowl of paste to get an appetizing photo. If you take images of a cup of coffee, you can place a plate with a piece of cake near it.
Want to make your food images look professional? These presets allow achieving such a result in a quick way. Your images will have vibrant colors, perfect clarity, and correct exposure.