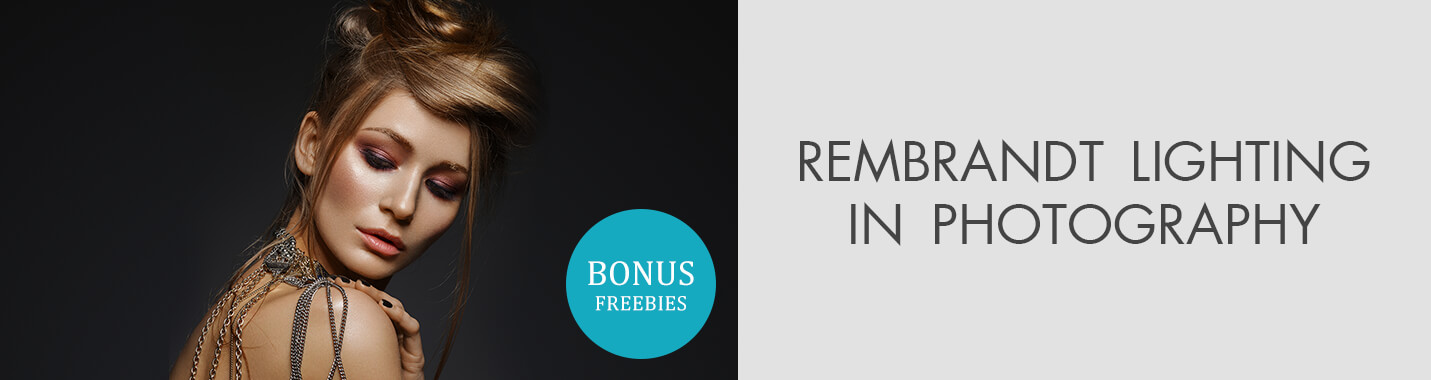
Rembrandt Lighting in Photography: Guide
When you purchase through affiliate links on our site, we may earn a commission. Here’s how it works.
While learning different lighting studio setups, you have probably heard about Rembrandt lighting. It was named after a famous Dutch painter who established this particular approach to illuminating a model’s face.
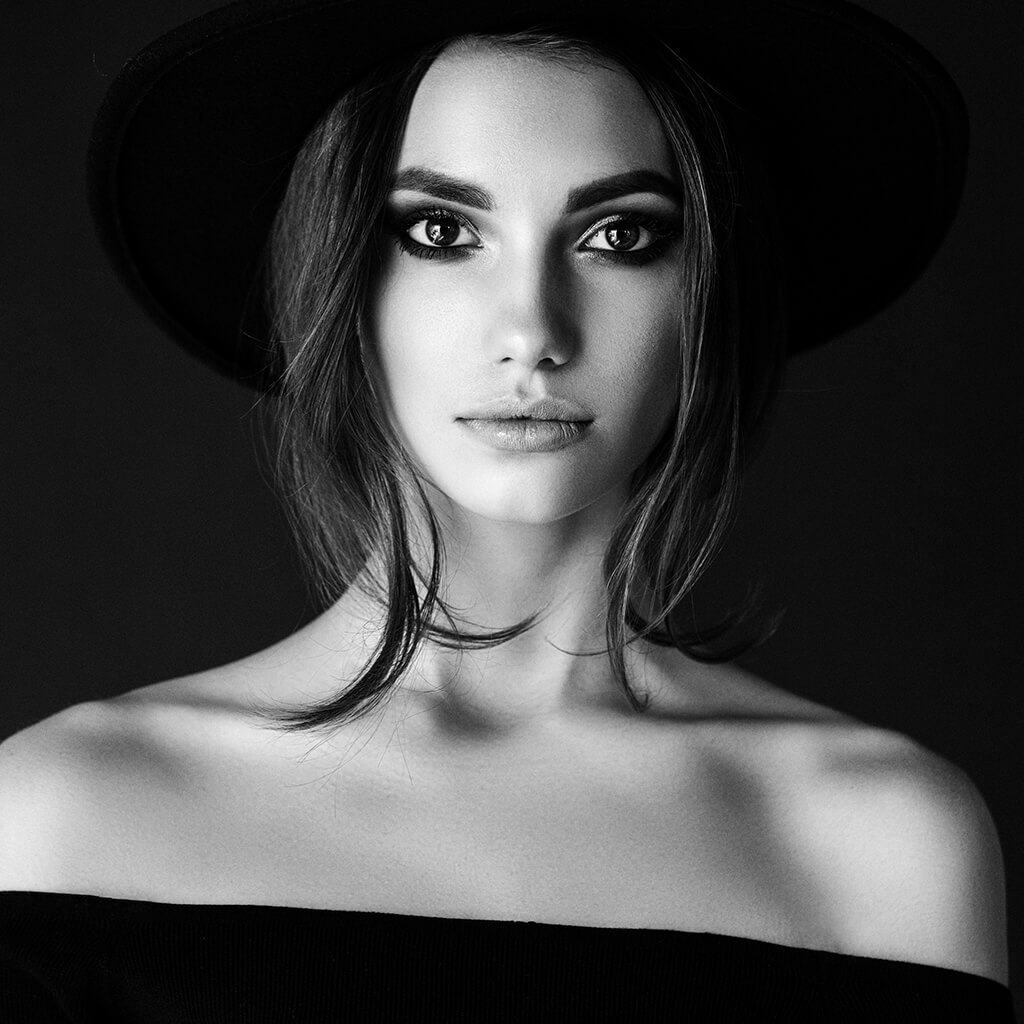
It involves arranging the lighting source in such a way that one part of a person’s face is nicely lit, while the other one has only a triangular area under the eye illuminated. This triangle is also known as “Rembrandt patch”.
What Is Rembrandt Lighting

Rembrandt lighting technique has gained special popularity in studio photography and cinematography. This is one of the most widely used lighting schemes along with split, flat, “butterfly”, and “loop” light.
Rembrandt triangle is rather simple to create, using 1 light source and a reflector, or 2 lights. You should choose this scheme if you want your images to look eye-pleasing and natural.
Rembrandt Van Rijn kept experimenting with different methods of illuminating a person’s face and most of his portraits with a triangle-shaped shadow on the dark side of the face proved that he decided on this technique as the most flattering one.
A great contrast between light and shadow is a key to showing volume. The artist is considered to be a master of manipulating light and shadow, so his method is extensively used in portrait photography. Nowadays many famous photographers also adapted this method to fashion photography.
How to Create Rembrandt Lighting in Studio

Many portrait photographers use the basic Rembrandt lighting setup. It consists of a light source fixed at an angle of 45 degrees relative to the camera, aimed at the subject and raised above the eye level so that the light falls in downwards. There are several reasons to place the gear this way.
First, a light source shadows one half of the face and illuminates the other. If you don’t raise it above the eye level, there will be a sharp line between 2 halves of the face. The larger the angle at which the light source is placed relative to the model, the deeper the shadow and the sharper the transition.
It is important not to direct the lighting too much to the side, otherwise, the eye on the shadowed part of the face will lose shine. It will look dark and lifeless, and the effect you get will resemble the one caused by the split lighting.
A 45-degree angle is a good starting point for traditional Rembrandt light. The height at which the light source is placed plays a big role, because it produces the famous triangle.
If you raise the lamp above the eye level, part of the light will go over the nose and illuminate a piece of a cheek on the other side of the face. This is how Rembrandt lighting differs from the short lighting setup.
If you are interested in mastering different types of lighting in photography, you may want to buy strobe lights for photography.

If you have constant or studio lighting, it will be easier to arrange it to get the triangle in the right place. Otherwise, you’ll have to use the trial and error method. It is also a good idea to put a reflector on the shadow side to soften the transition of light to shadow. A reflector will help illuminate some shadows and add detail.
How to Create Rembrandt Lighting at Home
Creating ideal lighting conditions at home is no easy task, but you can still practice Rembrandt lighting photography using natural lighting from a window instead of a camera flash.
In this case, you need to pay attention to other things than when shooting in the studio. On a cloudy day or when sunlight is reflected from the house on the other side of the street, you need to place a model closer to the window. If the sun goes directly through the window, the model should sit a bit further to avoid sharp shadows.
Once you find the proper room, you need to place the model in such a way that he/she is at a 45 angle from the window. If the window is a bit higher than the model’s eye level, the effect will become even more pronounced.
When to Use Rembrandt Lighting

I often resort to this lighting technique when I am engaged in headshot photography. I also include additional equipment, for example, a reflector, a fill light, a DIY softbox, etc. Such a scheme works for almost any photo, starting from half-length images and ending with portraits similar to those presented above.
The flexibility of Rembrandt lighting allows shooters to use it for more serious portrait photography poses and even for relaxed poses. That is the reason why it is frequently used for different photo sessions. You can try different facial expressions or model poses while keeping constant lighting.
Rembrandt lighting is more suitable for taking male portraits but you can also use it for photos of women. Experimenting with different studio lighting kits you can achieve different levels of contrast and smoothness without messing up with the position of lighting gear.

If you take a softbox and a reflector board and fill in the shadows, you will get a very light and soft Rembrandt lighting portrait.
By varying poses, you can achieve a different effect. Shadow can emphasize not only the face, but also the waistline.
Freebies for Improving Rembrandt Lighting in Photos
Rembrandt triangle technique is most suitable for studio photography. That’s why I have collected for you the best free tools that will help you edit portraits taken in a studio.


