35 Headshot Photography Tips (Headshot Photo Secrets Revealed)

35 Headshot Photography Tips for Success
This type of portrait photography is a calling card that will represent a person in mass media, social networks, advertising platforms, and press releases. Any headshots photo is the best tool for promotion on a service market, social media, career ladder or a political race. You can find such photos in articles, publications, CV, promotional booklets, brochures, presentations, and company websites. A lively and stylish photo helps any enterprise or a specialist look more trustworthy and respectable.
1. Discuss the Details Beforehand
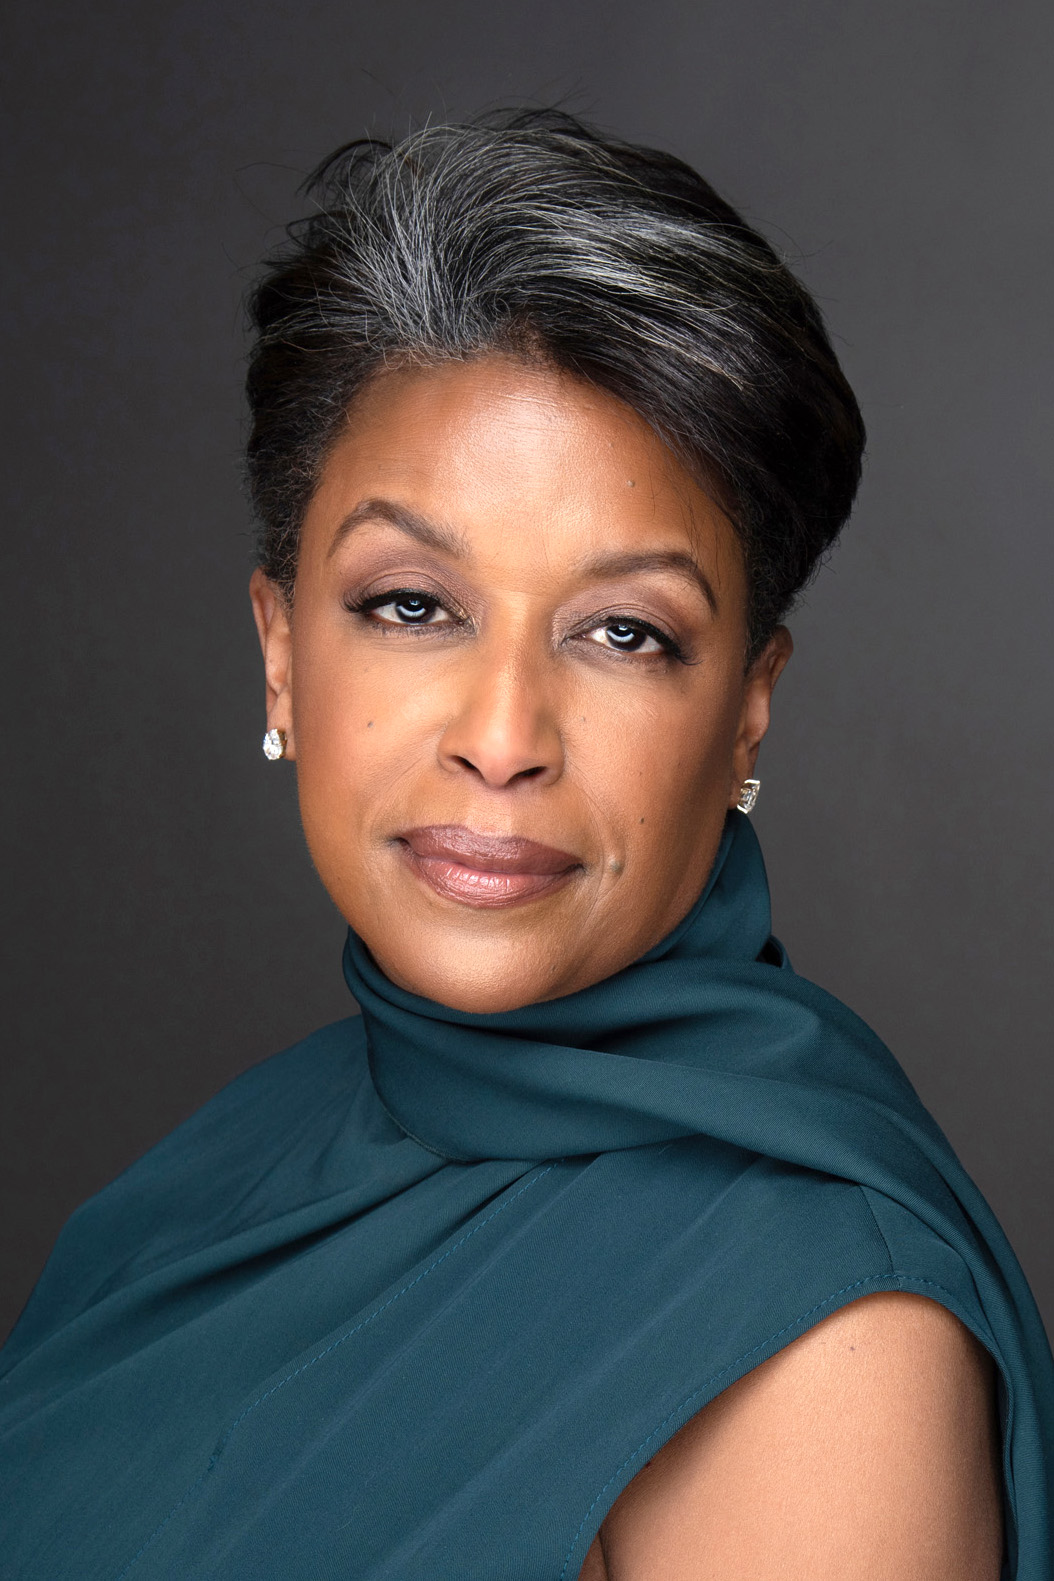
Make sure you talk to your client beforehand, whether it’s in real life or on the internet. Find out their profession so you can choose the appropriate shooting style and be prepared on the day of. You both have to be on the same page, and your client should know what to expect.
2. Help Them Choose What to Wear
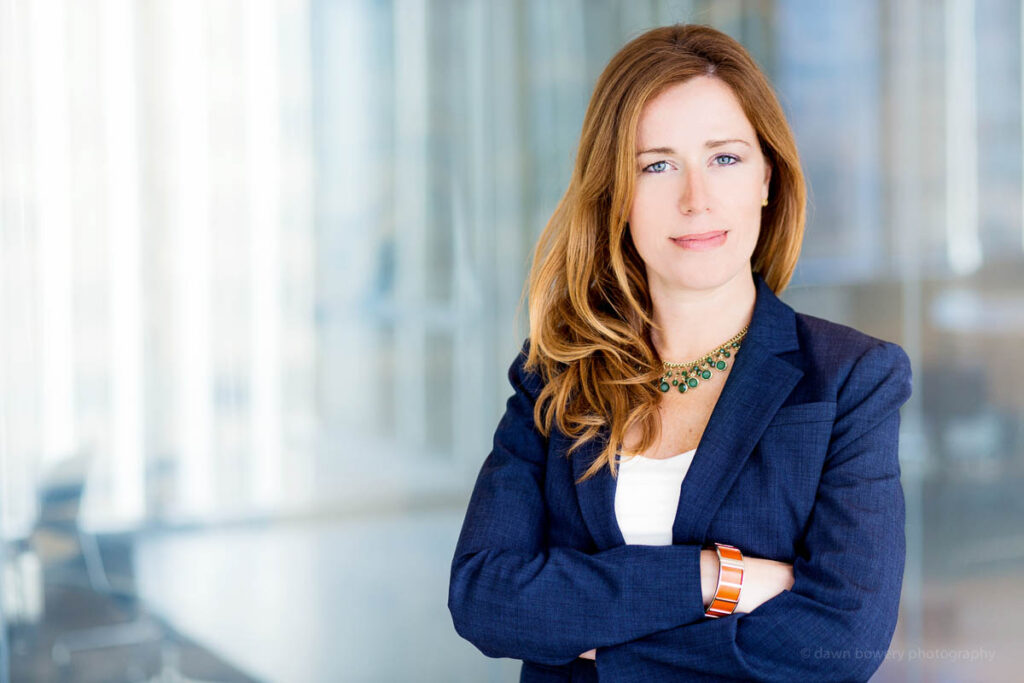
Choose neutral colors. If it’s a business shot, make sure they bring alone what they usually put on at work. Although most of clothes will not be visible, the part that is in the frame is very important. Tell them to iron clothes too to make image editing simpler.
- Check out the quickest way to remove clothing wrinkles in Photoshop.
3. Suggest Hiring a Makeup Artist

Your clients don’t want to look weird or tired, so it will be beneficial to hire a make-up artist and a stylist. Only a specialist can properly hide all skin defects and shape a model’s face. In this case, you practically won’t have to work in photo retouching software afterwards.
4. Be Careful With Accessories
If you are shooting in winter, in a studio or at home, scarves and hats will look good in a close-up portrait. (but it’s better to shoot indoors) Also, you can offer a model to pick plain jewelry such as beads or earrings. Don’t forget about the clothing of individual nations as well. This will add more uniqueness and make a viewer look at the photo longer.
5. Choose Plain Backgrounds

Brightness of your background can ruin the process of “establishing contact” between the viewer and a person portrayed in the shot. If you are shooting outdoors, create a strong and beautiful blur. If you are shooting in the studio, see to it, that your client is not standing close to the background to avoid distracting shadows.
- Read my outdoor portrait photography tips.
6. Relax Your Client
If you want to relax your clients and do it quickly, ask them to make faces for the first shot. Use this as a photo posing test for them. It will make people less shy and ready to cooperate.
7. Use Tethering System
If you have all the tethering equipment needed, you should definitely set it up. This will be of great help for both you and your client. Immediately seeing their face on a screen will help them make necessary adjustments for a great shot, thus saving you much time.
8. Choose the Right Headshot Size for the Website

Common sizes of headshot photography on company pages vary from 300px x 300px to 500px x 500px. Photos for business profiles on LinkedIn must be at least 300px x 300px. In all cases, you need to make sure that a portrait is fully in the frame and there wasn’t any needless cropping.
9. Consider Print Sizes

The best print resolution is 300 dpi at print size. For headshots printed with borders, use about 1800x2700 pixels. For headshots without borders, use about 2400x3000 pixels. Headshot photo size should be at least 1200x1800 pixels.
10. Headshots for a Large Company

The main component of the success of any enterprise is the corporate spirit of a team. Business portraits of the stuff made in a single corporate style will emphasize the coherence of work and the ability of a team to cope with any task.
11. Corporate Headshots

Corporate headshots are close up photos that will help a person conform to marketing literature such as yearly reports, publications in the press, websites or a regular business profile. Such pictures are usually taken in a studio using a neutral background with a model in a business suit.
12. Headshot for Actors

A headshot photo for actors will be a little different from a common classic style as a model doesn’t have to wear business outfit, regular clothes will do. Besides, actors “sell” their faces, which means the photo should be natural and have a minimum of retouch.
13. Headshot for Medical Workers

In most cases, headshots of medical workers show them in their usual working clothes but upon request, a photo session can also be carried out in a business suit. The main difference here is that a person is obliged to smile. Use either neutral or a clinic background. A stethoscope can serve as an additional accessory.
14. Headshot for Trainers

For trainers and fitness instructions an ideal headshot will be the one taken in a gym. They can wear simple sports clothes and have small sports equipment as an additional accessory. Crossing hands to show off muscles is a go-to pose.
15. Headshot for Real Estate Agents
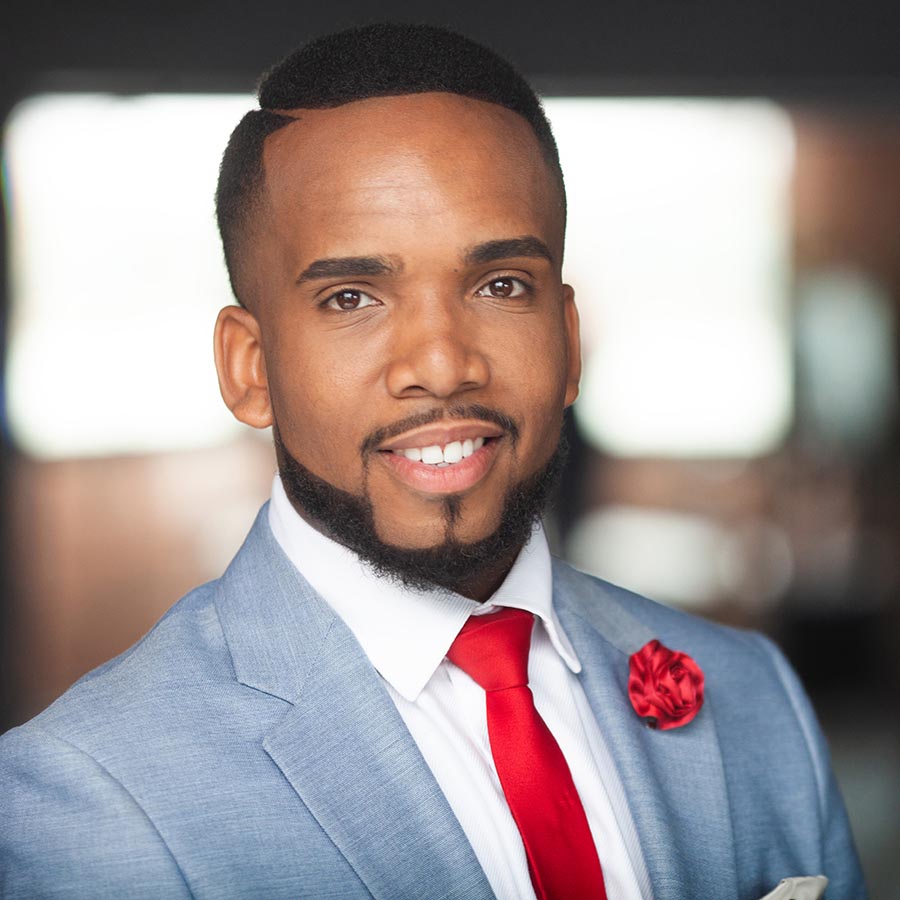
Headshot photo of a property seller can have either a neutral background, a studio one or can be taken outdoors. Also, you have to take into account the district where your client works. If it’s a megapolis, there should be skyscrapers behind him/her, if he/she works outside the city, the ideal choice will be a forest or large houses. In this type of headshot photography, the style of your model’s clothing should be more formal and with minimum accessories.
- Read more about real estate agent photos.
16. Choose the Appropriate Lens
The quality of your photos depends on the lens you use. Yes, any DSLR lens can do the job but with a specialized portrait lens, you will get better photos. Prefer fixed zoom lenses. I recommend you the fixed lens in 50m or 85mm range, but don’t use macro or wide-angle as they will distort the face.
- View recommended lenses for portraits.
17. Choose Appropriate ISO

When it comes to headshot photography, everything should be without distortions and noise. Thus, adjust ISO as low as possible to minimize the noise in your shots. Set it at 100-400. However, keep a usable shutter speed.
18. Focus on Eyes

Focus on one point (not area or multiple points). Remember to always focus on a model’s eyes. If one eye is closer to the camera than the other one, you need to focus on the closer eye.
19. Choose the Necessary Aperture

Adjust your f-stop between f/1.4-2.8 if you want to have a blurred background. But ensure that your model is fully in focus. In case a model is tilted and you have the aperture set to f/1.4, you need to customize the settings a little bit.
- Learn more about camera settings for portraits ideas.
20. Use a Tripod
Doing such type of photography, you should place your camera on a tripod. In this case, it will be easy for you to avoid blur or shake. Especially useful it will be for shooting in poor lighting when you need to increase ISO.
- Check out the best budget tripods.
21. Use Reflectors
During the photoshoot, reflectors can significantly improve a future headshot as they may fill deep shadows and make a face smoother. Place your reflector on the opposite side to the main light source.
22. Shooting with One Light Source
 Taken by Canon 5d Mark III + Canon EF 135mm f/2L USM
I always use a large soft light source on one or the other side of a model, a reflector under his/her face and one more reflector opposite my main light source. I like to place the light above the eyes of a model. In my opinion, the majority of people will look best with the light coming from above, which will give little shadows under the chin, emphasize the jaw and therefore hide a double chin.
23. Shooting with Two Light Sources
 Taken by Nikon D7500 + Nikon AF-S FX NIKKOR 24-70mm f/2.8G ED
A second light source is a “kicker” or how it’s also called a rim or accent light. It should come from behind and opposite the main light source. Such headshot photography lighting set-up helps emphasize the jaw of a model (especially if it’s a man) or hair (if a woman). Also, with this lighting, you can make a nice highlight on dark hair.
24. Three and Four Light Sources
 Taken by Canon EOS 6D Mark II + Canon EF 24-70mm f/2.8L USM
The third and fourth light sources help me achieve a clear white background. Use one light source set at the background behind a model or two light sources off to either side. I like white background for plenty of reasons. From my point of view, it is very bright, modern, positive and looks awesome in different online profiles.
25. Shoot a Round Face Correctly

If the face of a person is round and wide, it’s better not to shoot your model facing a camera. In this case, it will look wider than it is. Shoot people with round faces at the half turn. If a model turns a little sideways to the camera, his/her face will look somewhat narrower. Also, take into consideration that the camera should be placed a little above or at the model’s eye level.
26. If Model Has a Long Nose
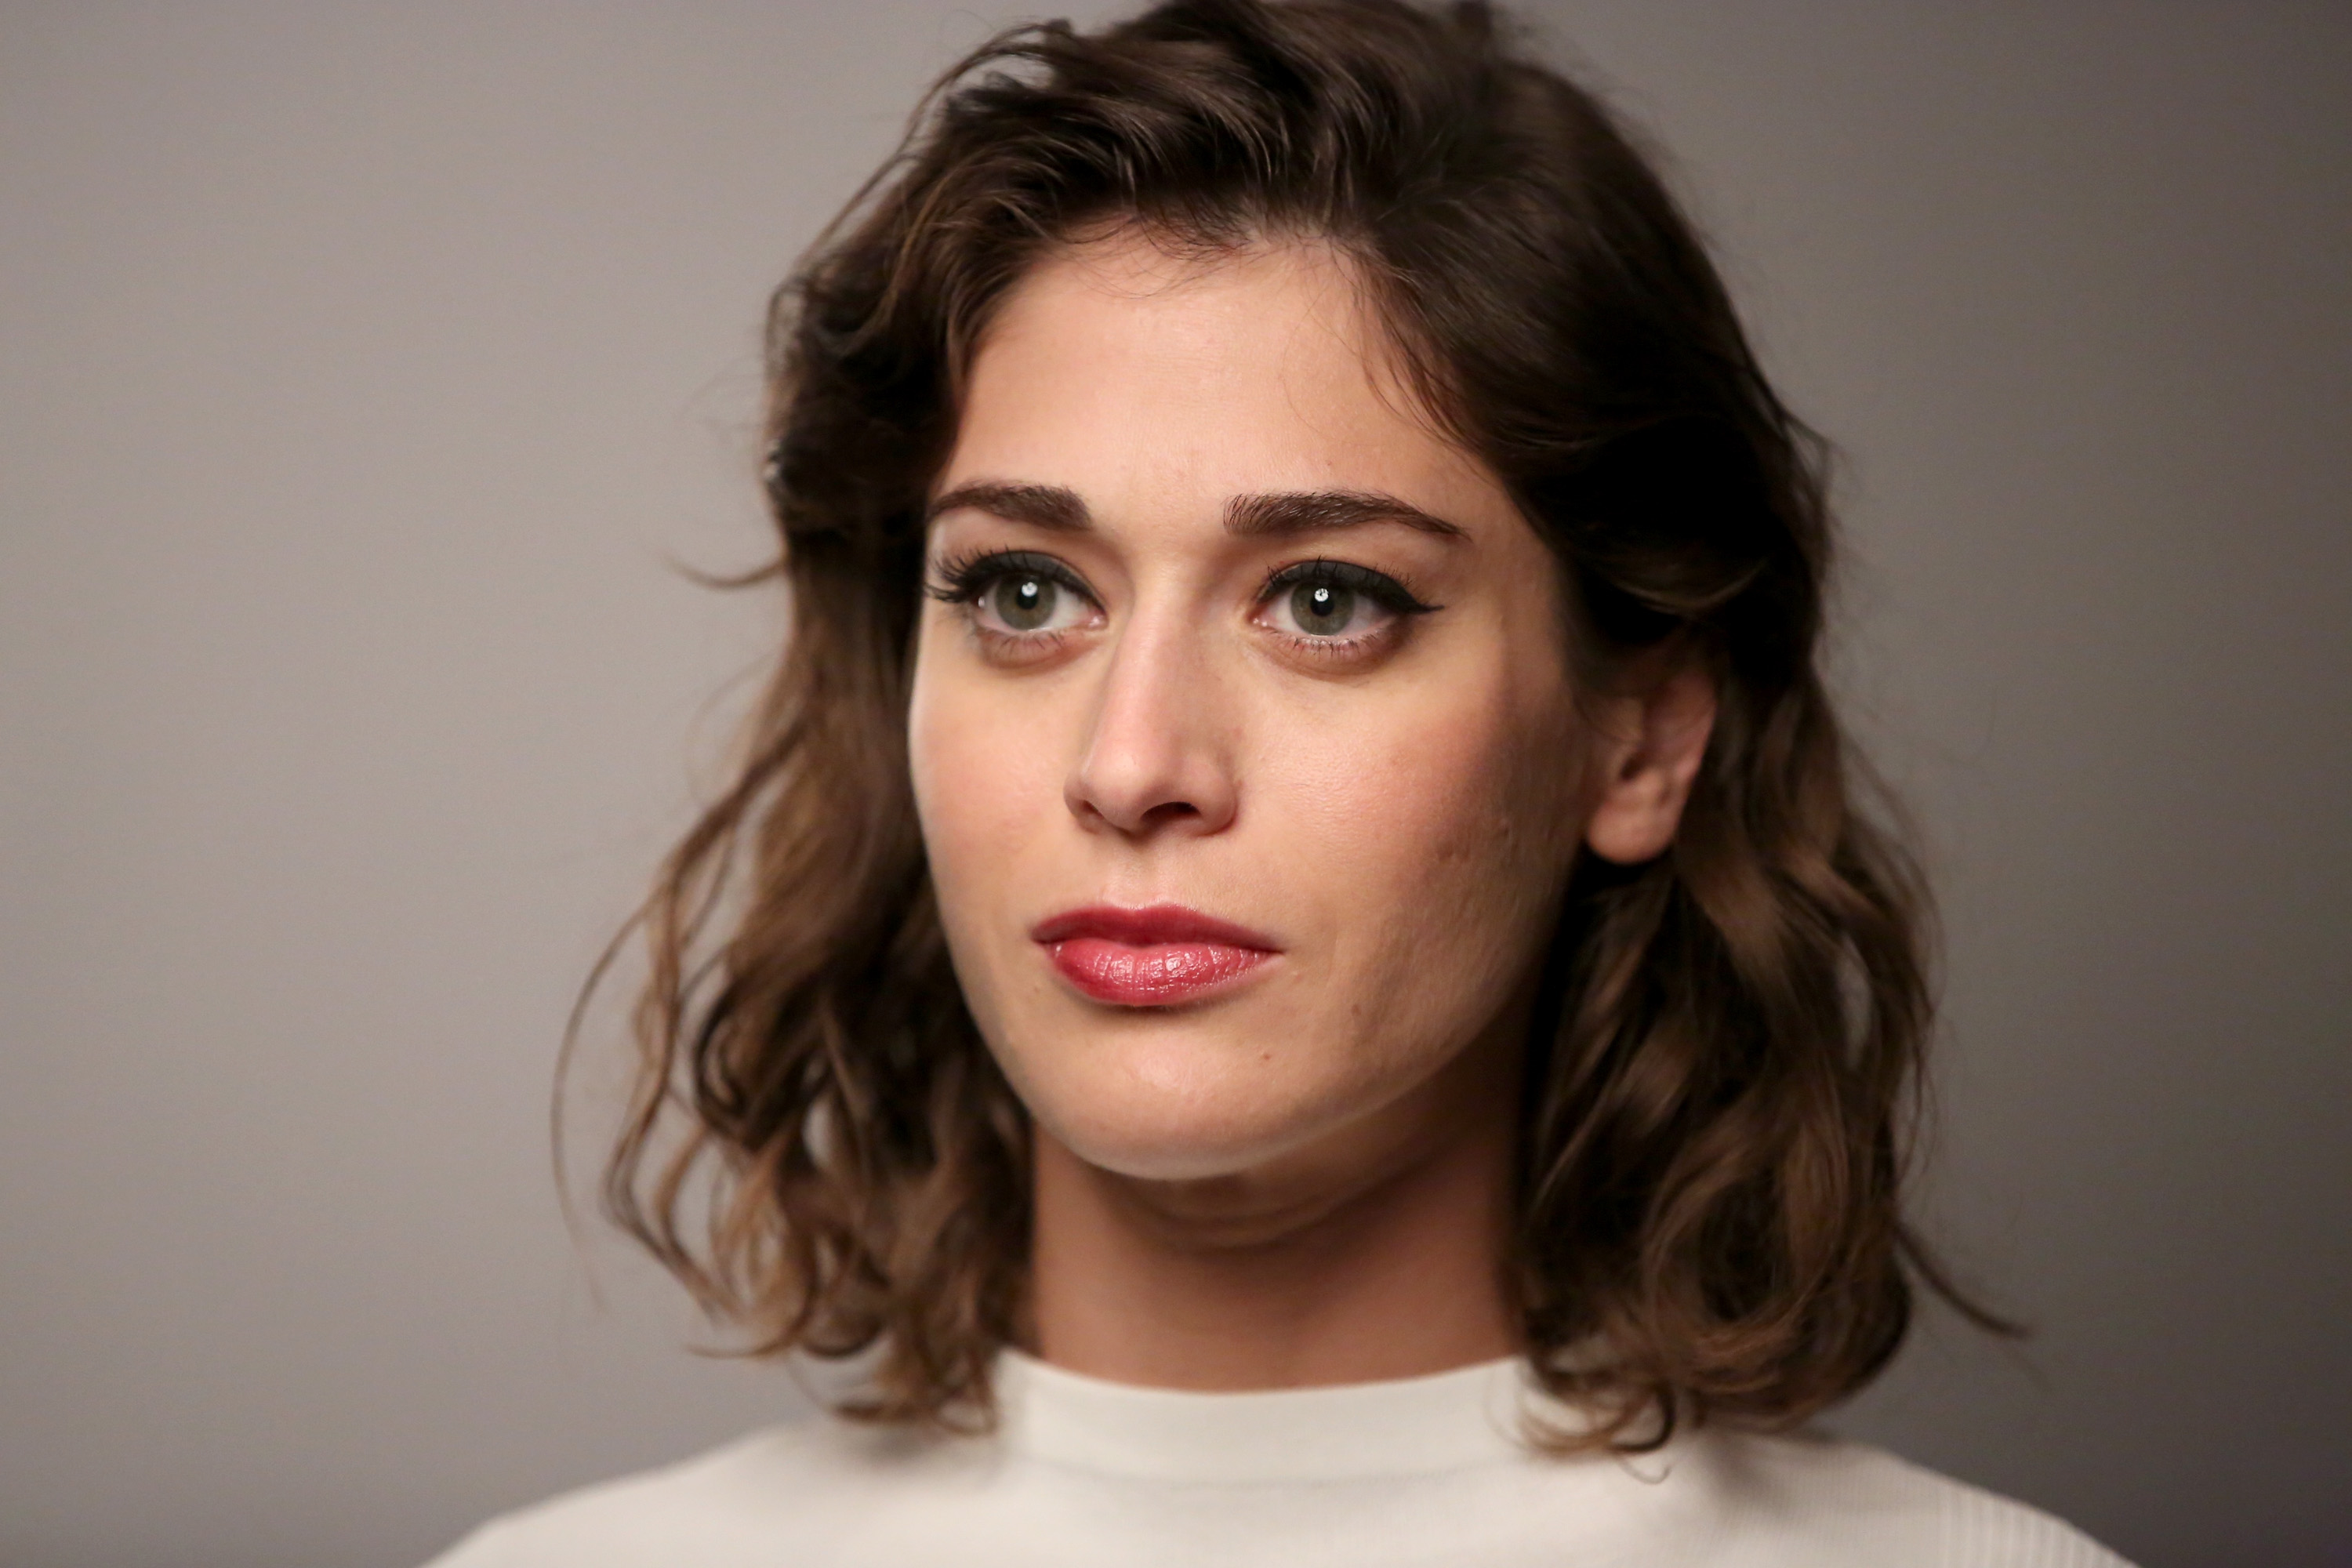
If you need to make a nose look less long, ask your model to slightly raise the head and turn it to the side. This will help make it smaller and at the same time keep the natural look.
27. How to Hide a Double Chin

You can hide a double chin using a slightly higher angle and the lighting set a little above a model’s face. This way, a chin will be shadowed and the angle will allow you to divert attention from it and put emphasis on eyes. Also, if you can’t adjust the lighting or it doesn’t suit a model, ask him/her to slightly lean towards the camera showing a full face.
- Read more about how to remove double chin in Photoshop.
28. If a Model Has Deep-Set Eyes

In case your model has deep-set small eyes, it’s not easy to choose an angle. You can try finding a higher shooting point and ask a model to raise the head in a way that the eyes aren’t covered with eyebrow ridges. This will visually make them look bigger.
29. Remove Defects in Photoshop
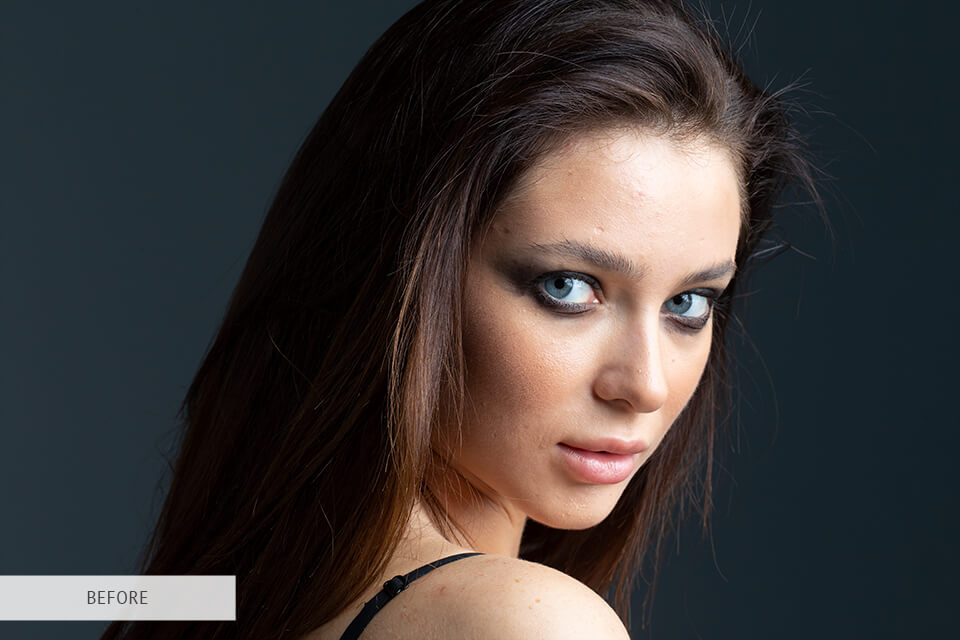
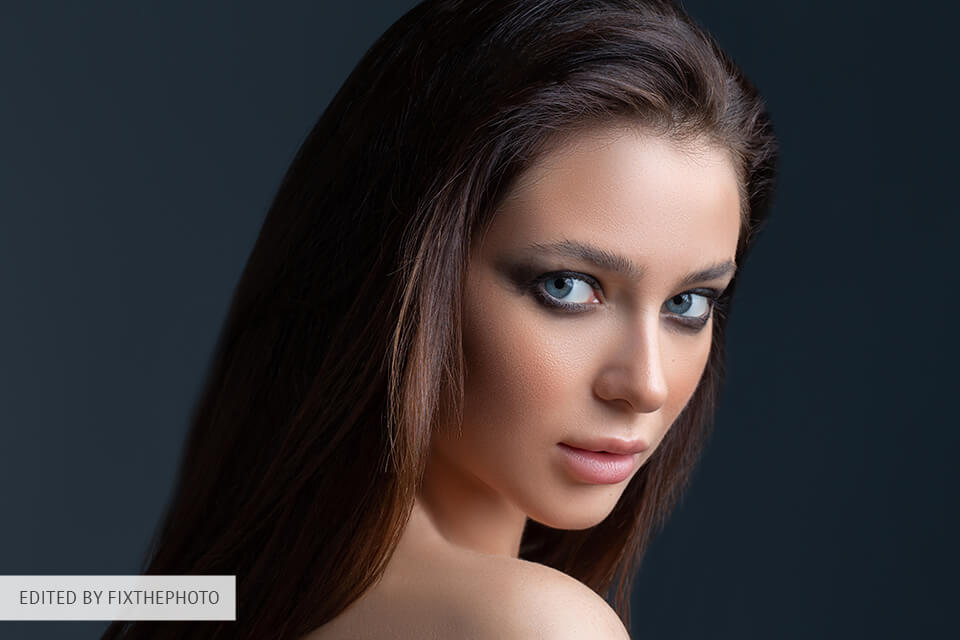
If a headshot photographer didn’t manage to completely eliminate some defects while shooting, it’s always possible to fix it in Photoshop or addressing professional photo editing services.
30. Ask a Model to Cross Arms
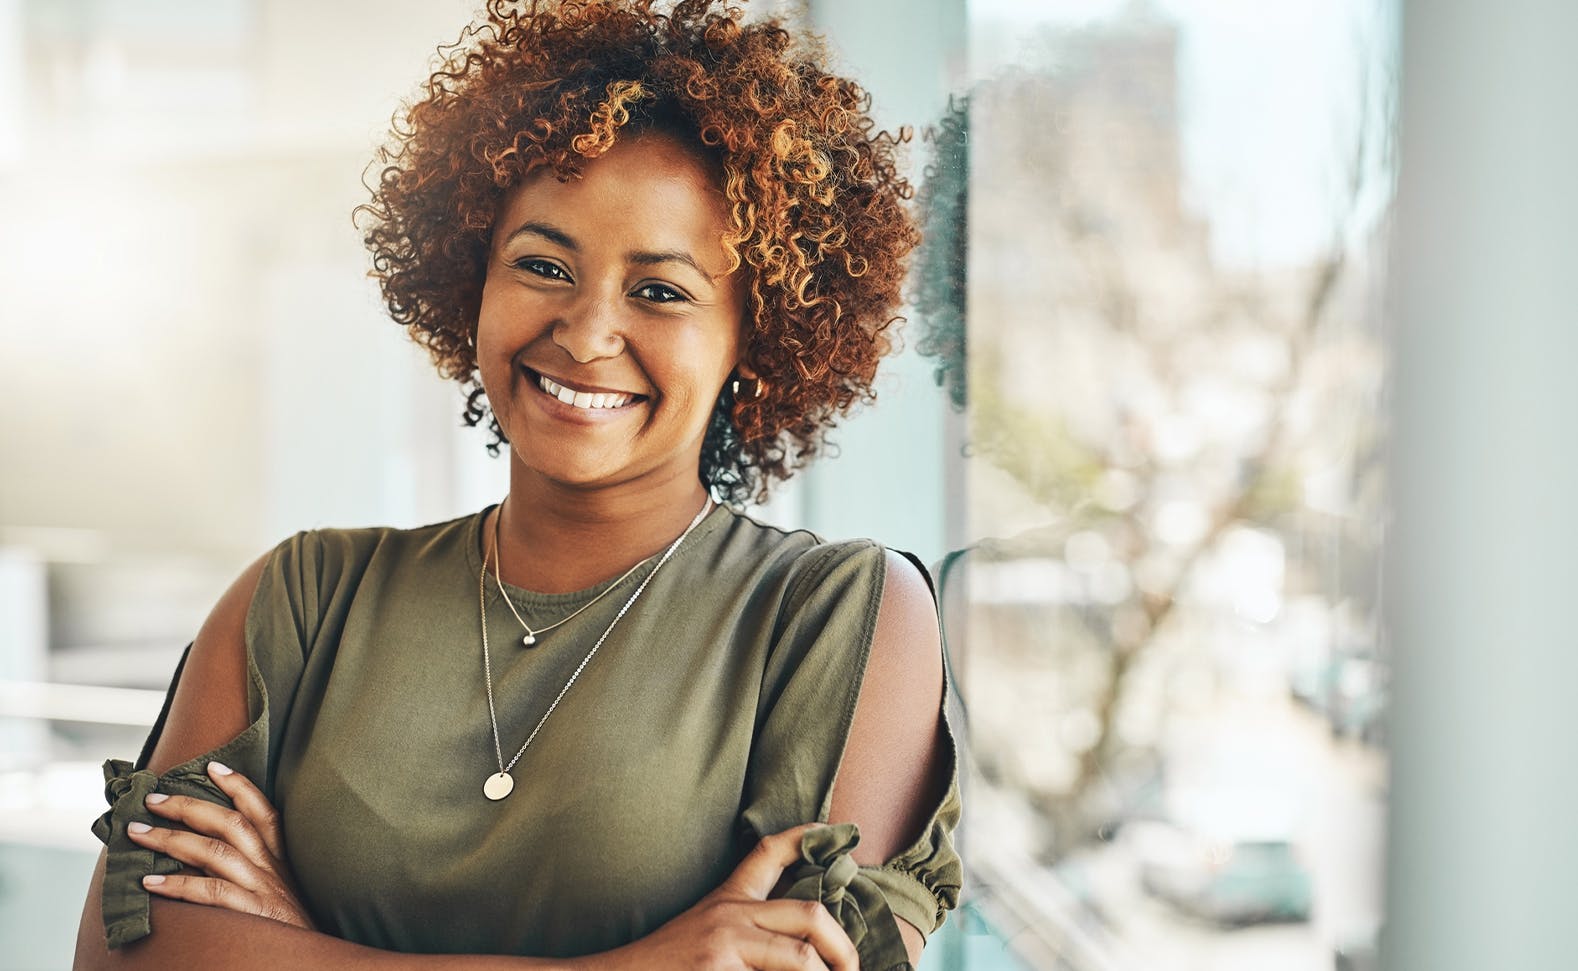
Such a pose will help you get more official and elegant headshot photo. But at the same time ask a model to cross arms quite freely so that the picture doesn’t show affectation or constraint. Also, a person can slightly lean against the background. For women, the best will be a pose with a half turn. A shoulder, which is closer to the camera, should be a little lower in this pose.
31. Model Leaning against a Wall or Rails

Such a simple lean can make a pose look better and more natural. But ask a model to lean with a bottom half (not the entire back) or with one shoulder to keep balance while remain standing. As a background, I recommend using plain textures. If you have a landscape behind the back, blur it.
32. Use a Sitting Pose

There exist several options of sitting poses for good headshots. One variant is to have a model sit and fold hands on knees. It is also very important to have a straight posture. Shoulders can be turned a little bit. You can also shoot a person up to the shoulder line leaving only a portrait.
H3 33. Use Walking for More Open Photos
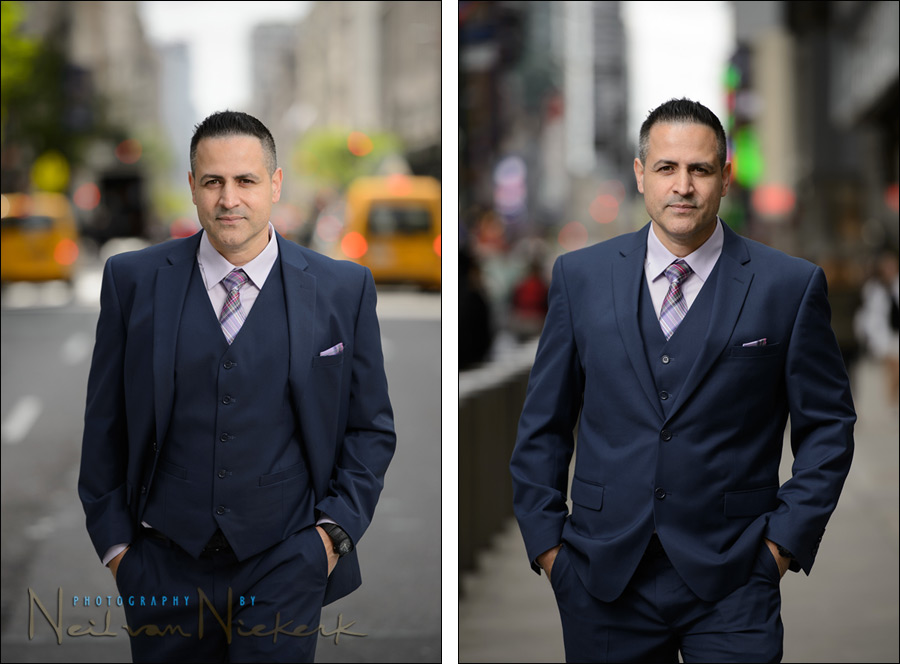
This is one of my favorite poses as with walking towards you model, you get some important positive aspects such as relaxed body and calmer behavior, a sense of movement and a possibility to have sincere smiles during the conversation. Also, make sure your client is keeping a straight posture when walking.
34. Shoot a Model from Above for a Better Portrait

To focus on the eyes and get a more expressive portrait, shoot your model from a point above his/her eyes. This pose will be perfect for those, who have a round face as it can visually make it smaller.
- Check out more female poses for more inspiration.
35. Ask a Model to Move
This is a fun part of professional headshot photography, especially if shoot people, who can show their work by movements. If they produce something, ask them to show it to the camera. If they are trainers, ask them to do some physical tricks. However, don’t tell them exactly what to do, let them do what they want.
Freebies for Headshot Photo Editing
After any photoshoot, the most important part is not to ruin photos during image post-processing. Free tools that I have picked especially for headshot photography will help you with this.
Free PS Action “Bright Eyes”
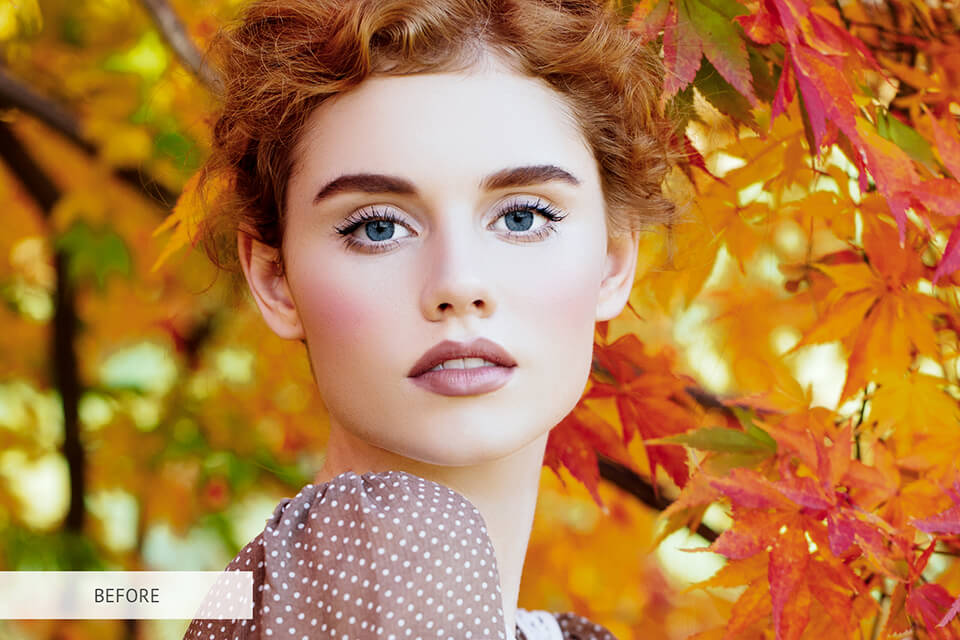
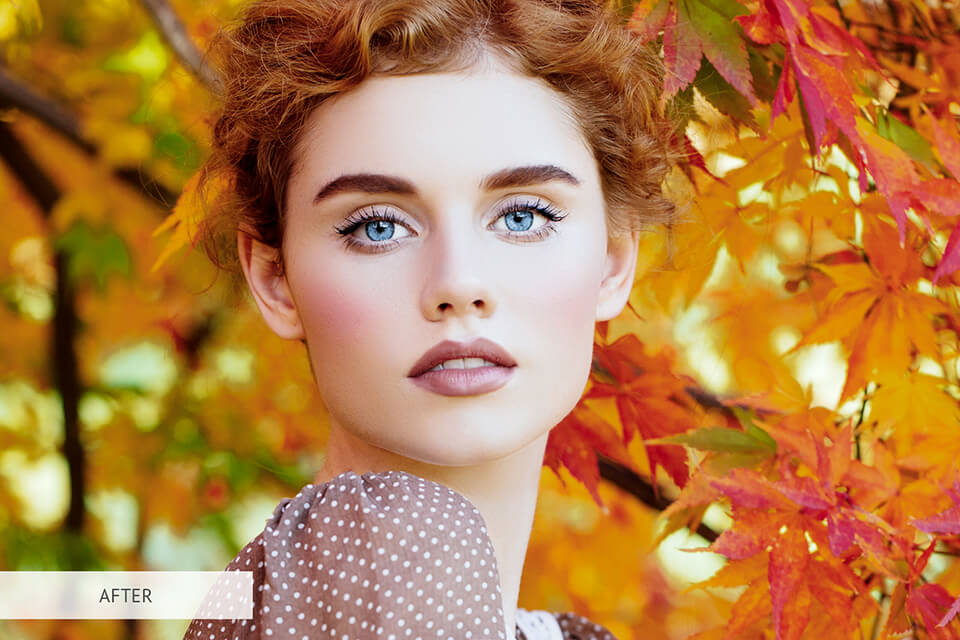
This action will make eyes in your pictures brighter and expressive.
Free PS Action “Color Tone”
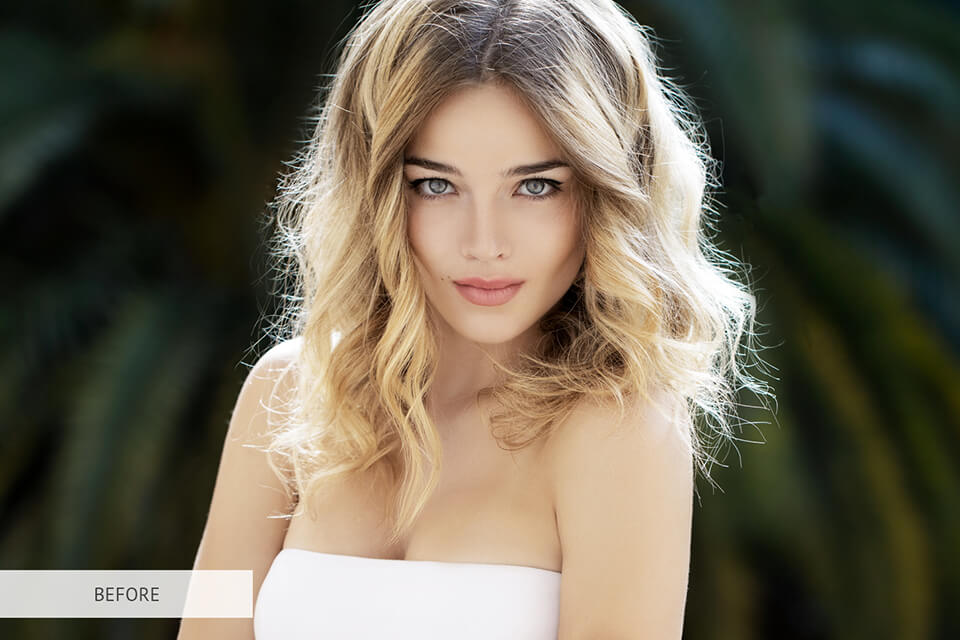
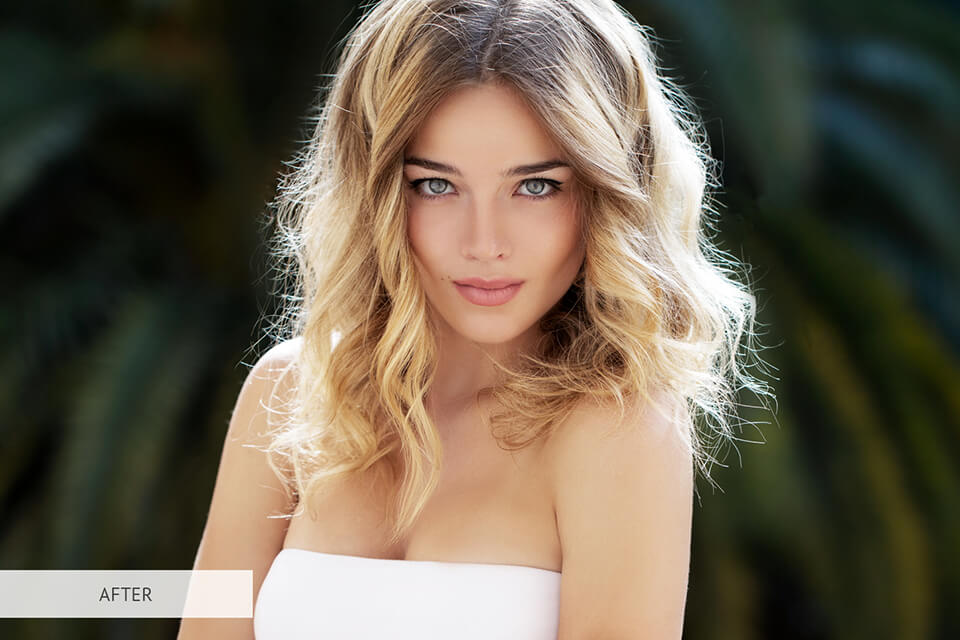
Use it to quickly improve a skin tone and make it more natural.
Free LR Preset “Contrast”
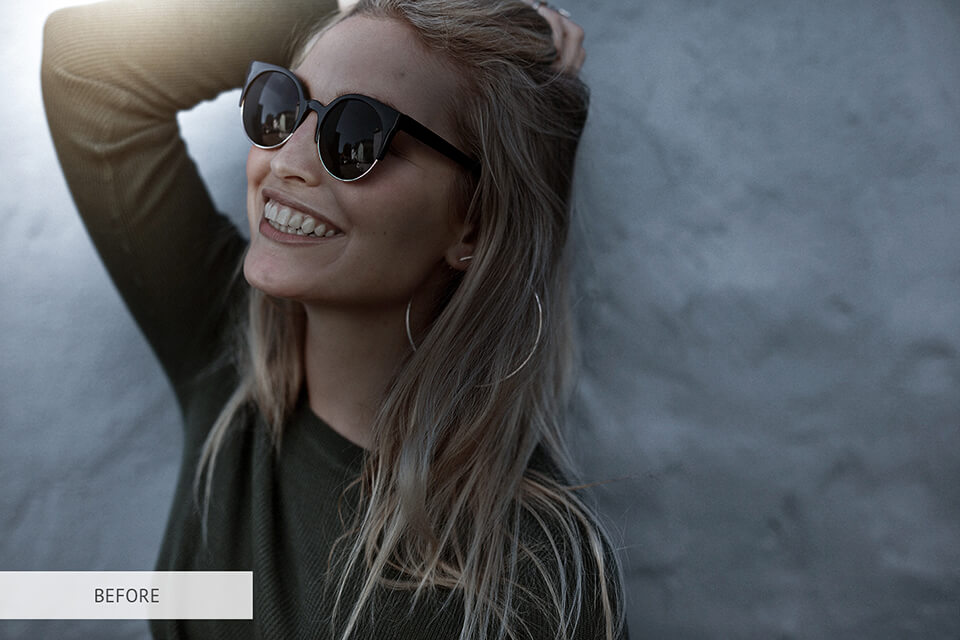
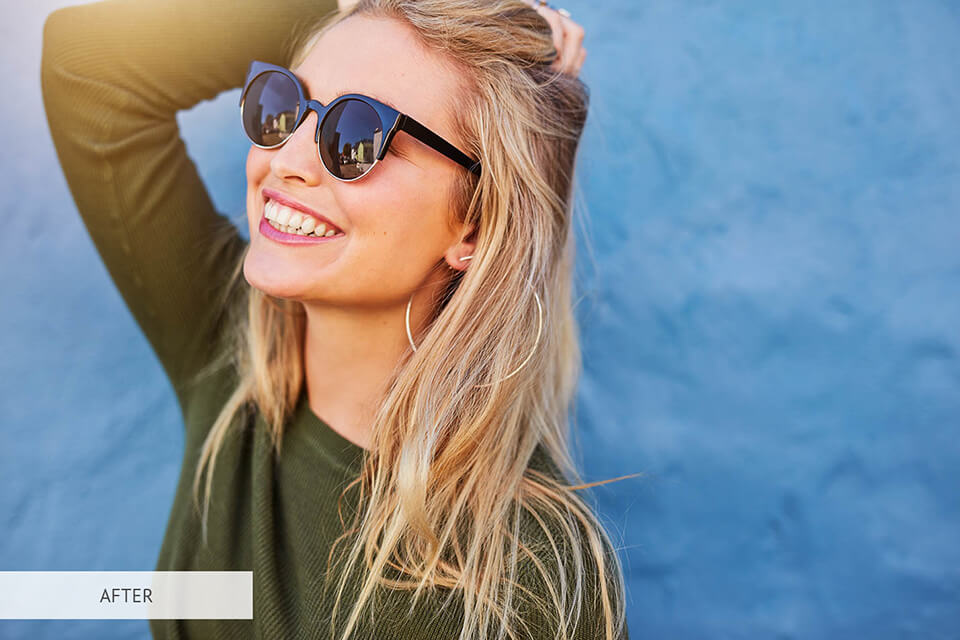
This preset will allow you to increase contrast of your headshot photography in a matter of a few seconds and focus on the face even more.
Free LR Preset “Cinematic”
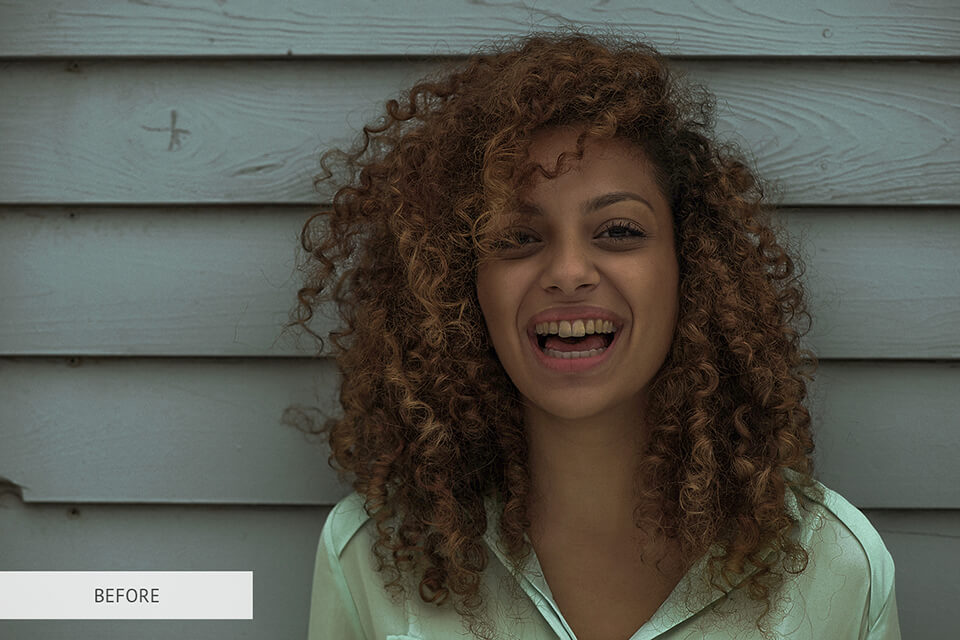
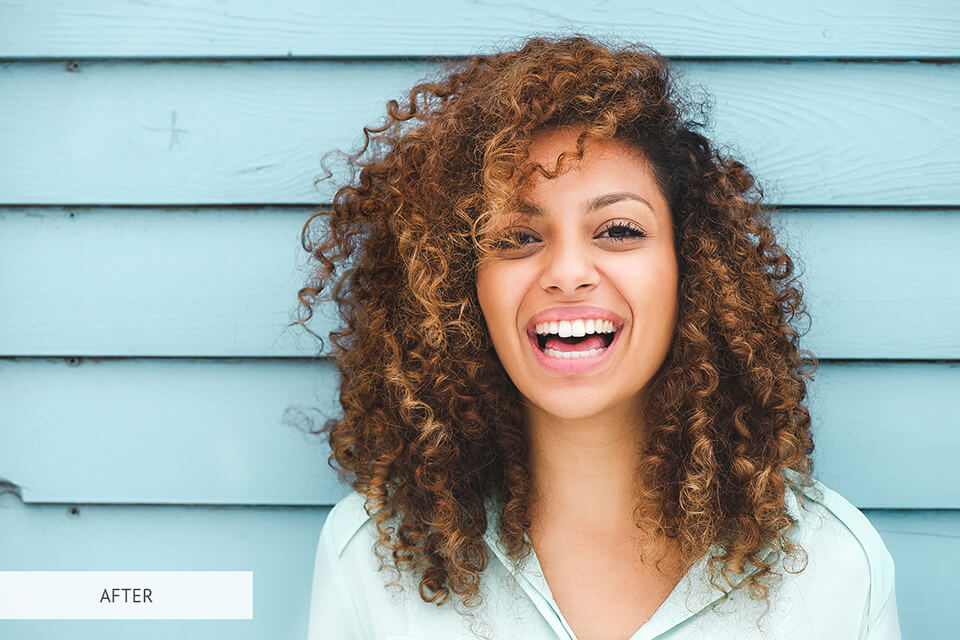
Such a preset will give an unusual film effect in your photos and make colors more saturated.
Free LR Preset “Nature”
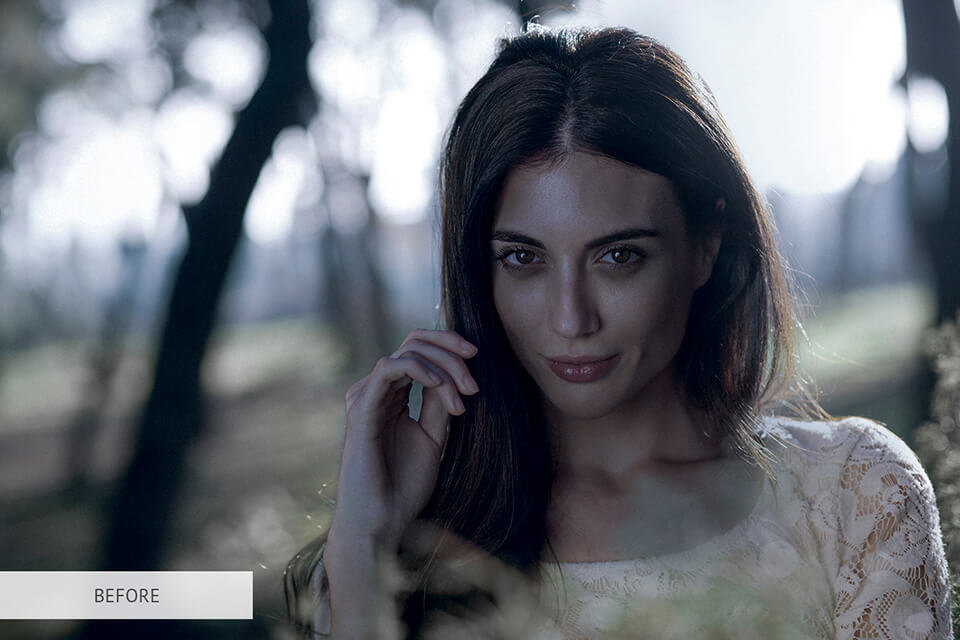
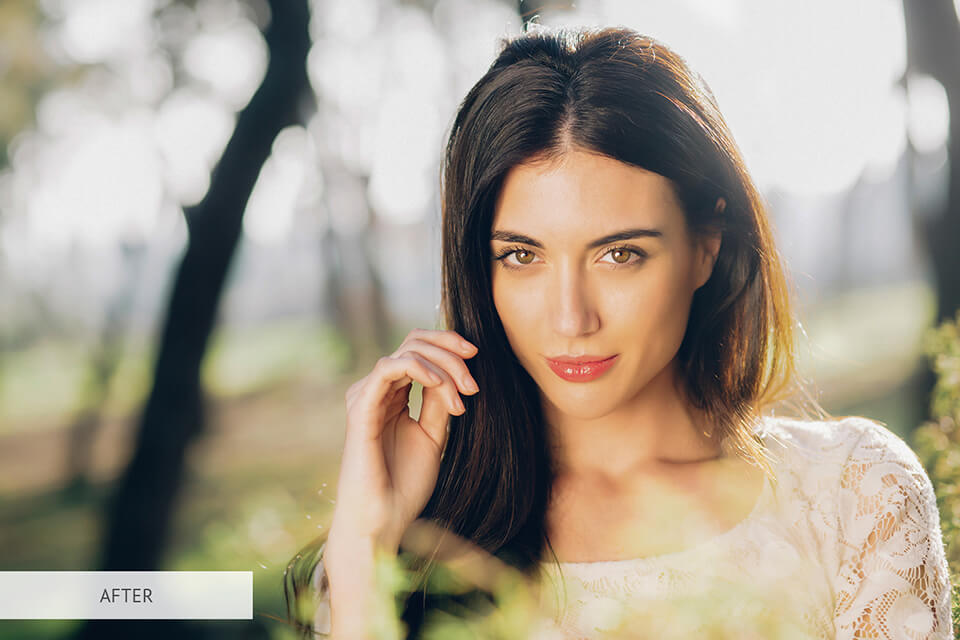
This preset will help you correct shadows, improve the color palette and make pictures more natural.


