Do you take awesome Instagram food shots and want to do it professionally and get money for it? I’m going to tell you 12 easy steps to become a food photographer in a short period of time and achieve success!
Photographers take pictures of food in a way that makes it tempting to buy and eat it. Such shots are necessary for restaurants, cafes and shops – everyone who serves food or uses it in advertising.
In this article, I will try to tell you, in as much detail as possible, how you can begin working in this field, how to find clients and how to become a food photographer in general.

The pictures of food must attract and there are many ways to do that as well as rules you can follow. Many photographers share this info for free and in the form of paid courses.
Overall, there are three ways you can learn this type of photography:
1. Low budget approach, when you study your camera settings, how to frame a shot correctly, and which lighting to use on your own.
2. Recommended option, with which you take an online and offline photography course, participate in master-classes and communicate with other food photographers.
3. Expensive approach means you get a degree or any sort of formal education in the art (graphic design or photography would be a great advantage) with a great deal of passion for this sphere.
Photography Class Online
Andrew Scrivani, who is a professional freelance photographer, has developed this course. Some of the topics that the class covers are about promoting your photography business, food styling, pricing policy and copyrights. Having completed the course, you will be able to take amazing shots even when your budget is very low and your equipment is as basic as a smartphone.
Photography Course Online: Shooting at Restaurants
You can see Daniel Krieger’s photography in Ivan Ramen’s cookbook and The Old-Fashioned Cocktail book just to name a few. The course he offers will teach you how to get into photography of meals, explain the skills you need to take professional shots, and how to work with lighting. He also covers different types of equipment and media for your photography.
We Eat Together Tutorials
We Eat Together give 6 awesome tricks anyone can use to make their food imagery stand out and be more interesting for the viewer.
In general, if you want to take pictures of food you eat from time to time and post them on social media, a smartphone is all you need. However, if you are dreaming of becoming a food photographer that earns money, you need to take care of professional equipment. That means choosing a good camera, a suitable lens for food photography and a few additional accessories.
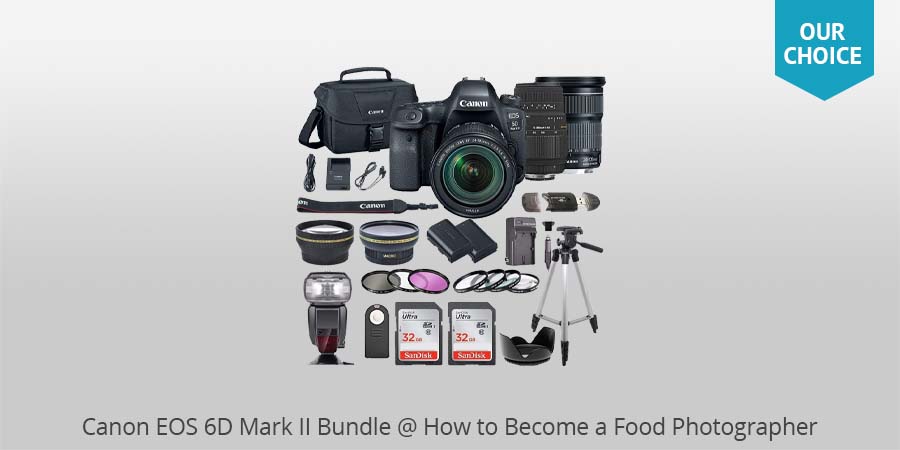
You Need a Camera with Manual Settings
This can be either a DSLR or a mirrorless camera. What is important is that you can find a quality macro lens with high megapixel matrix because this type of photography projects is normally printed with high resolution.
I have also noticed that a camera with an articulating screen is more convenient concerning usability as it will make shooting more comfortable without neck or backache.
I recommend Olympus OM-D E-M5 Mark II as a mirrorless option as it allows you to take 40-megapixel shots and is relatively cheap. If you prefer DSLR, then Canon EOS 6D Mark II with a full-frame matrix and an articulating screen will be the best camera for food photography.
Choose a Macro Lens

For taking photos at a relatively close distance, without distortions and having the texture of the dishes clearly visible, professional food photographers use only macro lenses. Such lenses usually give high sharpness and accurate color rendering.
Their price, however, is higher than that of the regular lenses. For close-up photos of small objects, I recommend using 60mm f/2.8 Macro, while for wider shots you will definitely need 35mm f/2.8 Macro lens, or more universal 12-40mm f2.8 zoom.
Don’t Forget About the Reflectors

You need reflectors to remove harsh shadows, highlight an object or make the light softer. They can be of different sizes, shapes, and coverage. For photos of meals, you can use simple white reflectors.
Tripod is a Must

When you take food images, you don’t need to capture emotions or follow an object, so camera is usually mounted onto a tripod. It will help you arrange the objects more carefully and without unnecessary haste; you can move things around, select colors, remove things you don’t need and change the lighting.

Even when you have the best equipment, beautiful light and a delicious-looking dish, the source photo won’t have the effect you or your clients want to get. To fix that, you will need retouching and color correction. In this matter, for QSR restaurant marketing, retouching and color correction are particularly important to make your food visuals truly appetizing and appealing to customers.
When the photoshoot is over you can make your tomatoes look juicier, remove ugly sauce drops off the plate or even change the light and shade effect. Some professional food photographers do retouching and color correction themselves, but I know from my own experience that it takes a lot of time, because if you’ve never used Photoshop, you will need hours to learn how to mask and how to edit food photos.
If, however, you have several photo shootings planned, you will have no time for image retouching. Professional food shooters commonly use a retouching service, where they simply send their RAW images and get the final result in a couple of days.
If you have a big bright window that lets in a lot of light, you are lucky. If not, try creating artificial light. Two sources of light are usually enough to take a beautiful shot of a dish.
Personally, in about 40% of cases I use one large source that gives diffused lighting to imitate a window. Meals photography lighting must be evenly scattered, so you need reflectors for that.
They are not difficult to work with - just catch some light from the window or lamp and direct it at the object you are shooting. Set up one reflector, take a shot, look at the result. Set up the second one, the third one and compare the results.
Direct Light at the Object You Are Shooting

To substitute a reflector with something else, attach aluminum foil, white fabric or a sheet of white paper to a sheet of plywood, cardboard or plastic. In order to add shine to your objects and to get bright highlights that will bring out the colors of the food, use mirrors.
I often use a sheet of white foam-plastic as a reflector because of its low price and size.
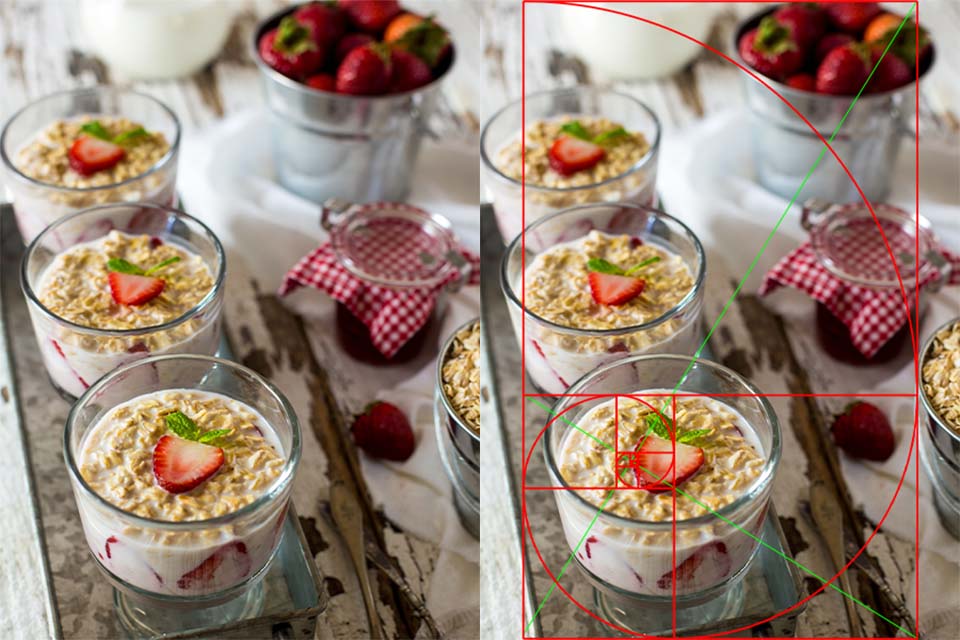
Everything we can call beautiful simply uses geometric rules of composition. Use and combine just the basic ones: The Golden Ratio rule, Diagonal method, and the Golden Triangle rule.
Remember the numbers 1 1 2 3 5 8. They represent the Fibonacci numbers, the numerical harmony, which professional photographers actively use in their work. Some people call it the Fibonacci Spiral rule. The point is to 8 “incorporate” a viewer into the photo starting from the bottom or the side and get them step-by-step towards the main object in the food photography.
When doing food styling, arrange objects into the groups that correspond to these numbers: 1 1 2 3 5 8. One plate, one spoon, two berries that have accidentally fallen off the plate next to it, a set of two glasses with a bottle of cold drink arranged in a triangle separately, etc.

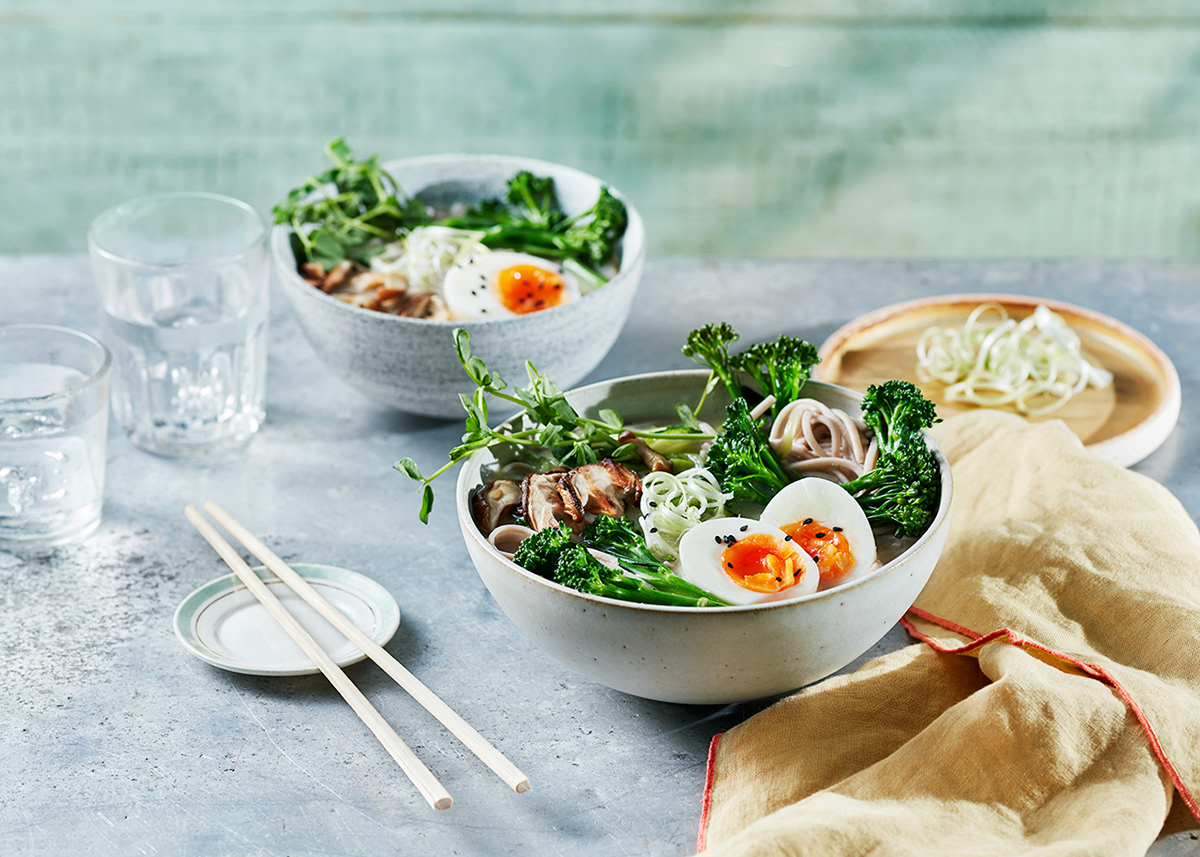
No one will argue that a meal is the key element in an image. Don’t be afraid to be creative, though. Use some food photography props. You can arrange them to add interest to the image. These can be flowers, napkins, and other accessories. What you want is to find a balance between the additions and the dish. Food must be noticeable.
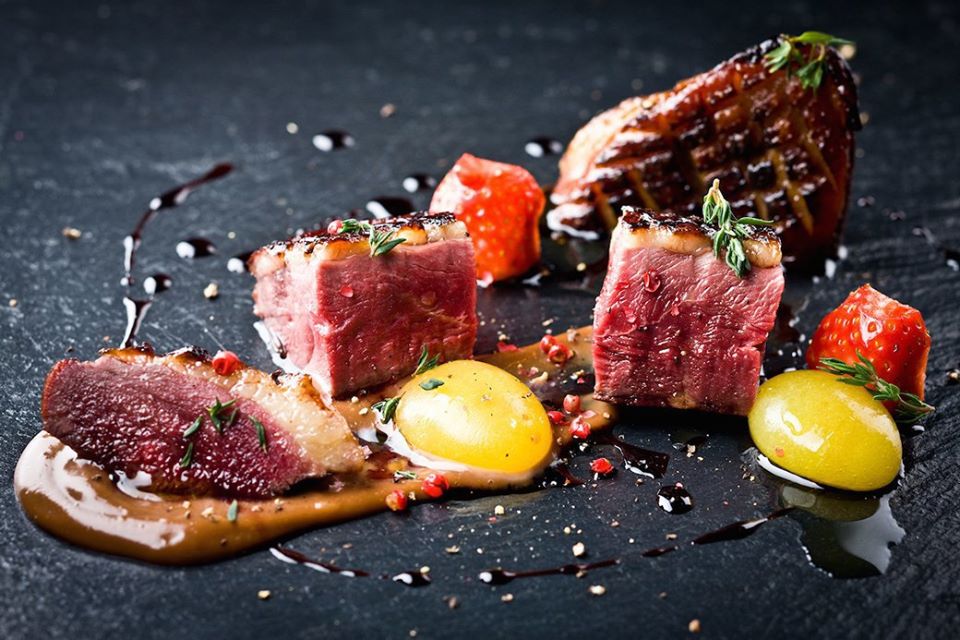
Add bright colors to a photograph. Any professional photographer is confident in decorating their dishes using some creative ideas and food photography tricks. A bowl of soup can be sad to look at, but if you garnish it with some herbs, it instantly becomes more attractive.
However, don’t go over the top. Fresh inedible flowers don’t suit a pasta dish, it shows lack of taste and no understanding of culinary principles.
A professionally looking photography portfolio is a must for any creative. You will use it to advertise your skills as a professional food photographer. One way to do it is to use social media and share your works on your personal page, but a website and food photography blog are more professional options. To create one you can turn to WordPress photography themes to fill your future website.
It will show that you are determined and responsible. Below, you can find several outstanding personal websites of professional food photographers, looking at them you will know exactly how your portfolio should look like.
Fulvio Bonavia
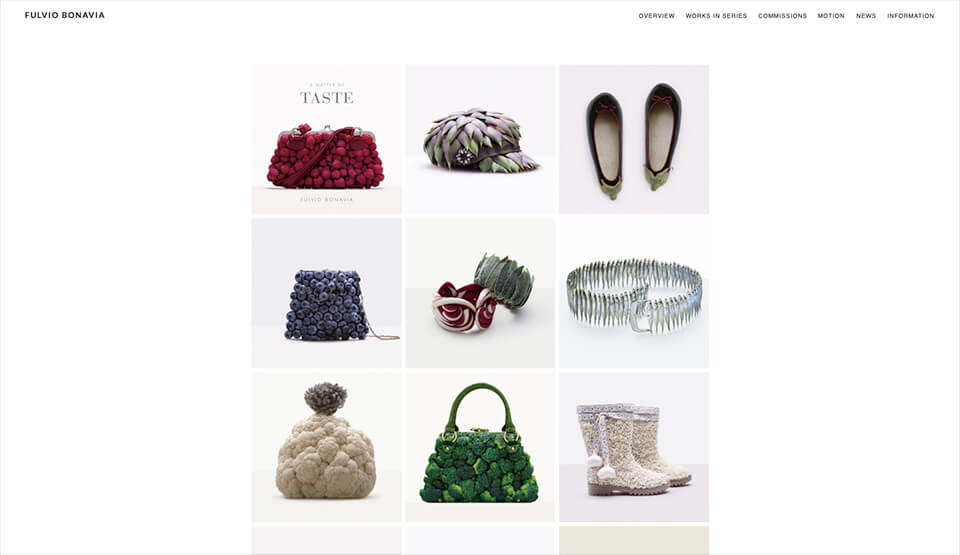
Fulvio Bonavia is an award-winning editorial and advertising photographer. His unique style was inspired by Prada and Alexander McQueen products. Every food shot he takes is a true masterpiece.
Gabriel Cabrera
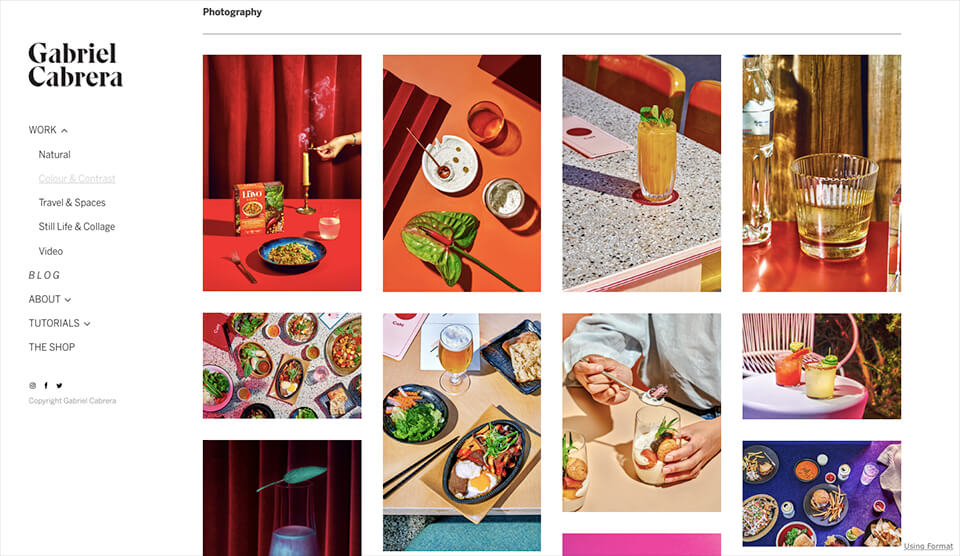
A renowned food photographer and a famous food stylist, Gabriel Cabrera, can show us a thing or two. His special vision makes him stand out among other professionals. His pictures boast bright colors and a variety of textures.
Nic Gossage
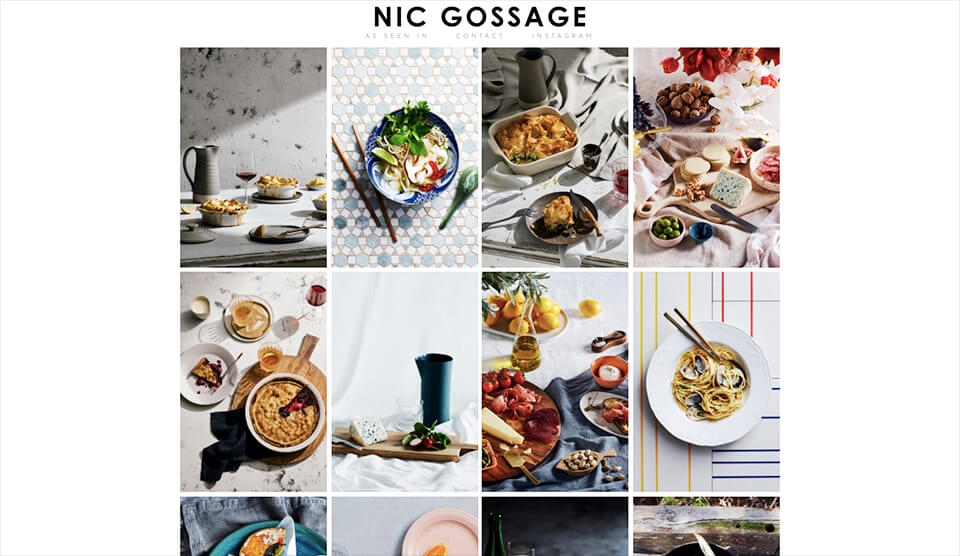
Specializing in food and travel shooting, Nic Gossage is making his portfolio more personal by choosing a brave logo. His food shots are shown in a full-screen format, which allows you to notice even the smallest details of his outstanding works.
With a food imagery portfolio showcasing your best works, you will get an opportunity to start offering you services to a food stylist. Novice stylists like you are, will happily work with you because they also need to create a portfolio.
However, it doesn’t mean that you shouldn’t offer your services to famous professionals too, I’m sure some of them will be happy to have a photo session, which means you’ll get additional publicity in their portfolios.
Look out for the opening of new food places where you live, visit several of them and offer your services as a food photographer. This will give you additional experience, pictures you can add to your portfolio, and, if you do an excellent job, you will receive payment and additional reputation among other business owners.
In this case, it will be reasonable to invest in making hard copies of your photos from the portfolio so that you can give them directly to the owner. Before going to the business owner with an offer, familiarize yourself with the specifics of the restaurant's cuisine, and prepare to take certain content, for example, ice cream photography or fruit photography.
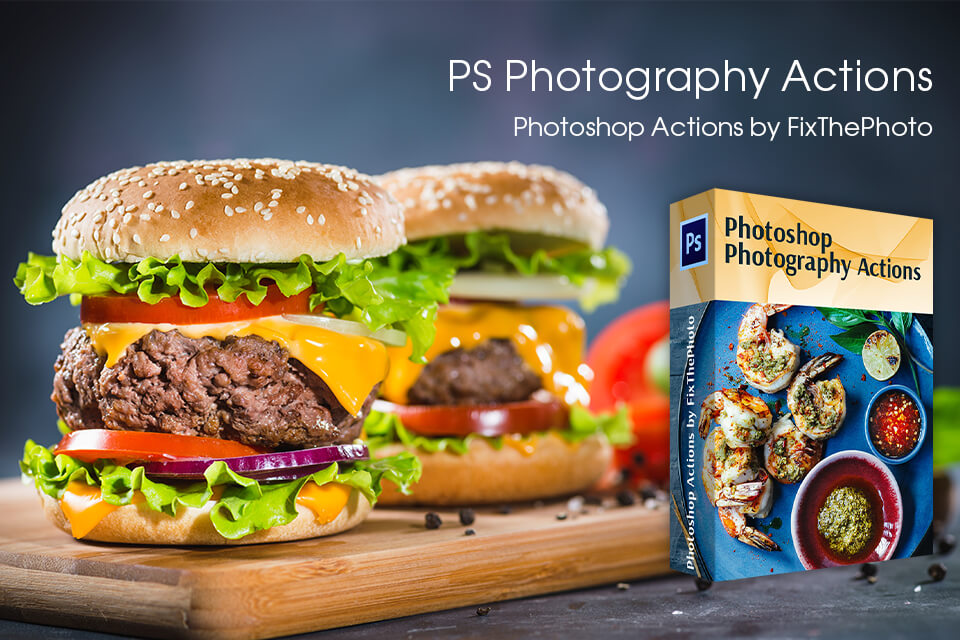
If you have just embarked on the path of a food photographer, you can take advantage of food actions selected by FixThePhoto experts to streamline the image editing routine. They are suitable if you want to make your photos look professional, correct colors, fix lighting defects, and adjust the texture of food ingredients in a quick way.


