Ice cream photography is one of the most complicated genres. In addition to time-consuming preparation and usage of various tricks, you need to constantly work at a very fast pace, so that your ice cream doesn't turn into a shapeless puddle. In this article, I will give you the most efficient ice cream photography tips that will make you shooting easier and professional.
How do you take photos of these frozen desserts that melt quickly well? It may seem like an easy task, but you need to remember that ice cream at room temperature on average melts in 30-40 minutes. Is it enough to take a good photo?
That's why I have prepared 25 ice cream photography tips and creative ice cream advertisement ideas that will help you make everything perfect the first time.
.jpg )
Start planning your photoshoot beforehand and decide on its mood. Make a rough sketch of how you wish to capture your ice cream so it is easy to select the props you are going to use. If possible, freeze glasses, cups, spoons, saucers, small trays and even marble slabs. If they fit in your freezer, hide them there for several hours or, even better, overnight so that the next day, they help you keep the ice cream cold for a little longer.

While taking your ice cream out of the freezer, be careful not to touch it with your fingers, otherwise, there will be fingerprints on it. Wait from several seconds to several minutes for the ice cream to melt a bit so it becomes more natural, allowing you to take perfect ice cream photography.
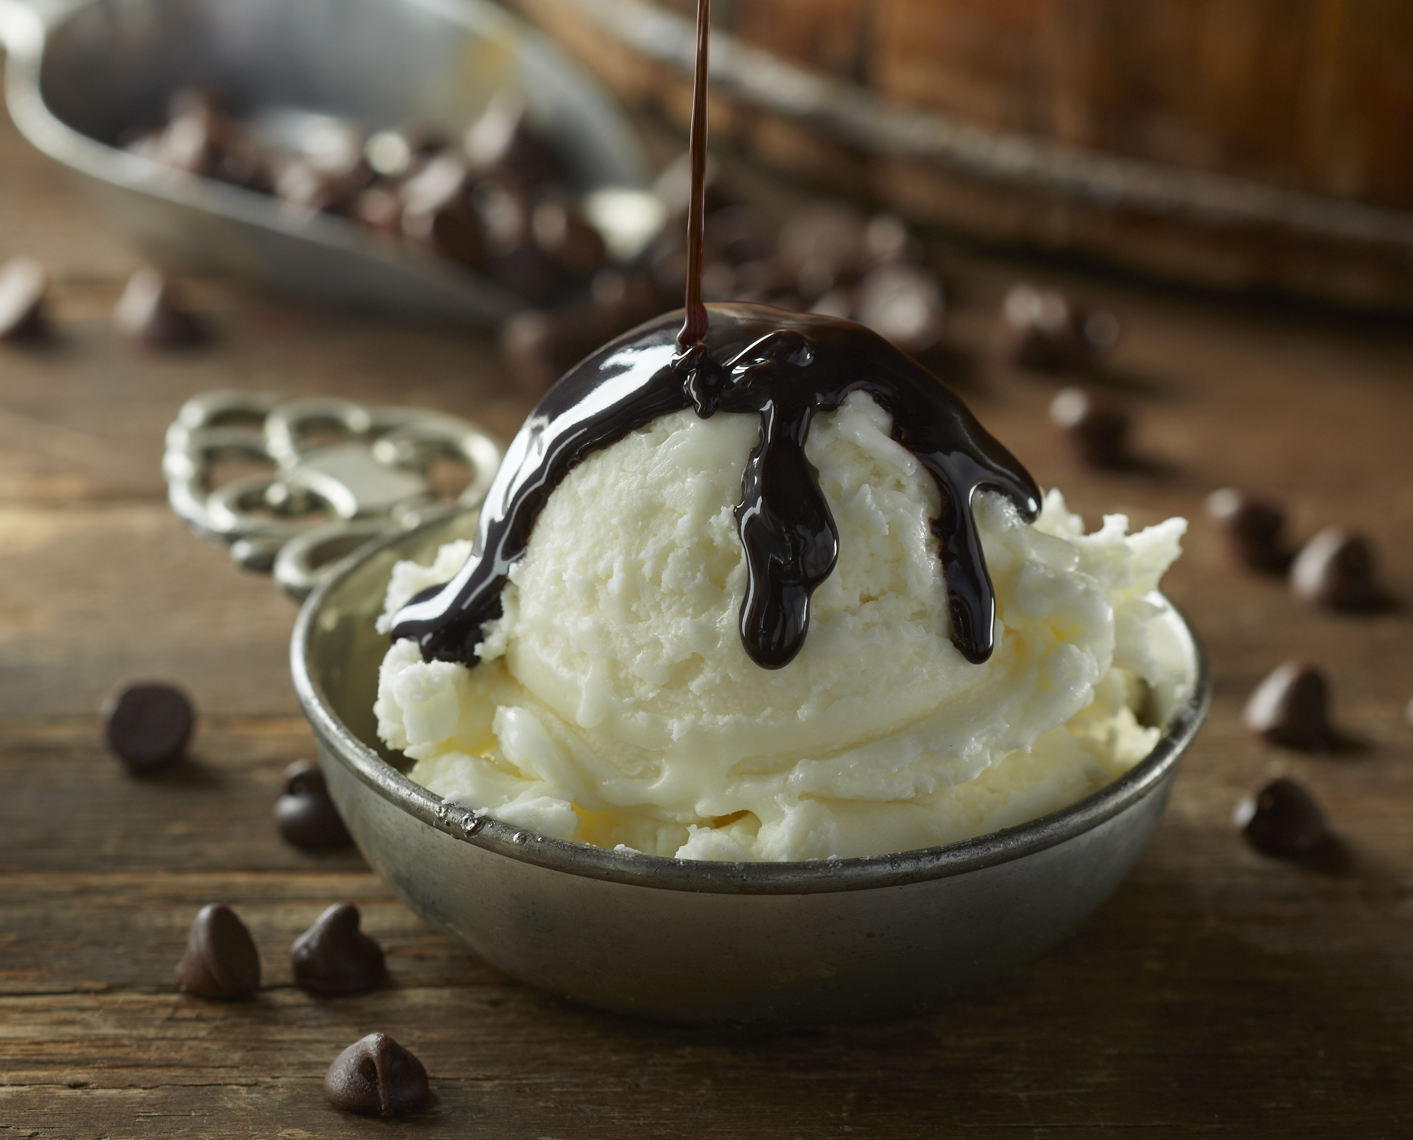
I warn you not to select small light sources while illuminating ice cream covered with sauces, for instance, hot fudge. Surfaces similar to hot fudge like caramel or strawberry sauce are super shiny and you should be mindful of this while choosing lighting. Large light sources, such as softboxes, are more appropriate for shiny sauces.

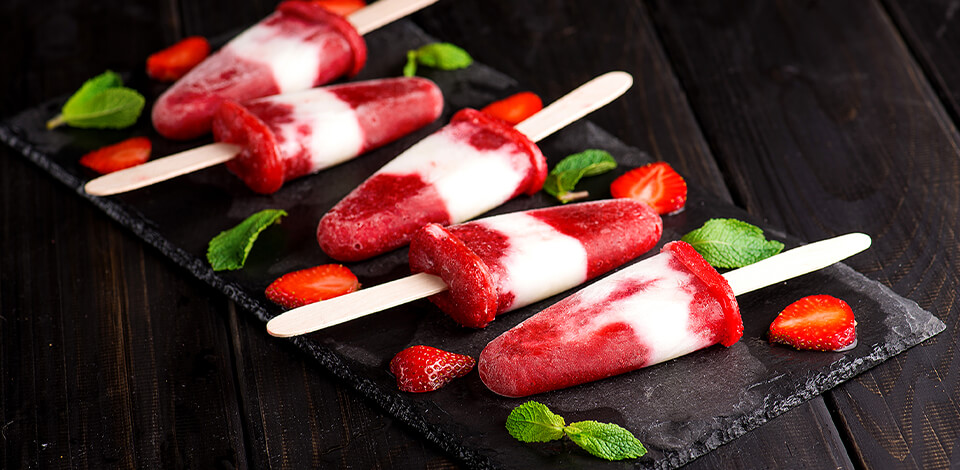
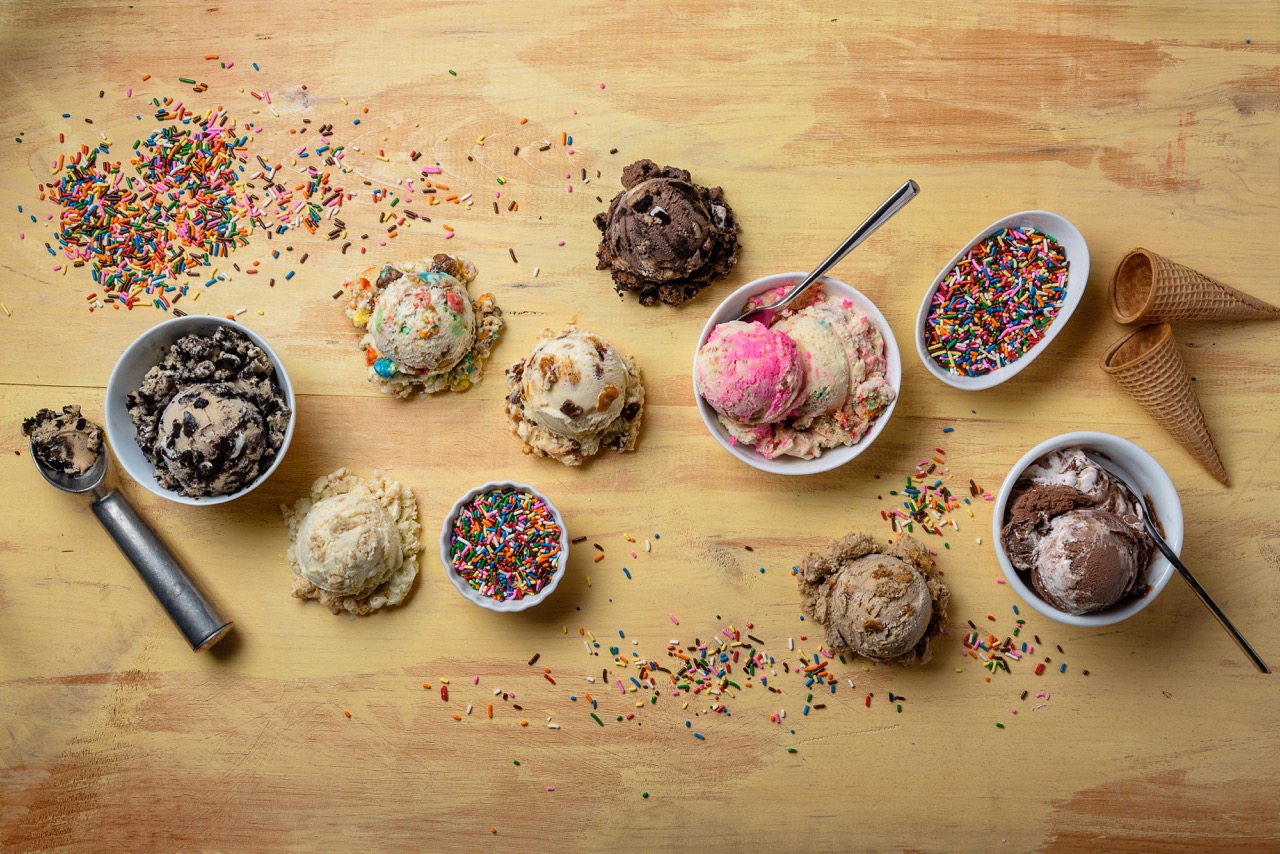
Take photos of ice cream not only in beautiful bowls or glasses, but also in saucers, waffle cones, loaf-cake pans, paper cups, marble plates or even on parchment paper.
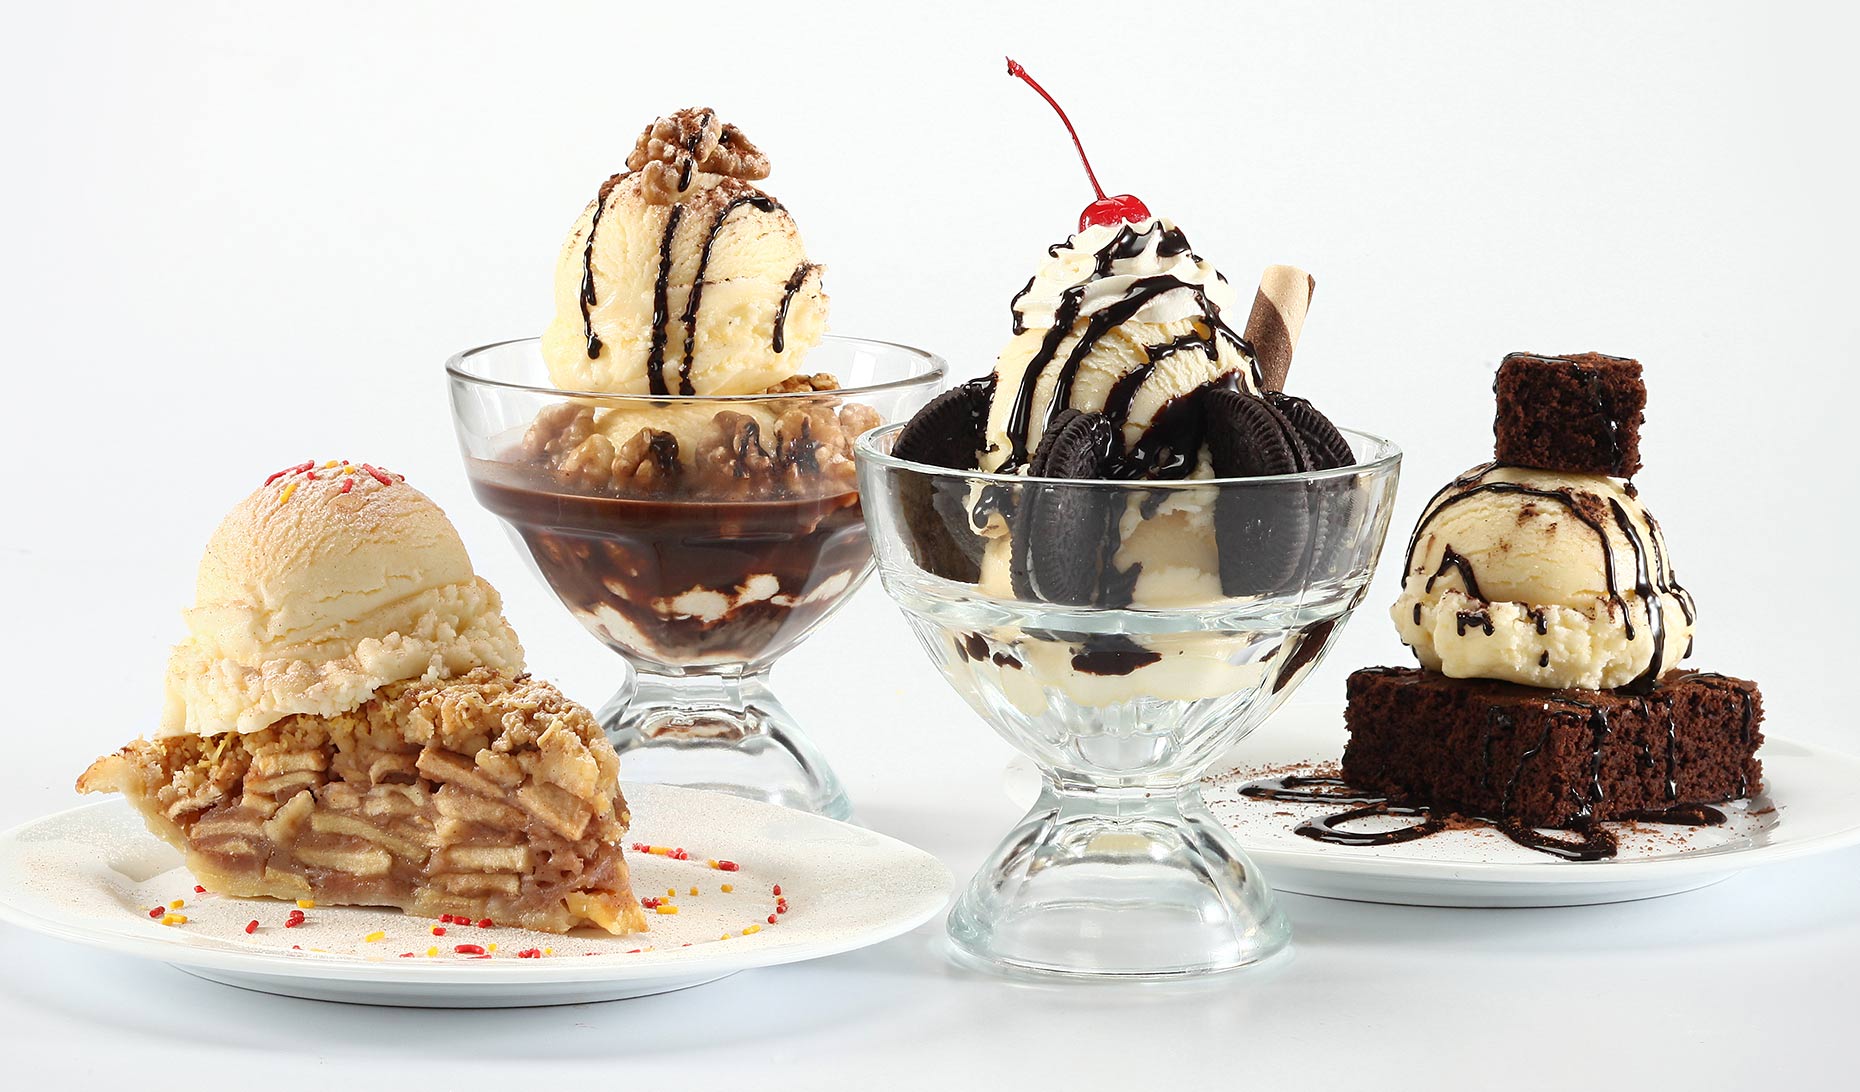
Remember the story you want to tell and choose the props that may improve the mood of your picture. For instance, if you are shooting ice cream commercials, the mood may be modern and minimalistic, timeless and elegant, rustic or colorful and playful for children. Background pictures, fabrics, cutlery and colors should match the same mood.

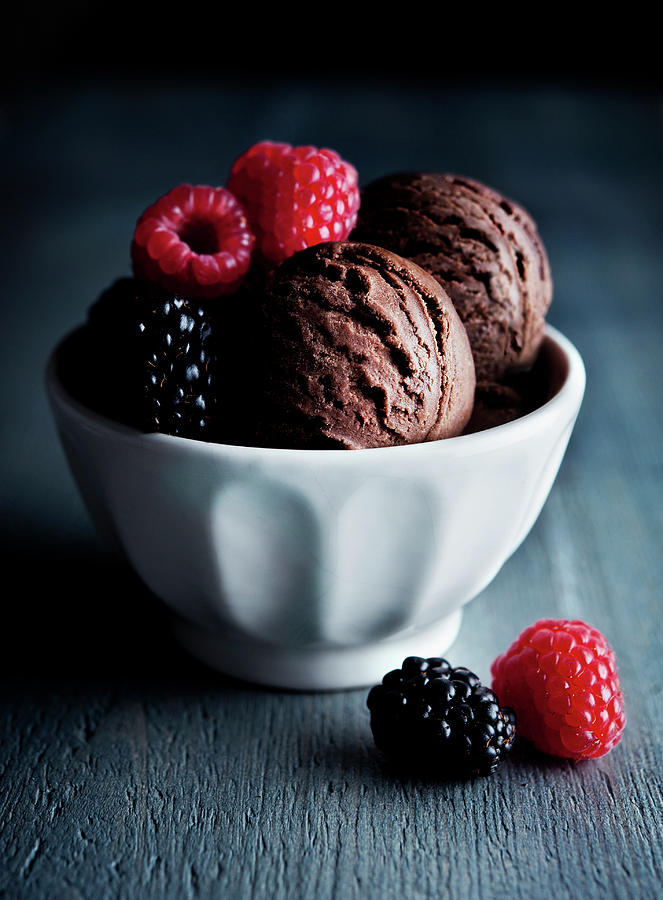
Depending on the photographed ice cream, the style and color scheme could vary. The most common colors for ice cream shots are natural and bright ones, as you typically wish to convey a relaxing, vibrant summer vibe. In case I have to take pictures of a chocolate ice cream, I will decide in favor of a dim background and props.

I would certainly advise shooting ice cream photography inside. Lighting on the outside comes from every possible angle, which results in a flat picture. Directional lighting from the back or side is an optimal variant. Nevertheless, you may still produce beautiful lifestyle pictures in the street if you shoot people with food.
Are you going to take pictures of ice cream with fruits? Read these fruit photography tips to take yummy and fresh fruit photography in your home studio.

To achieve really high-quality results, I suggest hiring a specialized food stylist. Working with real ice cream means operating quickly and planning ahead. Food stylists are skillful masters when it comes to working with real ice cream. They may generate those prominent and mouth-watering pics of ice cream that all of us imagine.

Use frozen or fresh fruits, nuts, fresh herbs, chocolate chips, biscotti or cookies to add texture to your ice cream. This ice cream decoration will also help you better understand how it really tastes.

Speaking of sticky hands, don't forget about paper towels. If you are engaged in ice cream photography, things can get messy very quickly. You don't want that stickiness on your camera when you are taking pictures.
Therefore, keep paper towels or a cloth within an easy reach to have everything clean. View more to learn what other food photography props you can use for appetizing ice cream photography.

Proper storage and correct preparation of ice cream are compulsory if you want to achieve high-quality images. Any problem may extend the shooting for several hours or even days. But the worst happens, if the ice cream is spoiled after styling. Then many hours of work, as well as the money spent on the organization of ice cream photoshoot, will be wasted.

For shooting, it is essential to have plenty of ice cream at your disposal and ensure that it is more than enough, even if it involves renting additional freezers. You might need to get multiple dishes or containers, particularly during ice cream photography.
In case you have selected a specific bowl, you will need several spare ones. One is needed for changing, replacement and lighting, while the stylist will be dealing with another one. You should provide the stylist with an extra bowl, if he/she asks. Unless you have a pair of bowls, the photo session will be considerably slower.

Aside from having enough ice cream, you'll want to get it several days prior to shooting to ensure it reaches the right temperature. You might think it's a stylist's problem. But, in reality, since the temperatures of the freezers are set long before shooting, it's the photographer's responsibility.
For proper ice cream photography, you need two different freezers set to two completely different temperatures. If the ice cream is way too cold, you could have difficulty scooping and cutting it. In case the ice cream is too warm, it tends to melt too quickly in front of the camera. Solve this problem by storing "warm" ice cream in one of the freezers before the stylist begins working with it.
Besides, a cooler freezer might also come in handy so that the stylist has the ability to place ice cream there to cool down before proceeding with the session. Set the "warm" freezer between 0 and +5 degrees (F), the cold freezer – to the lowest possible value, which is usually around -20.

Keep in mind that the temperature in a freezer filled with ice cream changes slowly, and stabilization may take several days. Ensure that the temperature is set in every freezer before your ice cream is delivered. If you neglected it, the temperature in the freezer will be lowered because the different between the ice cream and the real temperature would be unknown.

Of course, ice-cream styling involves preparation and staging it for photography in order to make it look as mouth-watering as possible in the shots. Depending on the purpose of the food shoot, the approaches may vary greatly. For instance, food might be photographed for editorials, commercials, advertisements or packaging. As for ice cream styling, there exist two main types – advertising and editorial.

In editorial styling, you may be as inventive as you wish. This gives the stylist more freedom in playing around with props, lighting and background compared to the advertising approach. Your imagination isn't limited by certain rules in an editorial ice cream photoshoot.
As a result, the picture looks appealing. The photographer and stylist collaborate as a team to generate images that evoke feelings. The ice cream here is of minor importance.

As for advertising styling, the ice cream advertisement ideas and general concept have already been created in advance by the customer. Your main task is to make the ice cream appear as vivid as possible, giving the overall picture secondary importance.
Also, editorial styling allows for using fake ice cream in order to simplify the shooting process. If you're promoting a specific brand of ice cream, it should be real one. That's why it is important to specify the styling in advance.

It is essential to prepare thoroughly beforehand. Ice cream isn't going to wait for you and will melt quickly, and you will have trouble photographing it. In order not to lose valuable minutes, while the ice cream still has a presentable appearance, it is very important to prepare all the necessary equipment and props in advance.
Let me tell you about the peculiarities of food photography. Most food may be spoiled while it is placed under the light source. That's why a stylist has to find a sort of “stand-in” so that a photographer may arrange a desired setup and lighting.
Food that looks very similar to the “original” food, but isn't so “fresh” is referred to as a “stand-in.” As soon as the photographer finishes setting up everything for the future shot, the stylist provides the “original” food. Then the photographer takes a test shot to see if something may be changed, as a stand-in and primary food shouldn't differ much.

For the majority of food, the fixes will take no longer than two minutes and the subject will remain fresh. When it comes to taking ice cream photographs, this period of time is shortened. A stand-in is supposed to look as identical to the primary food as possible. In this way, the necessary fixes can be done quickly and efficiently.
The mashed potatoes styled for ice cream will be perfectly suitable. This kind of a stand-in really assists in terms of focusing, setting up lighting and everything else related to ice cream photography, and keeping the adjustment time to a minimum.
The ice cream photographer doesn't have time to compensate for improper stand-in, so the better it is, the better the photo will turn out. Nonetheless, if you don't have the time or desire to prepare your own fake ice cream, you may buy artificial analogs.
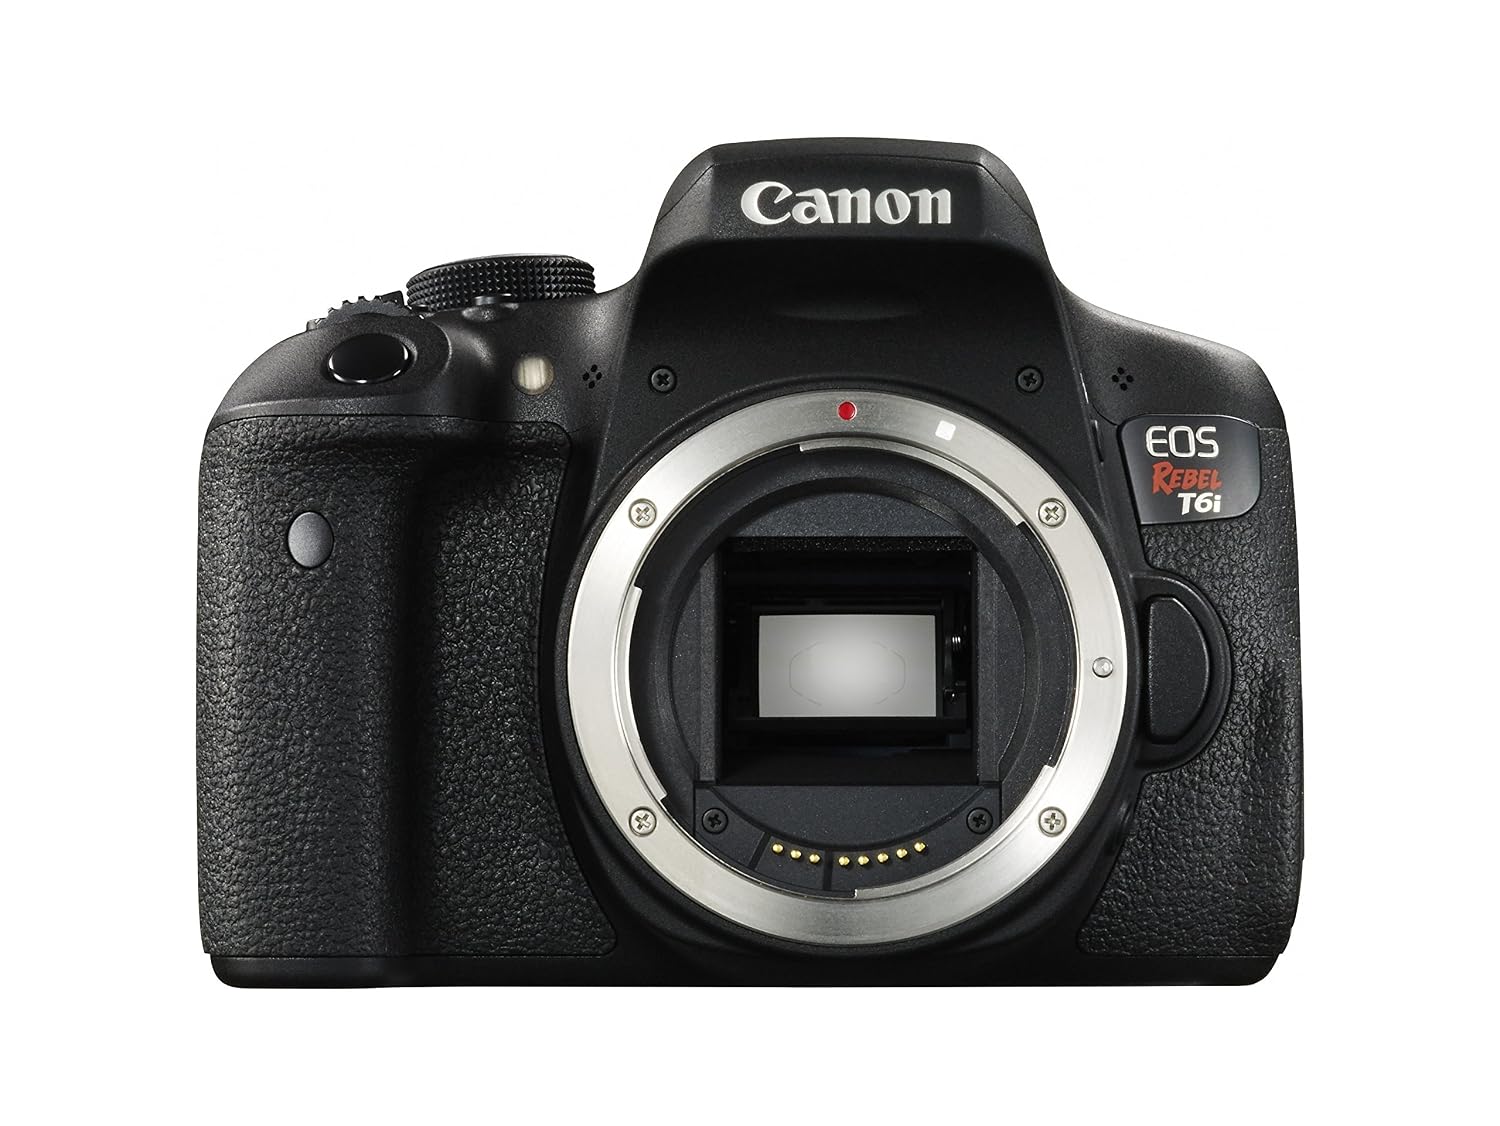
Actually, you don’t need the most expensive camera in the market. In fact, the best cameras for product photography doesn’t cost a fortune. In case you can’t spend more than $500, you should choose the Canon Rebel. This model has convenient touch and tilt screens. The maximum ISO is 12,800. The camera is equipped with a 24MP sensor and 19 focus points.
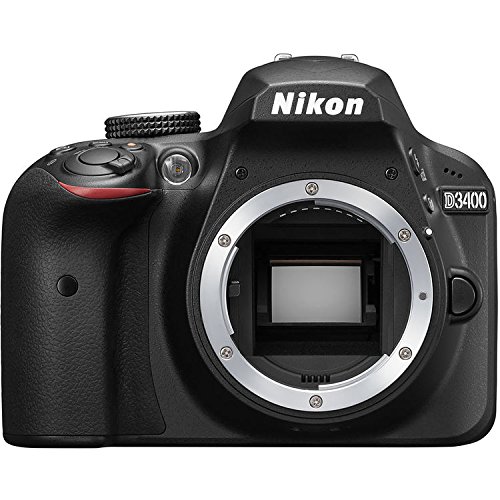
If we compare the Canon Rebel T6i and the Nikon D3400, the latter is a remarkable DSLR for beginners. It boasts a 24MP sensor and 11 focus points. Its specifications are somewhat similar to the Canon model. However, the battery life is much longer. Unfortunately, the Wi-Fi module isn't integrated. But you may send pictures to a smartphone through Bluetooth and SmartBridge application.
.jpg)
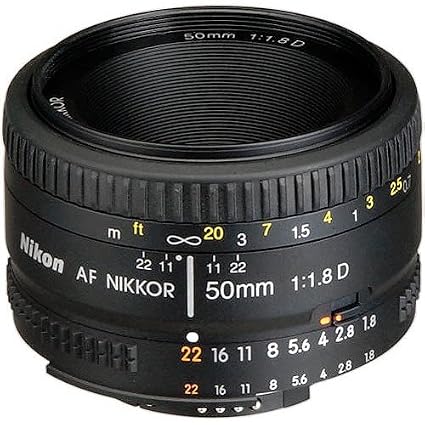
The 50mm lens, called “nifty fifty," is one of the best product photography lens, including ice creams photo sessions. For example, the Canon EF 50mm f/1.8 STM Lens is a compact, lightweight, inexpensive device capable of providing clear focus and stunning bokeh.
What makes the 50mm lens a generally "safe" choice for food photography (and portraits) is that it has a fixed focal range. It offers a "normal" perspective and field of view that is very similar to what we see with our eyes. This results in minimal and almost imperceptible distortion if you shoot the subject from a convenient distance.

An ice cream scoop is pretty small. In order to illuminate a small object and emphasize its texture, a small light source is recommended. If you compare a tiny lightbox with a tiny ice cream scoop, the lightbox will be considerably bigger. A small light source throws quite a sharp shadow. It shouldn't confuse you, as this kind of lighting is necessary to highlight the texture properly.
If you select a big light source, it will produce soft illumination and neutralize the texture. Find the smallest light source and your texture will be perfectly visible. Very often, the look of the ice cream is more important than the image itself. Then, you may first set up a small light source and proceed to a bigger one if necessary. Remember that the clearly noticeable texture ensures that you get an incredible ice cream photograph.
If you are wondering how to photograph ice cream, it is all about speed and efficiency. You may have a leisurely time dealing with fake ice cream, but as soon as the real one shows up in the frame, you have to act fast. Take a picture and adjust if necessary. If the stand-in was good and you set up the lighting correctly, you will probably only need a slight adjustment between the stand-in and the primary subject.
You must not sit idly by and discuss potential modifications with your art director for a long time while real ice cream is already on the set. Ensure that you make all the important decisions while working with the stand-in. If you unreasonably extend the time for taking a picture of this ice cream, it could melt, and the stylist will have to start over. As a result, the shooting will be postponed.
You must not sit idly by and discuss potential modifications with your art director for a long time, while real ice cream is already on the set. Ensure that you make all the important decisions while working with the stand-in. If you unreasonably extend the time for taking a picture of this ice cream, it could melt, and the stylist will have to start over. As a result, the shooting would be postponed.
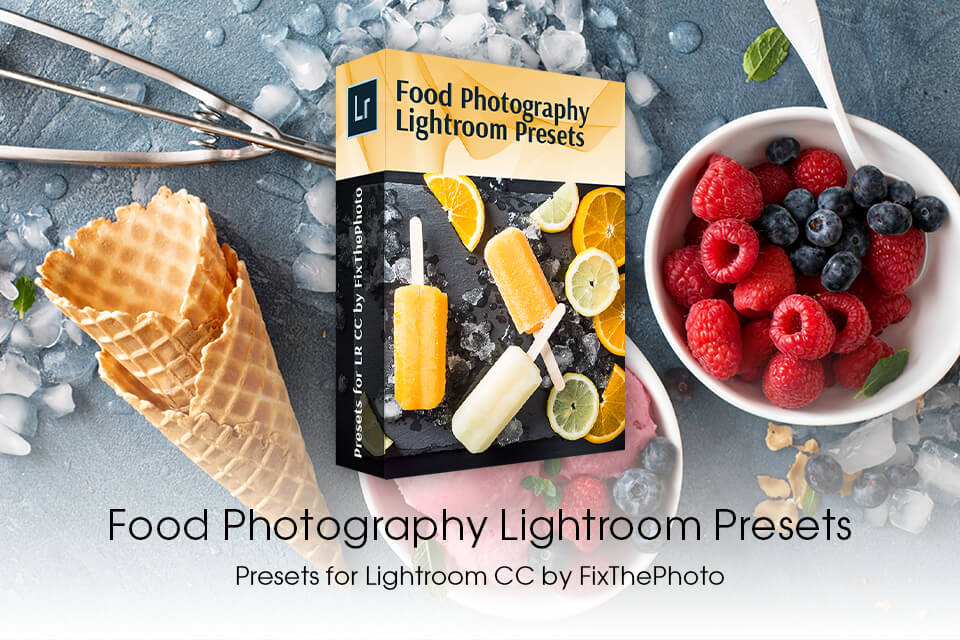
Once you have taken the pics of ice cream, you need to give them a finished look. To save you time, I recommend using Lr effects for ice cream photographs that do most of work. They will make your photos clearer, will fix the WB, and improve colors in one click.


