Lightroom Slow
When you purchase through affiliate links on our site, we may earn a commission. Here’s how it works.
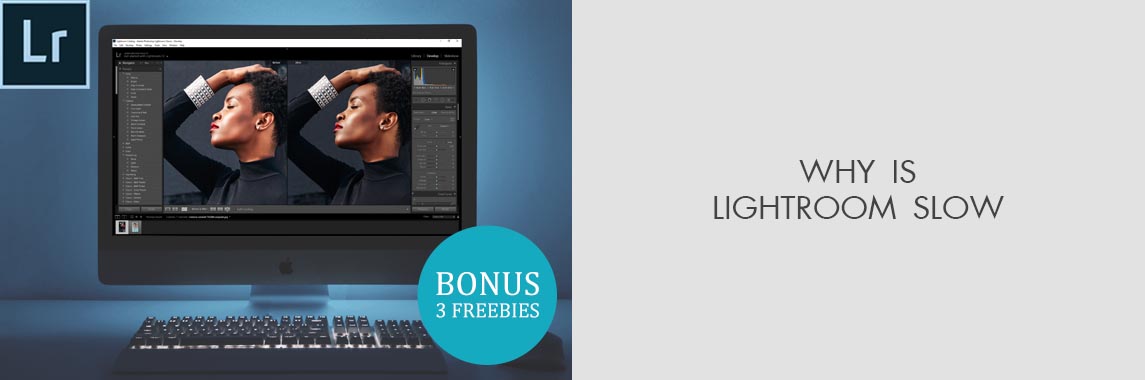
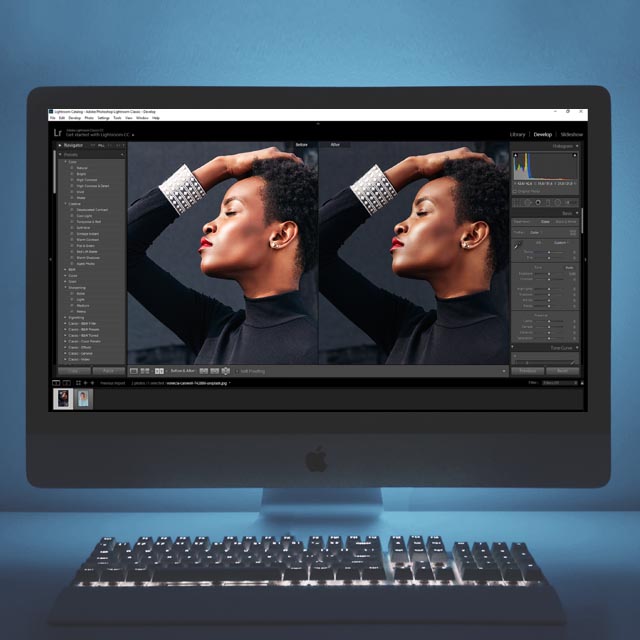
Is your Lightroom slow? Would you like to speed up Lightroom for Windows 7 or any other version to edit many photos fast without lags? Check out these 12 simple ways to make Lightroom faster and make sure you are squeezing every bit of performance out of the software that you can.
12 Ways to Speed up Lightroom
There are many things that could cause Lightroom to run slow on your laptop. Look though these 12 easy tricks to make it work faster.
1. Make Sure You’re Using the Official Version
The first thing you need to bring your attention to if Lightroom running slow is whether you’re using a licensed product.
Practice shows that a lot of users try to save some money and rely on so-called “Adobe Lightroom torrent.” The problem is that such software wasn’t verified so it can have a messed up source code, which is the reason why your Lightroom is slow.
SOLUTION: Download the latest version of Lightroom CC on the official website.
2. Your PC Should Be Compatible with Lr System Specs
Even though Lightroom isn’t very demanding and offers stable performance even on outdated PCs/laptops – you have to be sure that your system specs meet or exceed Lightroom’s requirements.
In particular, a larger RAM or faster processor can significantly boost your performance. The specific requirements depend on the following:
- Types of files you’re working with
- Their size
- Total number of images in the folder
12GB of RAM, a 2GHz or superior processor and a 128GB SSD drive will be enough, but additional power is very important if you’re working with a large number of files and want to improve Lightroom’s performance.
SOLUTION: Compare your system specifications with Lightroom’s minimal requirements.
3. Have Enough Free Space on Hard Drive
Lightroom’s cache contains temporary files and image previews. However, the computer and OS also have their cache. In Windows it’s called a page file. The more free space on the drive, the more temporary cache files it can store.
If there’s no more free space, a part of data is erased and replaced with new files, but the problem is that sometimes you need all files to work properly and they can’t fit on the drive.
SOLUTION: Make sure that the hard drive with your Lightroom catalog, image files, and previews has at least 20% of free space.
- Read more if you faced the Photoshop not enough RAM problem.
4. Update Your Graphics Driver
If you’ve encountered image visualization or Lightroom loading slow problems, ask yourself “When was the last time I updated my graphics driver?” Regardless if you have an integrated or dedicated graphics card, you need to use the latest drivers to maximize the PC’s performance.
If the graphics processor of your computer is incompatible with Lightroom, remove the “Use graphics processor” flag in Lightroom (macOS) / “Edit” (Win) > “Preferences” > “Performance”.
SOLUTION: Check whether there are any updates available for your drivers.
- Read more to know how to make Lightroom faster.
5. Optimize Your Catalog

Adobe Lightroom constantly records all catalog changes, accumulating .lrcat files in the root folder. By optimizing Lightroom’s catalog you can study the catalog’s structure and ensure its concise.
In order to optimize performance further, increase the catalog’s stability and fix the Lightroom import slow issue, pick the “Test integrity before backing up” and “Optimize catalog after backing up” parameters when exiting Lightroom and creating a backup catalog copy. These operations take a bit of time but can secure an uninterrupted catalog workflow.
SOLUTION: Open “File” > “Optimize catalog” on a regular basis.
- Read more about how to get Lightroom for free.
6. Increase Cache Size

Every time you’re viewing or enhancing unedited images in the Develop module, Adobe Lightroom generates a high-quality preview. It uses the image’s original data as a base and then refreshes the preview after any applied changes. By default, the cache’s size is 1GB, but some professionals suggest setting that value to at least 20GB.
SOLUTION: In order to increase the cache, go to “Settings” (MacOS) or “Edit” > “Preferences” (Windows) > “Performance” > set the optimal value in the “Camera Raw Cache” field (at least 20GB).
- Check out how to edit portrait in Lightroom.
7. Turn Off AutoWrite XMP

Most users don’t even know what this function does or where they can find it. XMP files are metadata records that are based on the changes you apply to Lightroom files.
This information is useful if you want such programs like Adobe Bridge and Camera Raw to recognize your changes since they’re integrated into your workflow.
Weaker and outdated PCs can receive a performance boost by turning off this function.
SOLUTION: Open the “Catalog settings” tab > “Metadata.” Find the AutoWrite XMP checkmark and turn it off.
- Look though these Lightroom plugins for beginners.
8. Reduce the Number of Presets
Adding a lot of Lightroom presets can reduce performance since the Develop module generates miniatures in the Navigation panel for each preset.
This is especially noticeable if you have 500 or more presets.
SOLUTION: Go to the Presets module and keep deleting them until you have the ones you frequently use.
9. Use Optimal Settings During the Import

If you’re working with hundreds or thousands of photographs, correctly set “Render Previews” will boost your performance significantly.
This value guarantees that Lightroom won’t waste additional time rendering your files when importing new images.
SOLUTION: Go to the “Import” window in the “Library” module > “Performance” and set “Render Previews” to “Minimal.”
- Read more about how to batch edit in Lightroom.
10. Set the Standard Preview Size
You’ve probably noticed that the miniature previews are located not only in the obvious Filmstrip and Grid sections, but also in the Slideshow, Print, and Web-module tabs.
Ordinarily, their quality is set to the max, which makes Lightroom slow without bringing any benefits.
SOLUTION: To make Lightroom faster, open the “Edit” menu and press “Standard Preview size” or use the Ctrl+ Alt+ key combinations to achieve the same result.
You have to remember that you’re setting this size only for the specific catalog that is open right now, so repeat this action several times for other folders.
- View more about how to create Lightroom presets.
11. Convert RAW Files into DNG
If your camera shoots in RAW, that doesn’t necessarily mean you should only work in this format.
DNG, for instance, was developed by Adobe and stands for Digital Negative. The format itself should have been compatible with all photo editing softwares. The idea behind it was to save your digital files regardless of what new camera manufacturers come up with, just like film was used for old cameras.
Developed by the same company, DNG is a surefire way to speed up Lightroom, because this format was created specifically for Adobe image editing softwares. In some cases, that means a faster workflow. If you want to try it out, you can find this format among the options in the import module.
SOLUTION: Go to “Preferences” > “File Handling,” in the “File Extension” tab pick the DNG format and enable “Embed Fast Load Data.”
- See the differences between Lightroom CC vs Lightroom Classic.
12. Change the Cache Folder’s Location
I suggest picking another place for the Camera Raw Cache. However, you should never choose a USB drive as the location if you need to improve the program’s performance since that will actually make Lightroom very slow.
If you don’t have a second drive but want to speed up Lightroom, it’s possible to do so with the OS drive. To alter the Camera Raw Cache destination, pick “Choose” and select the desired folder. I use my 256 SSD, but it’s dedicated only to image editing.
SOLUTION: Go to “Preferences” > the “File Handling” tab and pick a different drive.
- View more about how to import RAW photos in Lightroom.
Free Lightroom Presets for Photographers
Other than the settings you’ve changed to make Lightroom work fast again, you can also improve your photo editing speed by using free Lr presets.
Free Lightroom Preset "Wedding Sunny Day"


A soft yellowish tint will make your wedding photos look warm and tender.
This wedding Lightroom preset mutes brighter colors, which is why it’s perfectly suitable for images with oversaturated tones.
- See more Lightroom presets for wedding.
Free Lightroom Preset Film "Pumpkin"


If you want to add a cinematic tone to your photographs and a slightly romantic style, choose this preset that looks like a film effect.
You can apply it to all types of photos, but it works best with wedding, portrait, and travel images.
- Check out VSCO Lightroom presets Lightroom presets for wedding with the film effects.
Free Lightroom Preset Portrait "B&W"


This is probably one of the most popular free Lightroom presets for portraits since it allows you to improve the picture and convey more emotions and feelings.
Without a riot of colorful objects to distract the attention from your model, you can highlight his/her most distinguishing features and “tell” a certain story.


