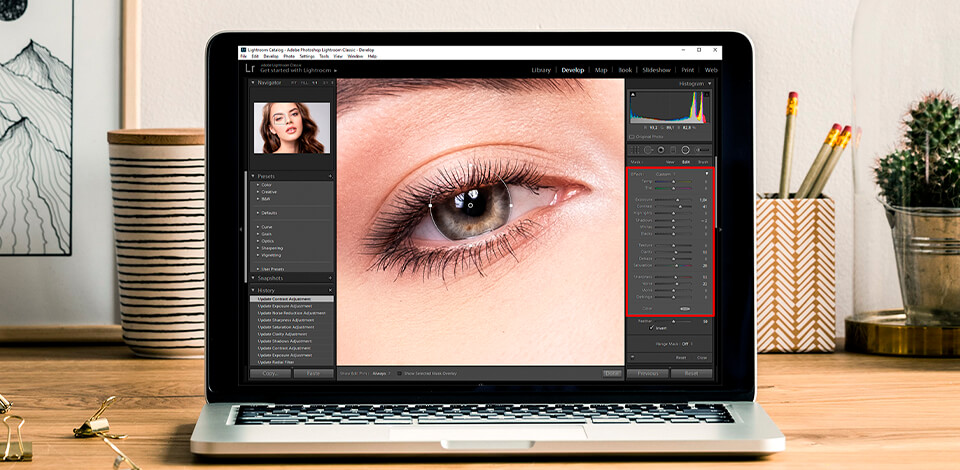
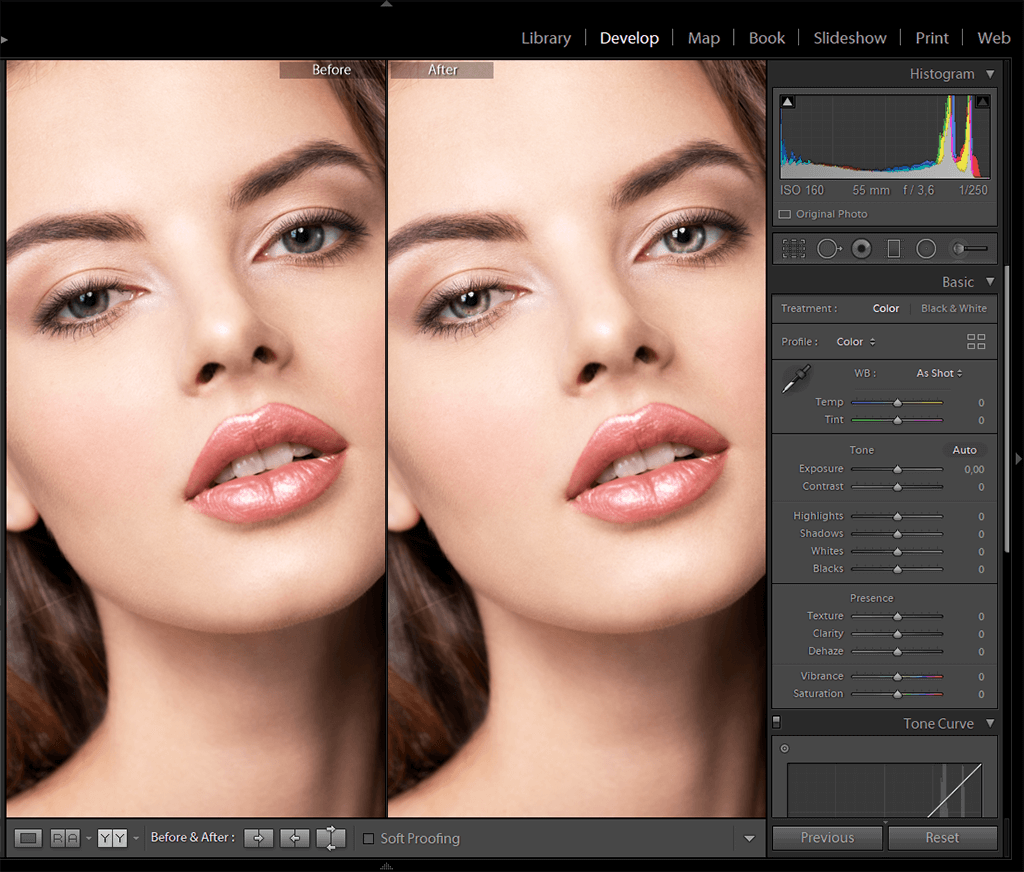
Do you want to know how to brighten eyes in Lightroom in a simple and fast way? Follow this guide to enhance the color of the eyes and make their dark parts lighter.
Sometimes, when you use filters or perform much editing, the whites of the eyes change their color. With Adobe Lightroom, you can make them whiter, and the eyes will automatically look brighter.
It’s a good idea to add some light to the eyes of a model. It can be a glare or reflection from any light source that will make the eyes look bright and lively. To enhance your image, you can add highlights to the eyes using Lightroom.
Upload one or several photos to Lightroom.
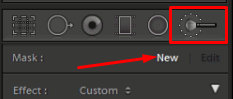
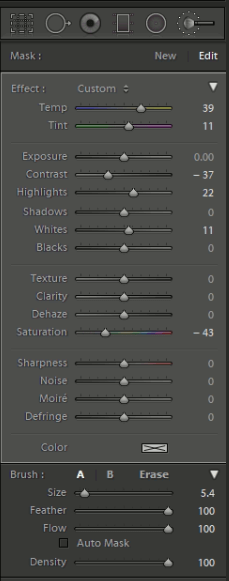
Click the New button and double-click on Effect to set the sliders to 0. You can use the Saturation slider to adjust the whiteness as needed.
If the eyes have a yellow tone, adjust the Temp slider and add a little Blue there. If the eye whites are too bright, they might look artificial.
Use the Dodge (lighten) preset to enhance the Exposure. Adjust highlights, contrast, and shadows until you get the desired look. Make sure you don’t edit the eyes too much and keep them look natural.
The main advantage of this method and Lightroom presets is that it allows you to use non-destructive editing techniques. If you don’t like your edits, you can always undo them.
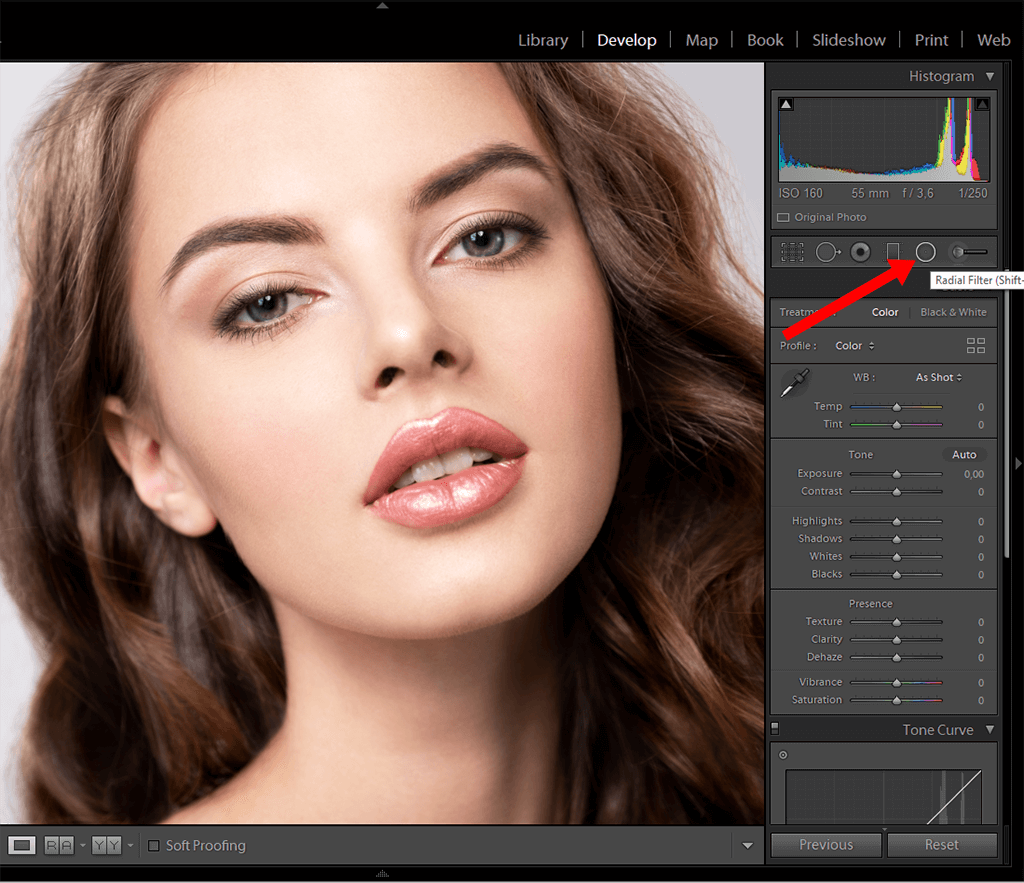
The easiest way to brighten eyes in Lightroom is to use a radial mask, which allows you to edit them without affecting other parts of the image.
Using the Radial Filter with the Adjustment Brush is one of the best ways to brighten eyes in portrait photography. This will help you enhance the color of the iris and make the eyes look more expressive. Here’s what you need to do to achieve it:
Choose the Radial Filter in the Develop Module. Select the Iris Enhance effect to improve the color of the eyes and press the Invert Mask button.
Click and drag to create an ellipse over the iris. The color will change automatically.
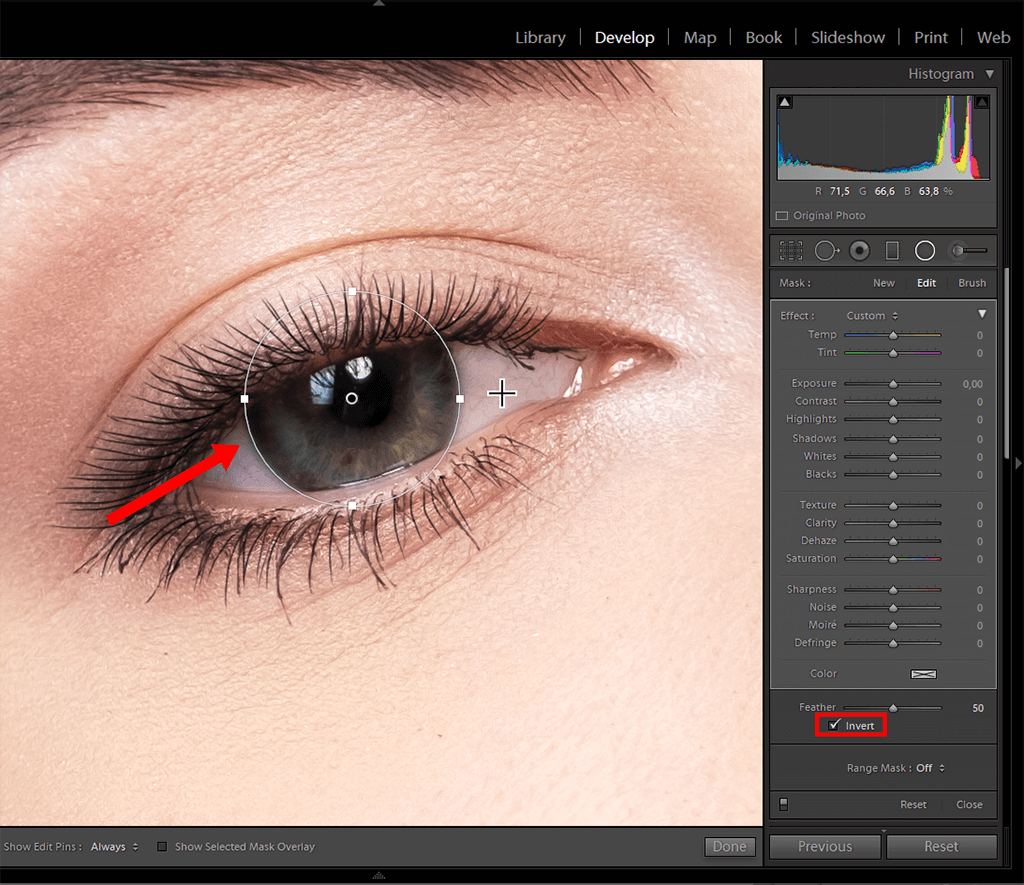
Adjust the placement of the ellipse as needed. For this, click and drag over the eye to create an ellipse that fits its size. Don’t think about the angle because you can fix it later. To do it, hover the mouse outside of the circle. When you do it, you will see a curved double-headed arrow. Click and rotate it.
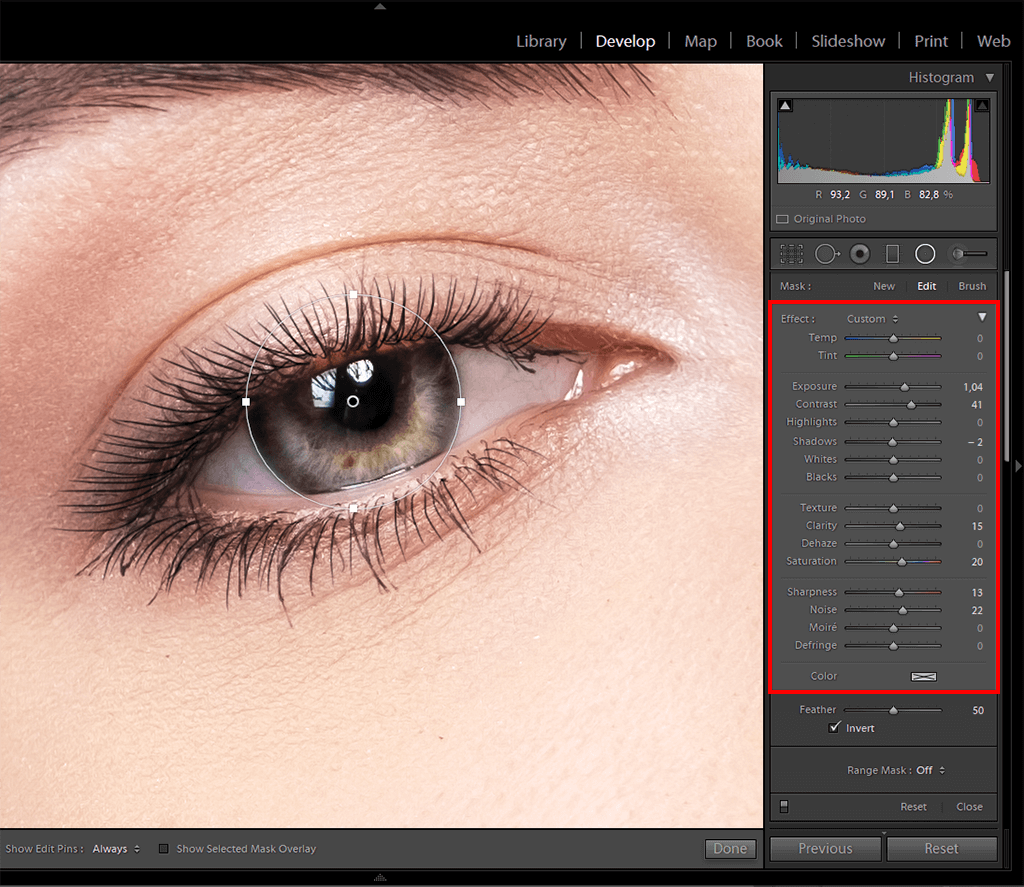
When you are done with the iris and fully satisfied with it, you can tweak the settings. Sometimes, you need to zoom in on your photo before doing it. For this, simply double-click on the screen.
Tweak the Exposure, Contrast, Clarity, Saturation, Sharpness, and Noise parameters until you achieve the desired result. Keep in mind that you can apply these settings to several photos. For this, synchronize them and use the Radial Filter and Adjustment Brush tools, which you can find in the Sync dialog box.
Thanks to batch editing in Lightroom, you can change the settings of several files at once, modify their size, and edit them if needed.
After editing the first eye, you can copy the settings and paste another Radial Filter. Select it, then right-click on the button and press “Duplicate.” The duplicated ellipse will be displayed over the original.
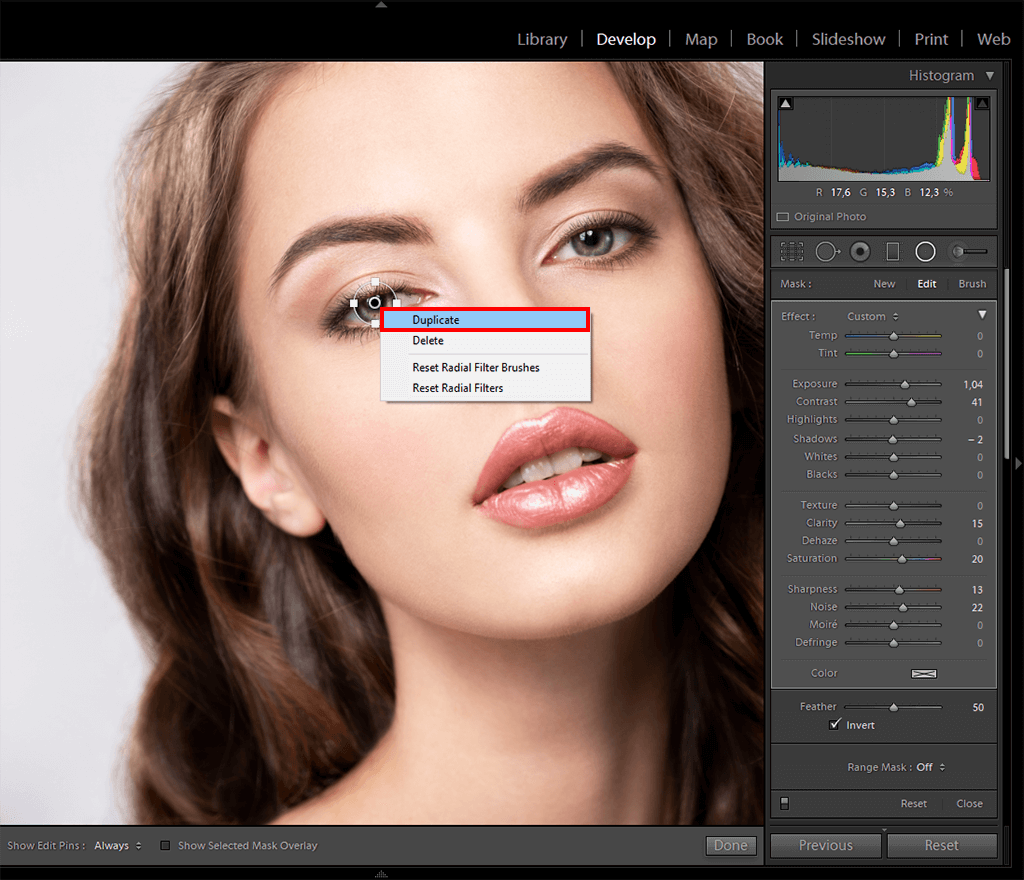
Click and drag on it to apply to the second eye. Pull the handles if you need to resize them. Also, if you want to make the color richer, use the Adjustment Brush and burn around the edges to finish the edit.
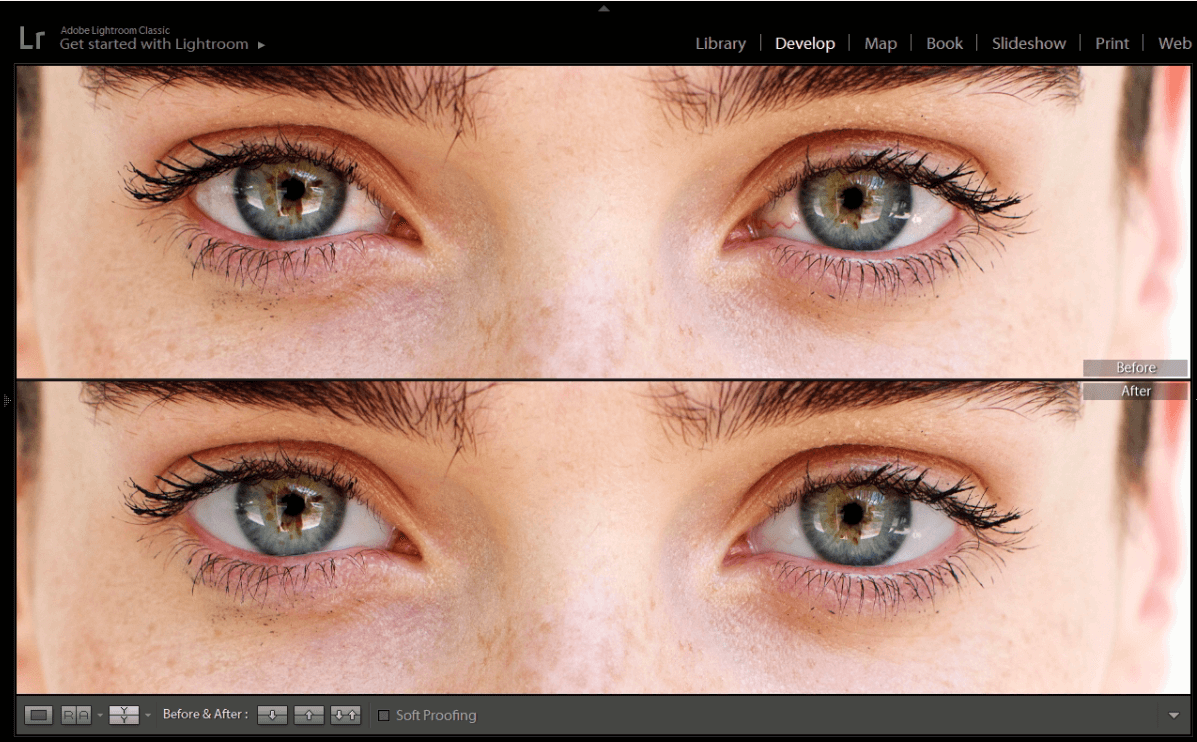
If you are interested in eye photography, you can enhance the color and brightness by tweaking the saturation carefully. If you edit it too much, the colors will look unnatural. If the highlights are too strong, make them softer using the slider. This way, you can brighten eyes in Lightroom fast and easily.
If you learn how to edit eye circles, your models will look stunning and your photos will look natural and realistic.
Those who want to enhance the eyes, skin, and whole photo might be interested in ready-made collections of presets for portrait photography. With them, you won’t need much time to brighten eyes in Lightroom, and your images will look professional.


