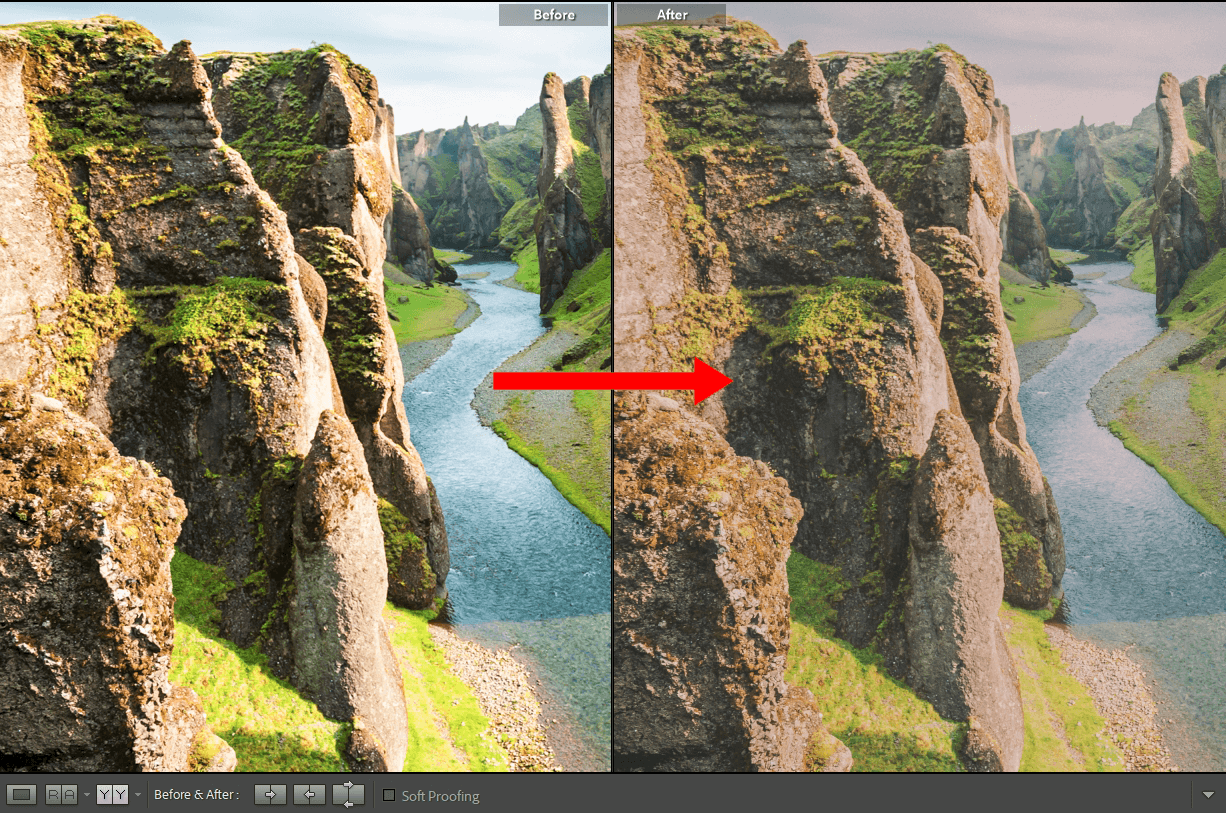
Whether you like faded vintage photos or a slightly hazy image, you can easily add such an effect to any picture. In this article, you will learn how to add fade effect in Lightroom by following several simple steps. Plus, here, you will find the exact settings that will help you quickly achieve the desired effect.

Basic correction is an important part of editing photos Lightroom. First, you need to lower the Contrast settings to remove the volume in the photo. Then, you should decrease the Highlights value. This manipulation will reduce the volume in the light parts of the image. Next, you need to increase the Shadows to see the fading effect.
If necessary, you can also lower the Whites value. However, you must be careful not to overdo it as you may degrade the image quality. To add some depth to the shadows without increasing contrast too much, you need to set the Blacks slider to minus. Also, the Dehaze tool does a good job with this task in Lightroom allowing you to remove the image volume.
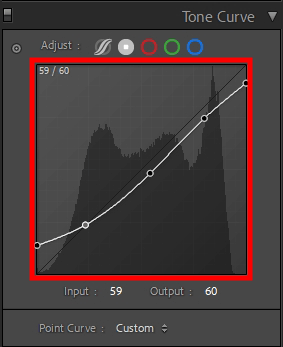
Open the Tone Curve tab. Here you will work only with light, without reference to colors. Your task is to raise and lower the corner points to change the contrast in the photo. Next, you need to distort the curve as shown in the example. This way you will also increase the shadow parts and dim the light.
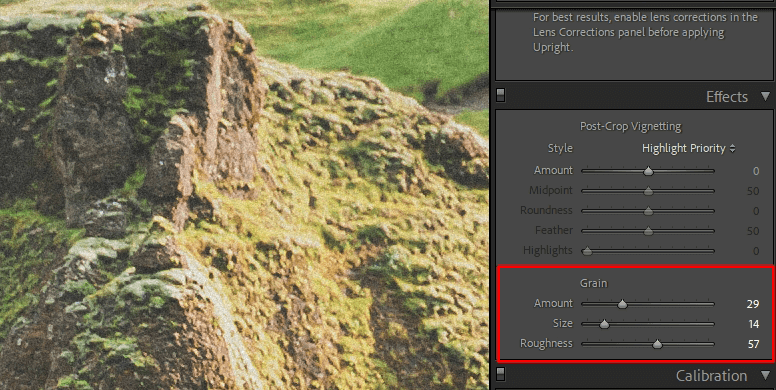
When you try to fade in Lightroom, you can make the light even dimmer by adding some noise. To do this, go to the Effects tab and change the Grain value. Here you can adjust the size, amount and intensity of the noise.
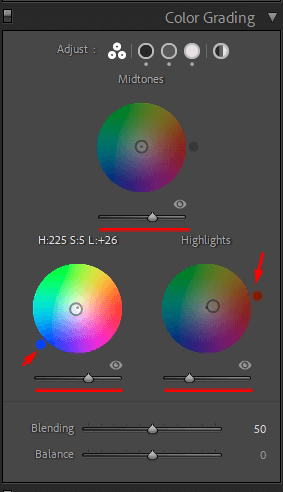
You can also apply color grading in Lightroom and add some style with the help of detailed color correction. To achieve the desired look, go to the Color Grading tab. You may add cold to the shadows (adjust blue tints) and add red or orange tones to make the light parts warmer.

If you do not want to figure out how to add fade in Lightroom and deal with all the settings, but you need beautiful and high-quality photos, contact the professionals. They will save you a lot of time.
Once you've got the look you want, you can save all your edits as a preset. Thus, you can apply the settings you have made to your other works without having to do all the manipulations again. It will also let you batch edit in Lightroom and speed up your workflow.
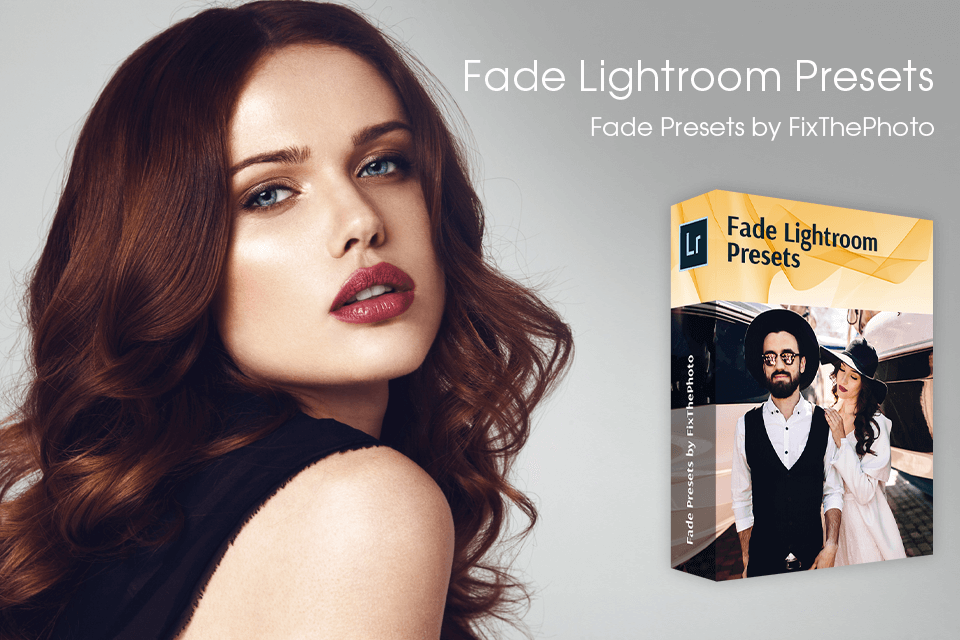
If you are not an editing pro, it will be difficult and time-consuming to figure out the settings and create your own preset. However, there is a great solution! You can use ready-made presets. They were created by experienced photographers, so any of your images will look very impressive with them. All you need to do is to install Lightroom presets, upload your photo and apply these effects.


