If you don’t have professional gear and like taking photos at night or with a long exposure, you might be wondering where to find a detailed tutorial on how to remove noise in Lightroom. By following these 7 simple steps, you can remove unwanted noise from your pictures before publishing them on social media platforms or stock sites.
Find a photo that you need to edit and open it in Lightroom. It’s better to use photos in RAW formats to remove noise more effectively during post-processing. However, you can also use this method when editing JPEG photos.
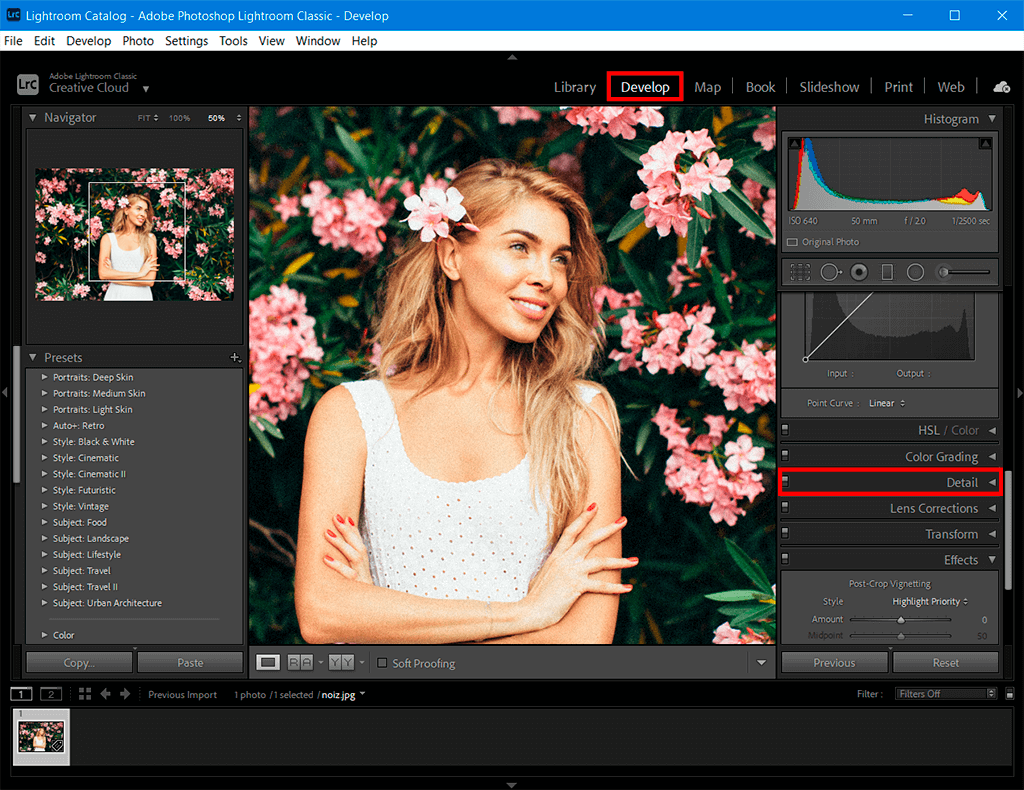
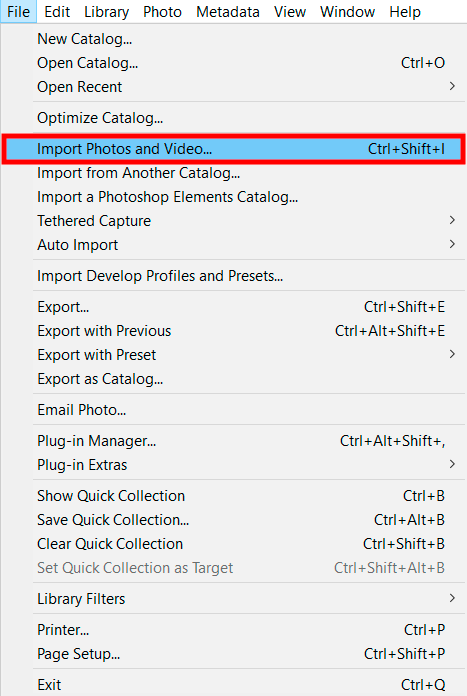
After importing a photo, you will see a workspace similar to the one that you can see in this example unless you have customized the interface to your needs. Click on the “Develop” tab in the top right corner and select the “Detail” tab in the list of the tools.
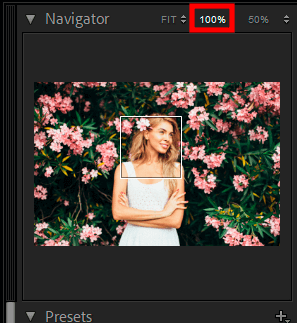
When removing noise in Lightroom, it’s important to enlarge your image by 100%. It will help you see the areas where there are many details. For instance, it will allow you to edit a part of the image with hair, trees, grass, or flowers.
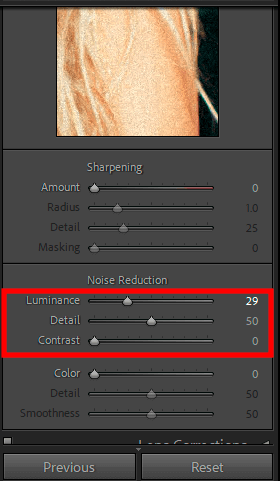
Under the “Noise Reduction” tab, you will find the main sliders that will help you minimize noise. Depending on your needs, you can increase the values of “Luminance”, “Detail” (for night photos the value will be quite high, so you need to set it at least to 60), and “Contrast” (for photos taken during the day).
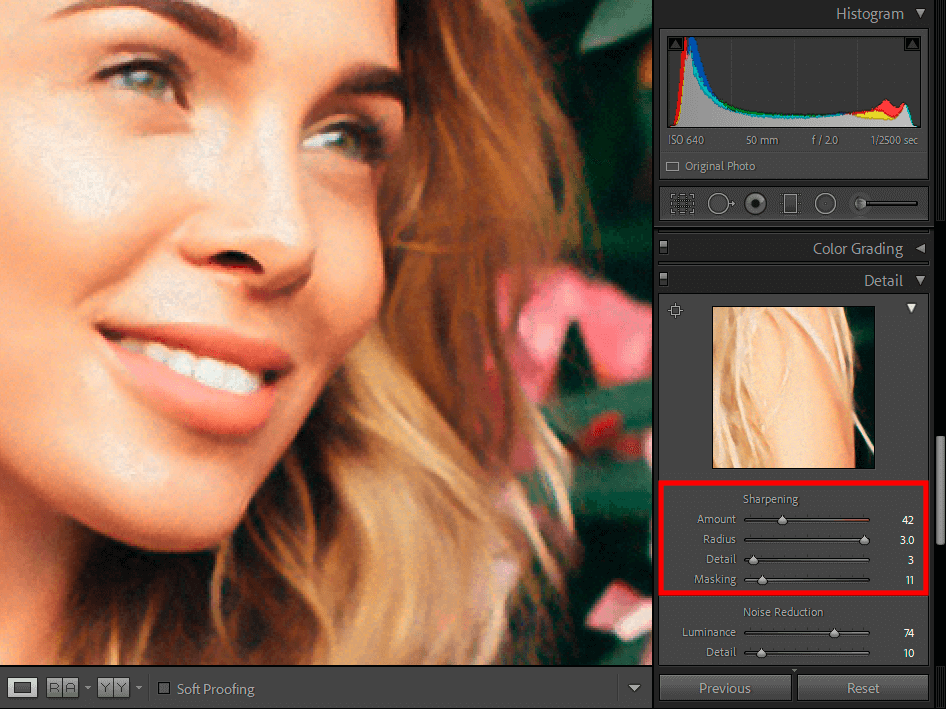
Slightly above, you will see the “Sharpening” section where you need to adjust the “Amount” value. Then, select the values for “Radius” and “Detail” to reduce grain in Lightroom. If everything looks well, at this stage, you can finish editing your photo and save the result.
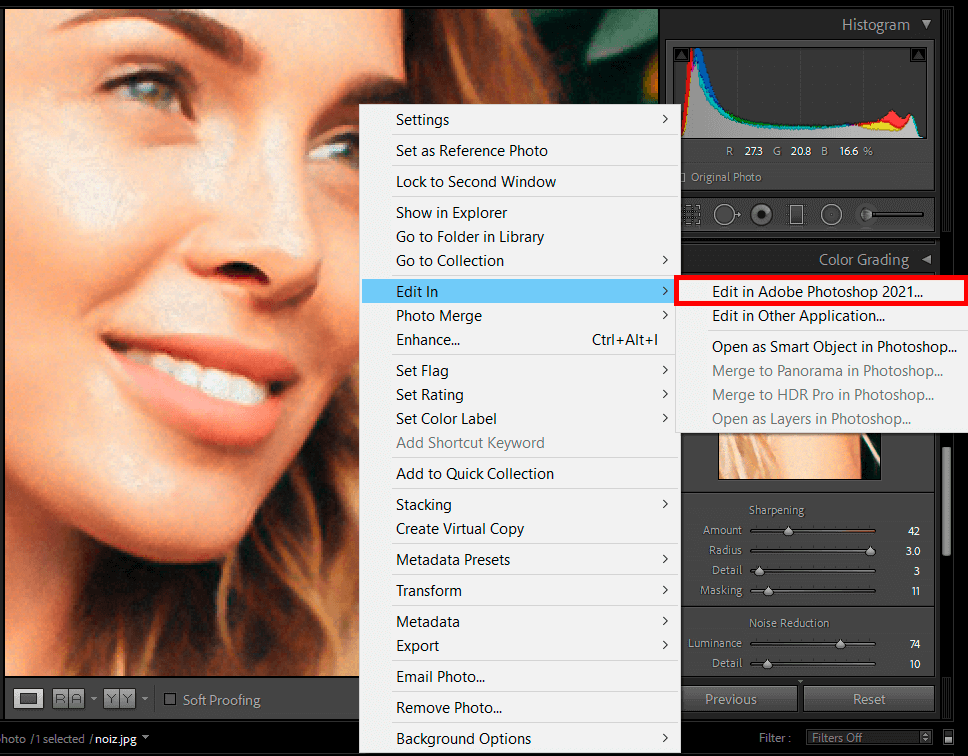
However, if you want to increase sharpness and make the photo look more natural, you can right-click on it and select the option “Edit In” – “Edit in Adobe Photoshop.”
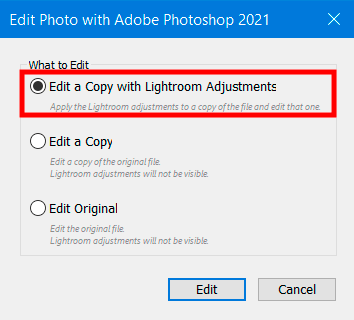
When you see a new window, check the “Edit a Copy with Lightroom Adjustments” to ensure that your photo will be exported with new settings.
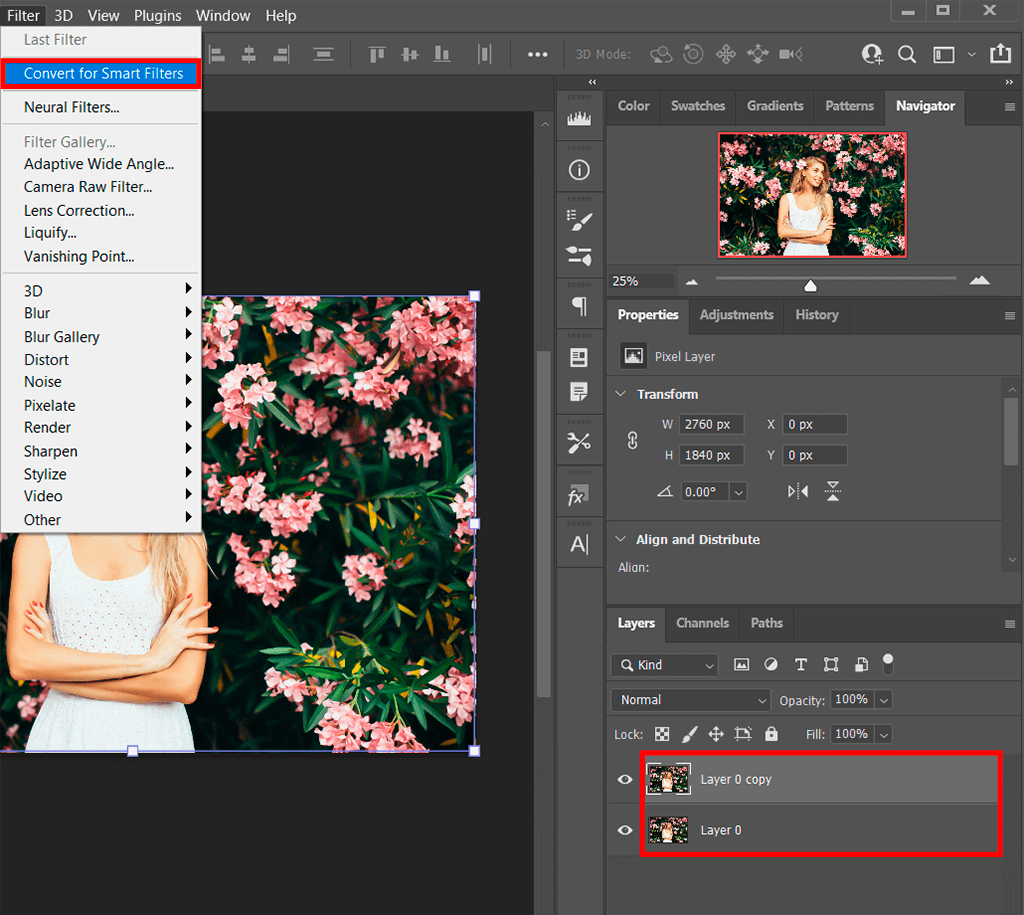
After exporting a photo with new settings, duplicate the layer with the photo and select “Filter” – “Convert for Smart Filters.” Then, find the “Other” tab under the “Filter” menu and select “High Pass.”
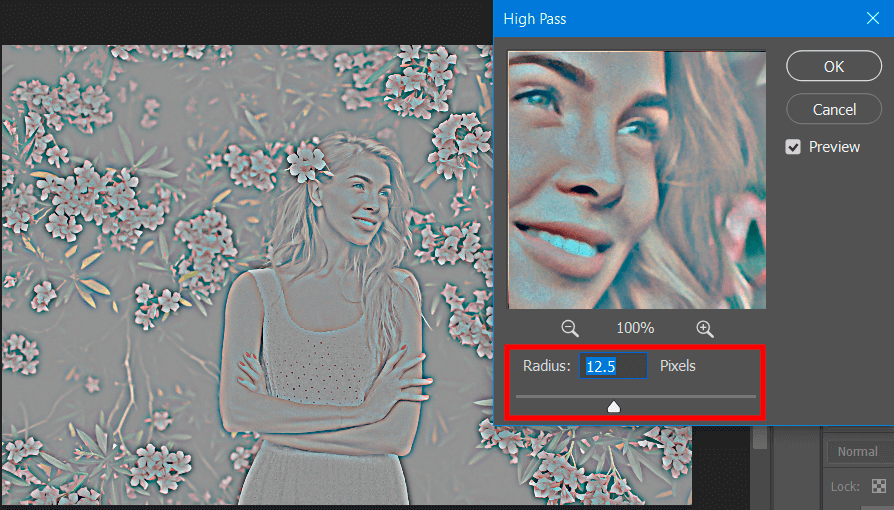
In a new window of the effect, set the radius value to 8-12, depending on the noise level. When performing Lightroom noise reduction, you can preview the result in a window with an enlarged part of the image. The edits will be applied in real time, so you will easily select the right value. Once you are satisfied with the result, press “OK.”
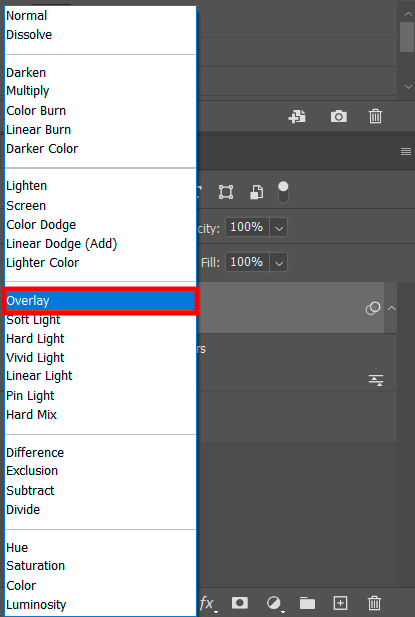
Right-click on the layer that you have been editing and save it as an overlay. Then, merge your layers by pressing “Ctrl + E” and save your photo in any format you need.
If this method doesn’t seem to be working or you don’t have a lot of time to process many images and remove noise from them, you can outsource this task to our professional service. Our retouchers will enhance your photos and send you the result within the shortest time possible.

If you need to process a lot of photos and don’t know how to remove noise in Lightroom manually, you can try using dedicated presets. They will help you remove noise in one click and tweak colors in your photos. Those who have never applied such presets before can read a tutorial on how to add presets to Lightroom.
You might be using an old version of Lightroom CS 2, 3. To fix this issue, check out my tutorial on how to install the recent version of Lightroom for free.
To remove more noise, make sure to use the method described above when editing clean RAW photos that weren’t edited with the help of filters. JPEG photos are often enhanced with different filters that might be impossible to remove. If you need expert help, reach out to a reliable photo editing company.
If you increase brightness, you might decrease noise while making details less noticeable. However, if you move the “Contrast” and “Detail” sliders, you can make subtle brightness adjustments that will affect only less detailed areas. However, it might be more difficult to remove noise effectively using this method.
If you increase sharpness too much, it might add even more noise to your image so make sure to take this into account before moving the slider to the right. Those who take photos at high ISO settings and raise sharpness during post-processing will get the worst result since it will result in a higher noise level.
A long exposure might result in sensor overheating and cause the appearance of some unwanted pixels in the output photos. If you shoot photos at high ISO settings and take long-exposure shots, the noise level will be higher.
The types of noise in photographs can be broadly categorized into two main categories: "chroma" noise, which appears as colored speckles or patches, and "luminance" noise, which appears as random variations in brightness or darkness across the image.
The decision to remove noise from photos depends on the desired aesthetic and purpose of the image. In some cases, noise can contribute to a desired artistic effect or add a vintage or gritty look. However, in situations where image clarity and detail are important, reducing or eliminating noise can enhance the overall quality and make the photo more visually appealing.
Yes, there are various filters and software tools available for automatic noise removal in photographs. Popular options include noise reduction filters in photo editing software such as Photoshop, Lightroom, and DxO PhotoLab. Additionally, there are standalone noise reduction software programs specifically designed for reducing noise while preserving image details, such as Topaz DeNoise AI and Nik Collection's Dfine.


