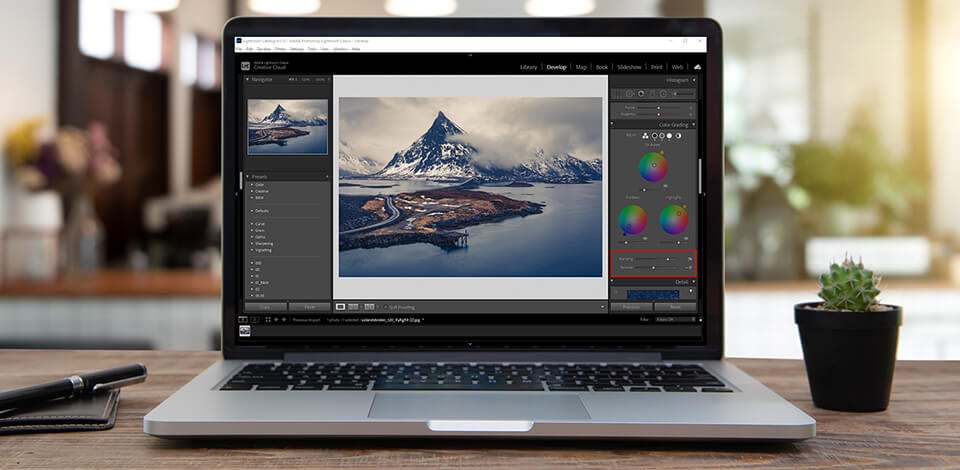
By using the Split Toning tool, you can add a golden shine to the light in a picture, make shadows colder, simulate film grain, transform the overall mood or add a sepia effect.
In the newest versions of both the desktop program and the mobile application, it’s called Color Grading. By using this tool, you can apply several effects. If you want to enhance your pictures by making colors look richer, make sure to repeat this simple tutorial.
With Split Toning Lightroom CC, photographers can enhance colors by editing shadows and highlights separately. You don’t need to edit a whole photo at once. By editing colors, you can emphasize emotion in photos. However, people often overlook this advanced color tool in Adobe Lightroom and other photo editing programs.
To work with this tool, go to the Develop panel, choose a picture that you need to edit and select “Color Grading”.
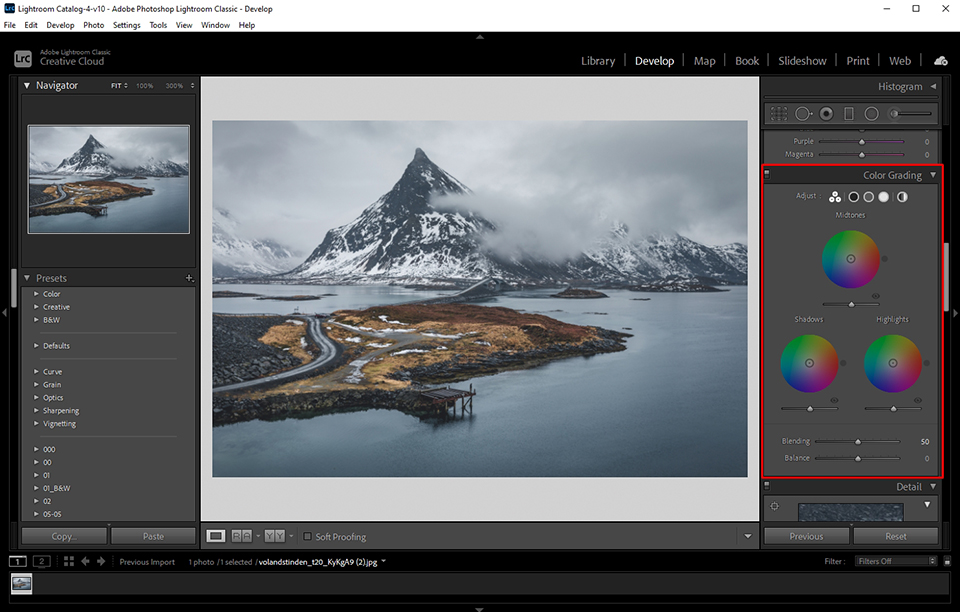
Select a color for highlighting. Then, click on the gray rectangle near the highlights label. You may use your mouse to select a tone in the palette.
The next thing you should do is to pick a color that you want to add to shadows. There is also an option that allows you to add it either to shadows or highlights. You don’t necessarily have to add it to both.
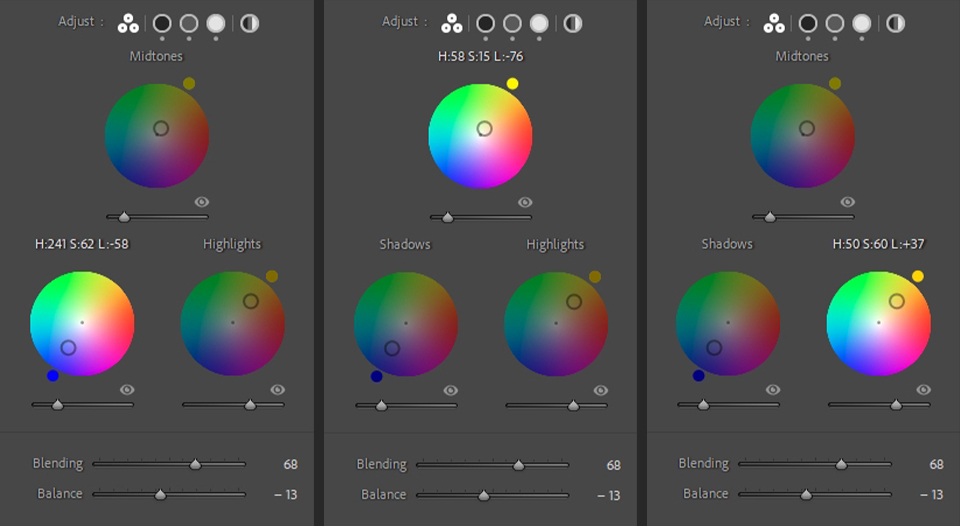
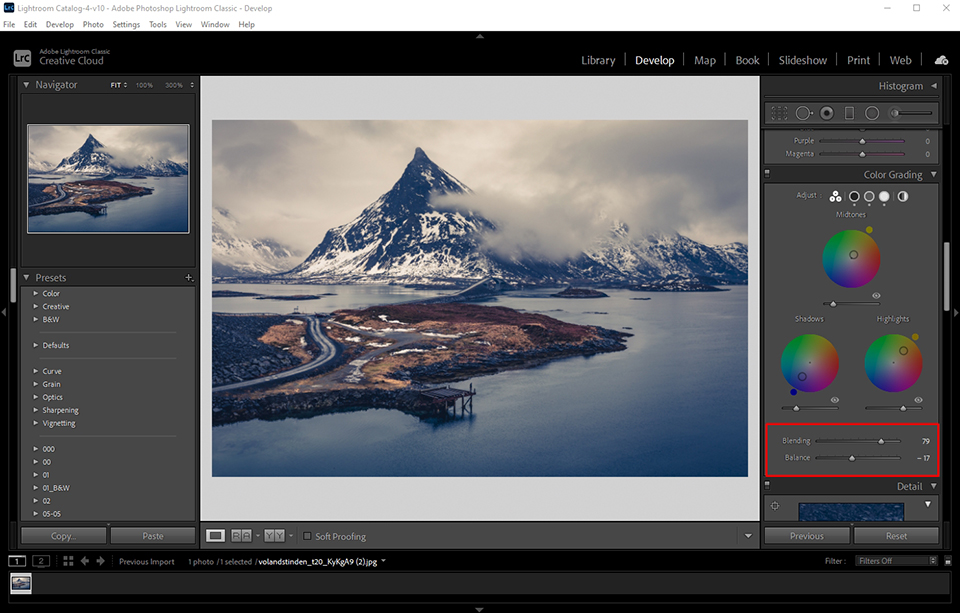
Using the Balance slider, adjust the proportion of color grading in shadows and highlights. The further to the right you move it, the more vivid the tone of highlights will be. The more you go to the left, the more noticeable the shadows will be.
You can also try using this tool in Lightroom Mobile. In my opinion, this app is the most convenient for this task.
Another advantage of the Split Tone Lightroom effect is that you can save it as a Lightroom preset. The free version of this app has this feature so you can easily use it there without paying for a subscription.
Upload your image and find the menu at the bottom. Scroll down and choose “Effects”. Open it, and you should see the Split Tone tool.
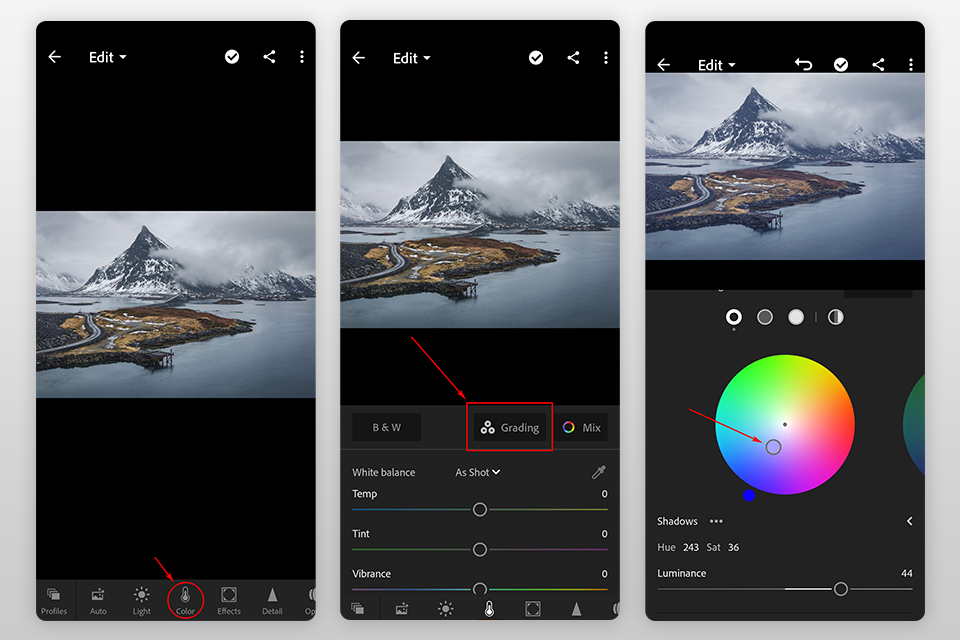
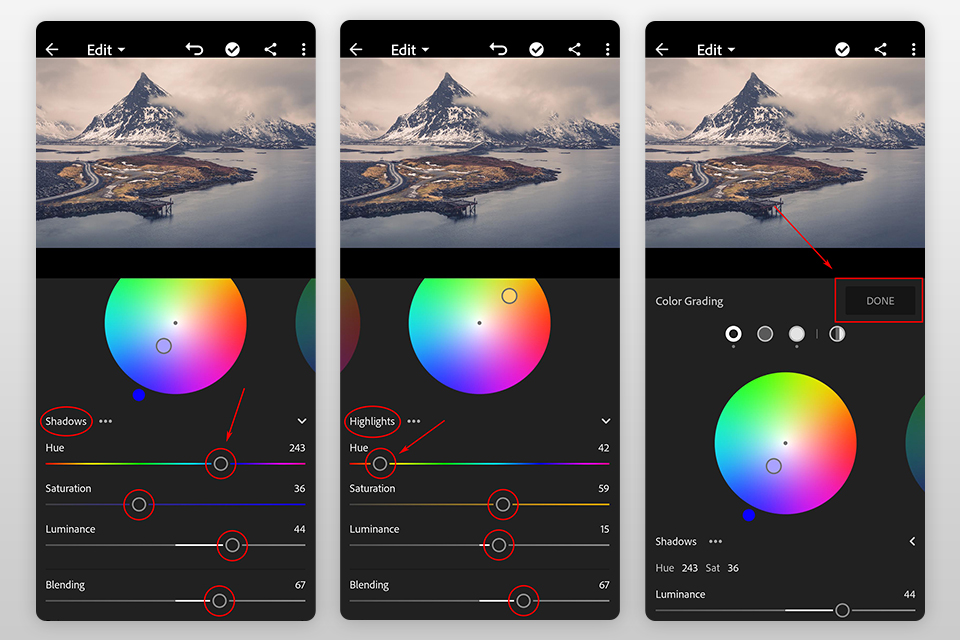
After clicking on “Split Tone”, you will see the gradients for highlights and shadows. Below them, you will find a slider for adjusting the split-tone balance. Tweak highlights, shadows and balance values until you get the desired result.
This software includes many video editing options. However, if you are a beginner or simply don’t want to learn all the intricacies of the program, you still can quickly transform your photos by applying ready-made presets.
It doesn’t require any special skills. If you still don’t know what they are or how to work with them, you should learn how to add presets to Lightroom.