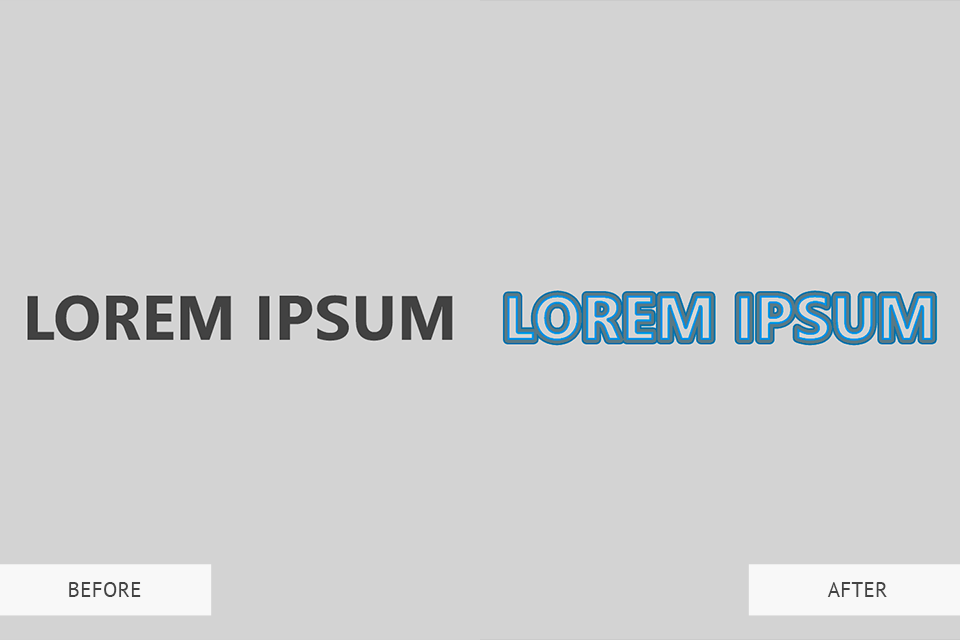
Adding a stroke to text in Photoshop is really simple, even if you are a novice Photoshop user. You can achieve an amazing effect by selecting the right fonts, line weight, design, and shape. Follow this step-by-step tutorial to discover how to professionally add stroke text in Photoshop.
Such a tool will be useful in making a YouTube banner in Photoshop. In a few steps, you can create as many strokes as you wish.
If you need to design a banner, contact the experts from the FixThePhoto team. They will help you add various effects to your image and implement any idea quickly and at an affordable price.
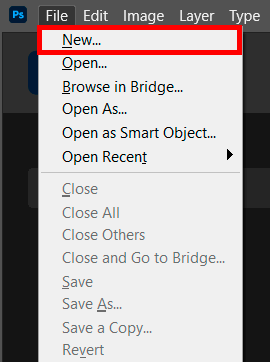
Go to the “File” menu in the upper part of the screen and select “New.” Alternatively, you can use the Ctrl+N shortcut in Windows or Command+N in macOS. The New Document dialog box will open. Next, you need to set the image size and click OK. The dialog box will close, and you will see a new blank document.
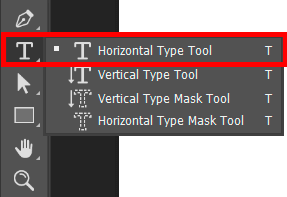
Next, you need to add text. To do this, find the “Type Tool” on the toolbar or simply press “T” on your keyboard.
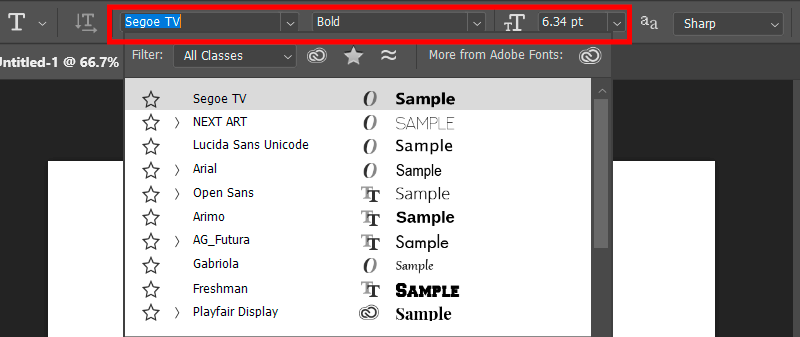
Select a font for your text. Find the parameters bar in the upper part of the screen and choose the option you need.
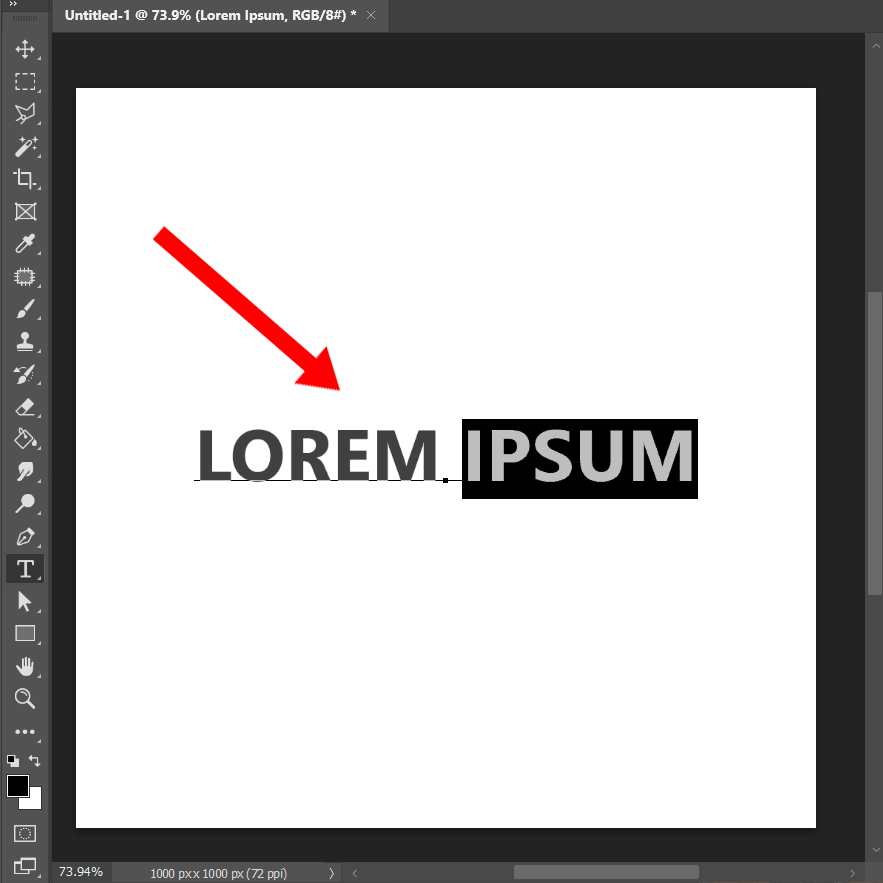
To enter text, simply click on the document and type. Then click on the checkmark in the parameters bar to confirm your edits and exit the text editing mode.
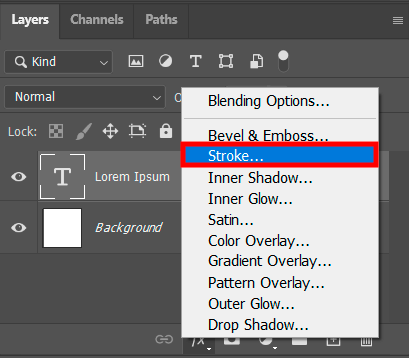
After adding the text, go to the “Layer Styles” icon located at the bottom of the “Layers” panel and click on it. Find “Stroke” in the pop-down menu.
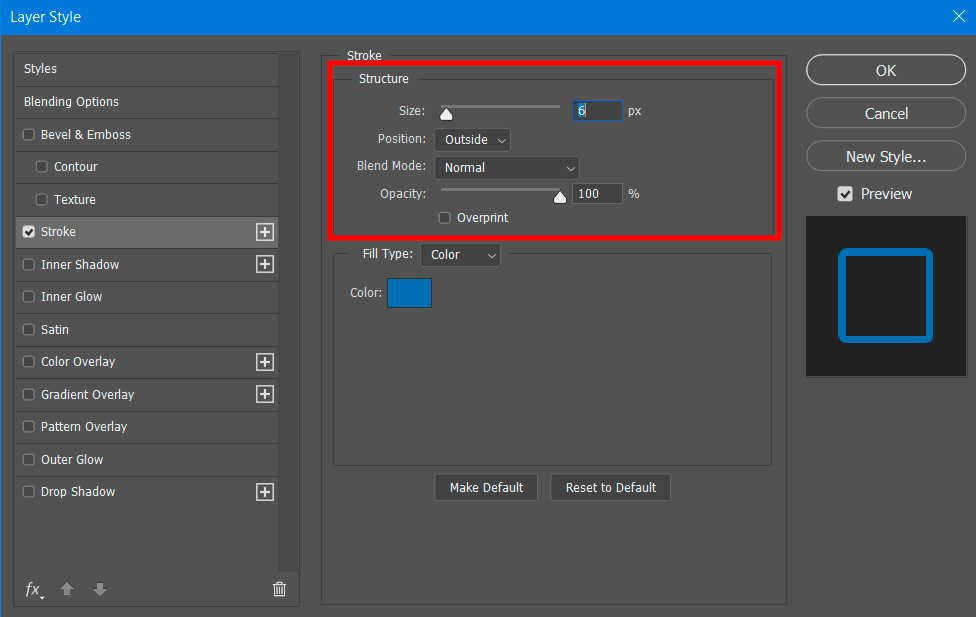
Next, you will see a big “Layer Styles” dialog box. The “Stroke” setting parameters will be in the center, and a standard red stroke will already appear around your text.
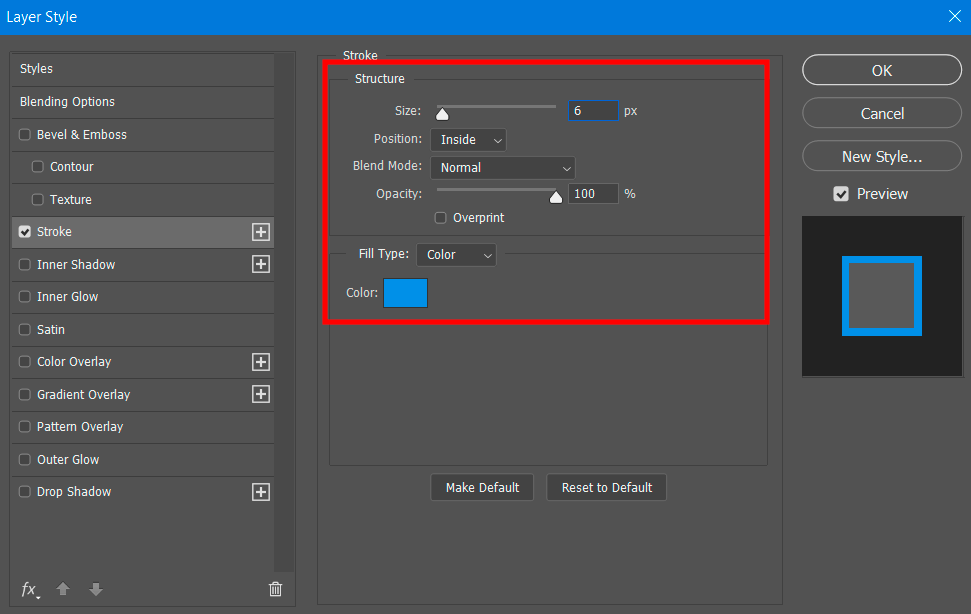
Now, set the size of the Photoshop text stroke to 6px value. To do this, go to the “Size” slider box in the upper part of the dialog box. Next, you need to select the Inside option in the “Position” menu. After adjusting the settings, exit the Layer Style dialog box by clicking OK.
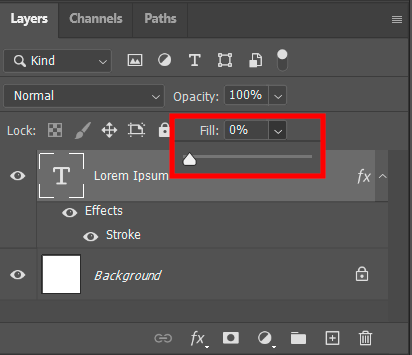
After selecting the text layer, go to the upper part of the Layers panel. Set the text “Fill” parameter to the 0% value. It will allow you to hide text while leaving the stroke visible.
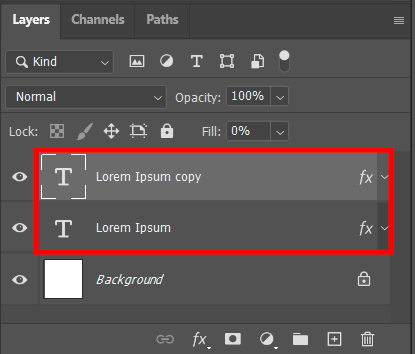
As a rule, you can add only one stroke to text in Photoshop, but I’ll tell you how you can bypass this limitation. You can duplicate the text layer and add a different stroke to each duplicate. To make a copy of the text layer, quickly select it in the “Layers” panel and press Ctrl+J (Win) / Command+J (Mac). The duplicate will be located above the initial text layer.
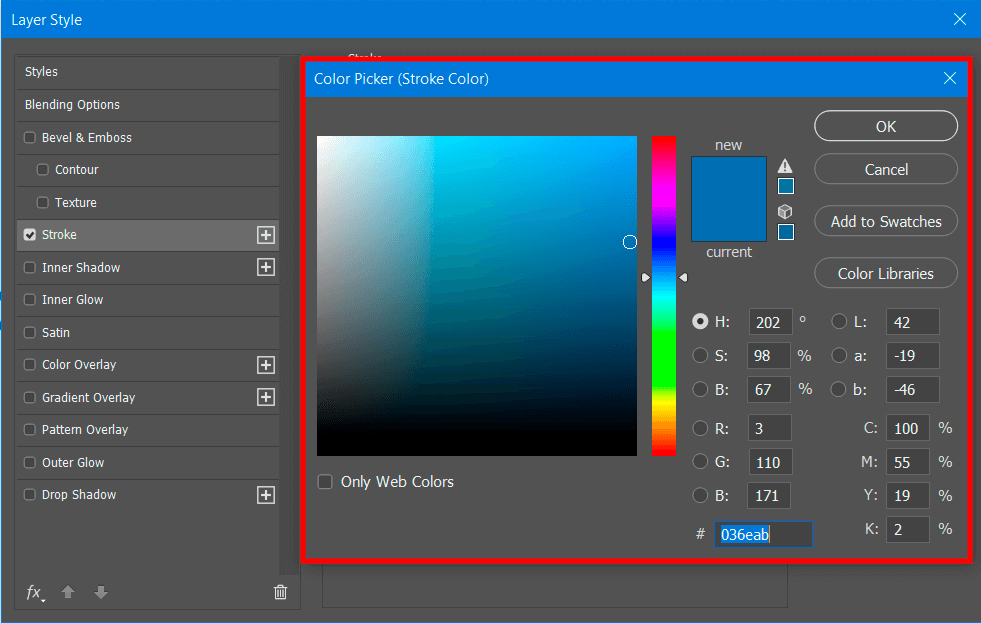
While any photo editor needs to know how to change the color of an object in Photoshop, it’s equally important to know how to change the stroke color. So, you should just open Layer Styles again. Then, close the color palette clicking OK. The color sample should change to the selected color. Make sure not to confuse changing the stroke color with how to change the color of text in Photoshop.
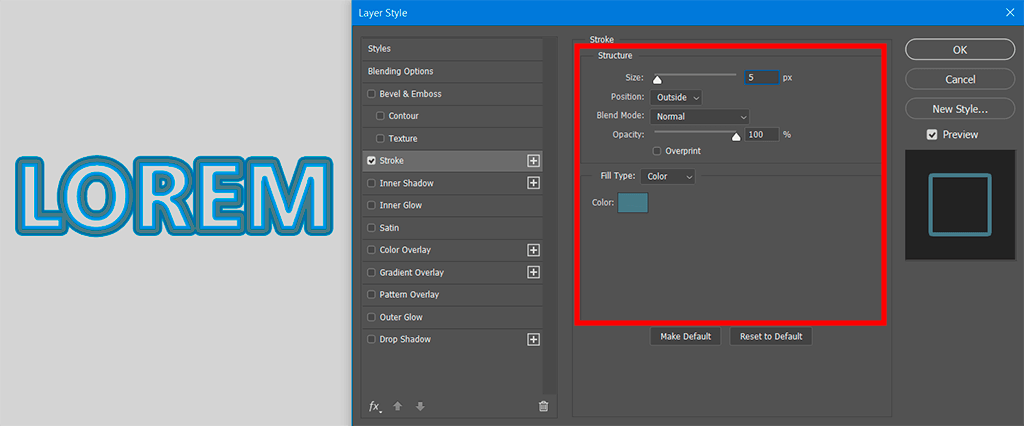
After changing the color of the Photoshop text stroke, choose the Outside option in the Position parameter. This will move your stroke outside the text. Exit the Layer Style dialog box by clicking OK. Now you can see that there are two strokes around your text. The first one is located inside the text, and the new one is outside.
Now you already know how to set the color of the Photoshop text stroke and adjust its size. Try taking the same steps again but don’t forget to duplicate the initial text layer. Also, if you often work with text, you might need to learn how to outline text in Photoshop, which will help you make your text even more distinctive and attractive.
So today we’ve created three individual strokes around your text. You can keep adding stroke to text in Photoshop as many times necessary. The procedure remains the same: at the beginning, always duplicate the initial text layer, then find it in the layers panel, open the stroke parameters, set the color of your stroke and adjust its size so that it becomes visible behind the previously added strokes. After mastering this technique, you might also need to check out other Photoshop tutorials on YouTube.

If you want to make your text attractive and stylish, then try using these Photoshop fonts designed by professional photo retouchers. Choose the font that matches the style of your photo. In addition, you can apply such fonts with a few clicks.
Right-click on the text layer and select “Blending Options” in the menu. Otherwise, go to Layer > Layer Style > Stroke. In the “Layer Style” dialog box, find “Stroke” from the styles list on the left. Experiment with different options of the stroke to make the text border look any way you like.
Choose an area of the picture or a layer in the “Layers” panel. Go to Edit > Stroke (Outline) Selection. Set any of the existing parameters in the “Stroke” dialog box, then click OK to confirm the changes.
In the versions below CS6, go to Layer > Type > Convert to Work Path. In CS6 and above, go to Type > Convert to Work Path. Attention: the method will fail if you forget to select a layer in the Layers panel.
Enter text and then right-click on it. Select “Warp Text” in the menu. In the “Style” menu, select the suitable text deformation style.


