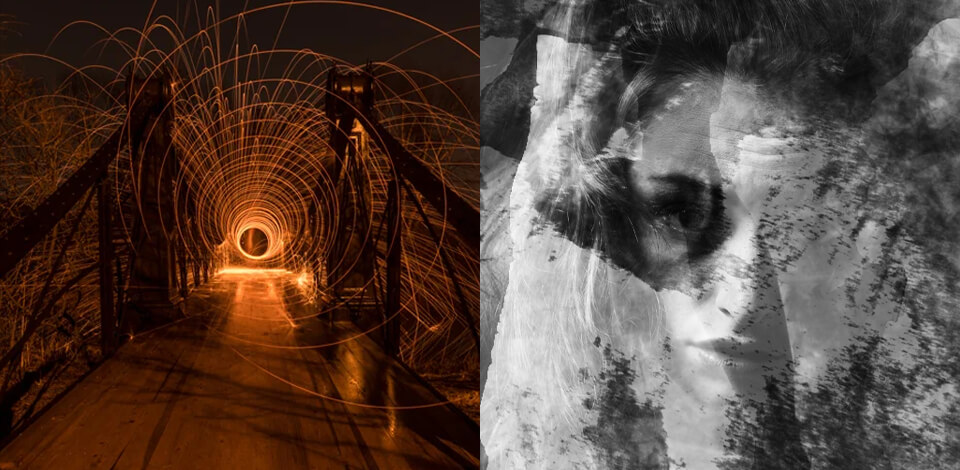
Experimental photography is a genre that reflects your imagination, not just captures the scene in front of you, and the camera is just a working tool to bring your vision to life.
If this genre is new to you, start your journey with experimental photography ideas such as distortion, ghosting, double exposures photography, unusual focus planes, and others, which I will discuss below.
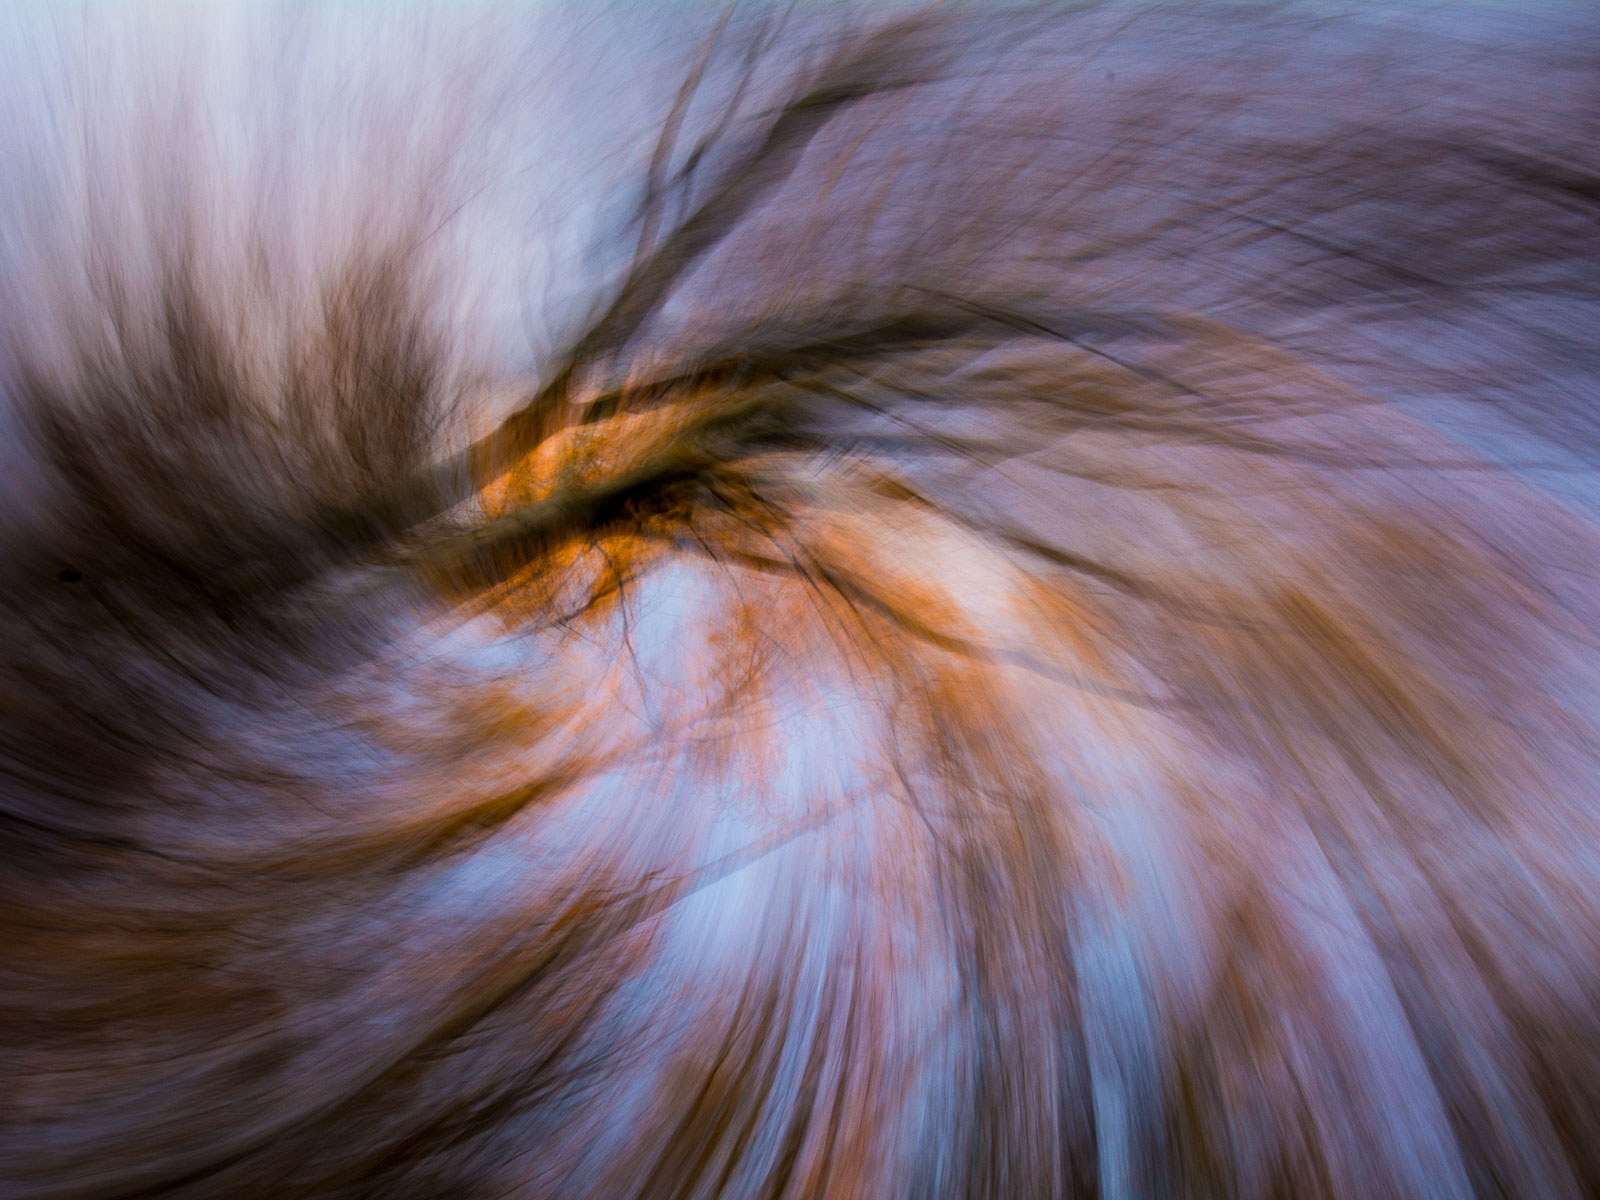
This is one of the easiest experiment photo ideas, as all you need to do is set the long shutter speed to approximately ½ second and move the camera sideways or in a circle while the shutter is open. This will create unusual dynamic effects in your picture.
Another variation of this technique is zoom blurs. Be sure to try experimenting with this at night for even more impressive shots. Mount your camera on a tripod and set the shutter speed to between 5 and 30 seconds. When opening the shutter, smoothly zoom the lens in and out to take different photos.

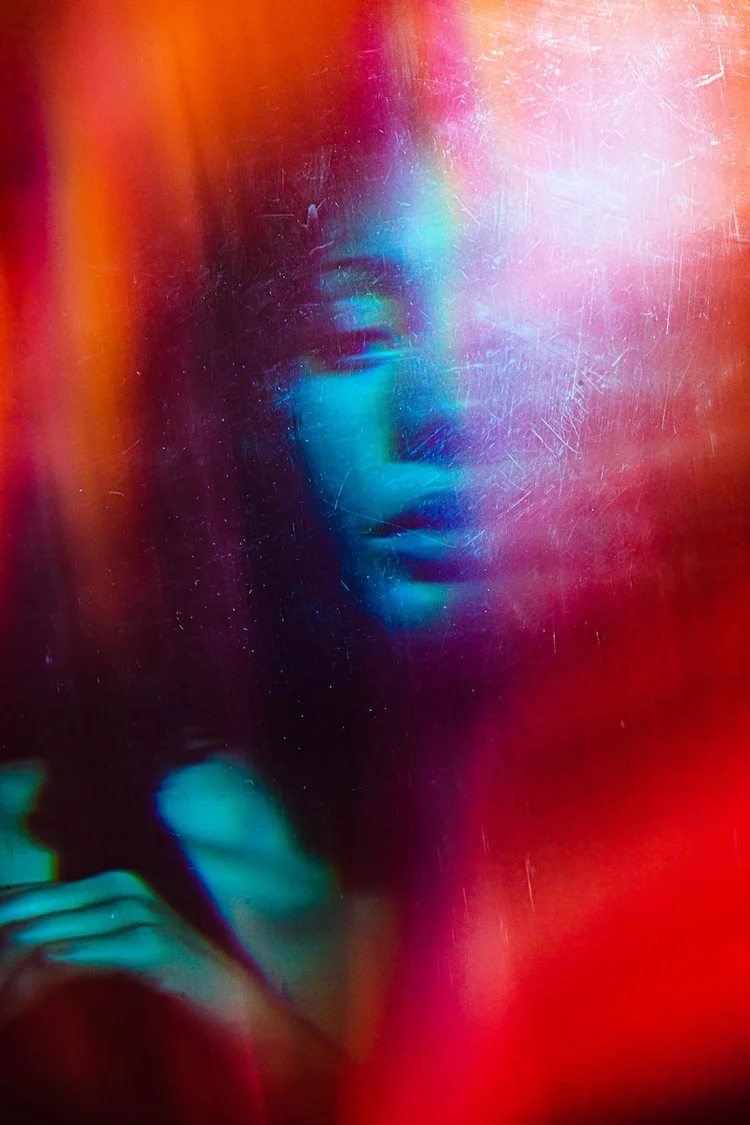
Experimental pictures are often associated with unusual things, such as cling film. Alternatively, it could be a lightweight fabric, worn glass, running water, or even a plastic bottle. Any such thing can come in handy as a filter through which you will shoot and get spectacular effects on your shots.

You can also achieve a bokeh effect with improvised means. Just take an index card, cut out the desired shape, and hold it in front of the lens while shooting.
What’s more, manufacturers are releasing ready-made lenses that create breathtaking effects in the frame, such as the Lensbaby Optic Swap Founder's Collection for Canon EF and Lensbaby Creative Bokeh Optic.

These are some of the most exciting and impressive experimentation photography examples, which are a bit like motion blur in their execution method. However, in this case, you need to move the light source in front of the camera, not the camera itself, and set a long exposure.
Most often, photographers use flashlights to create their drawings, they can be multi-colored to make the photo even more eye-catching.

The prerequisites for implementing your light painting photography ideas are darkness and a tripod. With your camera set, set your shutter speed to 30 seconds and start painting your shapes with light while the shutter is open.
Move quickly – this will ensure your invisibility in the photo and only light drawings will remain.

Most DSLR cameras already come with various effects that you can apply to your shots. Such effects are available in the Sony A7II and Nikon D3500.
It can be both a variety of color filters and artistic effects. Just choose the one you like and it will be applied to each of your experimental photos until you turn it off or change it to another one.

Most experimental photographers benefit from a very wide aperture (around f2.8) in their work, creating shots where most of the scene is out of focus. You can also activate manual focus mode and play around with blurring.
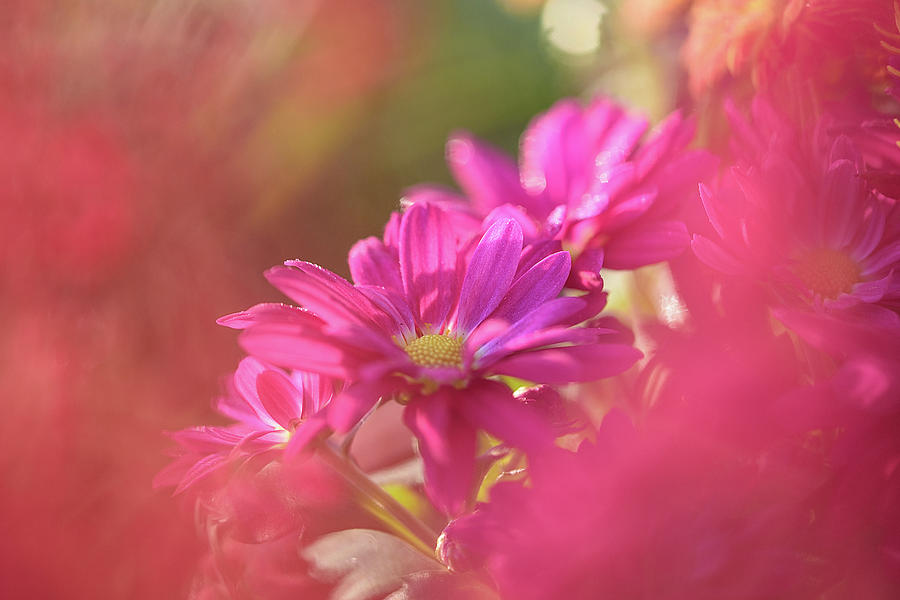
To get an even more genuine atmosphere in the frame, enhance the blur with color effects. Take into account complementary colors, choosing harmonious contrasting hues, such as red and green, blue and orange, purple and yellow, and so on.

If you want to add some dimension and volume to your shots, try to project light, shapes, and colors onto surfaces. The latter can be anything from the usual background and some object to the model. Projectors for photography work well as lighting sources.
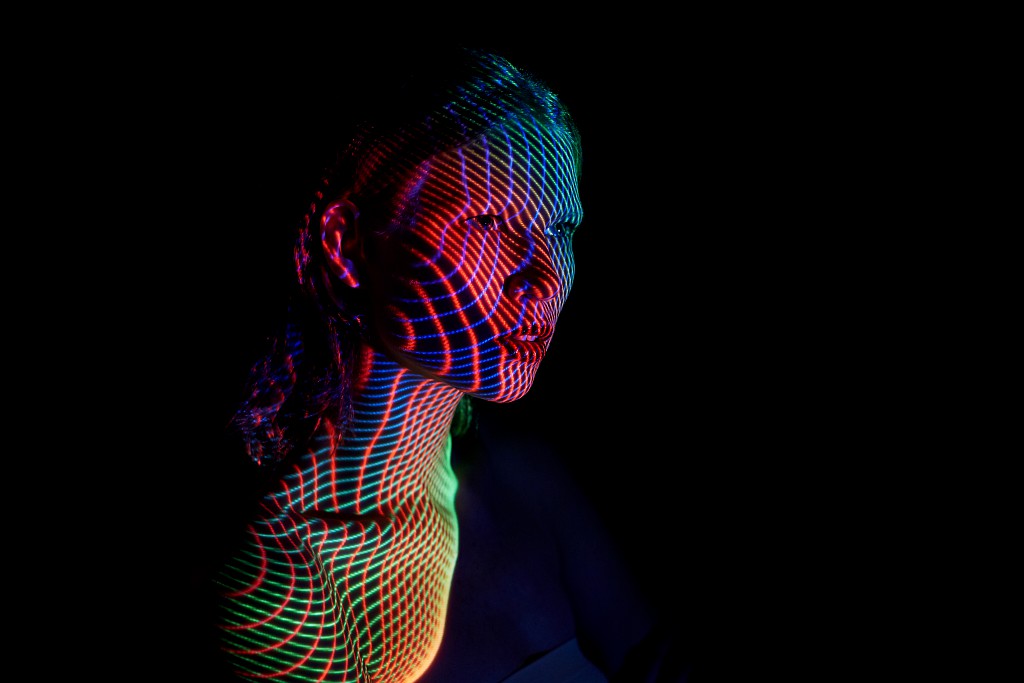
Green screen and chromakey are another quick and easy way to create an experimental photo by replacing the background with any fantastic one in your favorite picture editor. For some inspiration, I advise you to enjoy the work of Nick Fancher, Mike Monaghan, Justyna Kolodziej, and other famous experimental photographers.

You can implement such experimental photography ideas both in-camera and using Photoshop. The first option involves looking for reflections.
Try capturing the scene through window glass and then make a double exposure in Photoshop. This way you get an eye-catching combination of whimsical reflections and the scene outside the window.

For the second method, take two photos and use them as two different layers – the main frame and the overlay. Layer one on top of the other and make the overlay more transparent. Next, play around with blend modes to get unique combinations of the two photos.
Except Photoshop, a similar effect is available in different blending photo apps: FixThePhoto App, Adobe Photoshop Mix, Photofox, and so on.
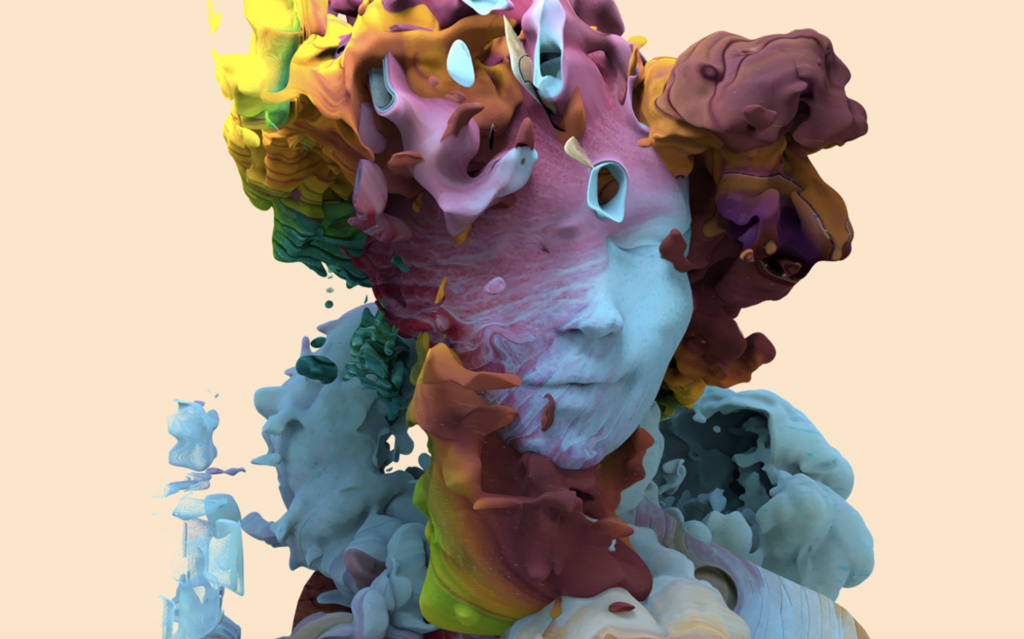
To implement this exciting idea, you will need ink-water. You can get a similar effect in combination with high-speed photography and digital manipulation at the post-production stage.

Check out the work of popular experimental photographers and digital artists, including Alberto Seveso and Ellie Polston, for inspiration on creating your own masterpieces.
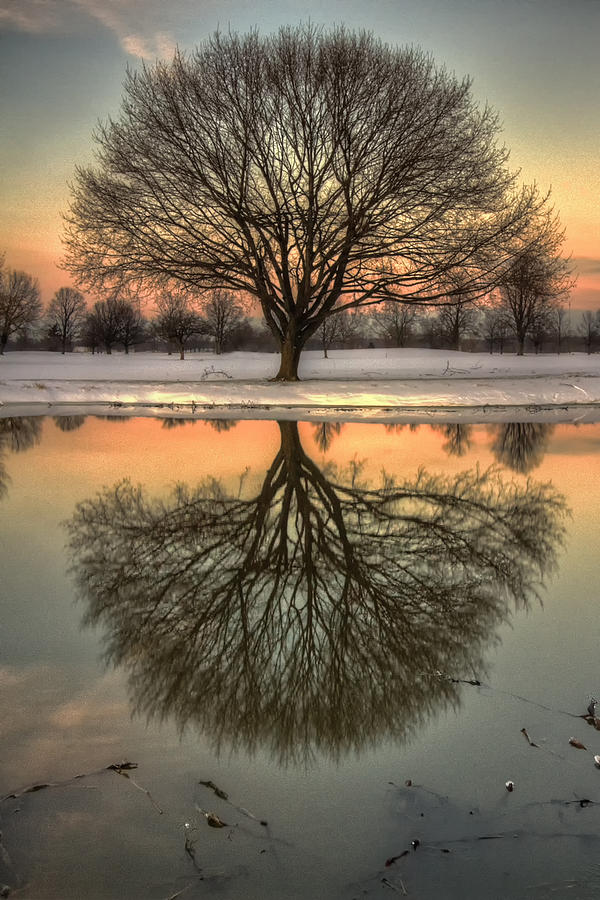
Simple and familiar copying and flipping of a photo will help create a reflection in Photoshop, which perfectly imitates the reflection in the water.

In addition to Photoshop, you can create your experiment photo in such programs as Canva, Adobe Express, and Fotor. With their help, you can flip your photo both vertically and horizontally in just a few clicks.

Overlaying several frames on top of each other helps create a new vision of familiar scenes. It can be anything, depending on your imagination – a completely new extraordinary world or separate but connected scenes.

Use Photoshop’s tools like the Selection, Pen Tool, and Layers to combine photos in creative ways to bring your photo manipulation to life and create new meanings. To ensure that the lighting of different shots is uniform and consistent, pay attention to exposure settings and refer to Lighting Effects.
I also recommend playing around with the white balance on each photo to achieve color and temperature consistency and thus make your experimental pictures more natural and harmonious.
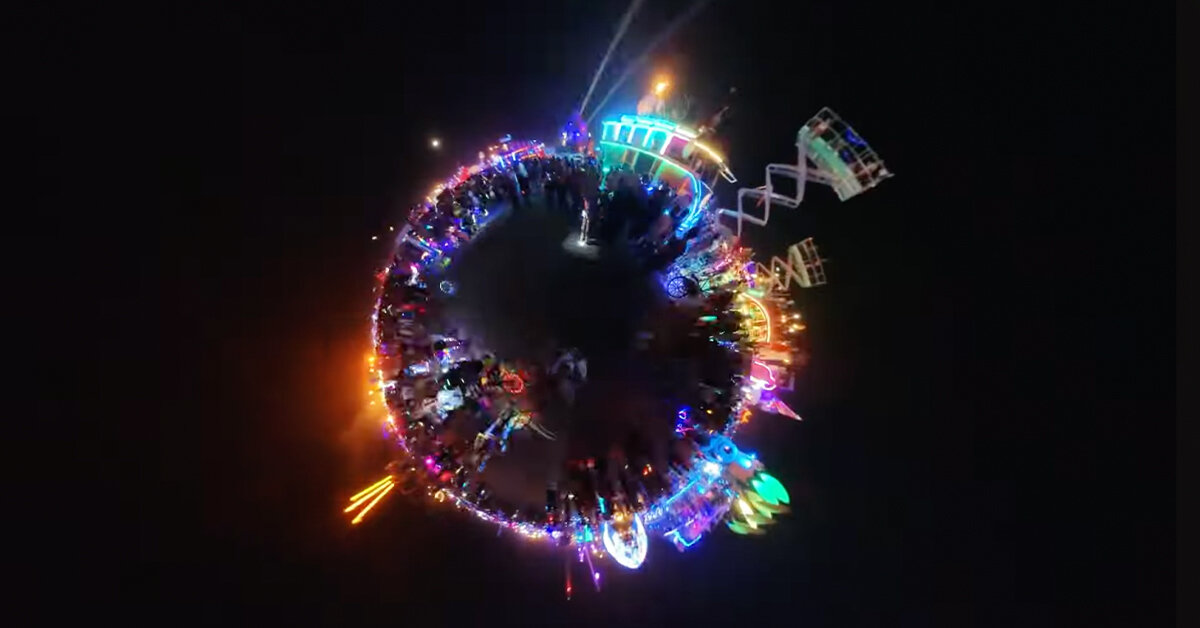
Photoshop filters can do half the job of bringing your experimental photography ideas to life. Modify your images by applying the polar coordinates filter to make a circle effect. To do this, select Filter → Distort → Polar Coordinates.

By adding Gaussian Blur in Photoshop, you can achieve noise reduction, apply a creative blur effect, or blur the background simulating depth.
If you want to work on the face in a portrait shot, I suggest trying the Liquify filter in Photoshop, as it effectively modifies the size and shape of parts of the face.
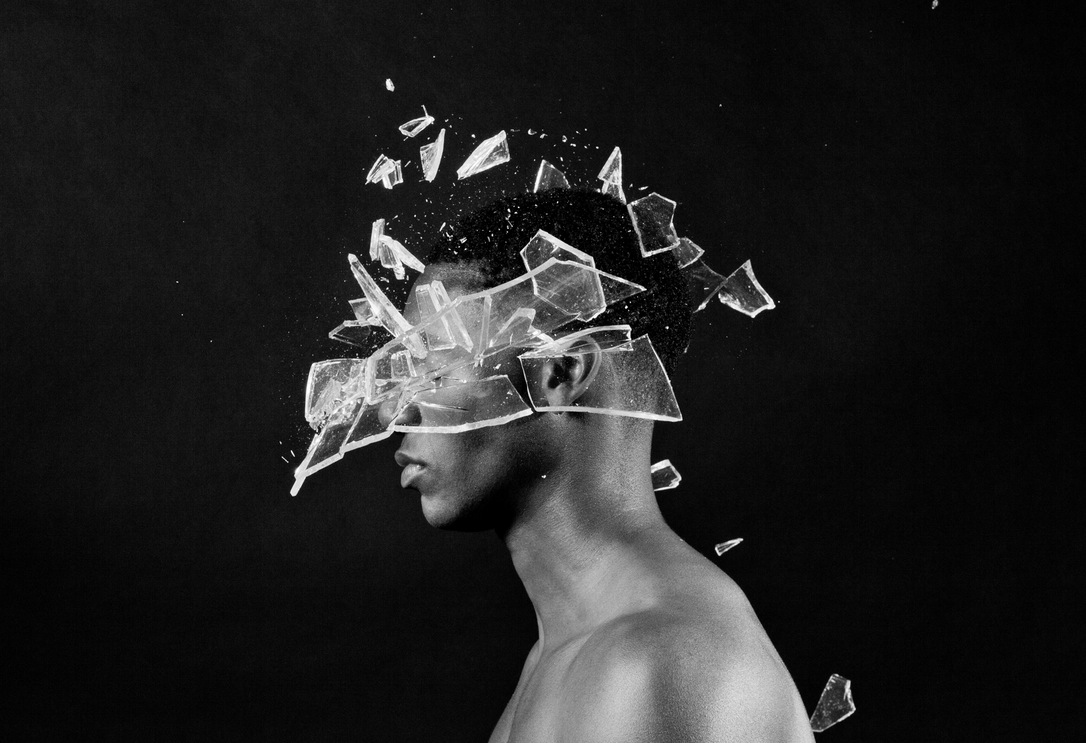
By combining the Brush and Lasso tools’ power, you can create a broken mirror effect in Photoshop that will enhance your experiment photo.
What’s more, you can achieve a similar effect using overlays. They always come in PNG format and are compatible with any layer-based software, including Photoshop. Just import them into the program and start improving your pictures with new creative touches.

This photographic procedure aimed at achieving a cyan-blue print is another creative and fun way to realize your experimental photography ideas. Prepare ferric ammonium citrate and potassium ferricyanide.
Next, you need to take the paper, cover it with the prepared solution, and put a negative or another object on top. Leave the paper in the sun or under a UV lamp.
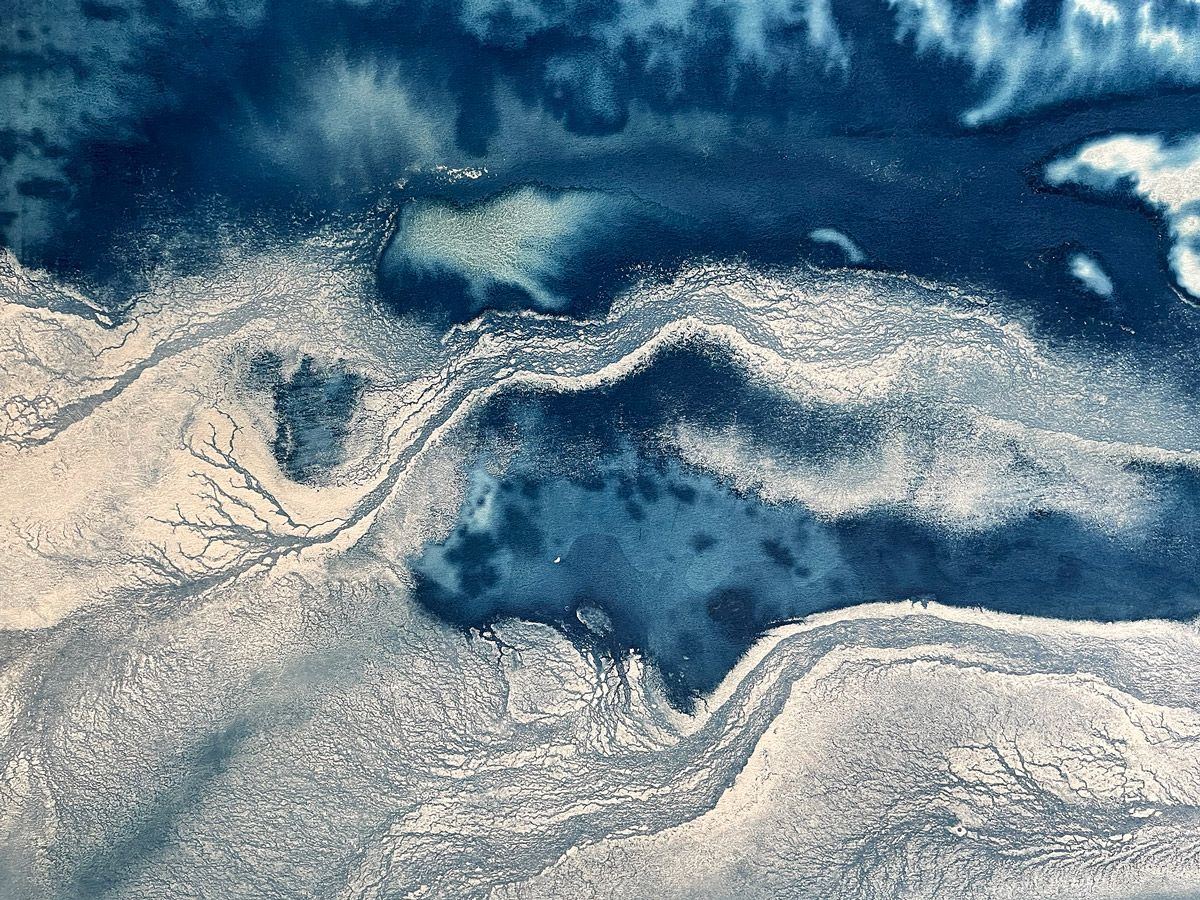
While the exposure process is in progress, the color of the paper will change. Then rinse the paper in water for about a couple of minutes and admire the result – the colors are reversed.
Using these actions, you can improve your experimental photos in a few clicks after shooting. Download Photoshop for free and enhance your images with more than 300 options suitable for all photography genres. Perform just 5 easy steps to install Photoshop actions in any version of the program and enjoy these pro-level stunning effects.