DIY photography hacks allow you to create original and not trivial compositions without spending a fortune on additional equipment or props. Following these tricks, becoming a professional photographer with an amazing portfolio or even an Instagram feed is easier.

You’ll need a piece of polyester to realize this amazing winter photoshoot idea. Having this simple prop, it is possible to achieve the effect as if you were shooting from under the snow cover.
Take two sheets of polyester and cut in the middle of each a circle of different radii. Then you need to connect them so that the sheet with the larger circle is closer to the camera. The uneven edges of the polyester will give you the effect of frozen snow.

A toy plastic spiral is the only needed thing to realize this interesting example of framing in photography. To achieve the desired effect, a photographer and a model should take the edges of the spiral and stretch the toy.
Position your camera inside a spiral, and the resulting images will look amazing.

This trick allows you to take interesting DIY wedding photography props. Find a tulle of the desired color, cut off a small piece from it, and put it behind your camera lens.

Press the shutter and the resulting pic will amaze you with its original texture. This is probably one of the simplest DIY photography hacks that look fashionably.

If you have a glass table, position the camera so that the lens is facing its corner. Photograph the model/object in this way and if there is enough light, you will get the desired effect.
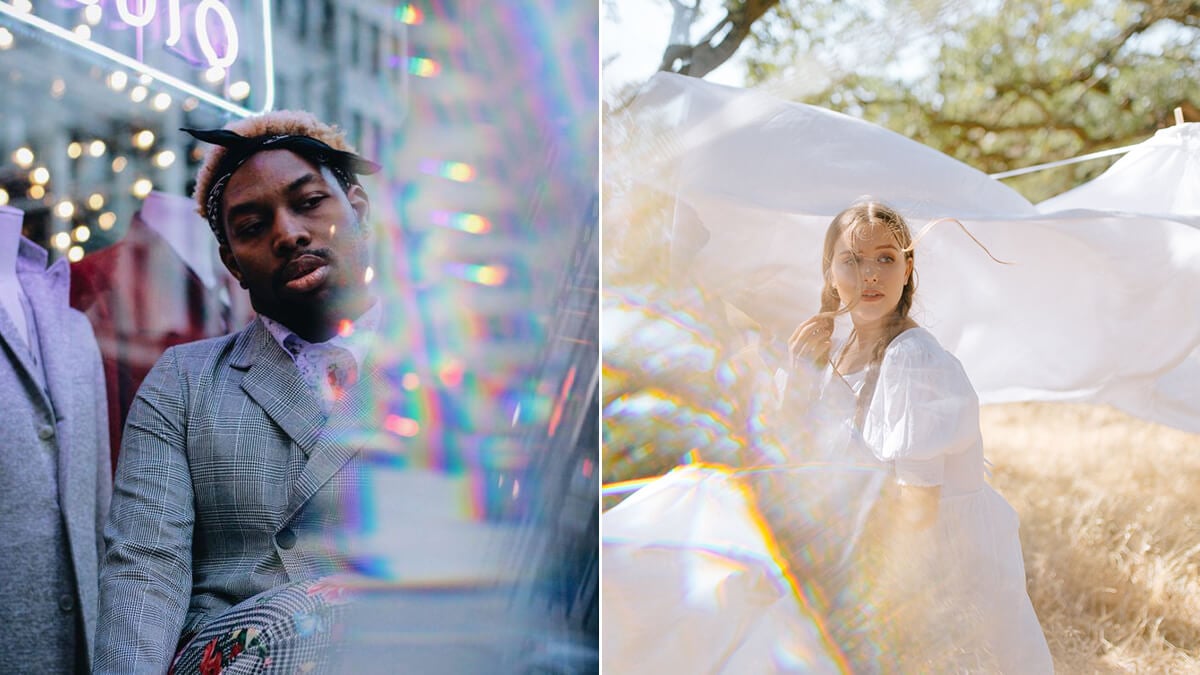
This hack works well with any genre, and shooters often use it as an original portrait photography idea.

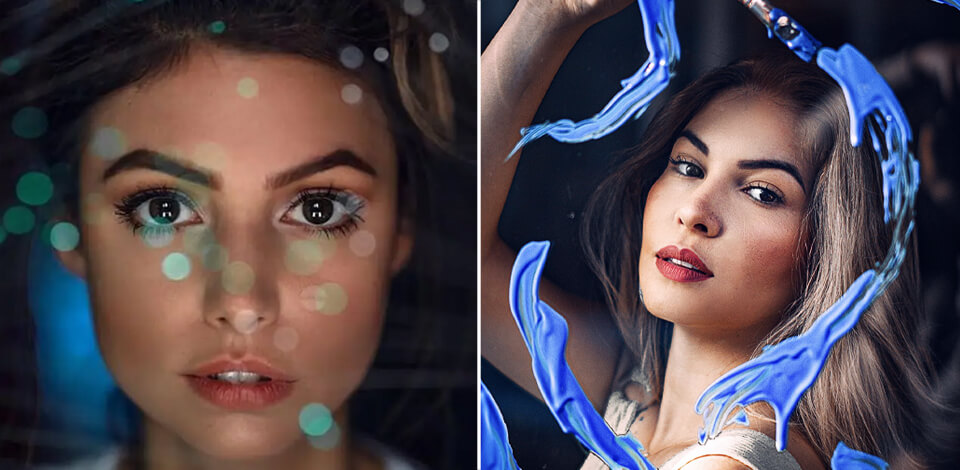
This is one of the easiest photo tricks, as you only need a garland to repeat it. Put it in front of the lens and take a picture to get the effect of blurred lights.
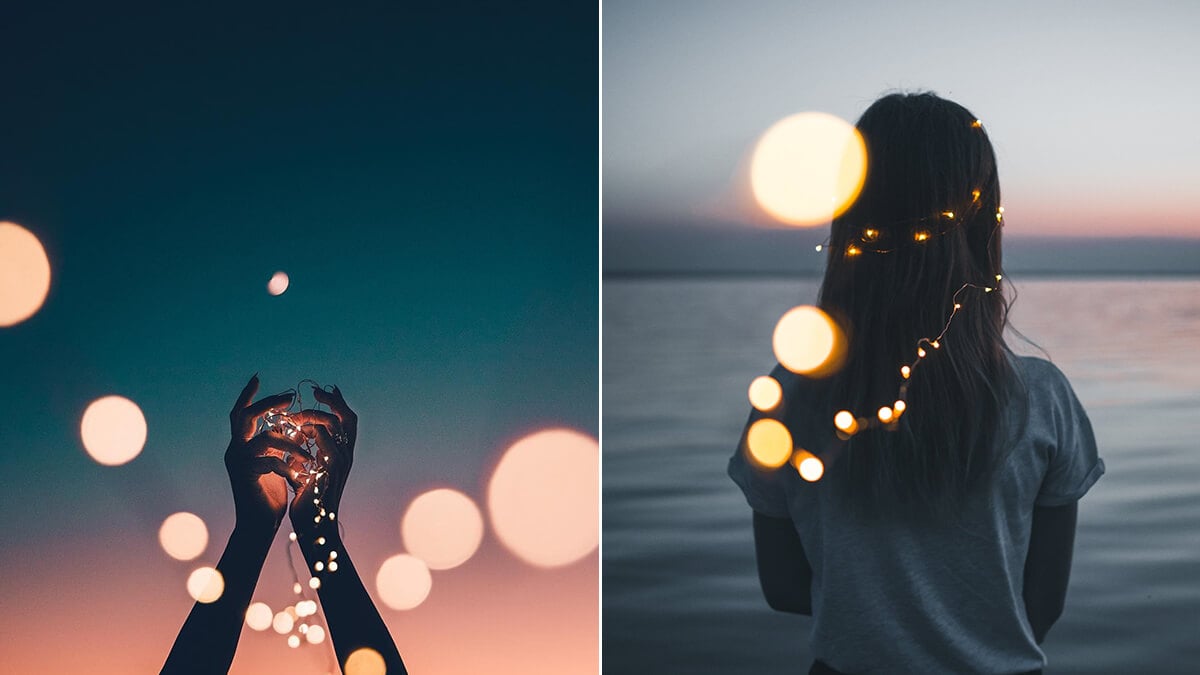
Depending on how far you move the garland away from the lens, you will get different lighting effects.
Use these easy-to-apply pre-made temples to increase the bokeh effect in just several mouse clicks.

Adding the fog to the image allows creating a dramatic effect, and a simple jar is a prop your need in this case. Turn it upside down, put it close to the lens, and take a picture.
Take a colorful jar and the effect will be even more impressive, as the fog will have the same color. I also recommend taking advantage of the ready-made bundle to intensify the fog.

This is one of the DIY photography hacks that allow the darkening of the edges of your picture. You’ll need to take a packet and put it on the lens. The task is to shoot so that part of the packet is in the frame - this will help you achieve the desired effect.

By capturing more of the packet in the frame, you can increase the vignetting. But you are free to play with this DIY photography prop and try other variants and choose the most appropriate one for you.
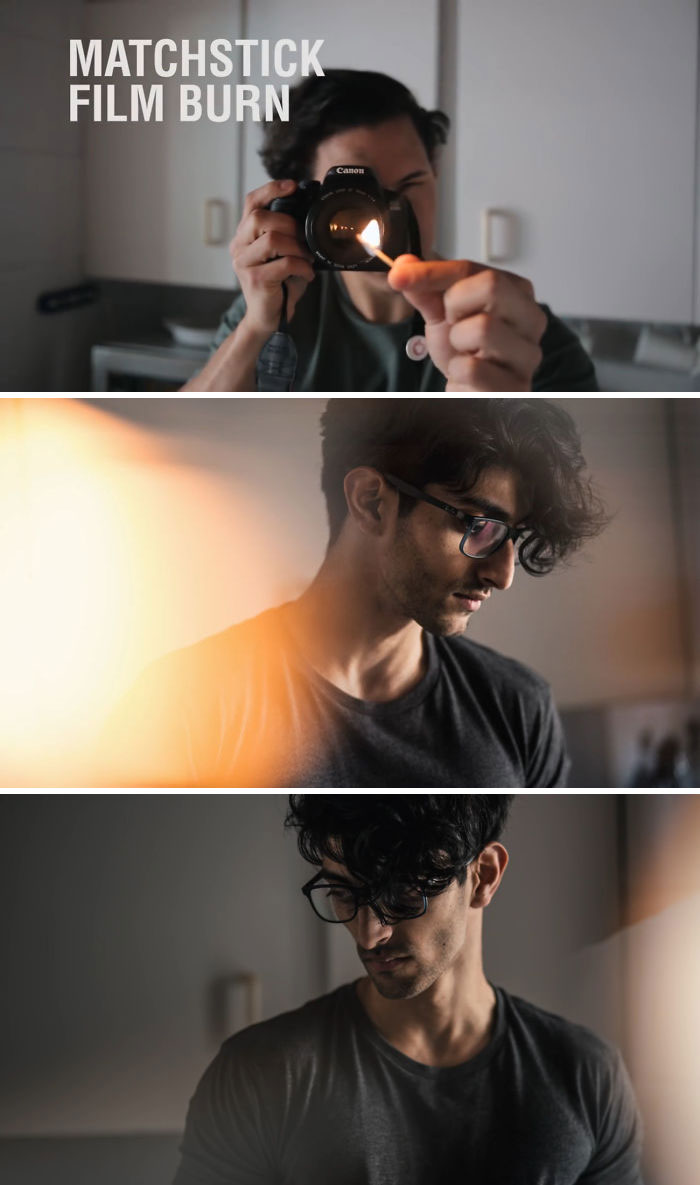
With the help of an ordinary match, you can achieve an interesting effect of an overexposed photo. To do this, place a burning match in front of the camera. Depending on how much of the photo you want to overexpose, adjust the position of the matchstick.

A few simple steps allow making a great DIY photo backdrop. You will need a sheet of clear glass as well as some broken glass. A photographer should lie on his/her back holding the glass covered with broken pieces.
Add some snow to intensify the cold effect using Photoshop snow brushes.
Thus it is possible to mimic the effect of shooting from under the ice. Note that to make such a shot perfect and natural-looking, image editing is required.

If you are searching for interesting hacks to realize your creative photo ideas, photo tricks like this one will come in handy. A photographer’s task is to take a pic of a person’s head so that it looks as if it was drowning in fruit.
To do this, cut off the bottom of the box. Your model should be lying down holding the box with the head inside. Fill the box with fruit and take a close-up shot.

Use this hack if you want to make the viewers think that somebody has painted directly on your camera lens. To do this, take a large piece of clear glass and let your model create some abstract composition on it.

Get close to the glass and take a picture. Using standard camera settings for portraits or even a portrait mode on your smartphone allows blurring the background and making the glass invisible in the foreground.

Find such a glass or break it on your own and position it in front of the model's face. The most difficult part of this hack is to crack the glass esthetically. If you cannot find the appropriate prop or make it on your own, benefit from pre-made overlays that mimic such an effect.

Ask a model to put an aquarium on her head and stand very close to a large screen with a space image. You need to find the right perspective to make this idea work.
To do this, position the camera in the middle between the aquarium and the screen and take a portrait. Thus, the picture will be reflected in the glass, allowing you to achieve the desired cinematic effect.

If you want to shoot your model surrounded by fluffy clouds, you’ll need padding polyester. Using this cheap photography prop and illuminating a model from various sides, it is easy to create a cloudy background for original portraits.

Such a basic thing like food film can spruce up your portraiture. For example, you can shoot a model when she is tearing the film in front of her. If you take a close-up, it will seem that the model is covered with the film and is trying to get out.

There are many shots in the network of a person as if cutting fruit or vegetable in the air. However, the focus is not on a model but on the moment of cutting and flying splashes of juice.
This levitation photography idea is simple to realize if you ask someone to hold the halves of the fruit, and remove the hand from the frame during image post-processing,

If you think that only professionals can create a bokeh effect when editing a photo, then you will love this simple life hack. Take a regular sheet of paper and cut out a circle, heart or another shape on it. Wrap it around the lens and fix it with the elastic band.

Now you need to take a blurry photo where the shape you cut out will be in focus.
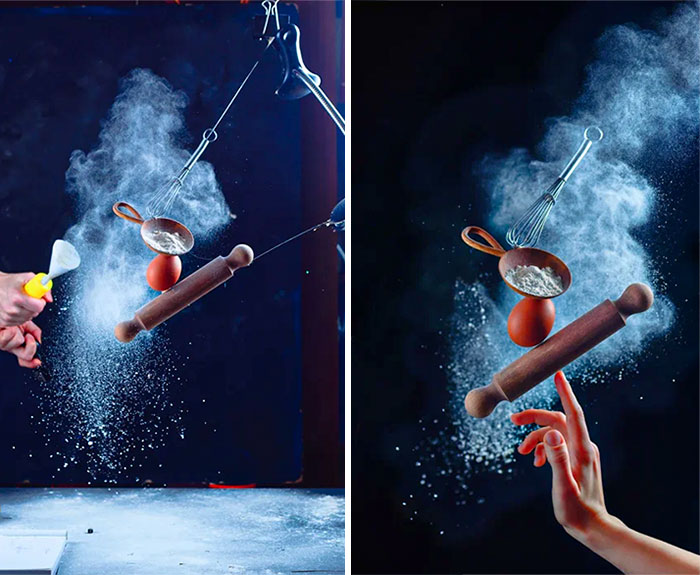
It is great that this trick does not require many food photography props. Organize and arrange food and utensils on a variety of racks, brackets, and any other available supports. After you take the shots, you can get rid of extra details in post-production, achieving the effect of flying food.

A DIY light box is an indispensable accessory for taking product shots.
To create it, you need a white dense fabric and a box frame. Take pieces of fabric and fix them to make the walls of the box. Illuminate the box lamps from all sides and put an object inside.

This easy-to-make DIY product photography prop is what you need for taking excellent product shots. You don't need anything other than a laptop.
Find a suitable picture, which will serve as a backdrop, and put an object of your photoshoot on the keyboard.

Take a close-up shot making sure that the laptop’s frame is not visible.
Aspiring photographers cannot use complex techniques for post-production, so they can take advantage of ready-to-use bundles. This collection of presets allows adjusting basic photo parameters like color, contrast, texture, shadows, etc., as well as adding some original effects to images in just several clicks.