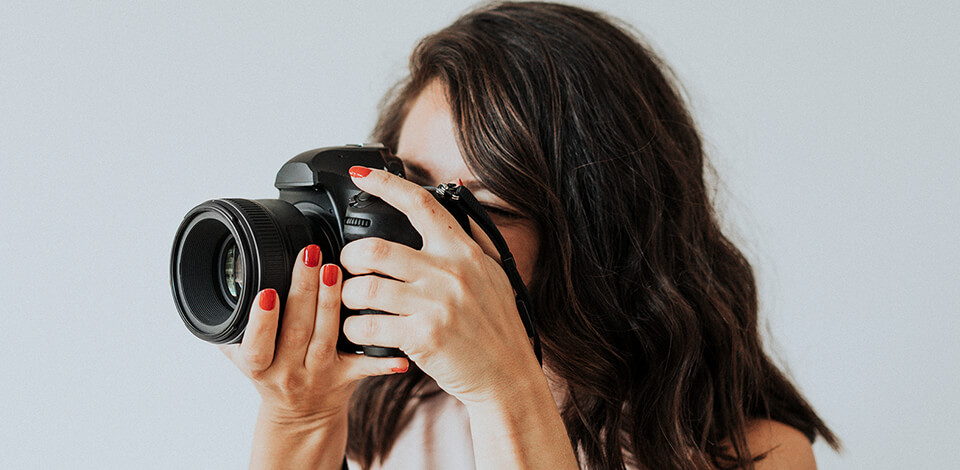
Are you interested in photography and want to delve deeper into this fascinating world? Whether you have just received your first camera or feel like honing your skills and learning new techniques, this guide with the most useful beginner photography tips is worth checking out.
Beginner photographers often have many questions concerning shooting angles, lighting, camera settings, composition, editing, etc. Many terms may be disconcerting, so I did my best to shed light on the major photography aspects so that you can have a smooth start.

It is impossible to take good photos if you have a vague understanding of photography composition basics. First and foremost, you must keep the horizon level straight and locate the main object in such a way that all its parts are visible. Besides, you may need to devote some time to composition adjustment to eliminate different distractions. Remember that your picture must be simple yet balanced.
Following the rule of thirds in photography, you can be sure your images will look natural and will be pleasant to look at. While pointing your lens at an object, try to divide the composition into 9 equal squares by imagining 3 horizontal and 3 vertical lines penetrating the space. Place the key elements across these lines and on intersections.
If you mainly photograph landscapes, make use of the leading lines photography technique. This actually means seeking roads, trees, fences, and similar straight objects in the surroundings to direct viewers’ eyes to different pieces of the scene.
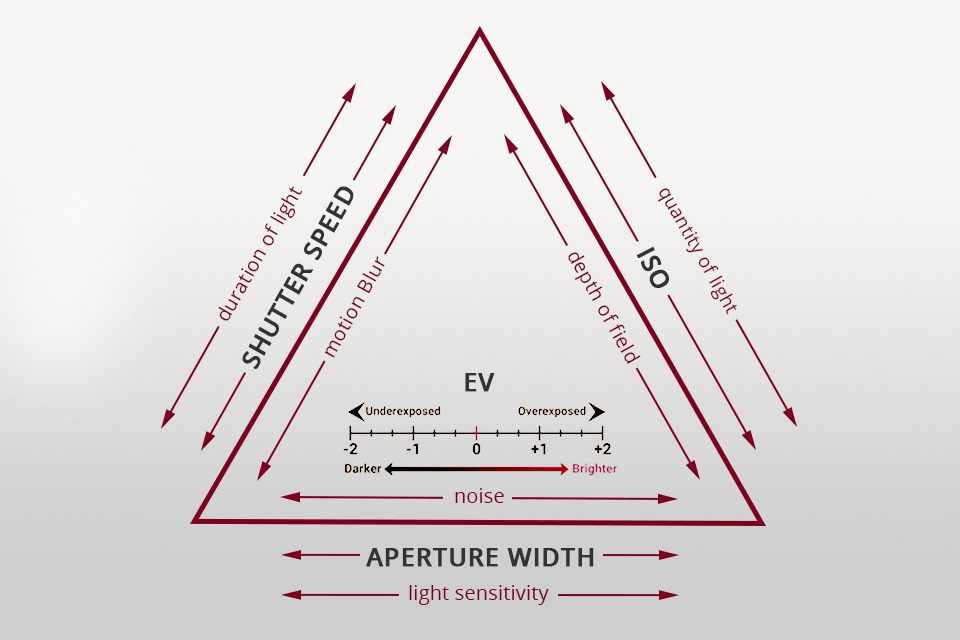
Talking about the exposure triangle in photography, we actually imply 3 key constituents of exposure – ISO, aperture, and shutter speed. With a manual mode being on, you have to bring all these 3 elements in balance to get detailed photos with proper lighting.
ISO defines how sensitive a camera to light is. When this value is low, the camera is less sensitive to light and the other way round. When taking photos outdoors in good lighting, you can set ISO to 100 or 200. However, this value should be at least 4-8 times higher when shooting at night.
Aperture refers to the opening in a lens through which light gets inside and reaches a sensor. If an aperture is wide (f/1.2), a sensor collects more light. When it gets narrower (f/11), the amount of light is reduced. To put a major object in focus while keeping the rest of the composition invisible, you should make an aperture wider. However, if there are several people/elements that must be fitted into the frame, you need to do the opposite.
Shutter speed regulates how long the shutter is open while you are photographing. The longer this period, the more light gets in. The most helpful beginner photography tips, in this case, are to stick to faster shutter speeds (12000) to freeze a moment, and make it longer for a blurry effect (1/30).
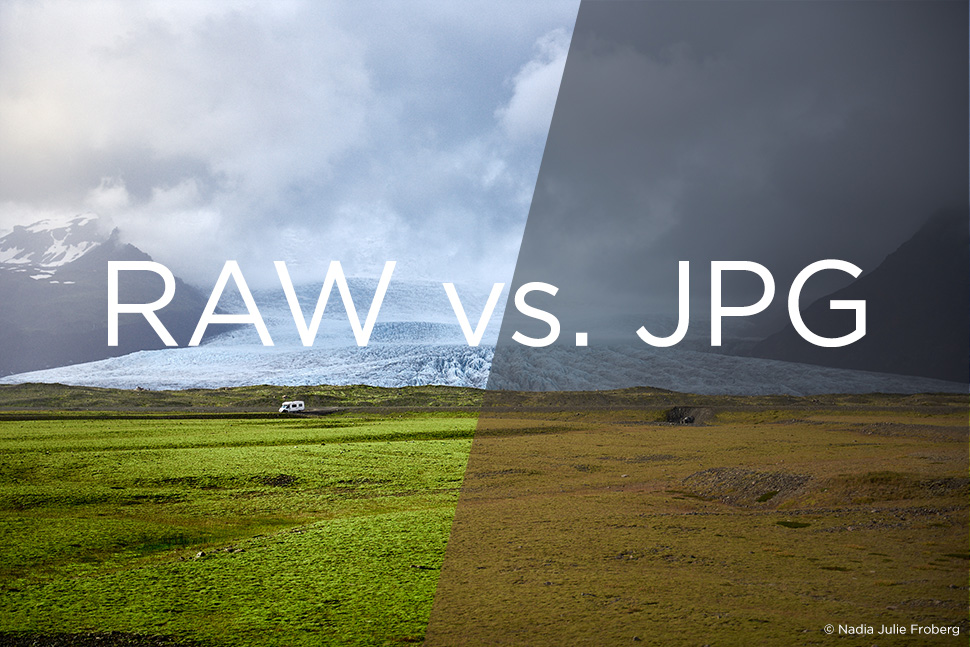
Skilled photographers often shoot in RAW, while amateurs tend to use a JPEG format. The main nuance here is that RAW files contain lots of info that allow for advanced image processing, which is impossible with JPEGs. Typically, cameras make automatic sharpness and saturation tweaks, and this can be enough if you are just starting out.
However, if you want to plan to edit your photos, you’d better opt for a RAW format, as it preserves all image data recorded by a sensor instead of compressing it. So, you can perform more complicated manipulations, deal with over and underexposure, correct color temperature, WB, and contrast.
The main problem with taking RAW shots is that they occupy rather lots of space. So, you need to invest in a capacious SD card for DSLR.
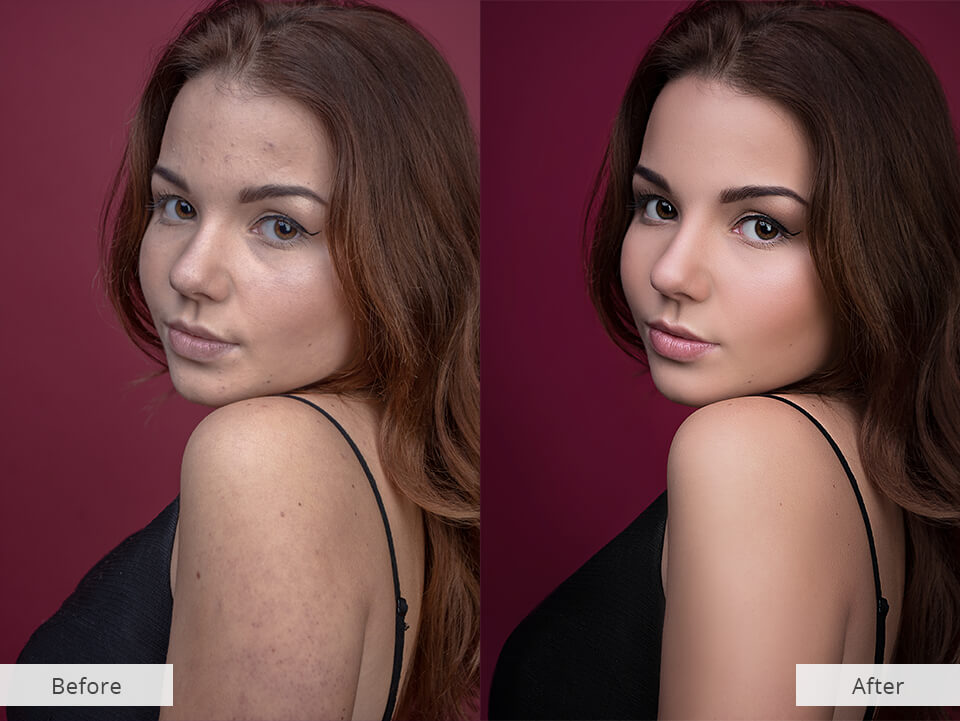
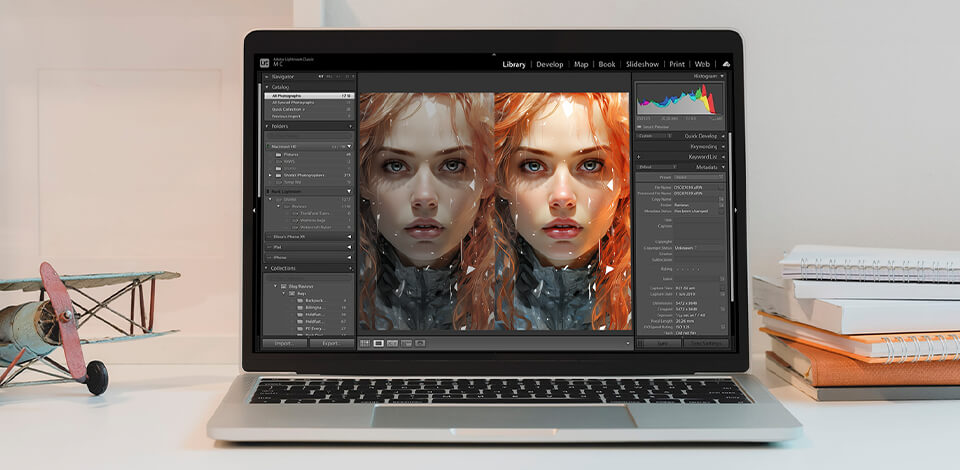
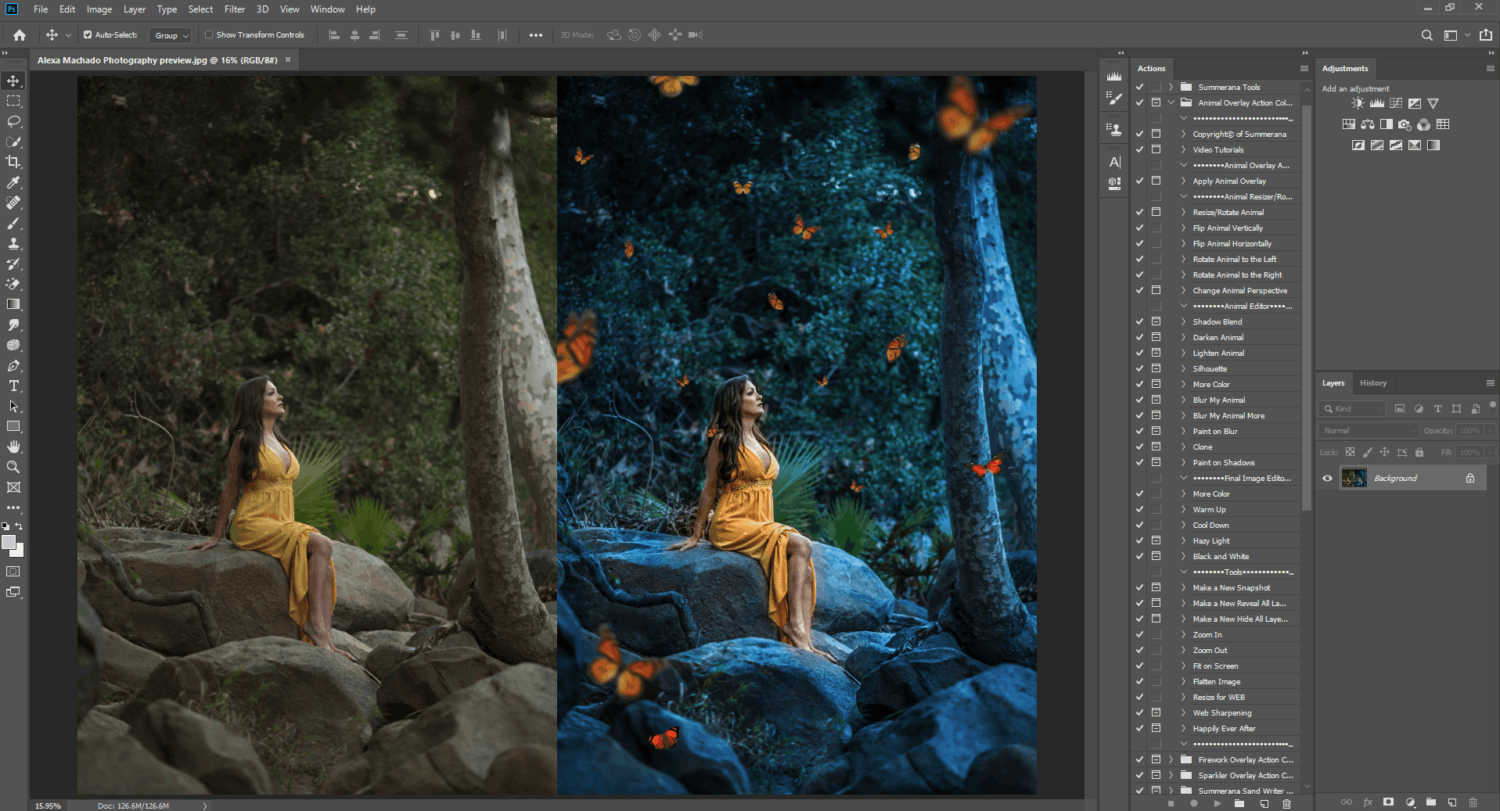
While searching for tips for beginner photographers, you’re likely to come across numerous editing tricks. However, sometimes following these hacks is useless if you barely understand what a Ps toolset consists of. If you are just learning the ropes, it is easy to get lost in all those instruments and features, so you’d better adress professional post-production services. In fact, even famous photographers address outsourcing companies from time to time.
Usually, retouchers work very quickly and meet all your requirements. They can correct exposure, sharpness, contrast, get rid of distractions, perform skin retouching, portrait retouching, headshot retouching and color correction. You can also ask them to mimic a specific style and send sample photos so that they will know what result you expect to get. We offer affordable photo editing prices and you can check the before and after retouching examples to make up your mind.
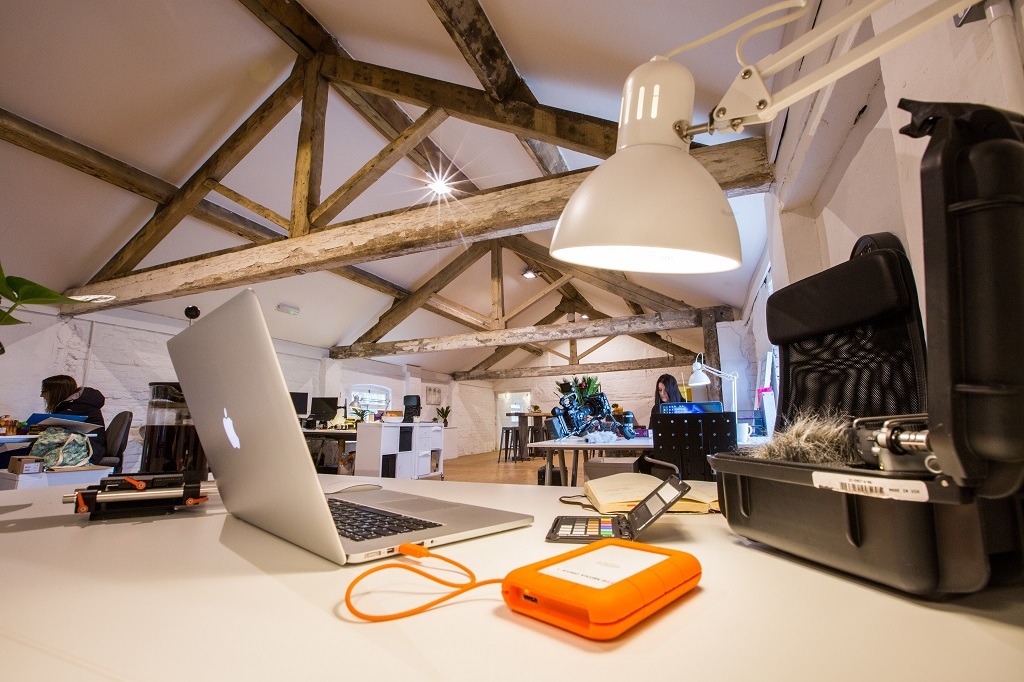
Every photographer probably has a story when something went wrong and important pictures from a photo session got lost or damaged. This is a really heartbreaking experience, so I highly recommend every newbie to backup every image from the shooting instead of storing them all on a single external hard drive for photographers.
Fortunately, nowadays there are lots of places where you can keep your precious files secured. The easiest way to prevent problems is to automatically make a second copy of shots and transfer it to another hard drive or cloud storage for photos.
The choice of camera modes largely depends on the photographer’s experience. Those just embarking on the path can hardly derive much benefit from a manual mode, though it is the best variant in terms of control over the shooting process. However, novices can still feel the joy of photographing using Aperture Priority Mode (A/Av) or Shutter Priority Mode (S/Tv).
If you opt for Aperture Priority Mode, you can adjust the aperture and depth of field, while the shutter speed is automatically set by your device. This can be advantageous in some cases. For instance, if you are taking portrait shots and want to keep the background blurred, you only need to choose a wide aperture and let your camera select a suitable shutter speed.
When you are working in Shutter Priority Mode, you can control only the shutter speed, while the rest of the settings are managed by a camera. Of course, such a mode is also favored in particular situations. For example, you can set a fast shutter speed while tracing a fast-moving object and rely on your camera with the rest of the parameters.

For some reason, this point is sometimes overlooked in photography tips for beginners, but I believe this is a crucial aspect you always need to remember. Camera shake, no matter how slight it is, can totally ruin your pictures. That’s why, you should examine tripod brands within your budget and choose the one for regular use. If you can’t afford to buy a durable tripod but still aspire to get crisp photos, you need to stabilize your camera as much as possible while holding it with two hands.
Undoubtedly, every shooter has his/her own convenient way of holding a camera, but usually this involves gripping the right side of the case with your right hand and locating your left hand beneath the lens to support your whole system.
The closer the camera to your body is, the more stabilized it will be. For even more stabilization, you can lean against the wall or crouch down on your knees. If that is impossible, you can adopt a wider stance.

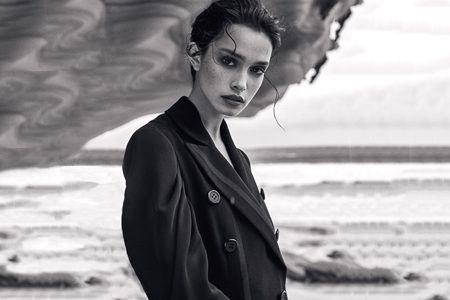
Lighting can either make or break your shooting game. It hugely affects all shapes, colors, shadows, textures, and contrast in your images. A good rule of thumb is to take photos during the golden hour, which is widely recognized as the best time of day to take pictures. This isn’t the precise period of the day but a notion that refers to one hour after sunrise and one hour before sunset. Pictures taken at this time amaze with softer and warmer lighting.
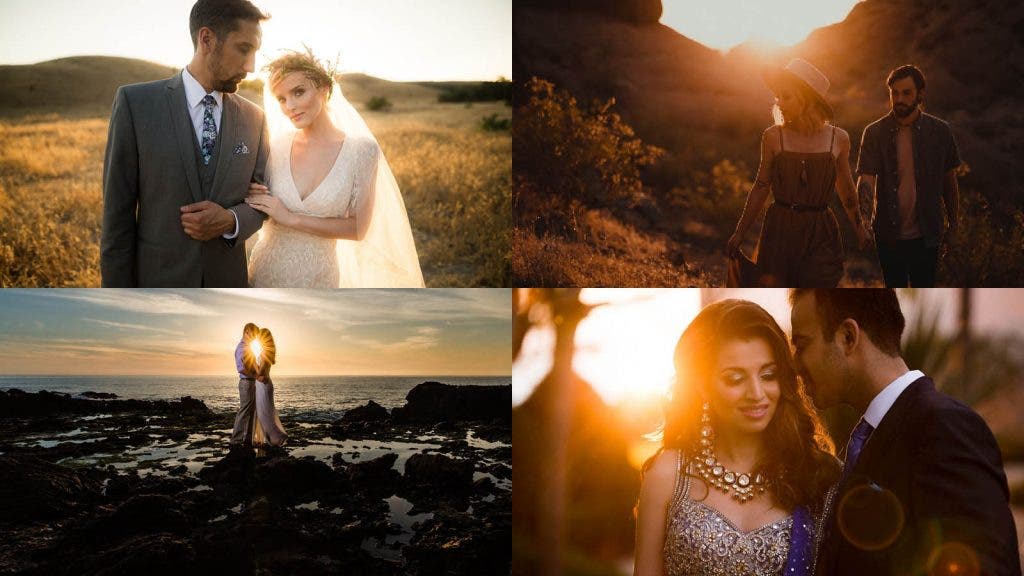
People practicing golden hour photography claim that it is impossible to get the same long shadows and such diffused light when the sun is higher in the sky. Thus, you won’t experience problems with blow-out highlights and lost details, which can hardly be fixed at the photo processing stage.
Newbie photographers often feel pumped up when it comes to building composition and choosing props, which often leads to cluttered backgrounds. Be very accurate while picking a suitable background and keep it as neutral and simple as possible. You will never lose if you select muted colors and plain patterns. The main thing here is to create the surrounding that will show your model in the best light rather than cramping lots of items into the frame.

There are several methods you can use to declutter the background. The easiest option is to play with shooting angles or relocating a model. If that doesn’t work in your situation, you can conceal distractions by making an aperture wider or minimizing the distance between you and an object. If you plan to place the subject off to the side, it is obligatory to remove all elements that divert viewers’ attention.
Not only photographing but also editing requires much time and effort. The most important tips for beginner photographers, in this case, is to find photo editing software that is up to their proficiency and provides all the needed tools for convenient work. You need a program where it is possible to crop photos, adjust exposure, improve white balance and contrast, get rid of defects, etc.
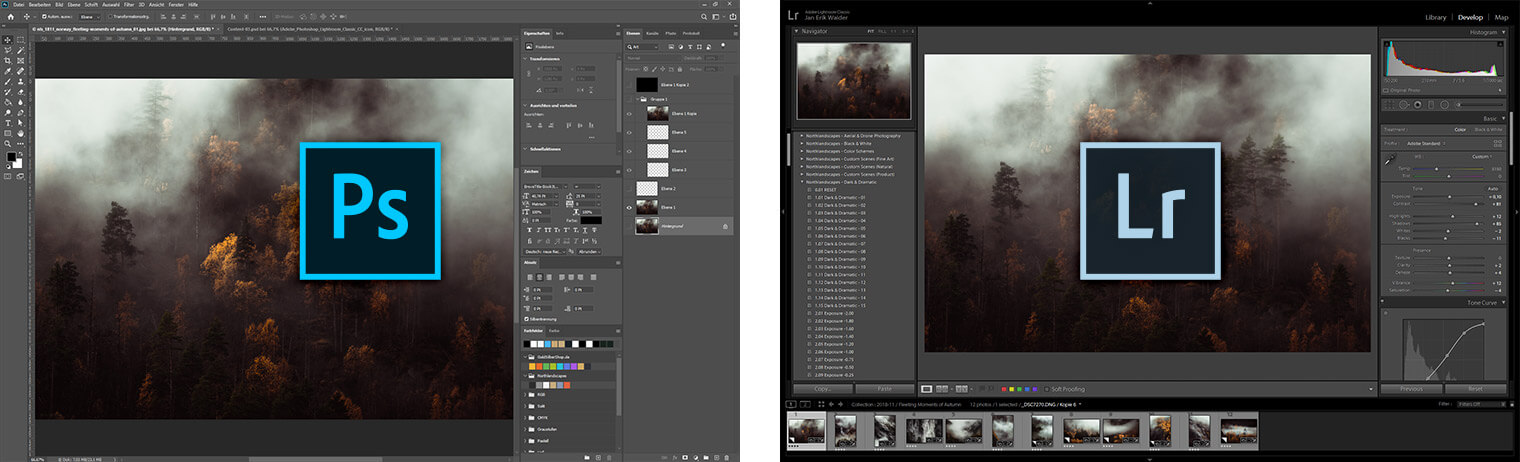
If you want to see how such software function without spending a cent, you can find a bevy of free photo editing apps, including GIMP and Pixlr. They are great for basic tweaks. If you want to dig into the depth of editing, you should splurge on Lightroom or Photoshop.
It is a common practice among amateur photographers to hold cameras at eye level and direct lenses right in front of them. Of course, there is nothing wrong with such a perspective, but you risk boring your audience with these shots. Shifting perspectives is a lifesaver in this situation.
In total, there are 3 simple approaches you can try – experiment with elevation (bend down to the floor), play with angles (skewed from the side), or alter the distance (get closer/further to an object).
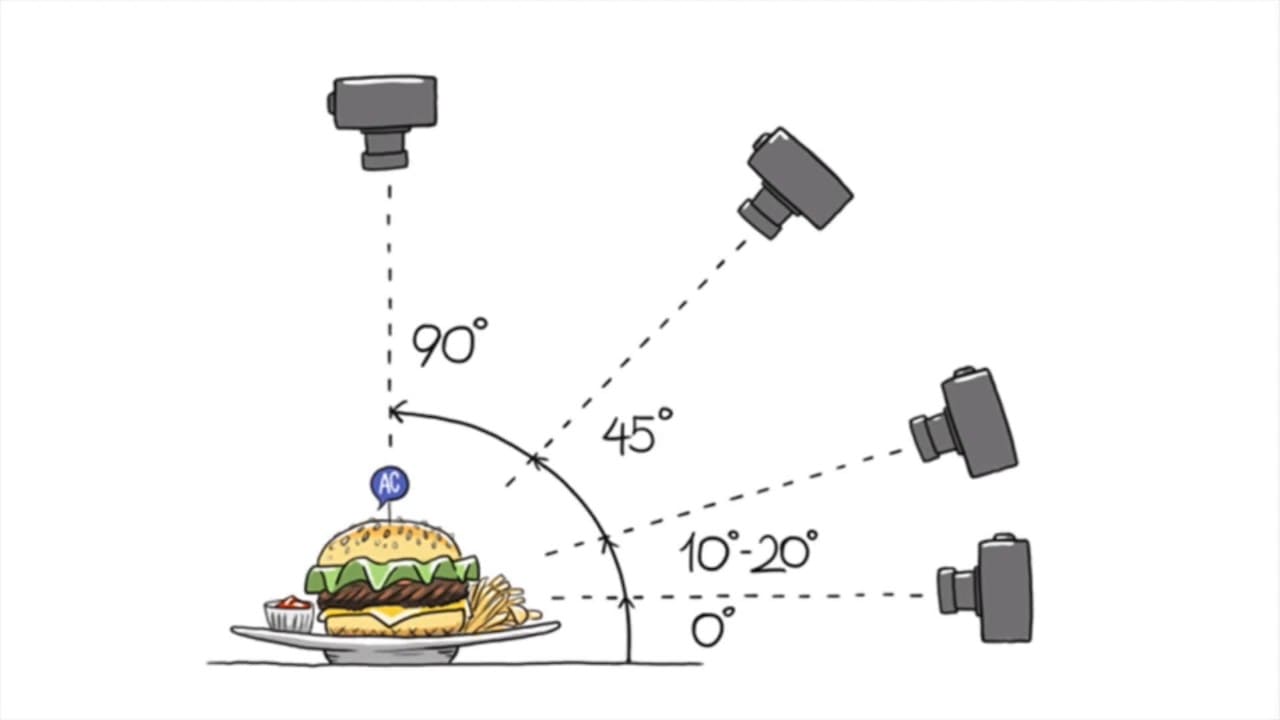
If you feel confused about what will work best for your subject, you need to scrutinize it, define its winning qualities, and select the angle that allows focusing on them. For example, the best food photography angle is 45º angle, while portrait photography requires a higher shooting position.
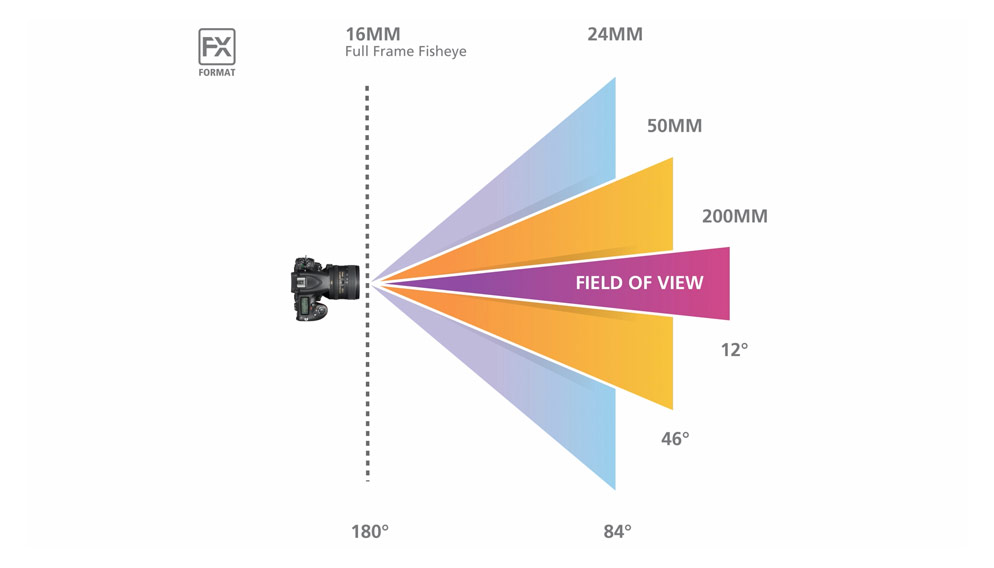
There is no ideal focal length as much depends on the location you are working at. Another factor that plays a role is your photography type. Last but not least is the outcome you want to get.
Wide Angle Focal Length (24mm and below): Wide angle lenses are indispensable for photographing vast terrains, multi-piece interiors, and large subjects.
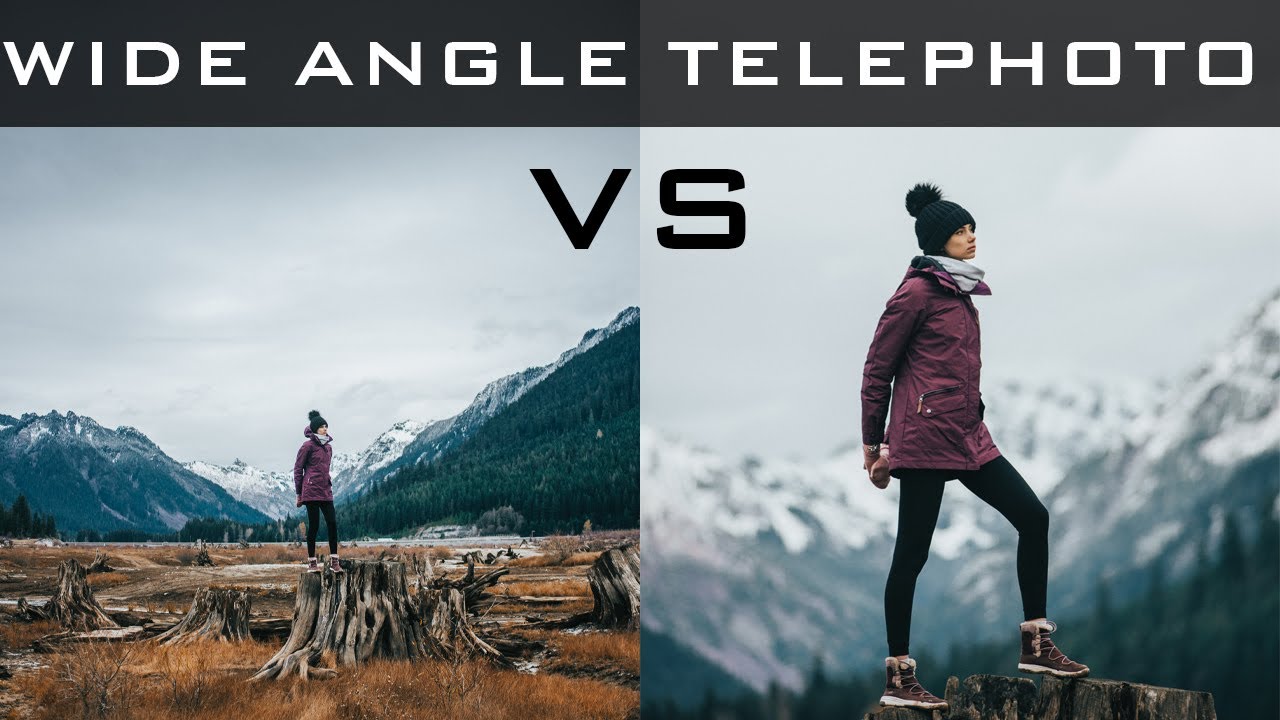
Mid-Range Focal Length (50mm lenses): using such a focal length and keeping the aperture wider on your camera, you can make your subject pop against the background. This focal length is also suitable for bokeh photography and portrait photography.
Zoom Focal Length (70mm to 300mm or more): Such lenses excel at “catching” objects located at the distance, resembling a regular telescope. They also perform the compression function, so an object and the background appear closer to each other. This effect is great for sport and wildlife photography.

You have probably grasped that manual mode is aimed at seasoned photographers, while beginners should opt for an AF mode. In fact, the only justified use of the manual mode if you are a newbie is only if it is too dark for autofocus. You also need to be very attentive with focusing modes. There are 2 of them – single-servo AF (One-Stop AF) for motionless objects and continuous-servo AF (AI servo) for dynamic objects.
It is also important to consider the focal point in photography, especially if you strive to make a name in portrait photography. The main idea here is to keep both eyes in focus. To do that, choose a single focus point and point your lens at one of the eyes. When it is in focus, keep the shutter button pressed halfway down and move the camera a bit to include the second eye and recompose the photo.

The creative side of photography is as important as its technical part. To figure out what differentiates famed photographers from their unknown colleagues, you can study the most iconic photos and browse through photography books. Thus, you can notice what a successful composition consists of, how experts combine colors, what shooting techniques they use, and more.

Besides, before you find your own unique style in photo art you can select images you like most of all and try to repeat them, developing your skills and training your creative eye. Alternatively, you can work as an assistant with a professional photographer in your area and watch how he/she chooses angles, adjusts camera settings, and more. Another interesting way out is to order a photo session from your favorite photographer to see how he/she works.

Undoubtedly you bumped into such beginner photography tips in multiple sources and that is for a reason. Photography workshops and classes organized by knowledgeable photographers, who fully understand your struggles and desires, are definitely worth attending. Nowadays, there are so many training programs that you are sure to find something to your liking and for a reasonable cost.

You can choose online iPhone photography classes to study from the comfort of your home, photo editing workshops, free online photography courses created specifically for beginners, who often have a limited budget, and more. If you follow photographers and retouchers on Instagram, they may also announce some courses or workshops at a fair price.
Remember to scan YouTube for photography compositional tutorials, free Lightroom tutorials, Photoshop tutorials, how-to guides, and more.

Want to enhance your photos in a matter of minutes? Then download this bundle of Lr filters and apply them to your images. These tools were made by professionals, so they work flawlessly. Installing Lightroom presets on Mac & Windows is a breeze and you’ll be able to start improving photos straight away.