Open Adobe Express and upload your video. You can also import content directly from free stock video sites. Next, there will appear a new window where you need to enter the name of your intro.
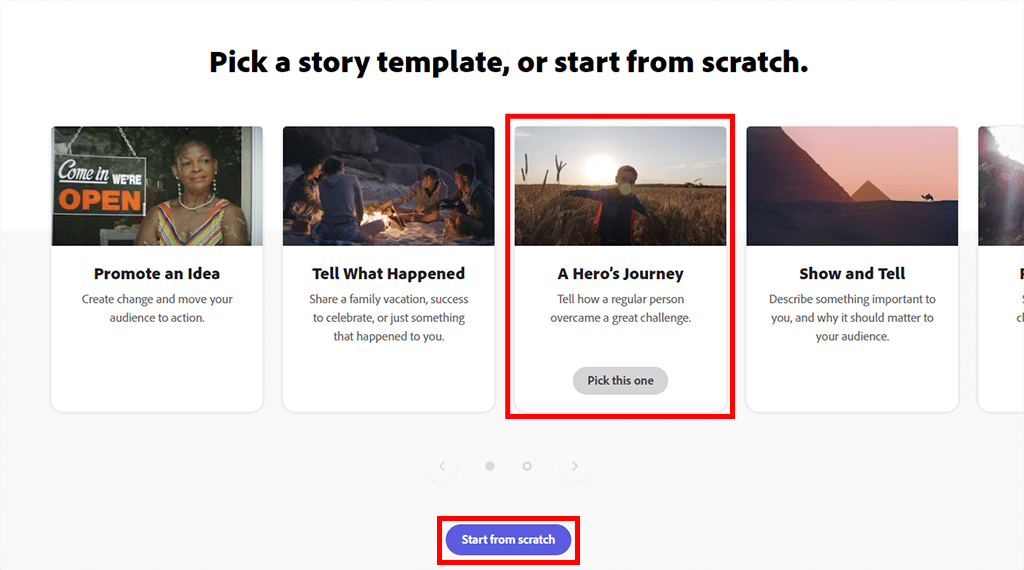
If you are creating an intro for the first time, you can use ready-made templates with special animations. In this case, you only need to add your text and edit the color palette.
Alternatively, you can start creating a YouTube intro in Adobe Express manually. However, the process will be more time-consuming. Besides, you will have to deal with different settings, so you’d better read my detailed review of Adobe Express.

Once you’re done with initial preparations, you should proceed with adjusting basic parameters. If you are creating a video from scratch, maybe you want to animate some of your images or those available in the library. The lower part of the screen is occupied by the timeline. There you can add an unlimited number of slides. If you use your own video, the program will automatically divide it into frames (slides).
You can add a video, photo, text, and icon from internal libraries to every slide. Click the “+” sign to do so. Most icons and design elements are available for free.
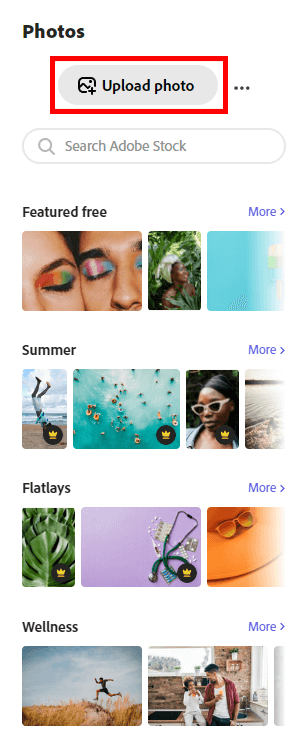
I want to add a photo. There will appear a panel on the right side. I can upload my own image or choose from the extensive, integrated Adobe library (with images up to 8K).
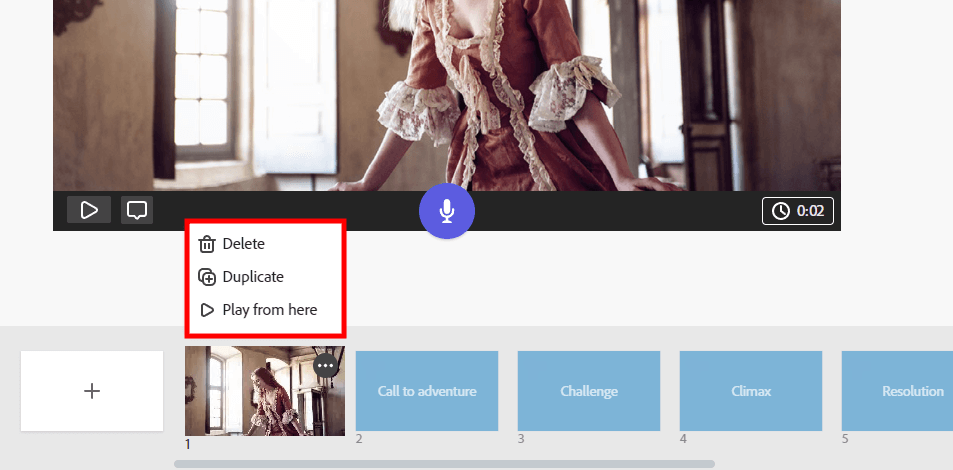
When your video is fully loaded, head to the slide panel. There you can manage the video, delete any frames, drag and drop items, duplicate or just play it. This works great if you want to check how the pop-up icon reminding to press the bell and subscribe to the channel will look. In order to perform one of the actions, simply click on 3 dots located at the top right of the slide.
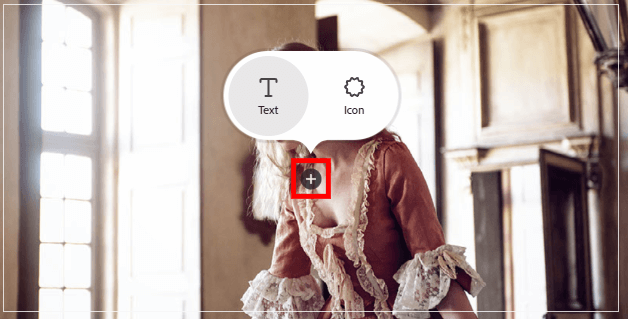
To add text to your intro, press the “+” sign again and select "text". After that, you will see options for text templates. Choose a suitable style and enter your text. You can change its size, style, and color whenever you want.
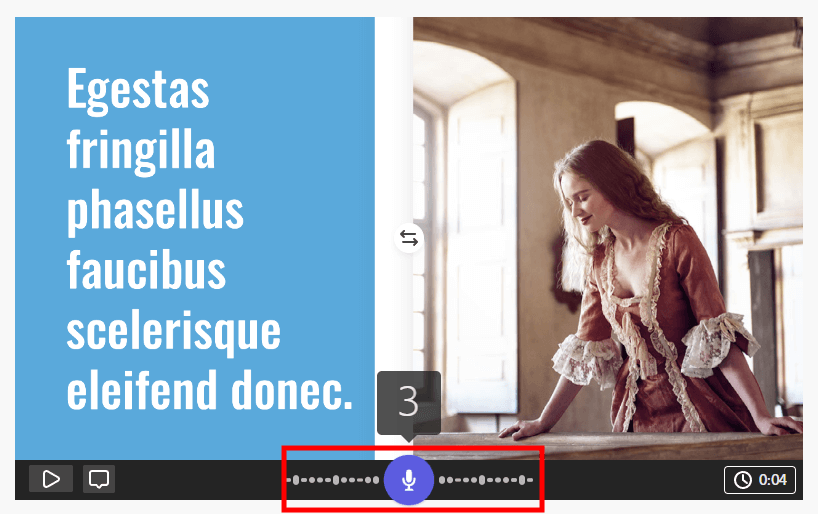
At this stage of creating a YouTube into in Adobe Express, you can add voiceovers to your video. You can either insert it as comments or a corporate greeting. The microphone icon is in the center. Make sure that a microphone is connected to your PC and it works properly.
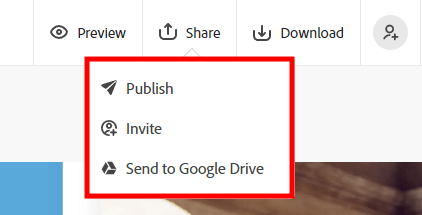
Once you’re done and like the intro you’ve created, play it several times to ensure there are no errors. After that, click the “Share” button and choose the option for sharing your video. Or click "Download", wait for the full render and use it in your future projects.
No. You can use the program completely for free without experiencing problems with video export, degraded quality, watermarking, etc.
You can upload videos from 140p to 8K. There are also integrated libraries with high-quality material. Keep in mind that when working with large files, the final render can take a long time.
No, you can create video intros of any size. However, keep in mind that the generally accepted duration of a YouTube intro, which is also recommended by professional editors and promotion experts, should not exceed 10-15 seconds.
After you’ve recorded the sound for your video, an audio track will appear below the slides. You can cut any section or move them if you notice any discrepancy with the video. However, you can’t edit the audio track, remove noise and adjust the equalizer here. So you will have to use third-party audio editors, if your microphone is of poor quality and it is necessary to make corrections.
You can use Adobe Creative Cloud Express for free but if you want to get the latest professional templates, premium fonts, and Adobe Stock 8K videos, or tools like Refine Cutout, Image Groups, and even have access to cloud storage (up to 100GB), you have to upgrade to the premium version, paying $9.99/month.