Digital cameras take photos in RAW format, while DNG is used for image retouching. My years of photography and editing experience have proven that both formats are perfectly suited for photographers, as they have become an essential part of my toolkit.
Despite both being very useful, DNG stands out by being more compatible with different software and taking up less space, while RAW provides superior compatibility with the first-party firmware included with your camera but makes it more difficult to store and organize your photos in the long term.

DNG is short for Digital Negative Image. It is open-source, completely free, widely compatible with different software, and continuously receives improvements that make it even better suited for retouching images, particularly if you use Adobe software.
The DNG format contains uncompressed image data, which can be post-processed in most popular photo editing applications. A DNG file takes up less space than most other RAW formats, allowing you to store more images on your camera, laptop, or PC as well as making it easier and quicker to transfer photos in bulk.
✔️Edits are implemented straight into DNG files without requiring you to make dedicated XMP files for storing said data, which makes photo management a lot more convenient.
✔️DNG images can contain the entire original RAW file, which you can later extract whenever such a need arises.
Note: this will drastically boost the DNG file size.
✔️Adobe offers several methods for automatically converting RAW files to DNG format using software like Lightroom.
✔️In contrast to RAW images, the DNG format stores checksum data in the file that helps recognize and avoid data corruption.
✔️Adobe continuously improves the DNG format, increasing its quality, versatility, and functionality with each year.
❌Converting images from RAW to DNG makes the import process longer. This can slow down your workflow significantly if you’re converting hundreds of high-resolution photos.
❌DNG deletes the majority of unrecognized metadata (like Active D-Lighting, Picture Controls, Focus Point, and so on) from RAW images, meaning you won't be able to access this data once a file is converted to DNG format.

A RAW file contains uncompressed and unprocessed image data recorded by your digital camera or scanner’s sensors. Taking photos in RAW allows you to capture the maximum amount of detail while also ensuring you can enhance, compress, and convert them without decreasing their quality.
✔️RAW images store full JPG Previews that were generated by your camera, using the parameters you picked before taking the photo.
✔️Other than standard exposure data, RAW images also contain other camera-related data like the focus point, image controls, and so on.
✔️RAW images have complete support from their manufacturers and thus are compatible with proprietary software suites like Nikon Capture NX.
❌RAW is a raster format, but not the photos themselves. As such, you have to import them into appropriate software to be able to edit and save them as a raster image in a format like JPG.
❌Since RAW images can’t be edited in third-party software, your parameters need to be stored in a dedicated sidecar (XMP) file, which occupies more space on your camera or hard drive and makes image management more difficult.
❌ Heavy and needs much space.
|
|

|

|
|
File Format Type |
Open-source, standardized format by Adobe
|
First-party format
|
|
Compatibility |
Supported by most software
|
Might require specialized software to be imported |
|
File Size |
Smaller thanks to lossless compression
|
Bigger, no compression |
|
Metadata Handling |
Embeds all metadata into the image
|
Metadata can be stored separately
|
|
Conversion Required
|
❌ |
✔️ |
|
Speed of Writing
|
Slower |
Quicker |
|
In-Camera Support
|
Compatible with certain cameras (e.g., Leica, Pentax)
|
Commonly supported by the majority of camera brands
|
|
Storage of Adjustments
|
Allows embedding edits into the file
|
Usually employs sidecar files for edits
|
If you pit a DNG file vs RAW images, you’ll see that DNGs embed all the edits straight into the file, which reduces the number of files in your system, but also eliminates a part of the metadata that can’t be restored afterward.
Enhancing a RAW image can be rather challenging. It requires you to have a sidecar file or convert it to a different format before you can process it. The sidecar is a dedicated XMP file that stores all the changes you make and file parameters.

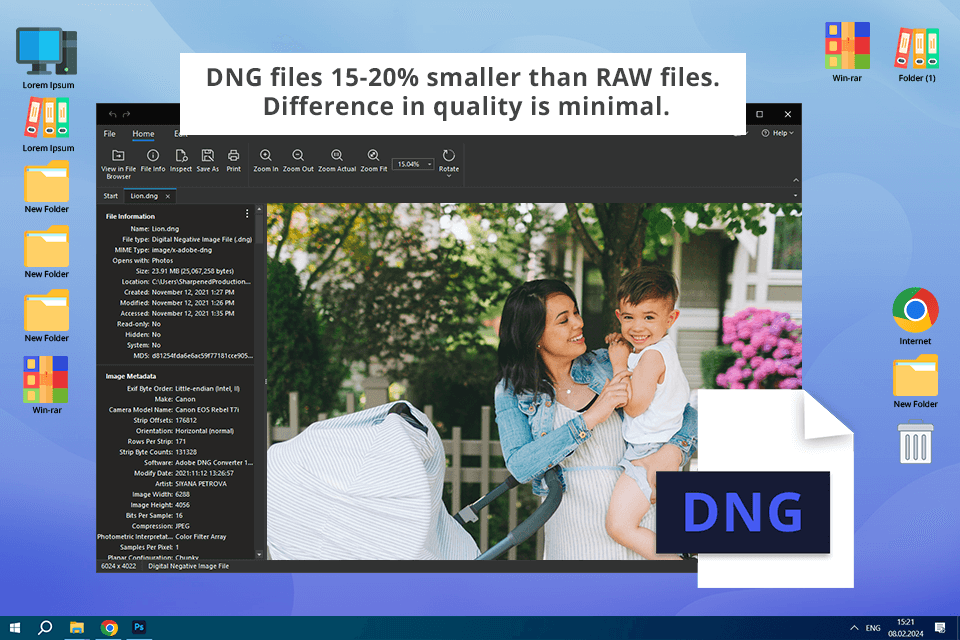
When comparing DNG vs RAW quality, statistics show that the former is usually 15-20% smaller than the latter format, but the visual quality is virtually indistinguishable. The DNG format can also contain the original RAW image inside, which doubles the size of the file but can serve as a nice backup.
DNG deletes part of the image data to lower the file size and make it easier to store and edit your photos. Possible removed data includes JPG previews, GPS data, metadata, certain camera models’ focus points, lighting, and picture controls.

RAW files are unique for all camera brands, and can even differ based on the sensor model. A RAW image taken with a Canon camera will be different from a Nikon RAW photo. This can be particularly challenging if you have a new, premium-grade camera since most software won’t support its RAW images yet.
On the other side of the Cinema DNG vs ProRes RAW battle, we have DNG trying to make up for the immense diversity of RAW image formats. It’s a single, open-source file type that is compatible with a long list of applications, allowing you to stop relying solely on software that's compatible with your camera's proprietary RAW format. On the flip side, DNG images can’t always be opened in the software provided by the manufacturer of your camera.
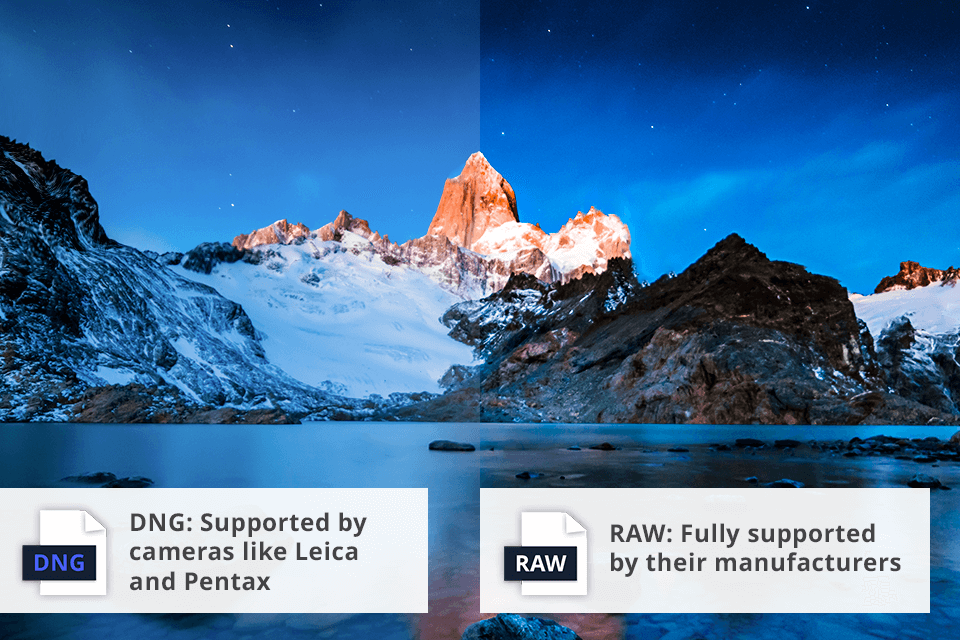
Even though DNG was created by Adobe and is compatible with all its software, popular camera brands like Leica, Hasselblad, and Pentax allow you to shoot in this relatively new format. For example, new Pentax cameras provide DNG as an optional format along with its first-party PEF file type.
Certain smartphones like the iPhone 12 or newer and the Samsung Galaxy S22 can snap pictures in both RAW and DNG formats, although such an option might need to be selected manually.
Even if your camera doesn’t allow taking photos in DNG format, you can get Adobe’s official app for converting RAW images from more than 600 camera models into DNG.

The easiest method for enhancing RAW photos is to convert them to DNG. Based on your OS, software, and the number of images you deal with, this process can take hours if not days, but the results are worth it since you can always go back to your DNG files and edit them as you see fit with zero quality loss.
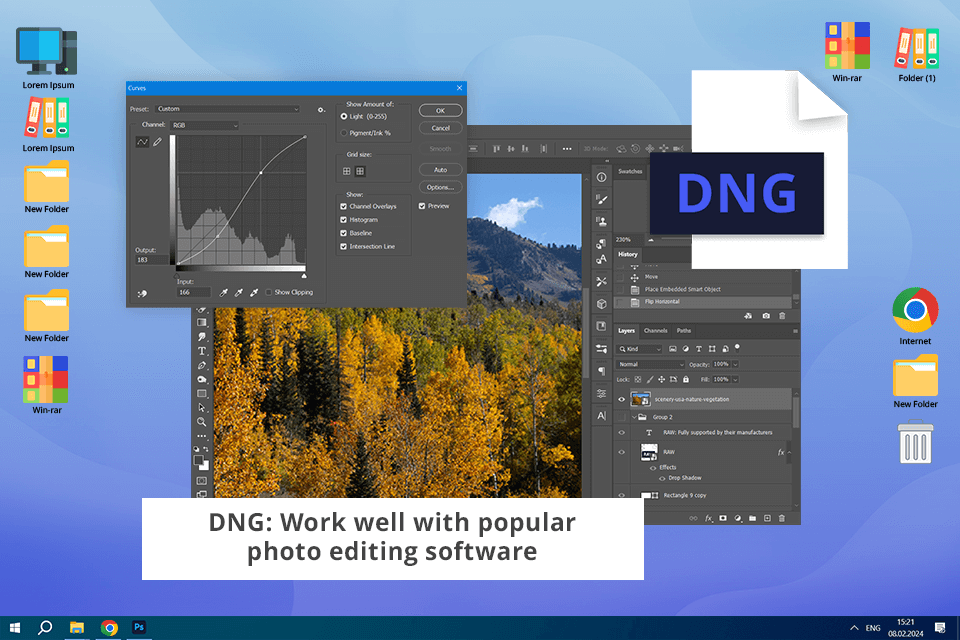
DNG images are compatible with most popular photo editing software for PC including Photoshop and Lightroom. If you’re debating between using DNG vs RAW for Lightroom, going with the former will allow you to leverage integrated shortcuts and the streamlined processes embedded into the images.
I usually rely on Adobe software and have been working in Photoshop for quite a while. Here’s a list of software that you can use for editing both RAW and DNG formats:

Capture One: Robust color grading and retouching tools, perfect fit for experienced photographers.
Darktable or RawTherapee: Free options with solid toolsets for enhancing RAW images.
RAW sidecars can come across as intimidating, but they’re extremely useful when you want to edit your RAW images in other photo retouching software. As long as you keep the original file, you can share the sidecar to collaborate on your images with other users.
Whenever you’re working on DNG images with other users, you’ll have to send the entire big file while also ensuring it’s of the latest version. This can be less convenient, particularly if you’re dealing with large quantities of photos.
Photographers work in RAW because this format grants them a higher level of control over their photos. When pitting JPEG vs RAW, I noticed that, in contrast to JPG, which compresses and processes the image in-camera, RAW preserves all the unprocessed data captured by the sensor. As such, you can easily tweak settings like exposure, white balance, and tonal balance during the image editing stage.
Yes, some camera models allow you to shoot in DNG. Certain manufacturers like Leica and Pentax provide native support for this format, allowing you to capture image data in DNG instead of their first-party RAW format.
The key distinction between DNG (Digital Negative) and RAW is that the former is an open-source versatile format created by Adobe, while the latter has unique properties based on the specific file type created by the camera brand (for example, CR2 for Canon or NEF for Nikon). When you pit these formats, you’ll notice that the DNG images take up less space and offer superior compatibility while RAW photos are uncompressed and can only be opened using specialized image editing software.
Both DNG and RAW are high quality image formats. DNG serves to contain most of the data included in a first-party RAW image while offering the benefit of lossless compression and superior compatibility. The visual quality of both formats is on the same level.
No, after converting a RAW image to DNG, you can’t restore its original properties. Thankfully, you only lose a small portion of the metadata, as the detail and visual quality remain the same.