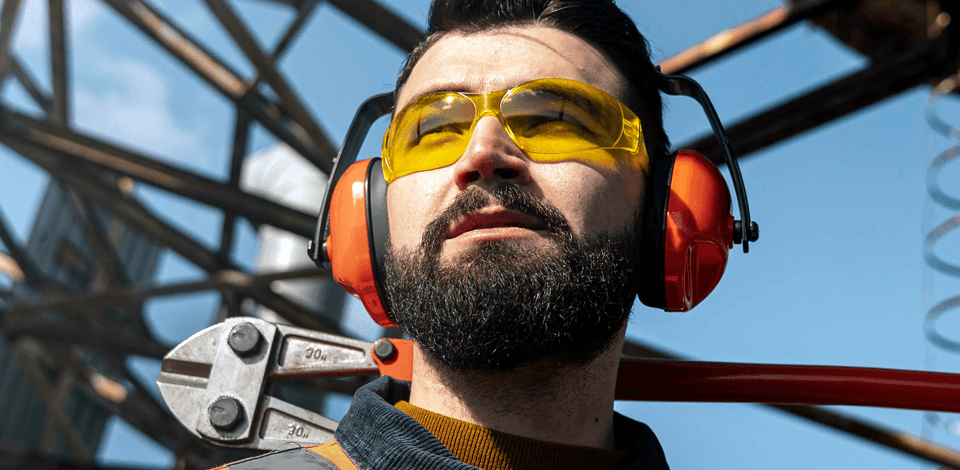
Using construction site photography tips, photographers can improve the quality of captured photos and demonstrate their expertise. When I was contacted by a client who works in the construction industry, he told me that his target clients are looking for a trusted company with a professional portfolio only.
The easiest way to show that a company is a reliable partner is to use high-quality photos of construction sites. In this article, I decided to share my recommendations on how to select gear and capture excellent photos that will help you find clients and contractors.
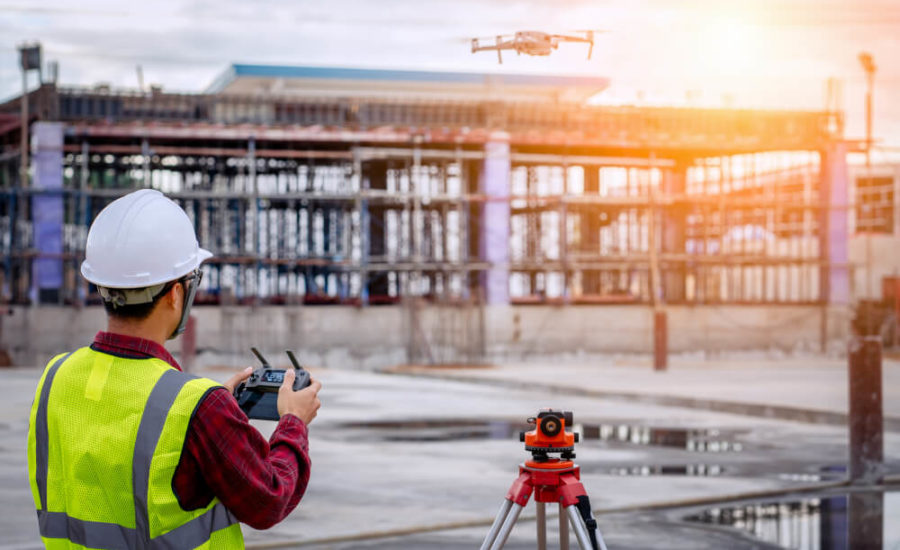
Camera. You can easily buy an excellent DSLR camera for a few hundred bucks. However, if you do not have a lot of money to spend, you can use a tablet or smartphone with a decent camera.
Many recently released smartphones are fitted with excellent cameras. I was doing architecture photography on multiple construction sites using iPhone 15 and was able to take great photos for social media campaigns.
Tripod. A decent tripod will help you stabilize your camera and take high-quality photos, as it will be easier for you to focus. Besides, when doing construction site photography using a tripod, you can quickly capture before-and-after pics from the same location. I recommend choosing between tripods from popular brands, such as Manfrotto and Joby.
A digital floor-plan app. It allows me to scan any room using my smartphone’s camera and produce a floor plan without wasting much time. When documenting any location, I can upload actual photos of a room, add notes, save the floor plan with pictures, create a report, and send it via email.
Online cloud storage for photo. This option is perfect if you need to take a lot of job-site pics. I prefer to use Adobe Creative Cloud. I like the fact that it allows me to use popular photo editing programs. Its plans include such apps as Lightroom and Photoshop. Using such tools, I can process RAW photos, which makes it perfect for professional photographers.

Before hiring a photographer, think about the type of photos you need. You may need to learn more about the various phases of a project and capture pictures at every stage.
Pre-Construction Photography. Before the start of a project, you may need to capture the location to facilitate planning and analyze the perspectives. Besides, documenting the job site before a project starts will allow you to protect your business and ensure the safety of workers. In addition, you will be able to order the materials you need and help your employees visualize everything and make the necessary preparations.
When photographers take a construction site photo before the beginning of a project, they prefer to use natural light or a limited number of light sources and do not edit photos. Such pictures are used for documentation purposes, as they allow stakeholders to see how a location looked before the start of the project.
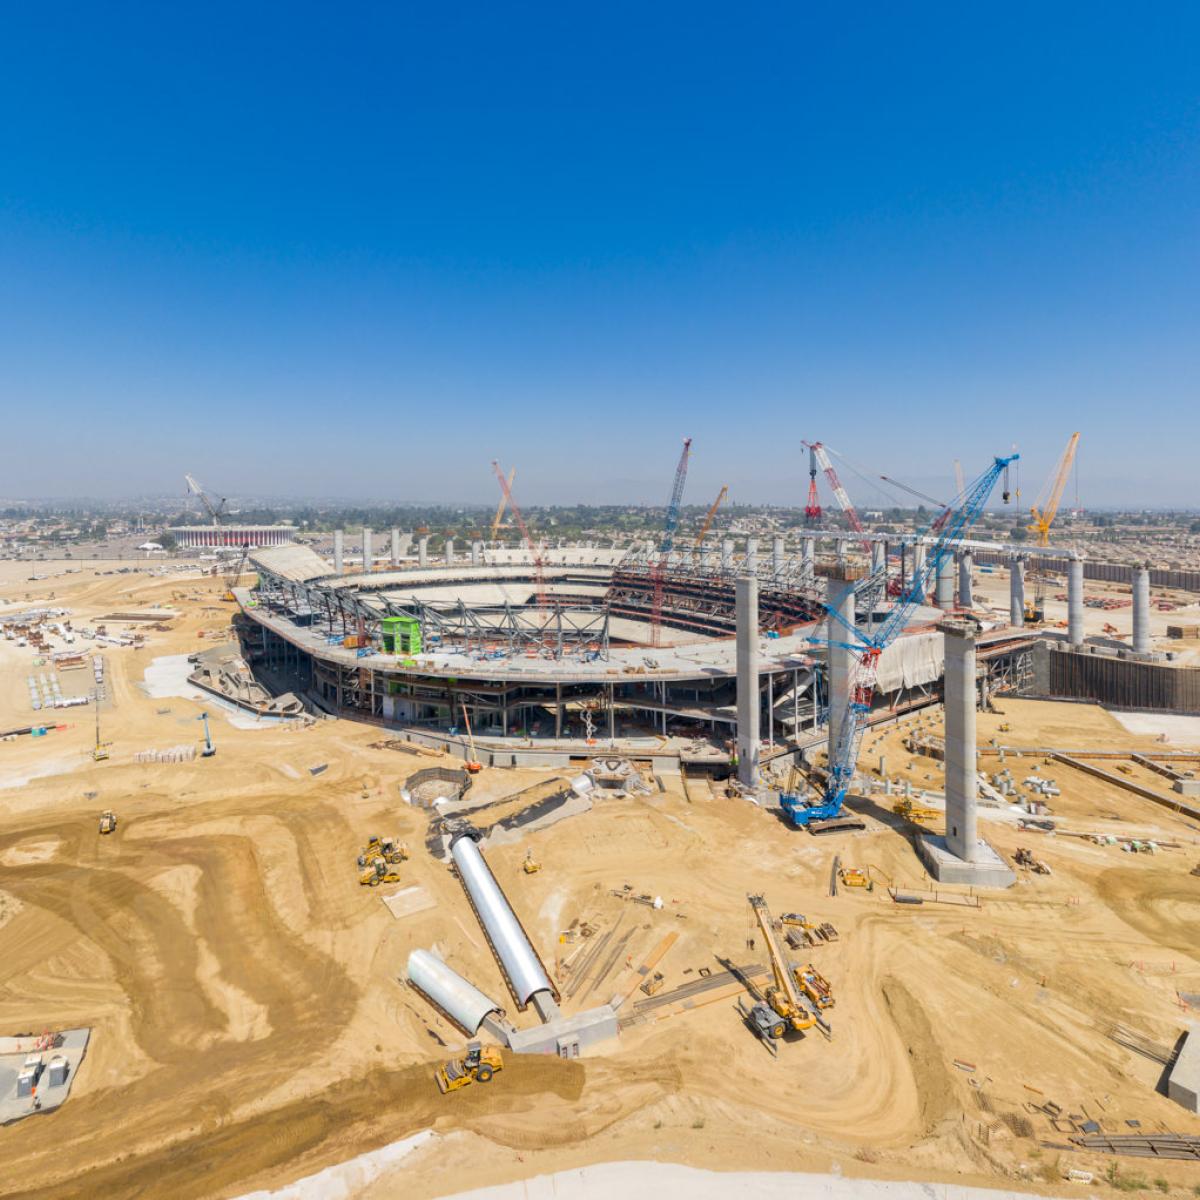
Progress Photography. Such photos are taken to document various stages of a project. They may include people if it’s necessary to capture employees when they work. There is no need to use many sources of lighting or edit photos too much unless photos are taken for marketing campaigns.
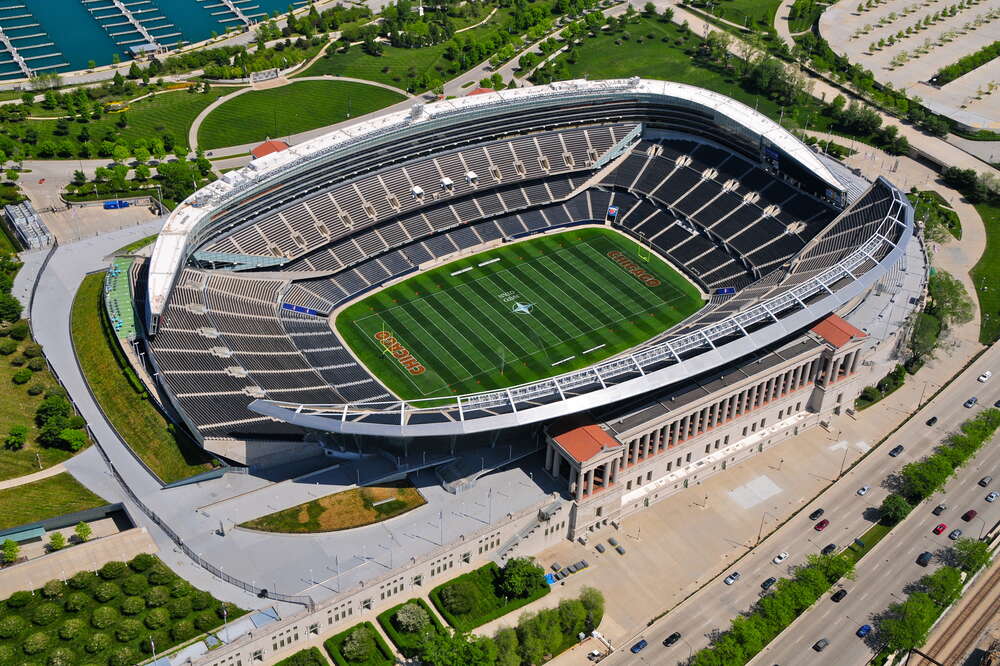
Final Photography. When taking pics, be sure to capture interior and exterior photos, take overview pics, and capture aerial or drone photos. It will give you plenty of options to choose from when compiling reports about the state of the construction site, launching marketing campaigns, and preparing publications.
To get high-quality content, pay attention to lighting and make sure to enhance your photos afterward. When taking pictures, I typically use a variety of techniques, for instance, leading lines and the rule of thirds. Most construction companies ask photographers to take photos without people in them, however, some clients may ask a photographer to include workers in the frame.
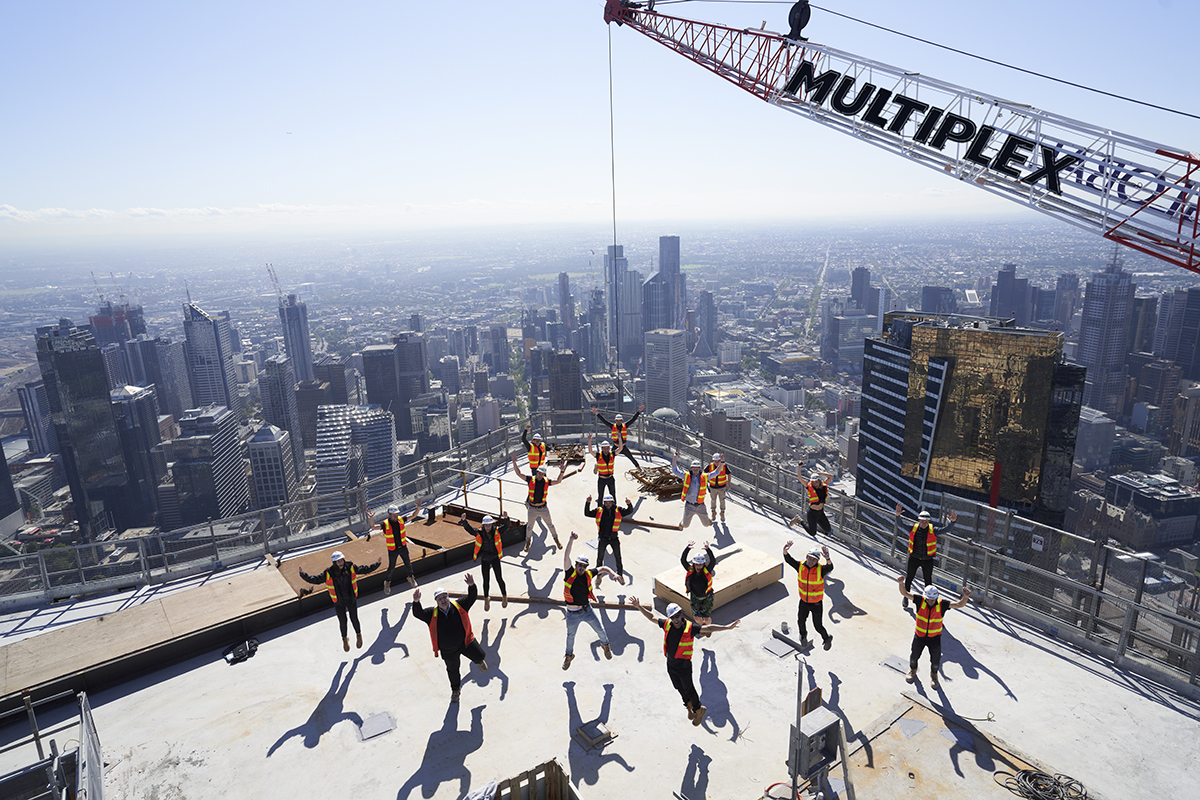
In addition, I often shoot drone and real estate aerial photography. Using drones is quite convenient if you know handy construction site photo tips. Besides, it makes it easier to capture low-altitude photos (5 ft to 100 ft) and take pics across the face of the building.
Booking a plane or helicopter ride will allow you to capture magnificent views of a territory and show how it is connected to the cities nearby. Planes enable you to capture buildings in a realistic way. Drones with a wide angle lens can make buildings seem larger. Planes allow a photographer to capture professional pictures of buildings in their immediate surroundings.
While it’s crucial to keep your main subject in mind, you should also consider how the construction site photo will be used. If you need to take photos for marketing materials, they should be of high quality. You will also need to save them in a suitable format. Be sure to take vertical images for online publications, as it will make it easier for designers to add text.
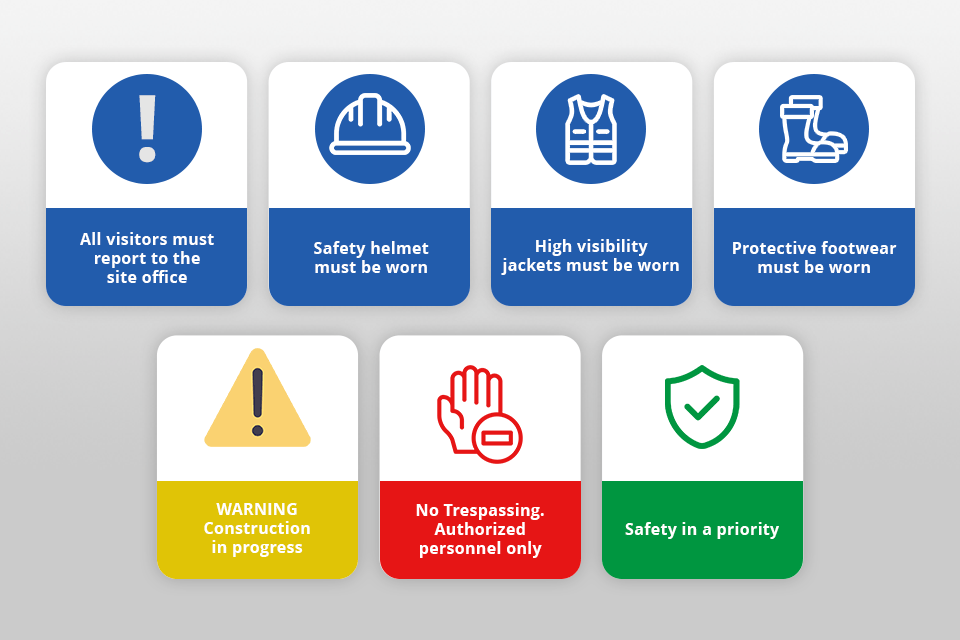
Make sure to read the rules to navigate the construction site without endangering yourself and other people. Communicate with the site manager and learn about the rules you should adhere to. You can also show them the photos and discuss the object that you want to exclude.
Doing construction site photography requires following safety guidelines. Remember that you should not take photos of people who stay under the lifting load or do not wear hard hats.
While you can rely on natural light in some situations, all too often you will need to use extra sources of light when doing interior photography. By adding such lights to your setup, you can use shadows to focus a viewer’s attention on specific objects.
In some locations, you won’t need to use more than two lights, however, in other locations, you may need to add more than eight lights to your setup.

When taking exterior photos, you must also consider lighting. If you want to capture a building, you can ask your photographer to capture it in low light. It will allow you to get pictures with soft shadows and well-balanced interior and exterior lighting.
Depending on the location, you can take such photos at sunrise or sunset. It makes sense to capture some buildings at midday, however, such cases are an exception. Most buildings will have high-contrast areas between highlights and shadows, which will affect the overall quality of your pics.

While taking before-and-after photos and capturing the progress is important, I also usually take photos of problematic areas. If builders face any obstacle, be sure to take a photo of a difficult area and send it to stakeholders to help them come up with a solution.
Besides, I typically take photos of specific details. Close-ups allow me to emphasize important details and confirm that they were built properly.
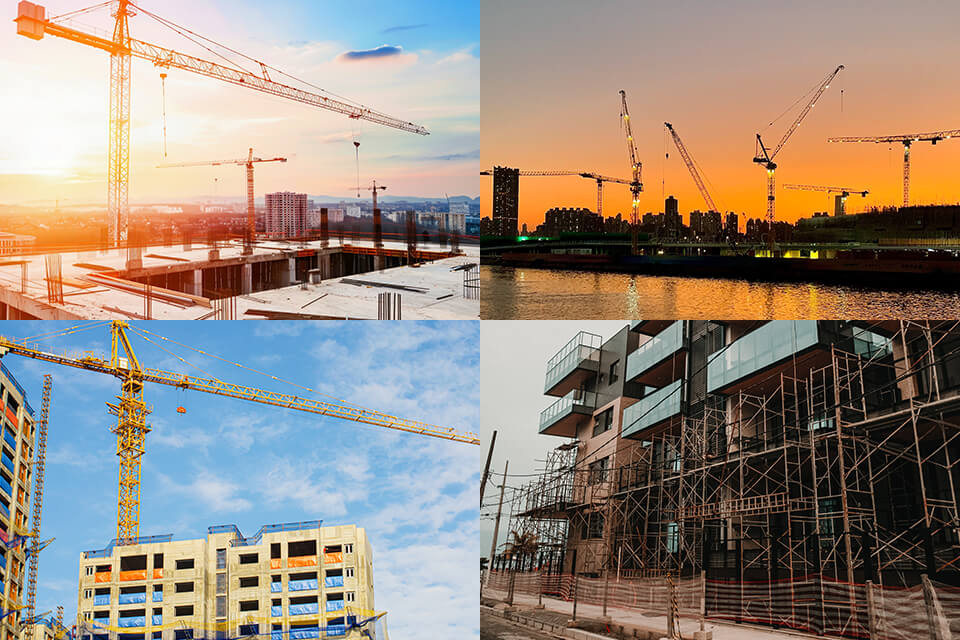
Try taking a construction site photo from a higher or lower vantage point. If you want to emphasize specific details, you may come closer. It’s important to capture every construction site from different angles.
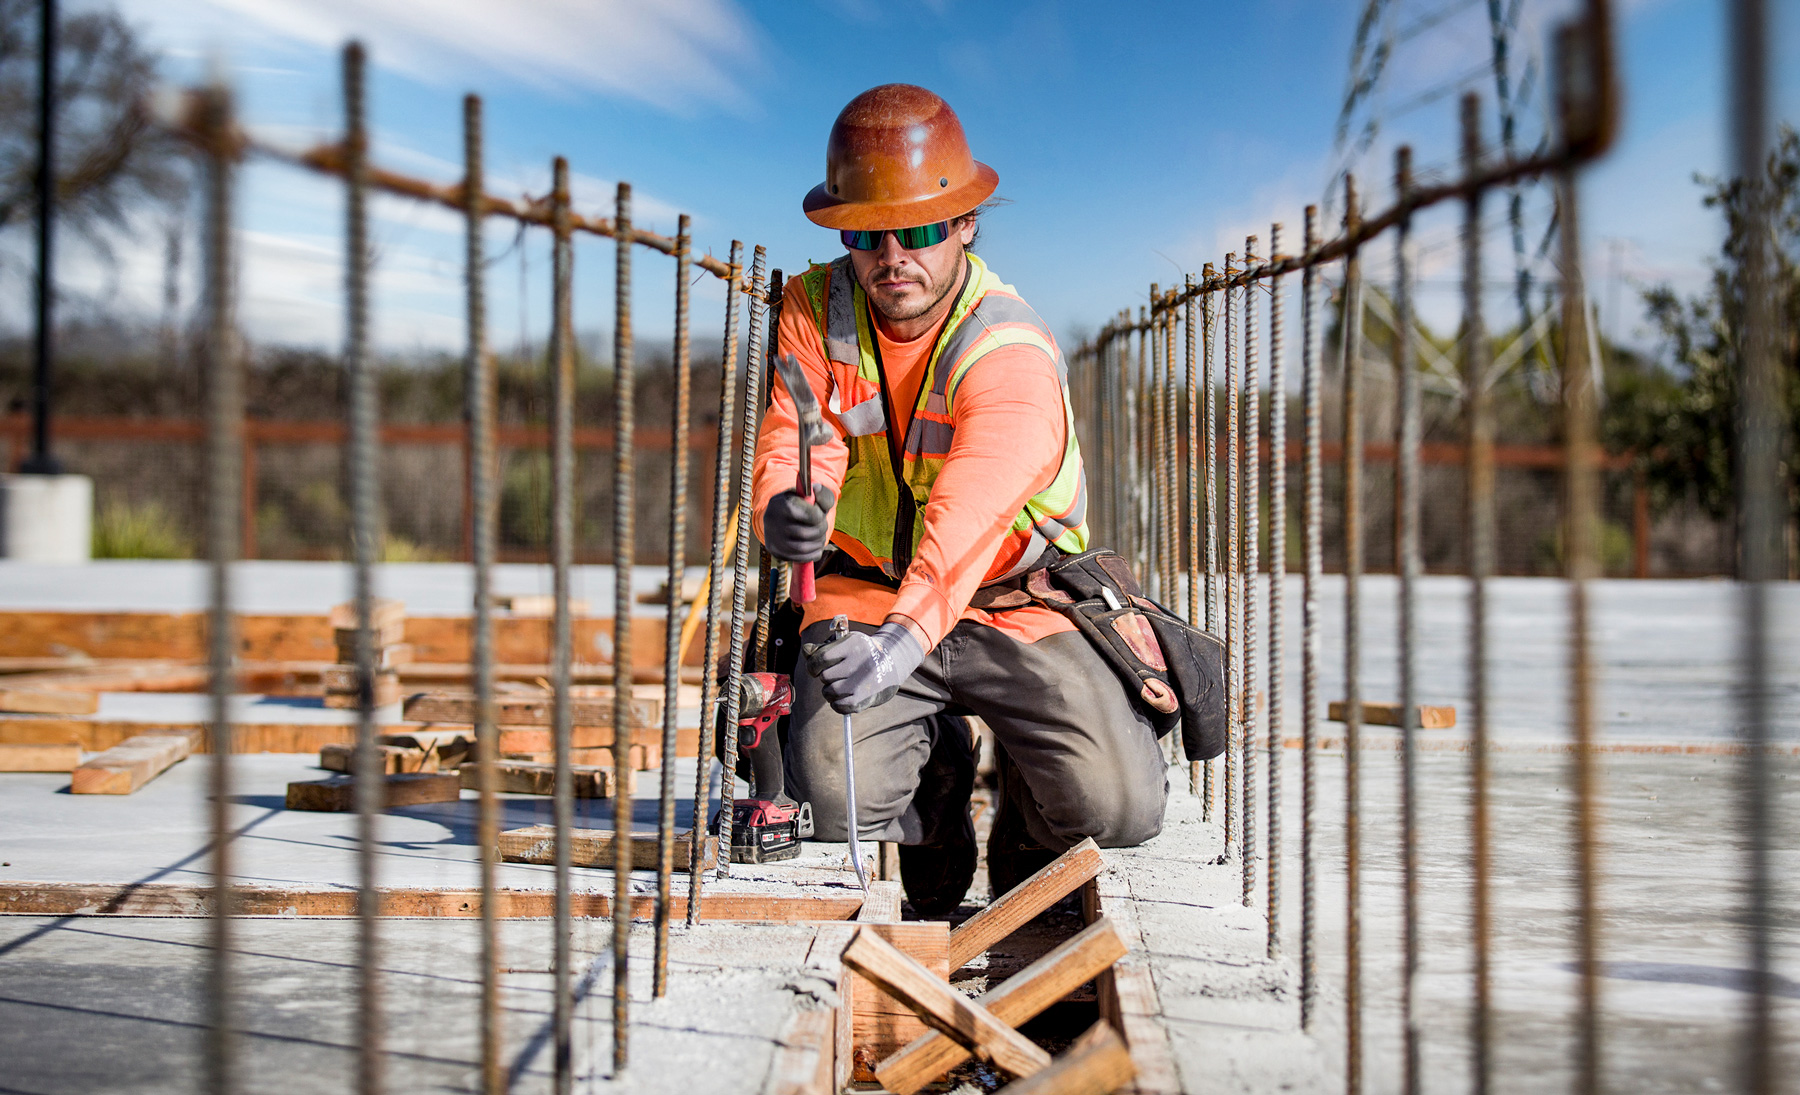
Do not rely on a digital zoom, as the quality of your photos will suffer drastically. In most cases, it is better to get closer to the construction you want to capture.
If you took a great photo, but think that the ceiling or floor takes up too much space, cropping in photography is a useful technique that will help you fix this issue. For instance, if you have captured a specific element and think that it looks too distracting, it may be better to crop it.
Experienced photographers know how to capture photos with extra space and crop them afterward to improve the composition or use empty space to add captions. You can capture a picture from a specific angle knowing that you can crop it later if necessary.
When editing photos, be sure to keep some details unaltered. For instance, you may delete distracting signs and wires, make pavements cleaner, reduce shadows, make the lawn greener, and edit the sky.
However, you should show the construction site itself as it is. If your photo looks overly edited, it will make a viewer distrust it. The photos that are edited too much do not have the same impact as unaltered images.

There is no need to spend hours looking through hundreds of construction site pics to find a specific image. You can conveniently put your pictures into folders and add labels containing important information, including project names, dates, and invoice numbers. I prefer to use photo organizing software like Adobe Bridge and Google Photos.

If you want to get professional photos, find the right professional for your photoshoot. I recommend hiring real estate photographers.
You can easily find them using Google search by keywords like construction site photographers, construction photographer near me, construction workers photography, construction site progress photos, construction site inspection photography, construction site marketing photos on such platforms as Reddit, UpWork, and Behance.
After finding suitable candidates, make sure to take a closer look at their portfolios. Experienced photographers and videographers have official websites or social media pages where you can see their past projects.
Besides, you may talk to contractors and architects and ask them whether they could recommend photographers to you. Communicating with other industry professionals will allow you to get invaluable feedback on how photographers work with their clients, how quickly they send photos, and how much they charge.