I create timelines for arranging ideas, events, and facts in my tutorials, lessons, and case studies. It is easy to generate them when having a proper timeline generator at hand.
As you may need to make a timeline for different purposes, the choice of software will vary. Some users look for a tool to create a timeline to engage learners, whereas others require a functional solution to manage a project. Someone will appreciate a program that offers a particular template, or the tool with greater export and embedding capabilities.
Pricing: Free or from $9.99/mo
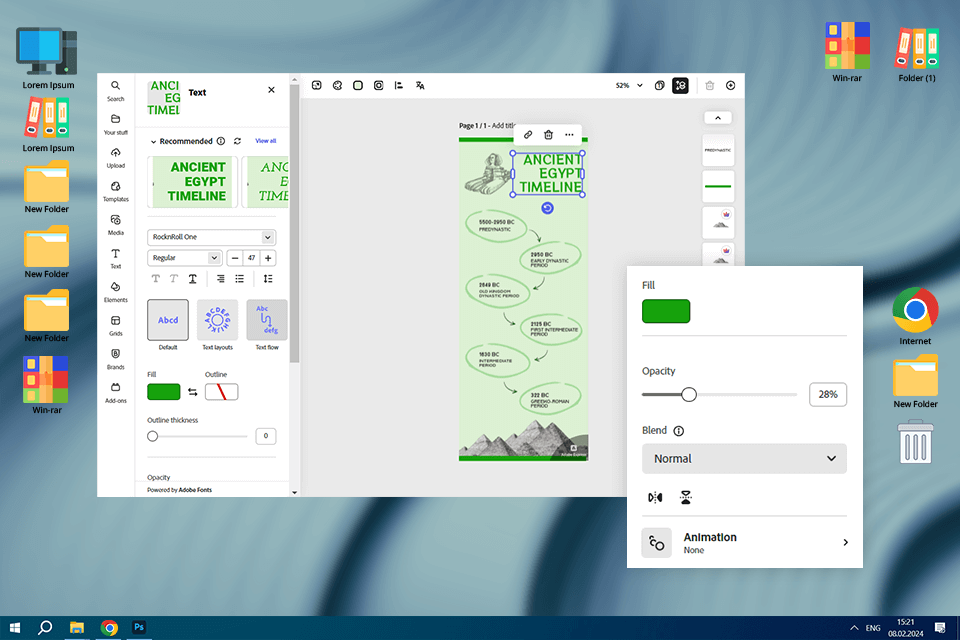
Verdict: What I like most about Adobe Express is that it allows the production of visually appealing timelines. The program offers a great variety of templates that provide an excellent starting point for generating amazing projects without paying much effort. There are images, icons, and various design assets for customizing my design.
Working on my timeline, it is possible to upload your own media. The ability to access assets of other Adobe programs is cool. For example, I could browse an extensive collection of Adobe Stock royalty-free images and videos to jazz up my project.
However, the software has its downsides. If you want to generate a detailed or complex timeline in a free version, the customization options might feel a bit limited.
Pricing: Free or from $6/mo
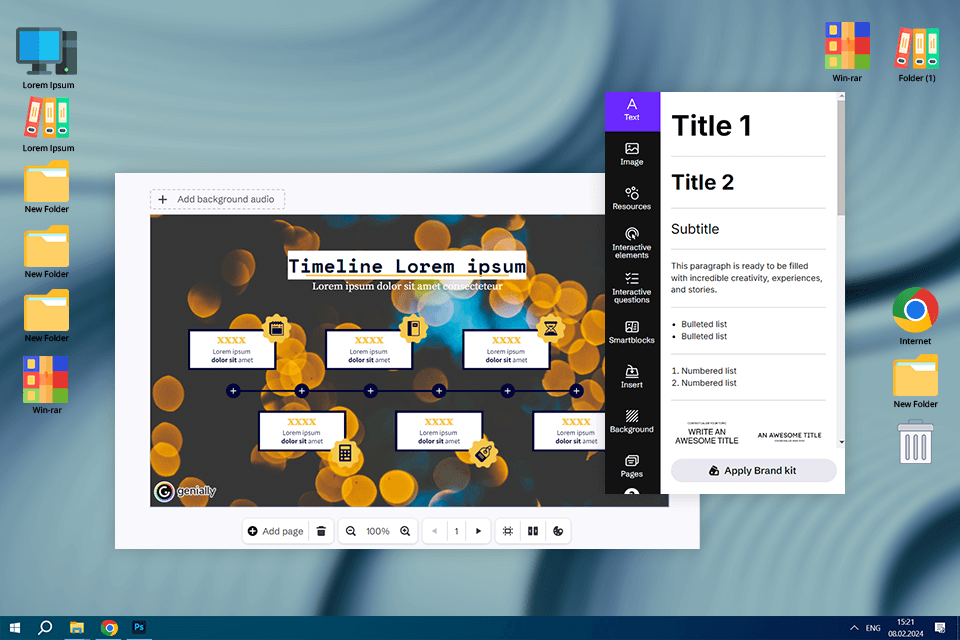
Verdict: With Genially, I can create an interactive page starting with a blank canvas or a template. One of the features that make Genially stand out among the competitors is the ability to add hotspots to the timeline. These are digital marks that redirect visitors to the page with a video or audio clip.
Like some other web design software, this program offers AI functionality. For example, you can delete the background from an image, you are gonna use in a timeline, with just one click.
Pricing: Free or from $10/mo
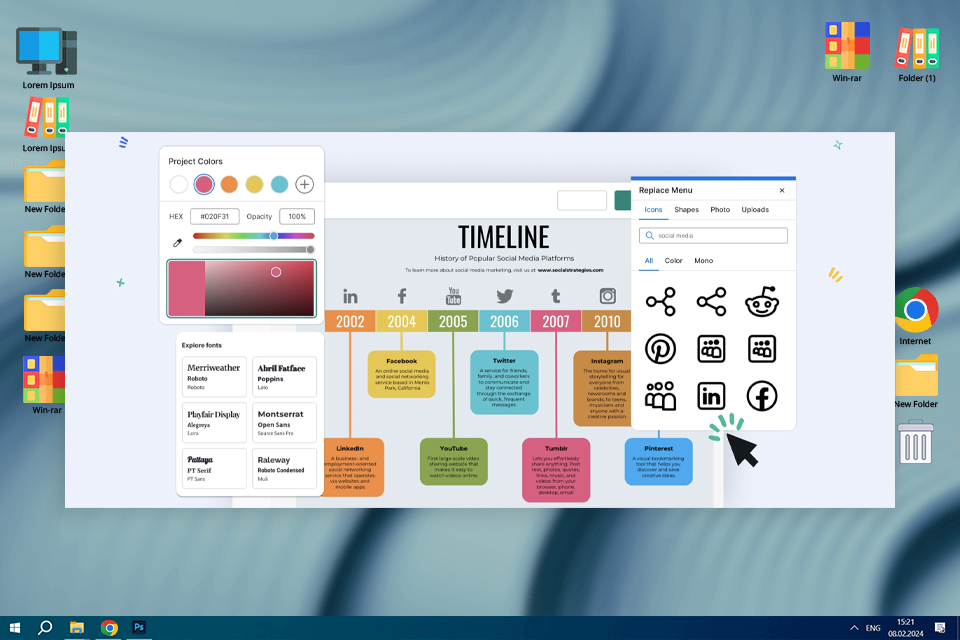
Verdict: Venngage makes timeline creation feel planned and professional from the beginning. I used numerous templates for business milestones and project roadmaps, and everything — from layout to spacing — felt polished and presentation-worthy. The drag-and-drop editor is simple to use, so creating a neat timeline required no design experience.
What really distinguishes Venngage is its emphasis on branding and accessibility. Features like Brand Kit, contrast checks, and alt text made it simple to construct timelines that were both on-brand and accessible.
While some complex templates are restricted to expensive subscriptions, Venngage is an excellent alternative for teams, educators, and marketers who require clear, professional timelines quickly.
Pricing: Free or from $9.99/mo
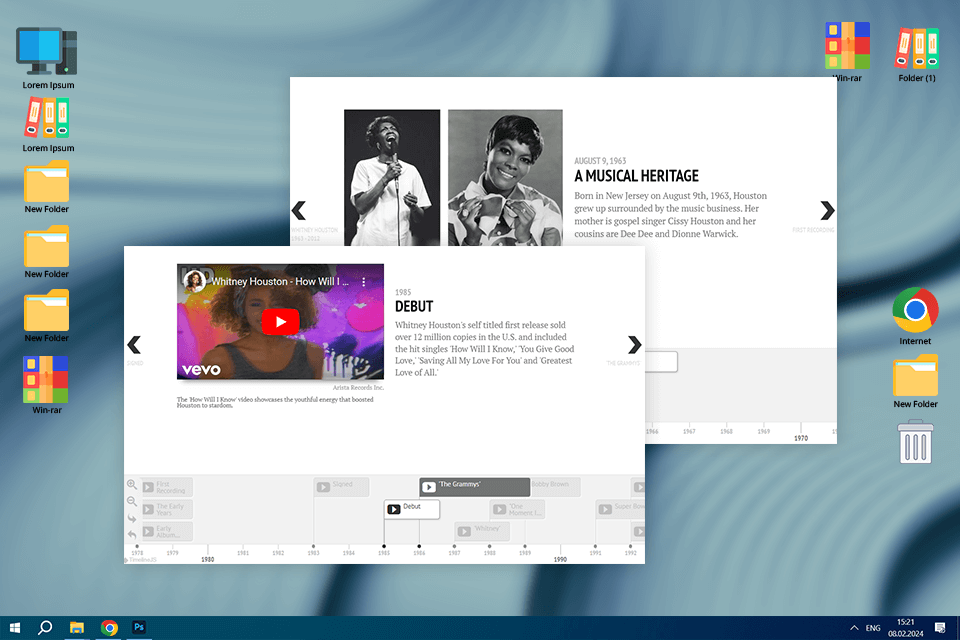
Verdict: With TimelineJS, the creation of an eye-grabbing and interactive timeline for sharing online is a no-brainer. I like that the program allows including text, photos, and embedded YouTube videos. And within half an hour, I got a professional-looking project.
Thanks to its intuitive interface, TimelineJS lets you customize the timeline using CSS to match your style and branding. However, this option is more suitable for simple projects, but if you need to create a more complex or flexible design, this option is not the best one.
Pricing: Free or from $6/mo
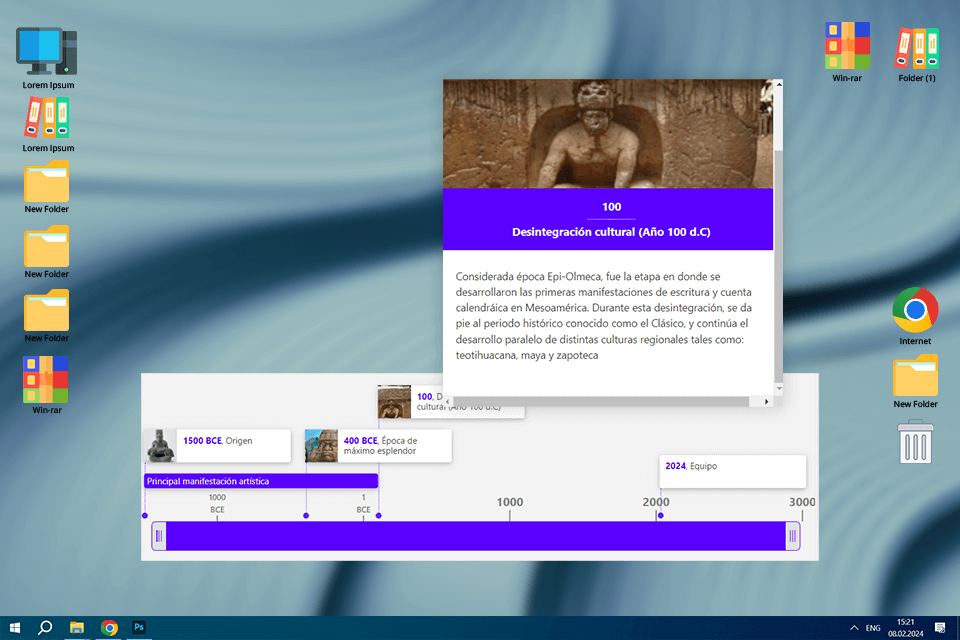
Verdict: Timetoast is probably the best online timeline generator, which attracts users not only with its simplicity but also with the ability to export my projects as images to embed them right into my website. This feature was extremely helpful, as my site is quite simple and it lacks functionality for creating beautiful designs.
Although the free version offers many options, it has many restrictions like fewer templates and features. If you need more advanced functionality, you should upgrade to a pro account, which is quite pricey.
Pricing: Free or from $9/mo
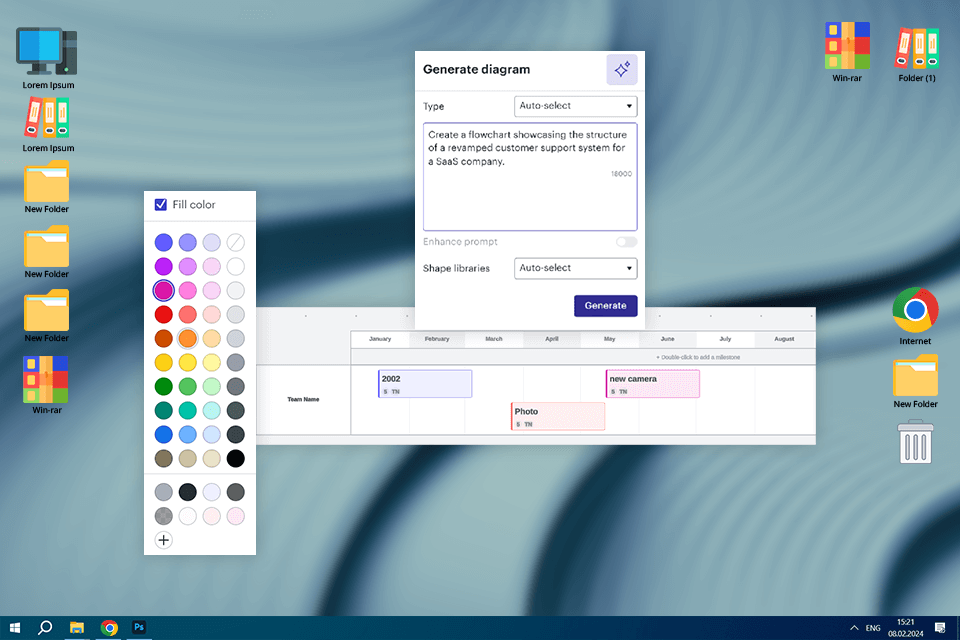
Verdict: Lucidchart is the best online timeline generator for many users because of its handy drag-and-drop functionality and its ability to integrate with many other tools. You can easily share projects created in this program on such platforms and applications as Slack, Microsoft Teams, Excel, Jira, OmniGiraffe, and Viso.
I tested several templates offered by this block diagram program, and I liked them because of their eye-grabbing design and easy customization to fit my needs. However, the number of pre-made designs is quite limited.
Pricing: Free or from $149/year
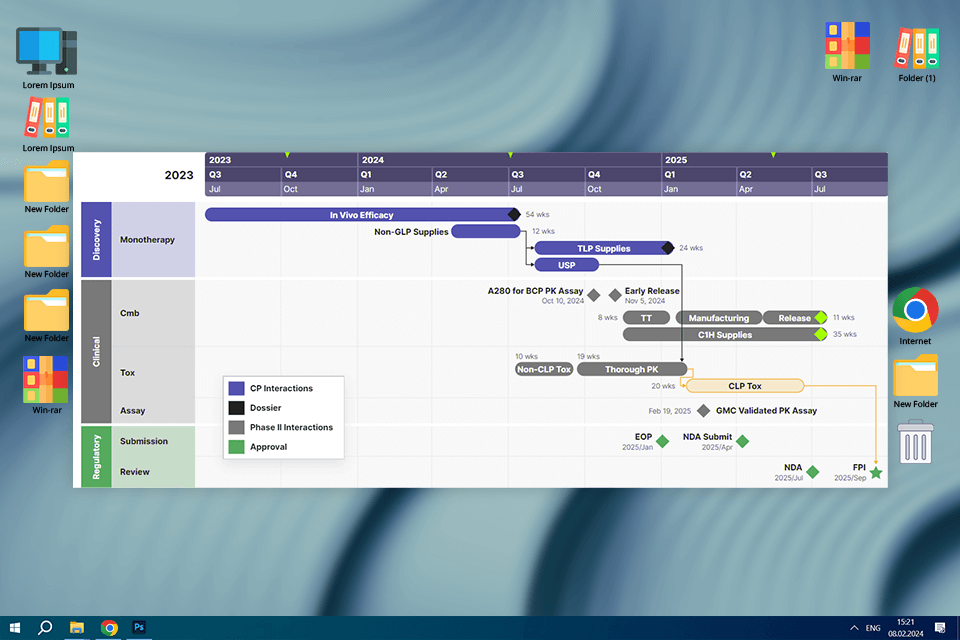
Verdict: Office Timeline is a project management software, which is a go-to option for business communication. It combines the functionality of two tools namely an online timeline maker and an offline PowerPoint add-on.
After testing both instruments, I can safely assert that this web platform is intuitive and offers many templates and export options. Its offline tool has an automatic Gantt Chart feature that uses data from an MS Excel spreadsheet.
Pricing: Free or from $10/mo
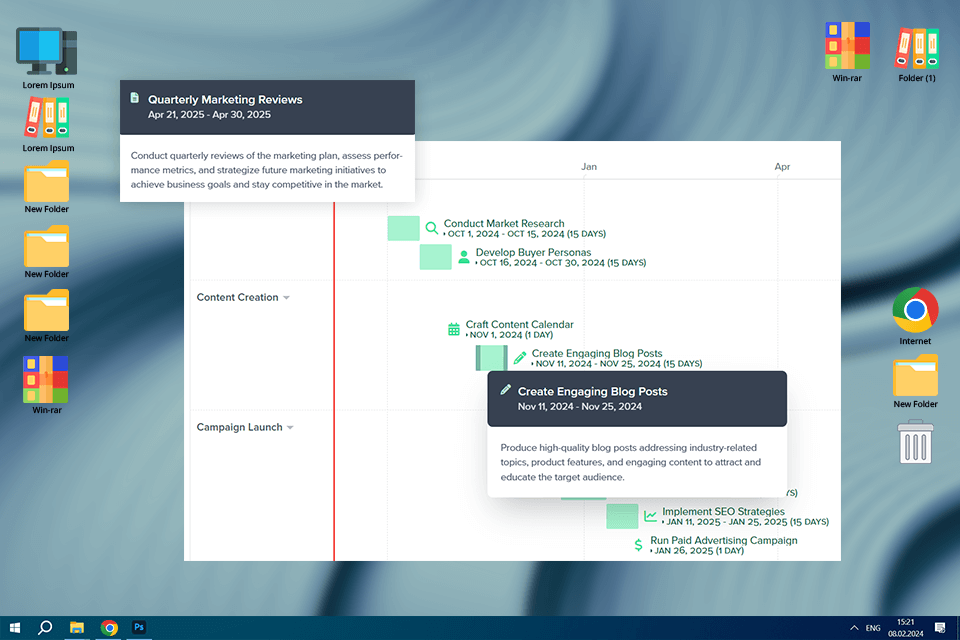
Verdict: Preceden is probably the best timeline maker for those who need to create timelines quickly and hassle-free. Using this program, I could build chronological presentations without experiencing any difficulties.
The tool even allows changing colors, fonts, and layouts according to my needs to make my project look exactly the way I want.
Pricing: Free or from $9.50/mo
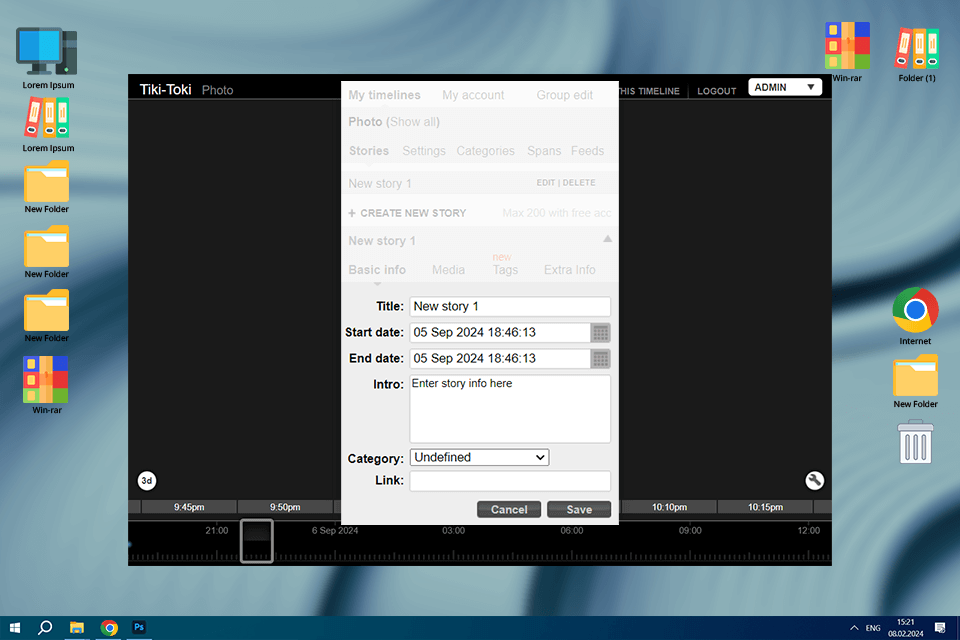
Verdict: Tiki-Toke is one of the greatest timeline generators, with which you can present history in 3D format. This user-friendly web tool is an ideal assistant for both teachers and students.
Users of this graphic design software might be disappointed with its restricted range of customization options, but the simplicity and stunning look of the projects make it a really worthy solution.

Pricing: Free
Verdict: BeeDocs Timeline3D is a go-to option for those who want to create stunning 3D timelines for free. To start working on the project, you’ll only need event titles, dates, and a set of pics, videos, or PDFs you would like to add.
It is great that this timeline maker offers a highly functional iOS app for creating and presenting your projects right from your phone or tablet. You can also showcase them on a big screen using AirPlay. Of course, the 3D effect is impressive, but BeeDocs has its cons like limited customization options and lack of control over finer details.
First of all, when I’m going to create a timeline, I consider the type of data I need to present like a project timeline, historical events, or a product development process. The workflow is similar to the flowchart software: you need to define the timeframes and invent a clear and eye-grabbing title.
Select the right tool. Lucidchart and Preceden are the best variants for complex and interactive timelines, whereas Adobe Express and Genially are ideal for simple and visually amazing timelines.
Keep it simple. The timeline should be clear and easy to follow, so make sure you only include important events. Do not overdo it with text and convey all the essential info through visuals. Brief descriptions and bullet points work best in this case.
Make it visually attractive. Choose a consistent color scheme, font style, and layout to create a cohesive and eye-grabbing timeline. Include relevant visuals to showcase events in a more engaging way. To make the timeline easier to read, make sure that there is enough space between events.
Ensure readability. The selected font should be readable, even at smaller sizes. It is better to choose simple and distinct fonts for the most essential key elements. The contrast between text and background image should be high to ensure excellent visibility.
Add interactive elements (if possible). Some tools allow including videos, links, or interactive elements to the presentation to make it more eye-catching. When working on more complex timelines, add expendable or clickable sections in order not to overwhelm viewers with too much data at once.
I prefer Adobe Express for making my presentations. The first reason for this is excellent customization that allows creating timelines to match my style.
Changing colors, fonts, and backgrounds was a no-brainer, and I easily made a timeline for the article and social media networks. The tool’s integration with other Adobe products is a great plus as well since I could easily include assets from Photoshop or Illustrator.