Working with large numbers of images every day, I often need to review everything from single photos to entire batches. As the number of files kept growing, checking each image manually became too slow. That’s why I started looking for an AI image analyzer that could speed up the process by helping me understand image content without examining every detail myself.
Instead of trying just one image analyzer, I tested several options to compare how they performed on real images. I also worked with the FixThePhoto team, so the results reflected more than just my own experience. Together, we compared how accurately each tool understood images, how useful and detailed the responses were, and how well they fit into real everyday work.
The AI image analyzers in this article offer much more than basic object recognition. They can describe scenes, read text, identify objects, explain visual details, answer questions about uploaded images, and pull out useful information that would otherwise take time to find manually. I chose these tools because they were easy to use, delivered helpful results, and worked well for the kinds of image analysis tasks I deal with most often.
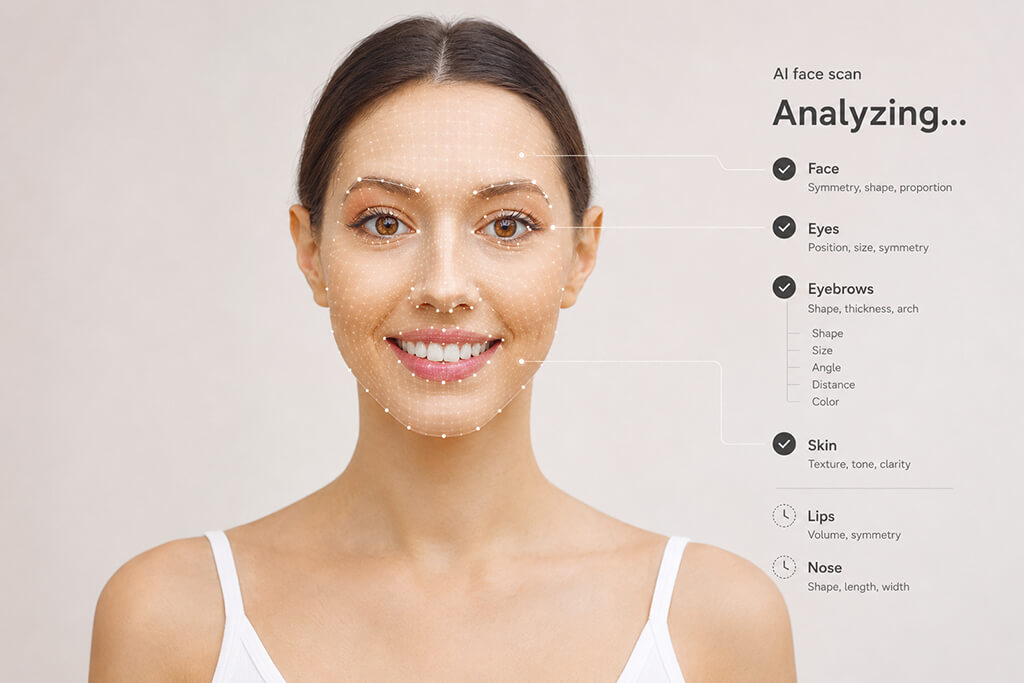
An AI image analysis tool quickly turns image content into useful information. Instead of checking every image myself, I can use it to identify objects, extract text, find specific details, and answer questions about what appears in the pic. This saves time, especially when working with large numbers of photos.

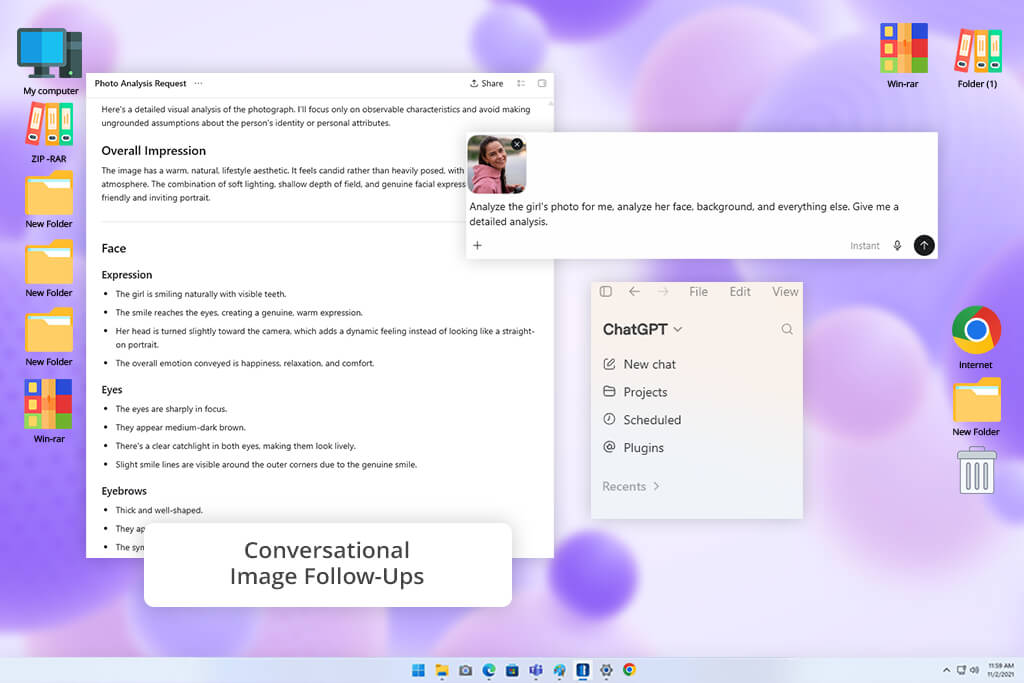
I already use ChatGPT for many everyday tasks, so it was the first AI image recognition tool I tried. I uploaded different types of images and asked specific questions instead of using a generic prompt.
With photos, I identified objects, described scenes, and checked visual details, while with documents and screenshots, I focused on extracting text and important information. I also liked that I could start right away without switching to a separate analysis mode or learning a new interface.
“I often use ChatGPT when I need to quickly understand something in a photo or screenshot. Instead of getting just one answer, I can keep asking about different details in the same image without uploading it again.”

Like dedicated OCR scanner tools, ChatGPT was especially useful for extracting text from images. I uploaded images with printed and handwritten text and converted them into editable, searchable text instead of just getting a description.
I also tested charts and diagrams by asking questions about the main trends, which gave much more useful results than a general image summary. It also worked well for identifying objects and examining photos, although busy layouts and decorative text sometimes needed an extra check because small details could be interpreted incorrectly.
What I found most useful was being able to keep asking questions about the same image. After the first analysis, I could ask about the lighting, composition, or specific objects and get practical suggestions based on what was in the photo. For example, I could ask how the lighting looked and then request Photoshop adjustments based on those details without uploading the image again. This made the tool much more useful than getting just a single description.
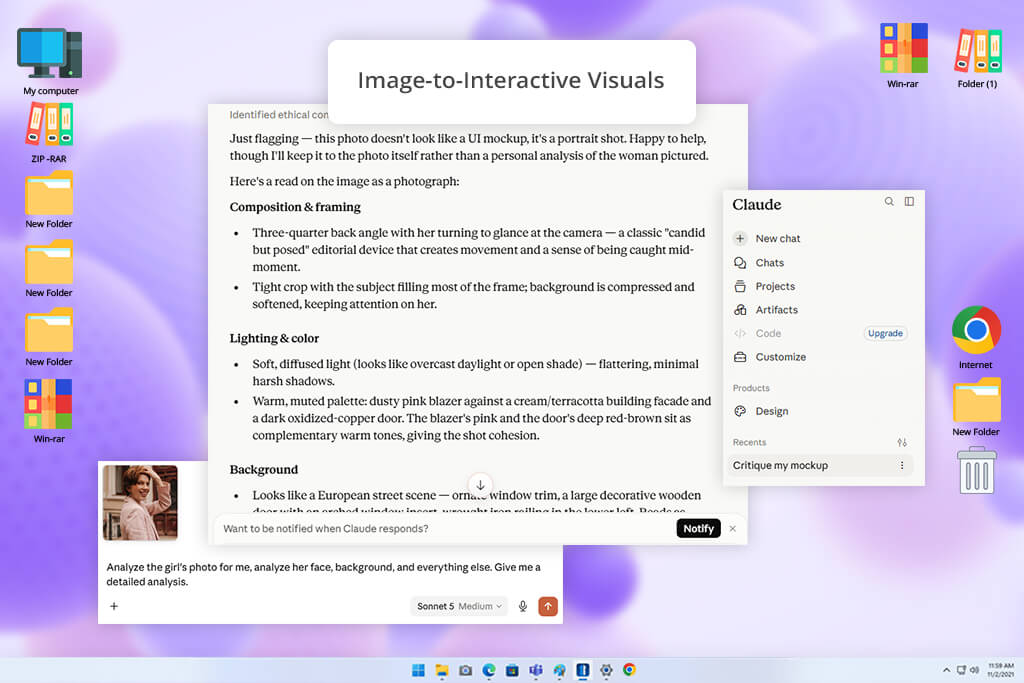
Claude is newer than some of the AI virtual assistants I use, but I found its image analysis surprisingly capable. I started by uploading a screenshot of a website and asked it to identify usability issues.
Instead of simply describing what was on the screen, Claude pointed out problems with spacing, layout, and visual hierarchy while explaining why they mattered. It also kept the original screenshot in context, so I could ask follow-up questions about specific areas without uploading the image again.
“Claude found some of the spacing and layout issues I had noticed and explained why they mattered. I wouldn’t use it for tiny details, but it worked well for reviewing the overall page.”

It also worked well with documents, scanned pages, and charts. Instead of extracting all the text, I asked Claude to find specific information and organize it into a clearer format. It handled clearly visible text and structured data well, but with busy images and very small text, the results became less accurate because it sometimes missed fine details.
For photos, I found Claude worked best when I asked specific questions instead of requesting a general description. I could give some context, then ask about the scene, individual objects, or other details I needed. I also liked its visual output features, especially the ability to create simple diagrams and SVGs based on the information it analyzed.
For me, though, it was most useful with screenshots, documents, and other structured images where understanding the overall layout and context mattered more than spotting tiny details.
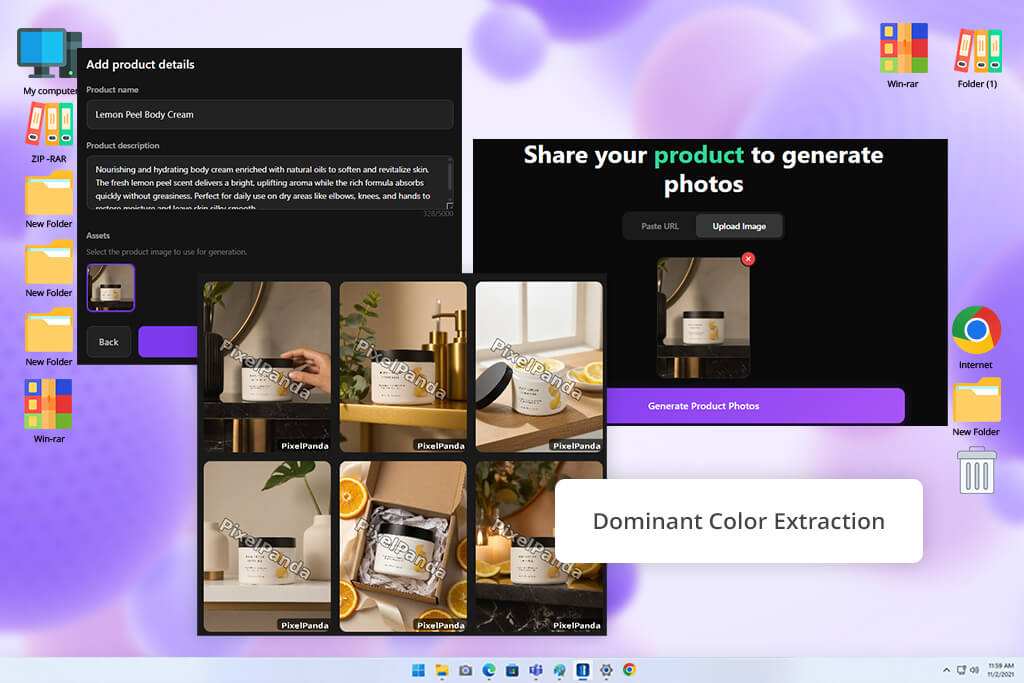
My coworker Nataly suggested PixelPanda, so I included it in my testing. I submitted JPG, PNG, and WebP versions of product images, portraits, and interface screenshots. In a matter of seconds, the free analyzer produced a precise 1-2 syllable description, which is useful for rapidly examining how AI understands an image.
I moved to AI Analyzer Pro for a more thorough test. Individual items were detected, dominating colors were retrieved using HEX codes, visible text was identified, and the lighting, frame, sharpness, exposure, and noise were assessed. Additionally, I created ready-to-use SEO tags and alt text, which were especially helpful when getting product photos ready for internet listings.
“After analyzing the image, I used the built-in upscaler and removed the background without switching to another tool. That was convenient, although the dashboard includes so many features that I only ended up using a small part of them.”

I appreciated that PixelPanda analyzes more than just standard photos and can handle files up to 50MB in size. I used an illustration, a screenshot of a website, and an image of an e-commerce product to test it. Rather of returning a general collection of disconnected tags, it identified the primary subjects and spatial relationships.
Additionally, the analyzer is helpful for creating descriptions and metadata for global websites because it supports 19 output languages. I was able to examine marketing materials, develop accessible alt text for various markets, and arrange image libraries thanks to its reliable output.
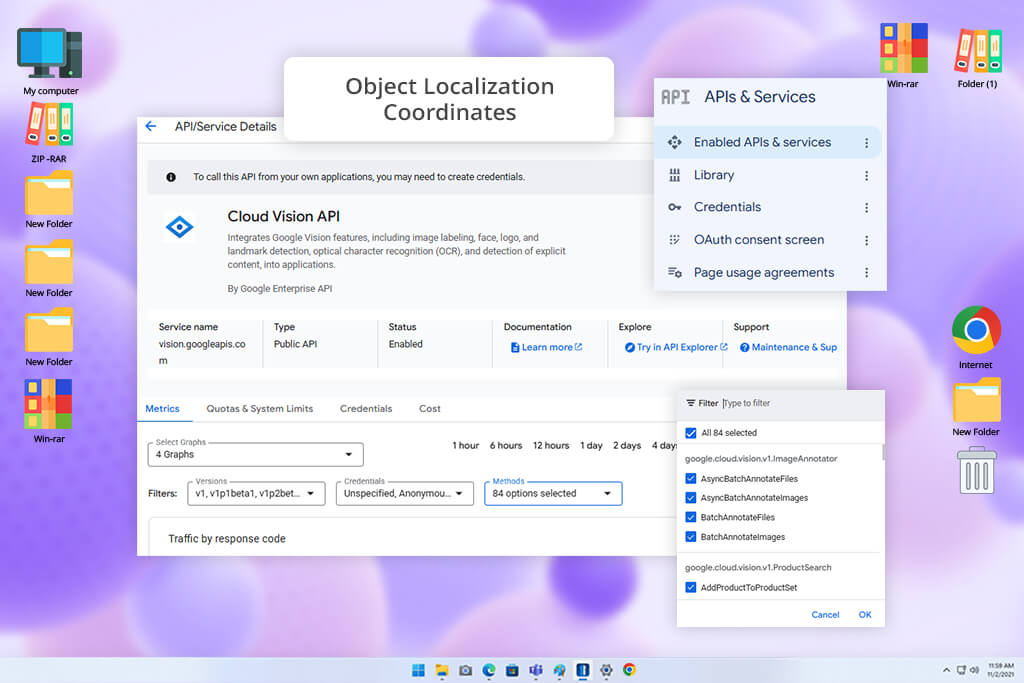
Because Google developed Cloud Vision, I expected it to perform well. Unlike ChatGPT or Claude, which are designed for conversations, I used this image recognizing software to extract specific information from images. I started by testing Object Localization and Label Detection with everyday photos containing several objects. The tool quickly identified what it found and returned coordinates for each detected object, making the results clear and well organized.
OCR was the feature I spent the most time testing. I gave Cloud Vision images containing both printed and handwritten text and used Text Detection to see how much I could extract without cleaning up the source files first. It performed particularly well with clear documents, and support for 80+ languages makes this more practical when a batch contains multilingual material.
I also tried Logo Detection and Landmark Detection on appropriate images, which gave me another way to classify visuals without manually checking each one. These specialized detection features were more useful to me than a long general description.
I also tried SafeSearch Detection to see how well it identified images that might contain explicit, violent, or adult content. It was helpful for quickly screening large batches of uploads, although I found that unusual lighting or deep shadows could sometimes affect the results, so I still preferred to review flagged images myself.
Generally, the built-in detection features offered by this online AI image analyzer made it easy to get organized information from unedited images, but when I tested very specific objects or uncommon visual patterns, I felt a more specialized solution would provide better results.
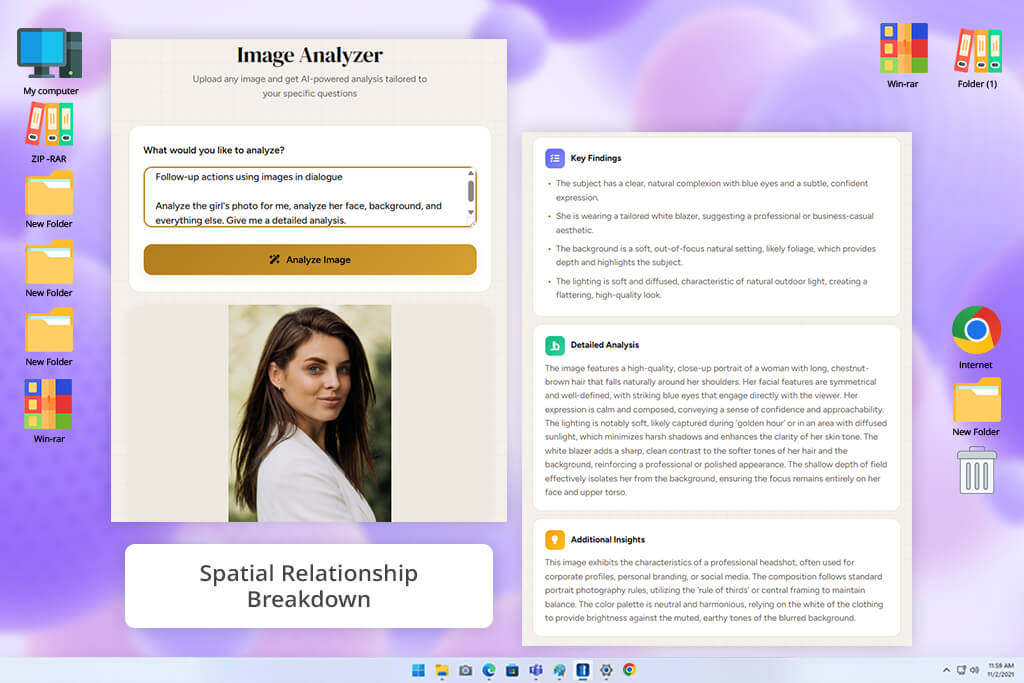
I uploaded a detailed photo to Poe and asked it to describe everything it could see. It organized the results into sections like the main subject, objects, background, lighting, and other visible details, which made the response easy to follow.
I then asked follow-up questions about specific parts of the image instead of uploading cropped versions. This made it easy to move from a general overview to individual details, although I still checked subtle elements that could be interpreted differently.
“I often use Poe for a quick image description, but when I need a different perspective, I switch to specialized bots like Art Style Identifier. The only downside is the limited compute points, since trying several models during one session can use them up fairly quickly.”
I also gave Poe a completely different task by exploring the artistic side of an image instead of focusing only on its contents. Rather than writing detailed instructions each time, I used bots like Art Style Identifier to examine the visual style and Reverse Image Prompt to see how a reference image could be converted into a prompt for image generation. Having these specialized bots in one place made it easy to try different approaches and compare the results.
What I liked most about this AI image analysis tool was having different models and specialized bots in one place. If one approach didn’t give me the information I needed, I could quickly switch to another without leaving the platform. I could start with a general image description, then examine the lighting or background, and finally use a style or prompt-focused bot to look at the same image from a different perspective. The main limitation was the compute points, since trying several models in one session could use up the free allowance fairly quickly.
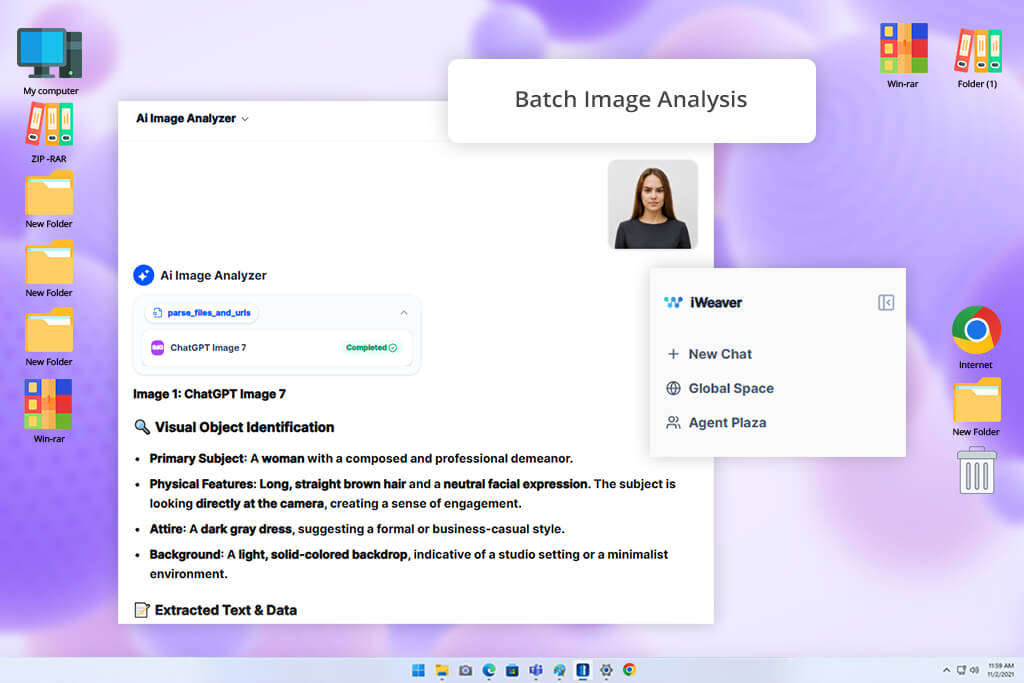
I found iWeaver through Reddit and decided to test it with a small batch of screenshots instead of uploading them one by one. I asked it to pull out the important information, and the results were ready within a few seconds. Beyond OCR, it recognized the overall layout and could tell the difference between text, charts, diagrams, and other visual elements, making mixed-content screenshots much easier to review.
I also tested its OCR tools with printed documents, handwritten notes, and charts. It not only extracted the text but also understood how charts, diagrams, and surrounding text were connected, producing clear summaries instead of separate pieces of information. I still compared important numbers with the original images, especially in charts, because I preferred to verify key data myself.
“Working with several images at once was much more convenient, especially when they contained both text and charts. Another feature I found useful was the Knowledge Base, which automatically saved the results. Instead of searching through old chats, I could quickly find the information again whenever I needed it.”
What stood out most was the Knowledge Base. With this free AI image analyzer, I could save image summaries and extracted information to my private library and search them later instead of losing everything in a single chat. I found this especially useful for long projects with lots of screenshots, reference images, and documents because it made earlier analyses easy to find again. iWeaver also includes advanced multi-agent features, although they took more time to learn.
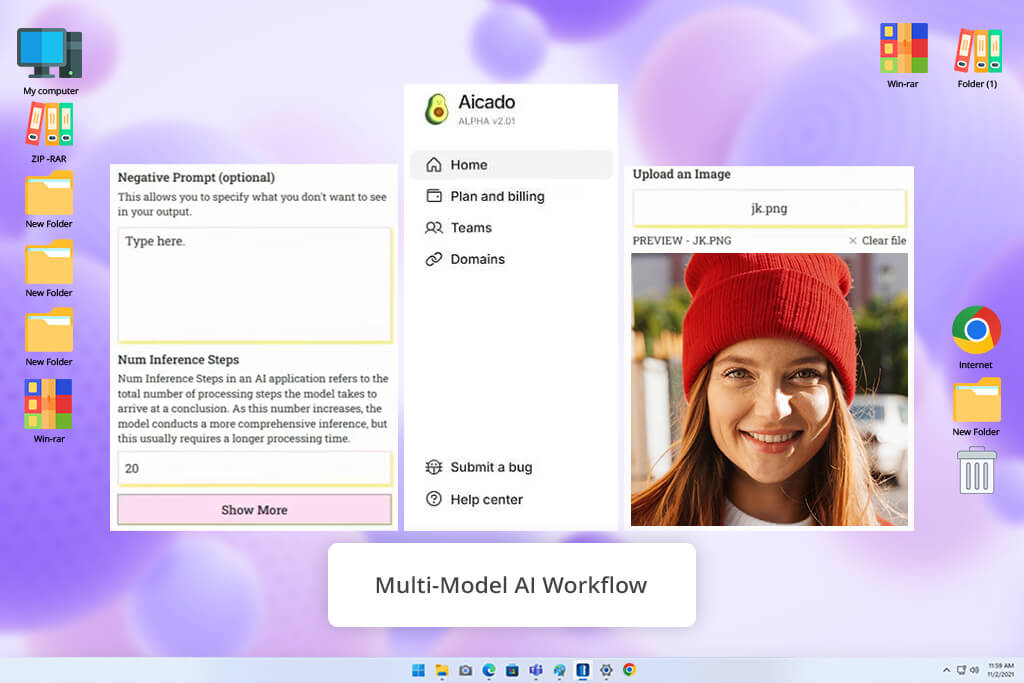
I started by uploading a high-resolution marketing image to Aicado and asked it to identify the main visual elements instead of giving a general description. The interface was easy to use, so I could begin testing right away without going through several menus. It recognized the main elements, organized the results with useful tags, and presented everything in a clear format. The responses were also fast, making it easy to refine my questions and run additional searches.
To see how Aicado handled more detailed visuals, I tested it with branding and promotional images. I asked it to identify repeated design elements and important details across several images instead of describing each one separately. Its pattern detection and smart tagging made the results easy to review, especially when I needed organized information rather than a creative explanation.
I also tried Aicado’s multi-model features instead of using it only for image analysis. Having different tools in one place made it easy to continue working with the results without switching to another platform. I could start by analyzing an image and then move on to other tasks in the same workflow. The main limitation was the free plan, which is fine for testing but runs out quickly because the number of trial runs is limited.
To compare these AI image analyzers, my colleagues and I used them during the same kinds of tasks we handle at FixThePhoto. Our test set included photos, screenshots, scanned documents, charts, and marketing visuals. Some files were straightforward, while others combined multiple objects, background details, text, and more complex layouts. This gave us a clear idea of how each analyzer performed with both simple and demanding image types.
“I didn’t stop after the first correct-looking answer. I asked about small background objects, checked numbers on charts, and tested busier images to see how the results changed. That told me much more about each image analyzer than using a single clear photo with one obvious subject.”
I started by testing basic recognition and contextual understanding. Besides checking whether each tool correctly identified the main objects, I looked at how well it understood the relationships between them, the actions taking place, and the overall scene. I also asked about smaller background details because a strong general description can still miss less obvious parts of an image.
OCR was another key part of our testing. Tata worked with images containing printed text, handwritten notes, screenshots, and structured documents to see how accurately each tool extracted the content without changing words or numbers. She also tested charts and diagrams by asking questions about the data instead of only extracting text. Whenever a response included specific figures or small visual details, Tata checked them against the original image to make sure they were correct.
Nataly also tested how well each analyzer responded to different prompts. She started with general requests and then asked about specific objects, text, lighting, composition, and different parts of an image. This showed whether the tool could keep the image in context and provide more accurate answers instead of repeating the same general description.
Finally, I looked at how practical each AI image recognition tool was for everyday use. I compared supported image formats, upload process, processing speed, batch processing, and how easily the results could fit into a larger workflow. I also paid attention to extra features like tagging, image enhancement, structured data extraction, and saved knowledge when they helped reduce manual work. We didn’t expect any analyzer to be perfect, so we valued consistent results and information that was easy to verify more than a single impressive response.




![7 Best AI Video Highlight Generators [100% FREE]](http://fixthephoto.com/blog/images/gallery/news_main__preview_29348.jpg)
![9 Best AI Audio Silence Removers [{{%year}} FixThePhoto Choice]](http://fixthephoto.com/blog/images/gallery/news_main__preview_29189.jpg)


![7 Best Magazine Mockup Generators [{{%year}} FixThePhoto Choice]](http://fixthephoto.com/blog/images/gallery/news_main__preview_29336.jpg)