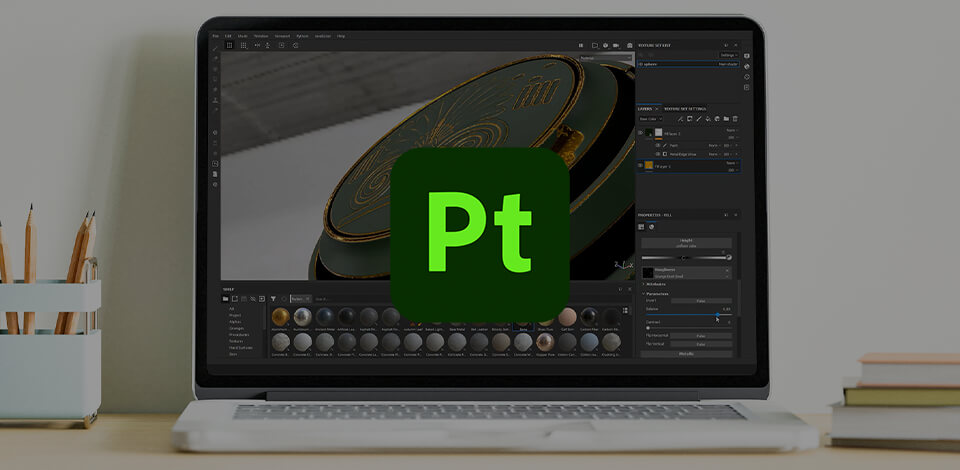
As a newbie in digital 3D art, Substance Painter tutorials can be valuable for gaining experience. The industry for 3D texturing mainly relies on a suite of tools, with Substance Painter being the dominant choice.
This tutorial compilation provides the fundamentals and assists in completing simple projects by guiding you through the process.
This tutorial is the ultimate beginner’s guide on how to use Substance Painter. In less than an hour, it covers everything you need to know to get started with this 3D modeling software.
The video starts by teaching you about navigation and UI right from the second minute. After that, you will learn about texture sets and brush tools, how to use layers and masking, the basics of the shelf and projection tool, master polygon fill, generators, and mask editor, as well as smart materials and Iray rendering.
In this tutorial for Substance Painter, you will cover the process of creating your initial project, using fundamental materials, and producing masks. To begin, navigate to the file and select “new.” Within the new project window, it is essential to confirm that the template is configured to PBR metallic roughness.
In this video, you’ll be exploring the use of brushes and painting techniques to incorporate hard surface details in Substance Painter. The instructor will be focusing on the body texture by introducing a new printable layer, which will make it easier to transfer your project to a 3D printer.
Through this Substance Painter tutorial, you’ll also discover how to utilize painting tools to add intricate elements such as dirt and stitches.
In this tutorial, you’ll explore how to use filters and generators to produce sophisticated materials. Essentially, by starting from scratch and crafting custom materials, you can enhance your project even more. Additionally, you’ll keep refining a color zero one-layer group.
This tutorial will demonstrate how to export your textures and renderings in the Substance Painter using IRay, as the program can serve as a rendering software.
FlippedNormals presents a Substance Painter tutorial on texturing where they explain the different types of texture maps – from diffuse and albedo to roughness and glossiness, from ambient occlusion to curvature and displacement, and from bump to several others.
Monica from Academic Phoenix Plus guides you in this tutorial on texturing a barrel with Substance Painter. She has also demonstrated how to texture a barrel using Photoshop, which is one of the best Substance Painter alternatives.
The reason behind this is to educate viewers on both methods of map creation. Prior knowledge of creating color, metallic, and roughness maps is essential to understand this video tutorial.
Being effective on its own for your projects, this Substance Painter tutorial is perfect to master in combination with the previous one. The video tutorial will guide you on how to produce metal and rust through the utilization of various tools such as height maps, and generators, among others.
When comparing Adobe Substance Painter vs ZBrush, it becomes clear that the former has a more robust toolbox. Nevertheless, when both programs are used in conjunction, superior results are guaranteed. In this tutorial, you will explore a straightforward workflow for working with ZBrush and Substance Painter.
Specifically, decimating your model and merging subtools while preserving UVs, creating polygroups to organize texture sets, and ultimately importing your work into Substance Painter – is a short description of what you’ll learn after watching this tutorial.
Watch this video on texture painting to learn how to use Substance Painter to create realistic skin. You’ll explore the best brushes, understand the hand-painting process, and utilize texture maps for a seamless workflow.
When it comes to creating digital art, people often debate the merits of using Maya vs Substance Painter. However, combining these two tools can actually yield even better results. Specifically, in this tutorial, you’ll be exploring how to create a UDIM setup in Autodesk Maya that can be used in conjunction with Substance Painter’s workflow.
By doing so, you can take advantage of higher-resolution textures that wouldn’t be possible with a single texture file. That’s because each tile can have its own independent resolution! Additionally, utilizing UDIMs allows for more efficient organization of textures and makes it easier to manage files and edit textures.
Substance Painter lacks a conventional text tool, but fear not, as there are means to incorporate custom text onto your textures or models. In this Substance Painter tutorial, you’ll learn some nifty methods for including text and some additional tips that many tutorials overlook.
Substance Painter is an excellent solution for texturing 3D models with low poly assets. This tutorial will teach you to texture a house model using various tools in Substance Painter. You will learn how to combine layers and texture patterns to achieve satisfying results.
Plus, you’ll learn how to create roof and wood dirt, plaster damage, window frames, door wear, etc.
This tutorial on how to use Substance Painter will teach you how to prepare the model for texturing. Namely, you’ll learn about setting up and baking, adjusting the thickness, color blocking, working on the upper skirt trim and lace, as well as adding to current masks.
This video tutorial will be interesting for both newbie and pro-level digital artists, as it covers the whole process of texturing an old metal sword. You’ll be able to enhance your texturing by baking a high poly model to your low poly model, which will help you refine the shape without requiring more geometry.
Additionally, you’ll be able to develop multiple layers of texture to design a realistic low poly asset for your project.