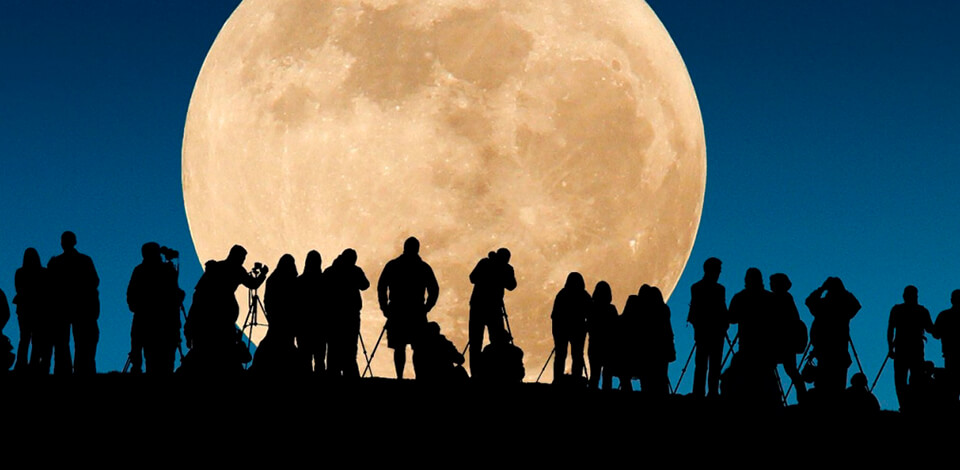
The supermoon can be witnessed four times a year from 2022 to 2025 so you’ll have plenty of opportunities to capture this mesmerizing phenomenon. However, keep in mind that this event lasts for only about 15 minutes so it’s a good idea to get prepared for it in advance by reading these photographing supermoon tips.
Taking photos of a bright subject that is very far away in low-light conditions while properly composing the shot and trying to get the focus right can be a very difficult task. Thankfully, with the help of proper camera gear and correct exposure settings, you can receive fantastic supermoon photography results with incredible detail and atmosphere.
A supermoon occurs when a full moon is located as close to Earth as possible. Such an event is a great opportunity to go outside at night to take a couple of photos of the Moon in its largest and brightest form. A Blood Moon will be visible in May and November of 2022, March and September of 2025, and March 2026, but in some cases, you’ll have to drive out of the city to see it.

Pick a photography location that isn’t anywhere near the light-filled city streets or other sources of light pollution since otherwise, your photos will suffer from distracting haze and discoloration.
Give preference to places with low humidity since areas with dry air fill the sky with less vapor, making it easier for anyone photographing the supermoon to take sharp, detailed shots.
After you’ve chosen a location, visit it for a practice photo shoot at least once before the date of the actual supermoon. Doing so will help you improve your technical settings and get a better idea of what settings you should use. Additionally, you’ll learn where the Moon rises and its course across the sky throughout the night, which is important for determining the optimal camera placement and angle.
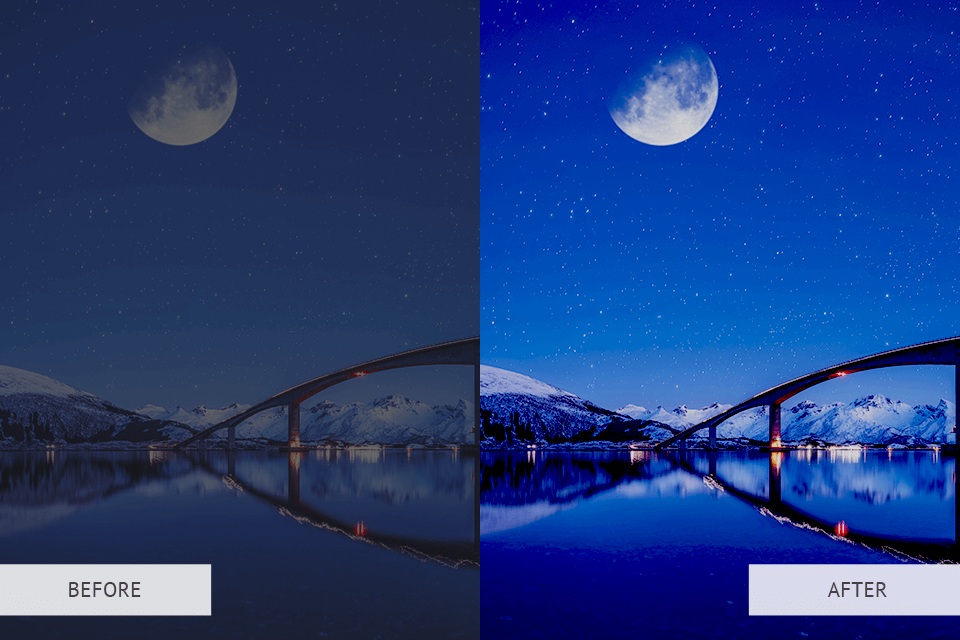
If you want to perform proper image post processing, you’ll have to get quality photo editing software. I suggest going with Lightroom and Photoshop since they offer all the features you might need to enhance your images.
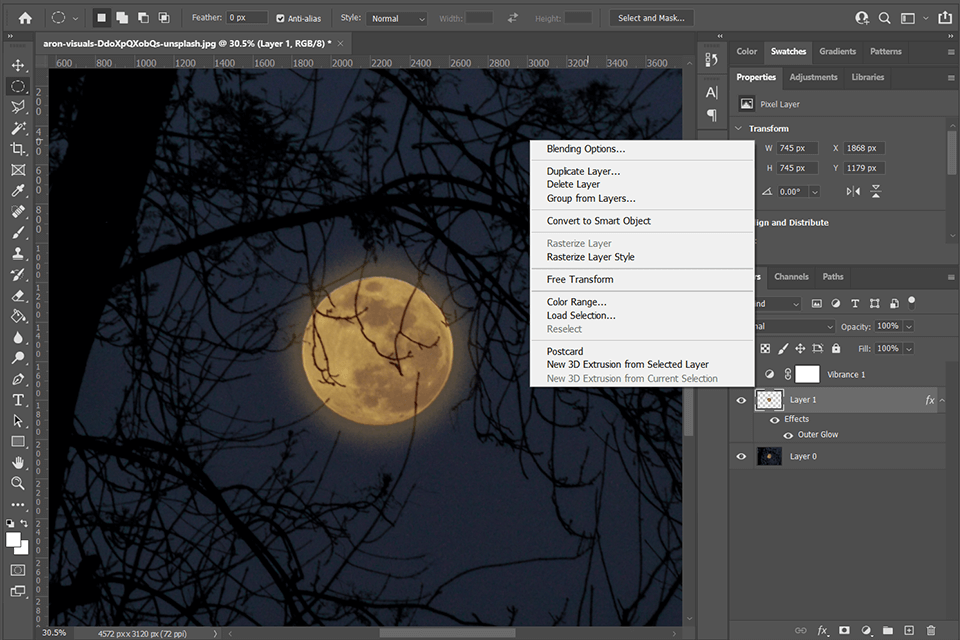
Whether you want to adjust the colors, tweak the exposure, change the contrast, or adjust the highlights and shadows in your supermoon photos while ensuring the editing looks consistent across all images – both these programs have what you need. Professionals can also use them to crop their images while following all photography composition tips and methods.
If you don’t have the free time necessary to properly edit your photos, you can reach out to a professional image post processing agency. The services they provide can be a lifesaver for photographers who require a quick turnaround and top-quality results. Simply entrust your supermoon photos to FixThePhoto, and rest assured their shadows, tones, white balance, and other parameters will be fine-tuned to perfection in no time.
I suggest purchasing a DSLR camera that has the functionality necessary for shooting at night and a broad range of manual settings. It should allow you to freely adjust the ISO, exposure, f-stop, and other parameters. Being in control of the aforementioned settings is essential for anyone interested in learning how to shoot the supermoon properly due to how bright it is.
My go-to DSLR is Canon 5D MK IV that scored fantastic marks during all tests and is often recognized as the best camera for night photography.
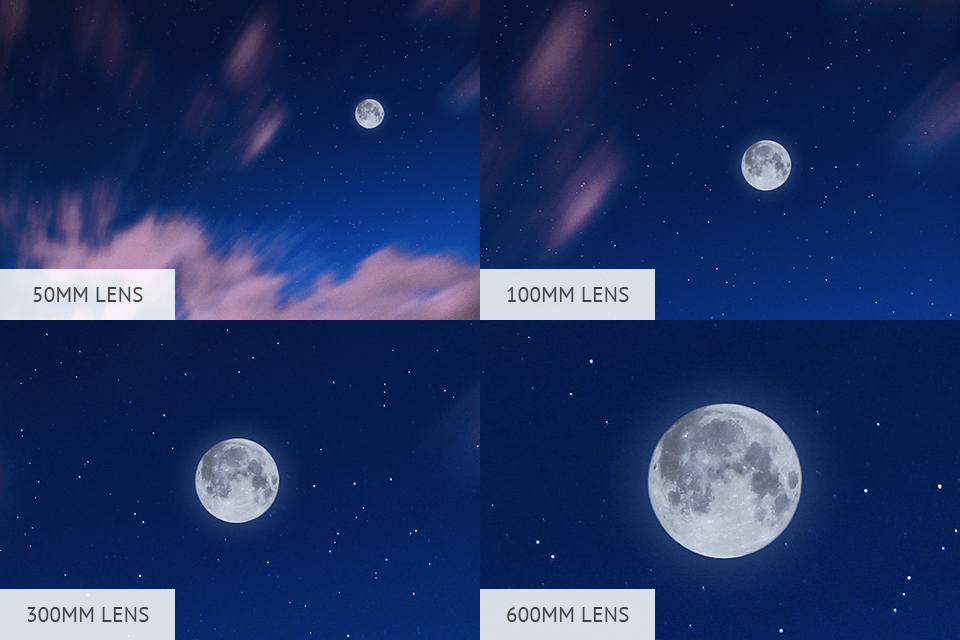
If you want to learn how to photograph the moon and take close-up shots, you’re going to need a long-focus lens, even though it doesn’t necessarily have to be expensive or offer a particularly high aperture since the Moon is so bright, it doesn’t require the wide apertures of high-end, long-focus lenses
You can even get by with a standard zoom lens like the Canon RF 24-105mm F4-7.1 IS STM. This lens will help you capture both large-scale landscapes that feature the Moon and close-up, detailed shots of the supermoon itself.
Now, if you can afford to get yourself a more expensive lens, consider purchasing the Sigma 150-600mm 5-6.3. Its core design principle is based on combining portability and top-tier picture quality in a vari-aperture, hyper-telephoto zoom body. Being both lightweight and compact, this lens is suitable for all long-reach shooting conditions that you might have to deal with when photographing the supermoon.
If you’re going to use a long-focus or telephoto lens, you’ll definitely need a tripod. While handheld shooting is always an option, the photos you receive will never be perfect. I would suggest getting the Amazon Basics 60-Inch, as it has a pair of integrated bubble levels and a 3-way head that can be swiveled and tilted as you want.

Switch from automatic to manual shooting mode (or shutter priority mode). Set a low ISO value (between 100 and 200) to minimize noise. The choice of the optimal exposure time and sensor sensitivity depends on the ambient lighting and effect that you want to achieve.
The Moon is a bright light source and it moves across the sky surprisingly quickly, which is why you should use low exposure times to prevent image blur.
The Moon travels around our planet with a speed of 2,290mph. While sometimes it’s impossible to predict its trajectory, Earth’s moon never stays in the same place so if you want to receive sharp, detailed supermoon photos, be sure to pick a fast shutter speed. Keep the setting in the 1/125-250-seconds range and you won’t have any problems.
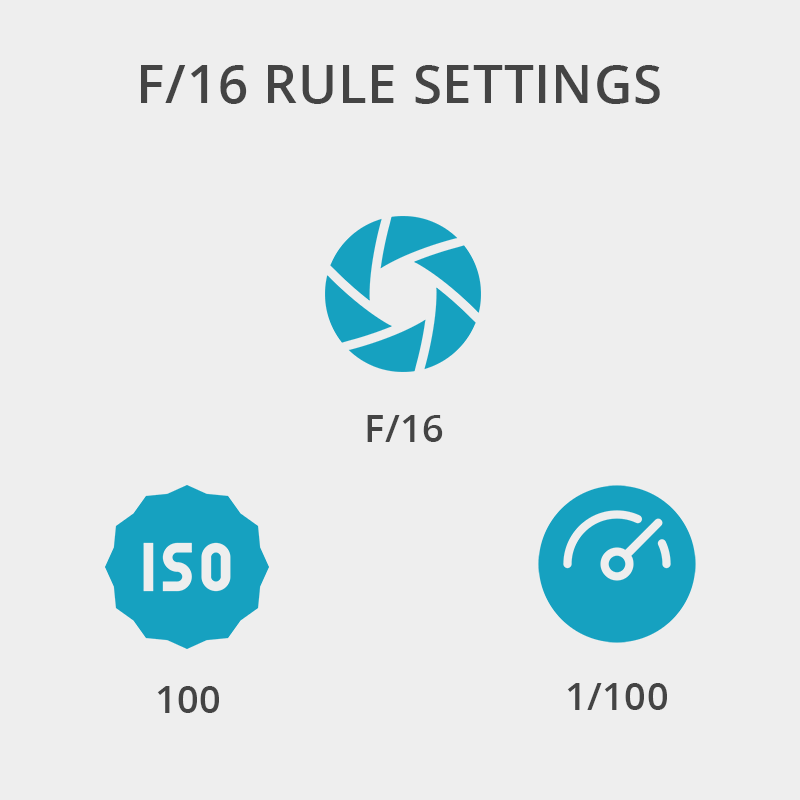
If the aperture is set to f/16, then the exposure value has to be approximately equal to the ISO sensitivity. This rule applies to both daytime photoshoots and supermoon photography. For instance, if you’ve set the ISO to 100, change the exposure time to 1/100-second (or 1/125, depending on what settings are offered by your camera).
Depending on the Moon’s brightness, an f/16 aperture might prove to be too small, so try setting it to f/11 instead. Feel free to experiment a bit and take a couple of test shots while setting different aperture, exposure, and ISO values.
Autofocus usually doesn’t perform well in low-light conditions. Meanwhile, manual focusing will help you receive maximum sharpness from the specific shot area that you want to see sharp and not the camera.
Switch the knob on the camera to MF. You can use the Live View mode to specify the specific spot you want to be focused and you won’t have to squint while trying to see something through the viewfinder.
Do you want to receive a high-contrast Moon photo against a dark sky background? This is where spot metering comes into play. In this case, your camera for photography measures only the light in a small part of the scene, typically in the center of the viewfinder (but here, depending on the camera’s model, you can choose other options as well).
Spot metering works best when using a long-focus lens. In this case, the exposure won’t be reliant on other image areas like the color of the sky that surrounds the Moon.
If the scene includes other elements, matrix (evaluative, multi-zone) metering can provide better results unless you want to achieve a silhouette effect. Automatic exposure bracketing can also be useful for taking photos of scenes with high brightness fluctuations, especially if you’re in a hurry and want to ensure at least one shot will deliver the quality you need. By using exposure bracketing, you can quickly take 3, 5, 7, and more photos with different exposure settings without having to change them manually.
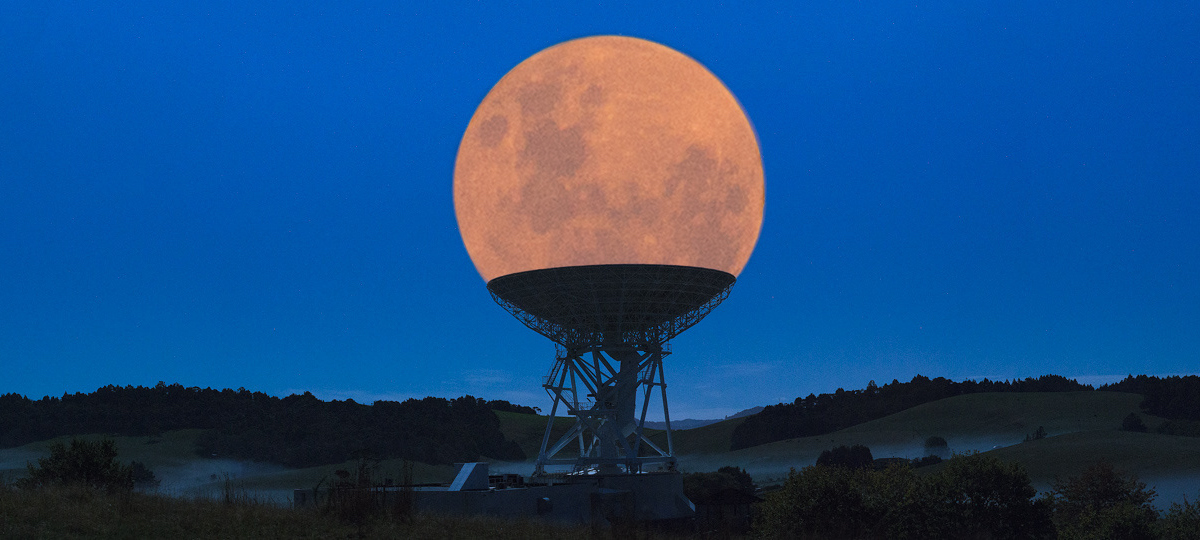
The Moon against a dark sky looks beautiful on its own, but you can enhance your photos further by getting creative with the composition. Consider taking photos during the initial supermoon phase, take pictures of the Moon hiding behind the horizon, and include elements that surround it at that moment – clouds, buildings, trees, and people.

If your city has a picturesque location that looks amazing during nighttime, then why not take a photo of it while having the moon is clearly visible in the sky?
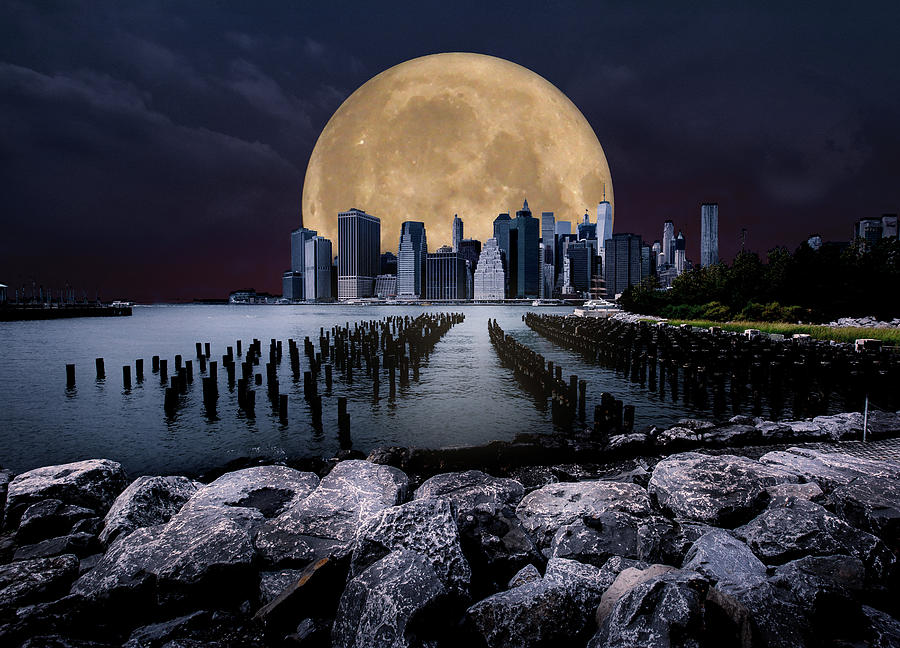
Such night photo ideas usually end up looking fantastic as long as you properly edit the photos. By that, I mean that you should take a couple of photos and later merge them using Ps tools since otherwise you'll have trouble getting proper exposure on both the city scene and the Moon.

If most of your images only feature the Moon, your follower base will quickly become bored of your content. Hence, why it’s a good idea to spice up your photos with some interesting foreground objects that complement the shot and don’t look overly distracting.
You can go to a location that has an eye-catching building or a scenic landscape and take a photo of the moon shining above them. Don’t hesitate to experiment when learning how to photograph supermoon since you can never be certain what shots will look best.

While this idea doesn’t feature a full moon, it's a great example of how a part of it can be beautifully hidden in shade. Often called "Earth Shine", the residual lighting caught by the Moon from Earth lets you capture the detail of the shaded moon area with terrific clarity.
These overlays are a valuable tool to all photographers who want to establish a captivating, magical atmosphere in their images by adding a moon to the background. They can be used in Adobe Photoshop, Creative Cloud, GIMP, PaintShop Pro, and other software that has layer functionality. The files are provided in PNG format and are suitable for both Mac and Windows devices. You can employ the provided moon overlays to enhance RAW and JPEG photos.