Low exposure photography, also known as underexposure, refers to images captured with less light than what’s typically considered “correct” by the camera’s meter. The result is a darker image that can emphasize mood, highlight contrasts, and bring attention to specific details lost in brighter exposures. While some might see low exposure as a mistake, in creative hands it becomes a powerful storytelling tool.
As a photographer at FixThePhoto team, I often rely on low exposure techniques to create atmosphere, add mystery, or isolate subjects in dramatic lighting. Over time, I’ve built up a collection of ideas and approaches that go beyond the obvious. Whether I’m shooting portraits, street scenes, or still life, these concepts help me turn shadows and darkness into expressive visual elements – and now I’m excited to share them with you.
Shooting low exposure is about control – not just making your image darker, but shaping what the viewer sees and what stays hidden. I’ve learned that successful underexposed photos come from making deliberate choices, especially when it comes to light direction and how you handle the exposure triangle.

Place the candle slightly to the side of your subject’s face rather than directly in front – this helps shadows shape the features and adds depth. Keep the background as dark as possible and use a fast prime lens (like f/1.4 or f/1.8) to capture enough light without raising ISO too much. Set white balance manually to around 2500 – 2800K to preserve the warm tone of the flame without distorting skin color.
For any candle photo idea, I always recommend to shoot in RAW and slightly underexpose to avoid clipping the highlights in the flame. This setup gives you a soft, moody atmosphere with rich shadows and a natural glow that feels intimate and cinematic.

Use the natural contrast between the dark interior and the soft daylight outside to build atmosphere. Focus manually on the water droplets or fogged glass to turn the background into a blur of shapes and shadows. I recommend shooting rain photos from a low angle or slightly off-center to avoid flat compositions and to make the texture on the glass more dynamic.
Keep your exposure low enough to let the outside light fade into subtle tones while preserving the darker interior. I usually underexpose by 1–1.5 stops and meter for the highlights in the window to prevent overblowing. This way, you get that quiet, melancholic mood where the textures carry the emotion.

Look for corners with just one light source – like a small lamp, a narrow window, or even light spilling in from another room. Set up your frame so most of it remains in shadow, allowing the light to reveal only selected details: a chair back, part of a curtain, a plant, or someone’s profile.
I recommend using a tripod and a longer shutter speed if the light is dim, and always underexpose by at least a stop to keep the shadows rich and preserve the mood. I often kill overhead lights completely and let the natural fall-off of a single bulb create a cinematic vignette. Don’t clean up the space too much – imperfections and clutter add realism and texture that mimic film stills.

Look for calm water surfaces at night or in shaded areas just after sunset, when ambient light is minimal and reflections stand out against the darkness. Position a subtle light source – like a distant streetlamp, phone flashlight, or even a handheld LED – to skim across the water at an angle. Start with camera settings around f/4, 1/60 sec, ISO 1600, and use a tripod to avoid motion blur if you’re slowing the shutter.
I recommend focusing manually on the reflection rather than the surface – it helps isolate abstract shapes and mirror-like distortions. Underexpose by about one stop to make the background vanish and let the glowing contours float in black space.

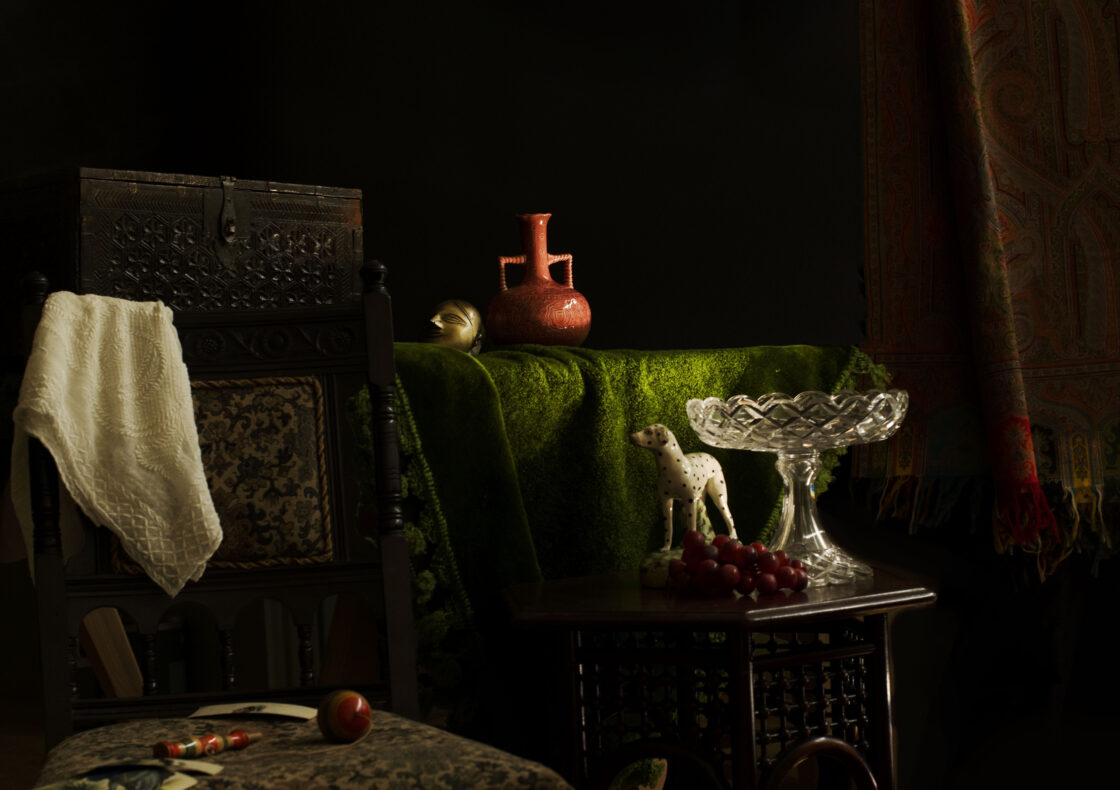
Start with a completely dark room and introduce a single directional light –like a desk lamp with a barn door or even sunlight coming through a narrow window. Arrange your objects close together and let the light hit them from the side, creating strong contrast and deep shadows. I suggest using black foam board or fabric behind and around the setup to absorb stray light and intensify the shadows.
When I build a composition for still life photo ideas like this, I pay attention to textures: fruit skins, glass reflections, or folds in fabric become much more expressive in low exposure. Meter for the brightest part of the scene and underexpose slightly to maintain that painterly depth and drama.
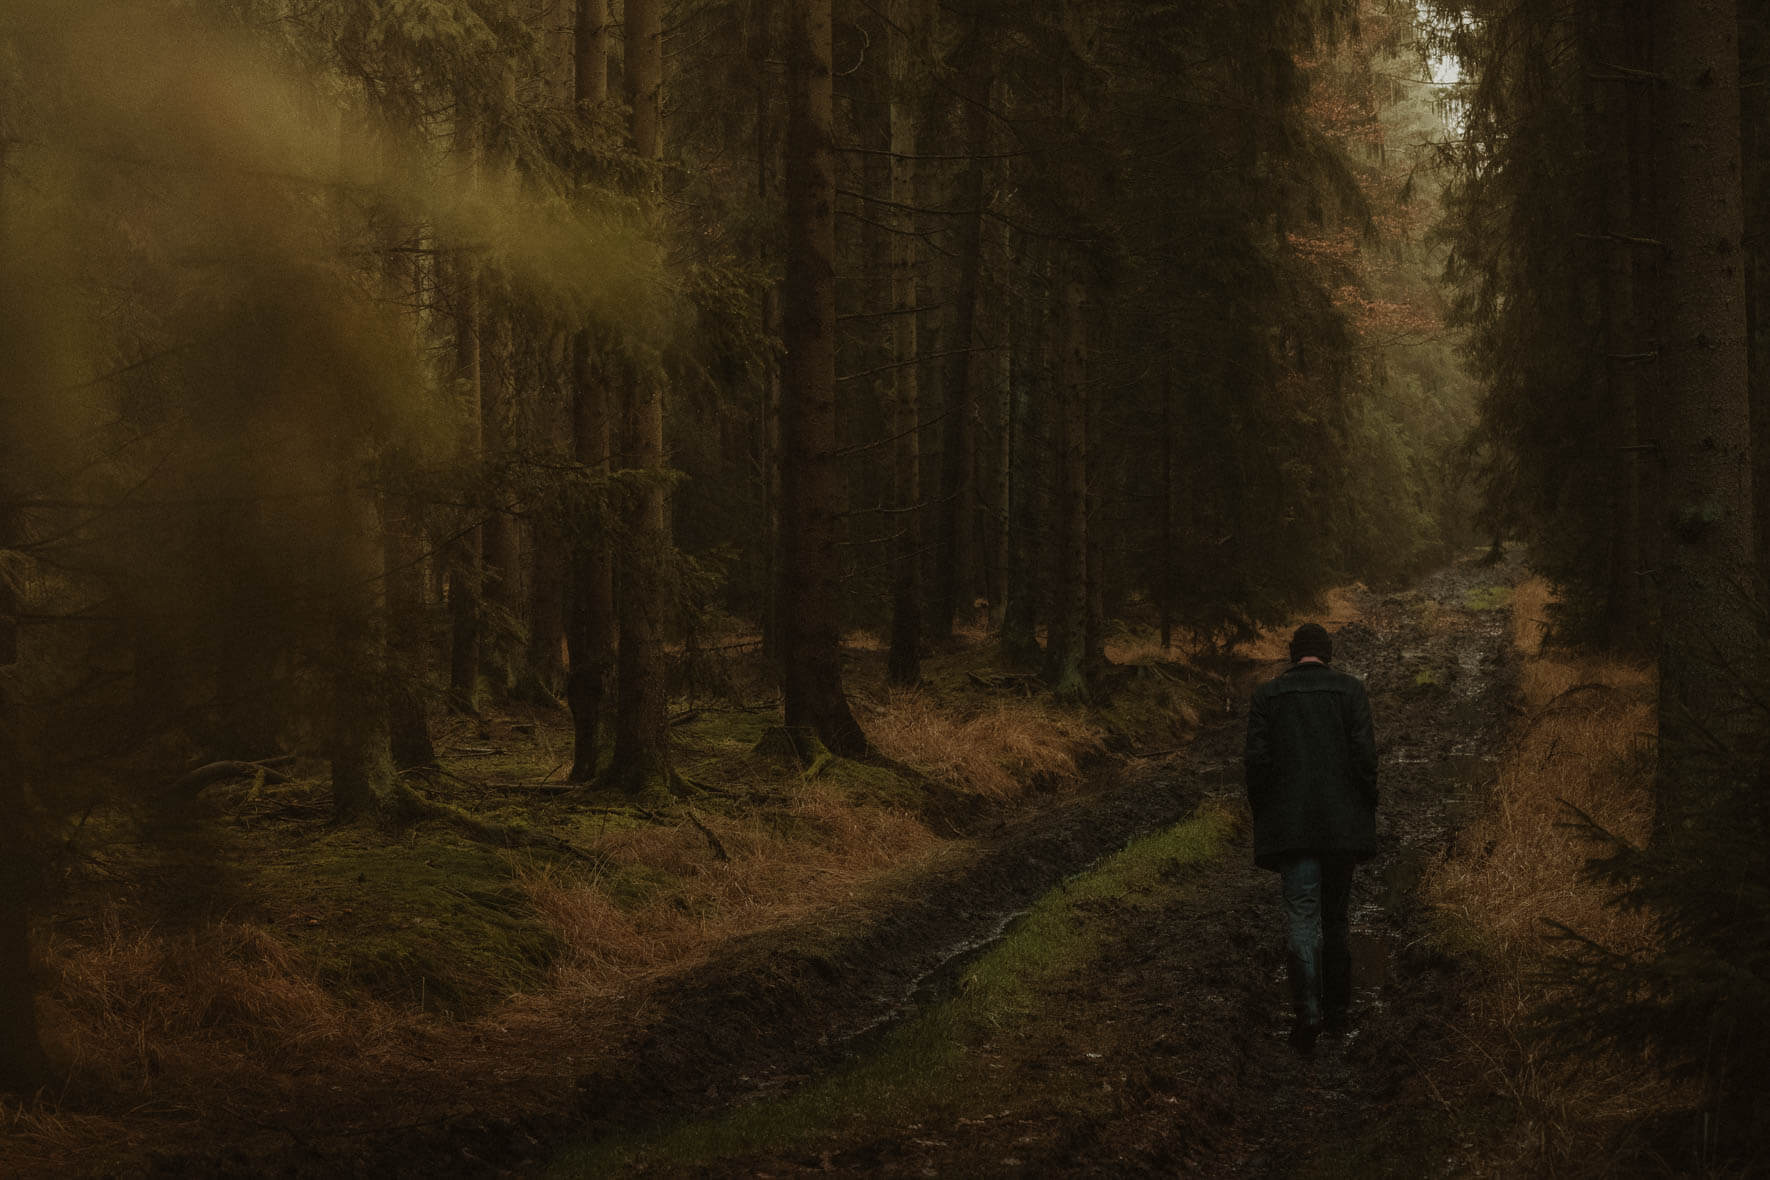
Head into the woods about 30-45 minutes before sunset, when the sky is still luminous but the forest floor is already falling into shadow. Position your subject – person, dog, or even a group – against the brightest patch of sky visible through the trees. I recommend crouching low and shooting upward to maximize the contrast between the silhouetted figure and the sky.
Keep your exposure based on the sky, not the subject; I usually dial in -2 EV or spot meter on the brightest area to preserve the tones and deepen the shadows. Let branches and uneven terrain break up the composition – they add layers and keep the silhouette from feeling too clean or staged.

To capture smoke or steam with dramatic depth, place a light source – like a bare bulb or flashlight – behind the subject and aim it slightly toward the camera. This backlight will outline the vapor and make it glow against the dark background. Set your camera to manual mode and start with settings like f/2.8, 1/250 sec, ISO 800, adjusting depending on the strength of the light and thickness of the smoke.
I recommend using spot metering on the brightest part of the vapor to keep the highlights under control. Use a black backdrop or shoot at night to eliminate distractions and let the smoke patterns take center stage.

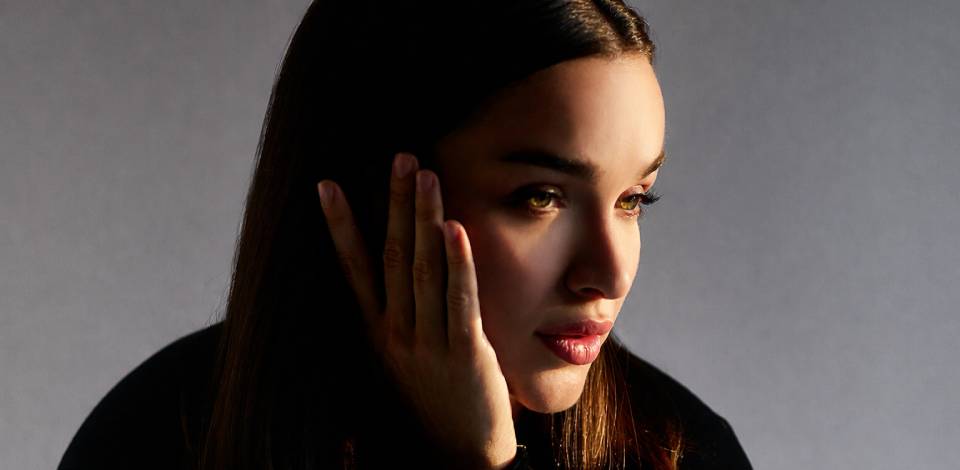
Use low exposure to create a sense of mystery by revealing only parts of the body while leaving others in shadow. I advise positioning your model near a single soft light source – like a window with sheer curtains or a dim lamp – and exposing for the highlights on the skin. Keep the background dark and avoid clutter to maintain focus on the shapes and curves.
For this boudoir photo idea I often underexpose by about one stop to deepen shadows without losing essential detail. This approach lets you suggest rather than show everything, making the image more intimate and alluring without feeling explicit.
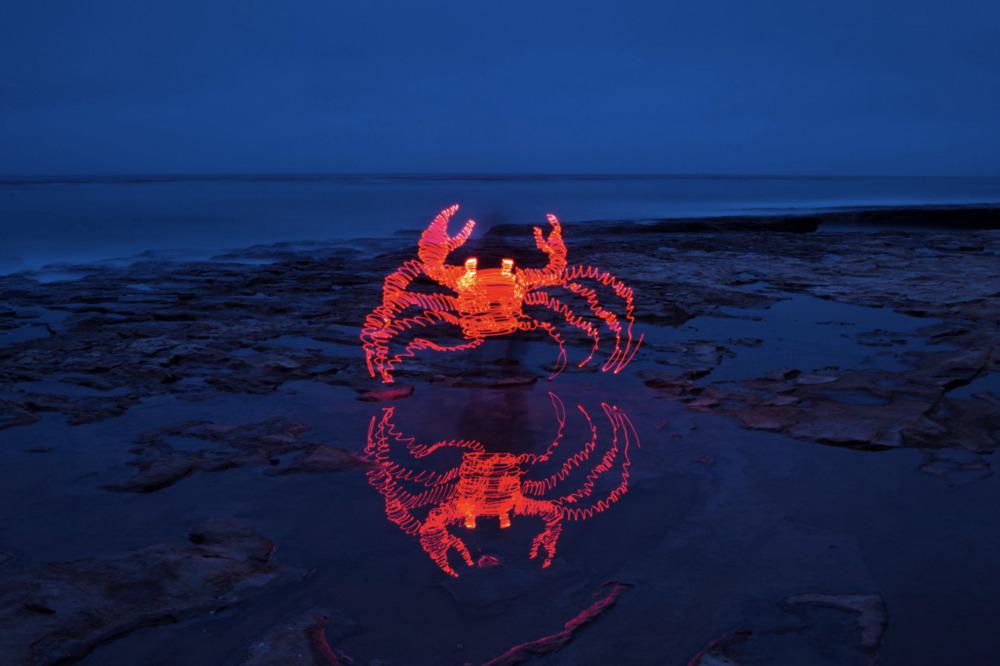
Set your camera on a tripod in a completely dark room or outdoors at night, then switch to manual mode and use a long shutter speed – start with f/8, 10–20 seconds, ISO 100. Press the shutter, then "draw" shapes or lines in the air using a small flashlight, phone screen, or even a glow stick. I recommend using the bulb mode if you want full control over timing – just end the exposure manually when you're done painting.
Keep the flashlight moving to avoid overexposing any one spot, and wear dark clothes to stay invisible in the frame. This technique proves that low exposure doesn’t mean no light – it means placing light exactly where you want it.

Focus on areas where isolated light sources punctuate the darkness – street lamps, neon signs, or car headlights. I recommend metering for the brightest spots to avoid blown highlights while allowing most of the scene to remain underexposed and mysterious. Use a wide aperture and higher ISO if necessary, but watch for noise.
Framing is key: look for strong shadows cast by objects or people that create interesting shapes and lead the viewer’s eye through the composition. I often wait for movement – like a passerby stepping into a pool of light – to add life and contrast to these moody, low-exposure urban shots.

For shadow photos, set up a strong directional light – this can be a lamp, flashlight, or sunlight streaming through a window – to cast sharp shadows on the wall. Move your hands or objects in front of the light source to create interesting shapes and patterns.
I recommend shooting at low ISO and using a mid-range aperture (f/5.6–f/8) for maximum shadow sharpness. Meter for the shadow areas to keep deep blacks and enhance the graphic feel of the image.

Use a small, focused light source placed below the subject’s chin or face to create unnatural shadows that distort features and evoke unease. I recommend keeping the background completely dark to isolate the subject and intensify the effect.
Shoot with a moderate aperture (around f/4–f/5.6) to keep enough detail without losing moodiness. Adjust exposure to preserve shadow detail but let highlights on the face glow eerily. I usually set white balance slightly cooler (around 4000K) to enhance the unsettling atmosphere.

Shoot during the early morning or late afternoon, when natural light is soft and low. Position the camera inside a dark room and frame your shot through thick curtains or blinds, letting just a sliver of light spill through.
Start with settings like f/2.8, 1/200 sec, ISO 400, and underexpose by 1-1.5 stops to keep the shadows rich and preserve the shape of the light. I suggest focusing on the edge where light hits the fabric – this brings out the texture and adds depth.
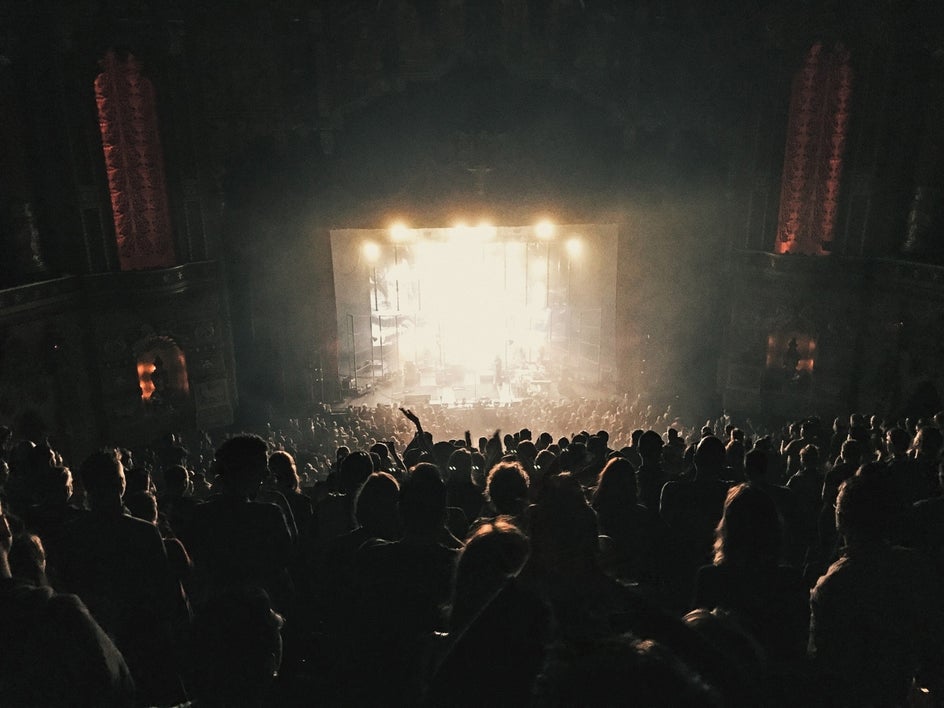
Live music venues are usually dim, but that’s exactly what makes them perfect for low exposure. Focus on the contrast between stage lights and the surrounding darkness.
Use settings like f/2.0, 1/250 sec, ISO 3200 and expose for the brightest spot – usually the face or hands of the performer. Let everything else fall into shadow to emphasize movement, emotion, and color. I recommend using burst mode and manual focus if the lighting changes quickly – it helps capture just the right moment without losing sharpness.

After a rain, city streets reflect light in stunning ways – especially from passing cars or traffic signals. Stand at an angle where headlight beams skim across wet pavement, and shoot from a low perspective to exaggerate the reflection. Use settings like f/4, 1/80 sec, ISO 1600, and meter for the light source, not the road.
I suggest switching to continuous focus if you’re tracking a moving car. Let most of the scene stay dark – this makes the glows and reflections look almost painterly.


