Before my FixThePhoto team creates a flyer for a free masterclass or a seasonal promo, I always ask them how big it is going to be. This isn’t just a formality. Flyer size sets the tone for the design, affects how clearly your message is seen, and determines your printing and delivery budget.
Not long ago, a colleague mentioned that flyer sizing “doesn’t matter anymore,” since most people focus on digital formats. That comment made me think and disagree.
When I work on a flyer, I pay attention to every little thing. I consider the fold lines, the breathing room around the text, and the physical experience of holding it. By the end of this article, I think you’ll understand why size still matters.
While researching, I was amazed to find that flyers have been around since the 1500s in Europe. Back then, Italy had printed avvisi - short news sheets made to share information quickly. It’s fascinating that what we now know as event posters started centuries ago, long before computers or flyers software existed. Some ideas really stand the test of time.
Flyers have been popular for over 500 years, yet people still confuse them with brochures. Here’s the difference:
Flyer → one flat page with a sharp, direct message.
Brochure → folded into panels, with more detailed and layered content.
“Affordable and unforgettable - that’s the fix I lean on with flyers.”
According to the Flyer Canada stats, 89% of people remember getting a flyer, close to half hold onto it, and businesses often get 3–5% response rates. Sometimes, the numbers reach 4.4%. That’s much better than most digital advertising can offer. So, flyers remain a powerful tool for physical marketing.
Once, at FixThePhoto, we designed a flyer for a free local photo editing workshop. It wasn’t fancy, but it had bold lettering, a QR code to register, and a side-by-side before-and-after photo. We printed 500 and spread them around art schools and cafés. A week later, we had 120 sign-ups. That was nearly 25% from one flyer batch.

Flyer Canada shares a successful flyer case. A daycare raised enrollment by 40%, and an HVAC business saw bookings jump 300% after focused flyer drops. One HVAC client lowered the cost to get new customers and saw conversions soar in just 30 days. So, simple flyer designs can bring impressive results.
From years of creating flyers for workshops, promos, and event reminders, I’ve learned that flyer sizes are more than just squeezing in text. You need to think about how people will handle, read, and pass it on.
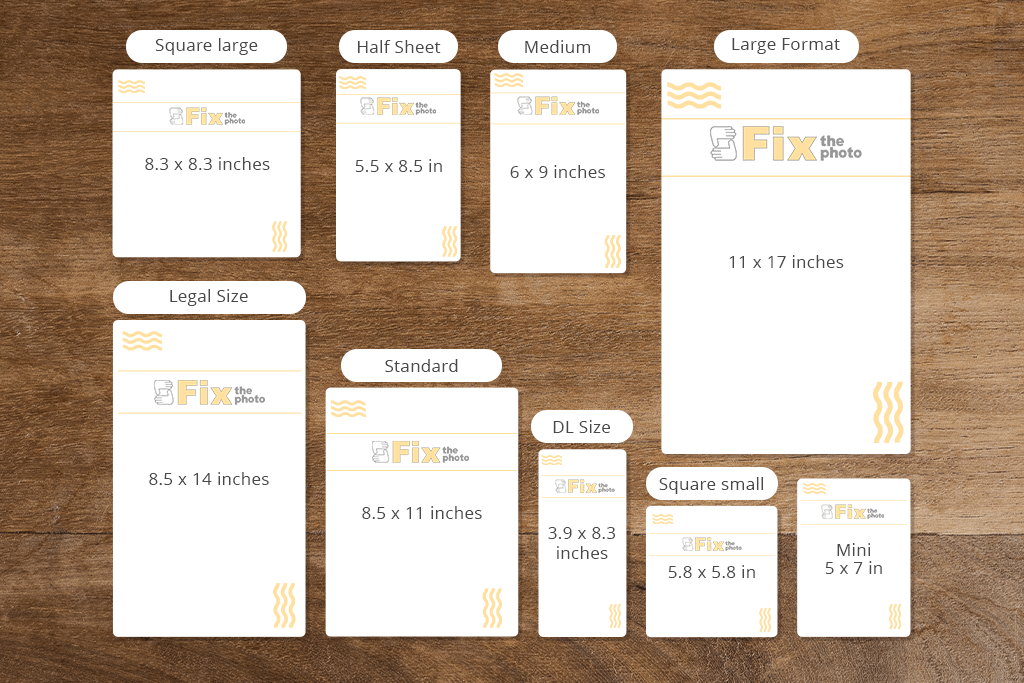
To help with that, I keep a handy comparison chart on the most common dimensions right at my desk every time I begin a new flyer:
| Type | Inches | Millimeters | Pixels (300 DPI) | Best for |
|---|---|---|---|---|
|
Mini flyer |
5 × 7 in
|
127 × 178 mm
|
1500 × 2100 px |
|
|
Half sheet flyer |
5.5 × 8.5 in
|
140 × 216 mm
|
1650 × 2550 px
|
|
|
Medium flyer |
6 × 9 in
|
152 × 229 mm
|
1800 × 2700 px
|
|
|
Standard US letter |
8.5 × 11 in
|
216 × 279 mm
|
2550 × 3300 px
|
|
|
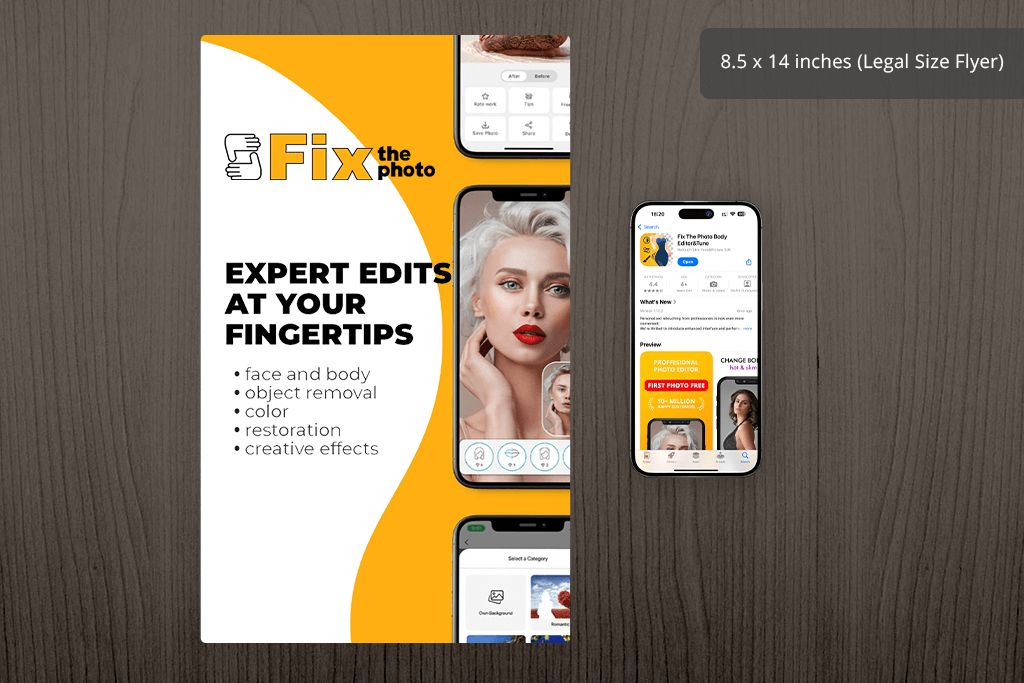
Legal size |
8.5 × 14 in
|
216 × 356 mm
|
2550 × 4200 px
|
|
|
Large format |
11 × 17 in
|
279 × 432 mm
|
3300 × 5100 px
|
|
|
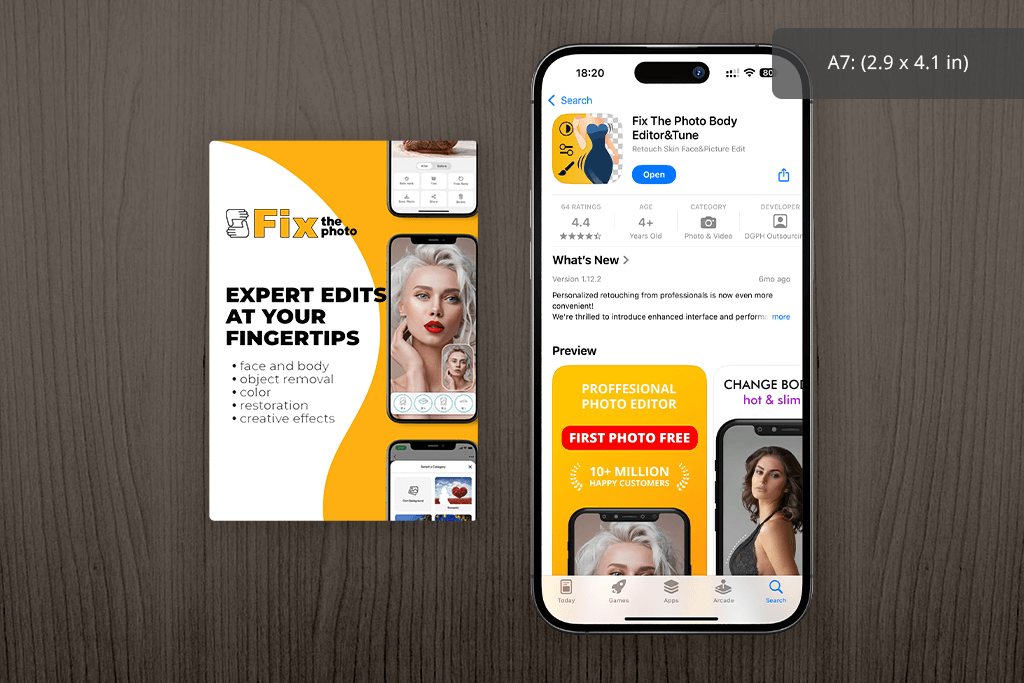
2.9 × 4.1 in
|
74 × 105 mm
|
870 × 1230 px
|
|
|
|
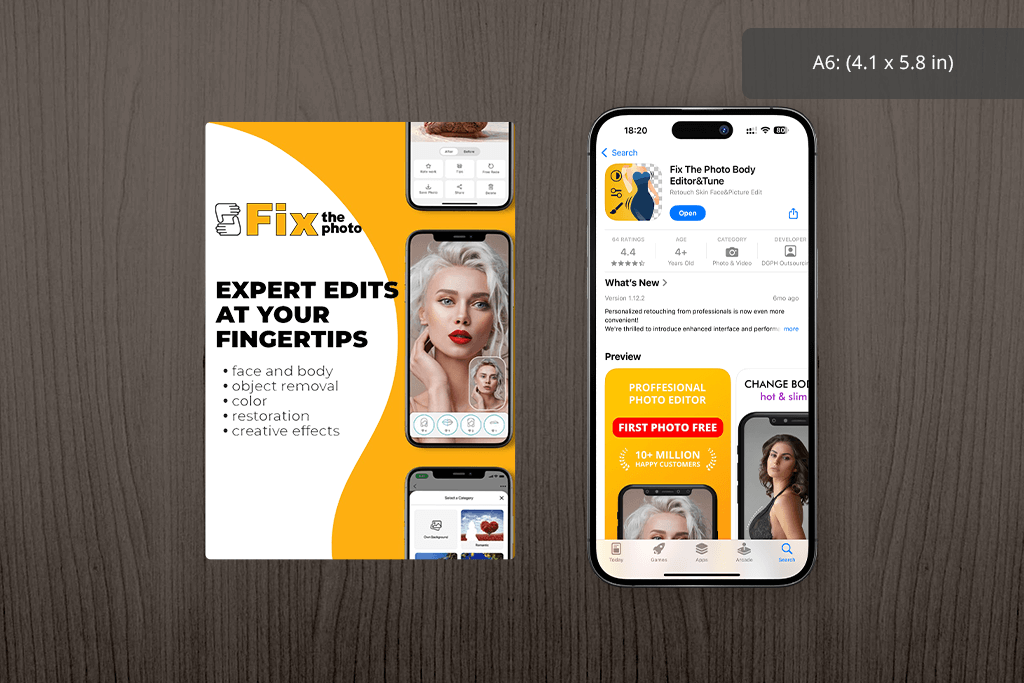
4.1 × 5.8 in
|
105 × 148 mm
|
1230 × 1740 px
|
|
|
|
5.8 × 8.3 in
|
148 × 210 mm
|
1740 × 2490 px
|
|
|
|
8.3 × 11.7 in
|
210 × 297 mm
|
2490 × 3510 px
|
|
|
|
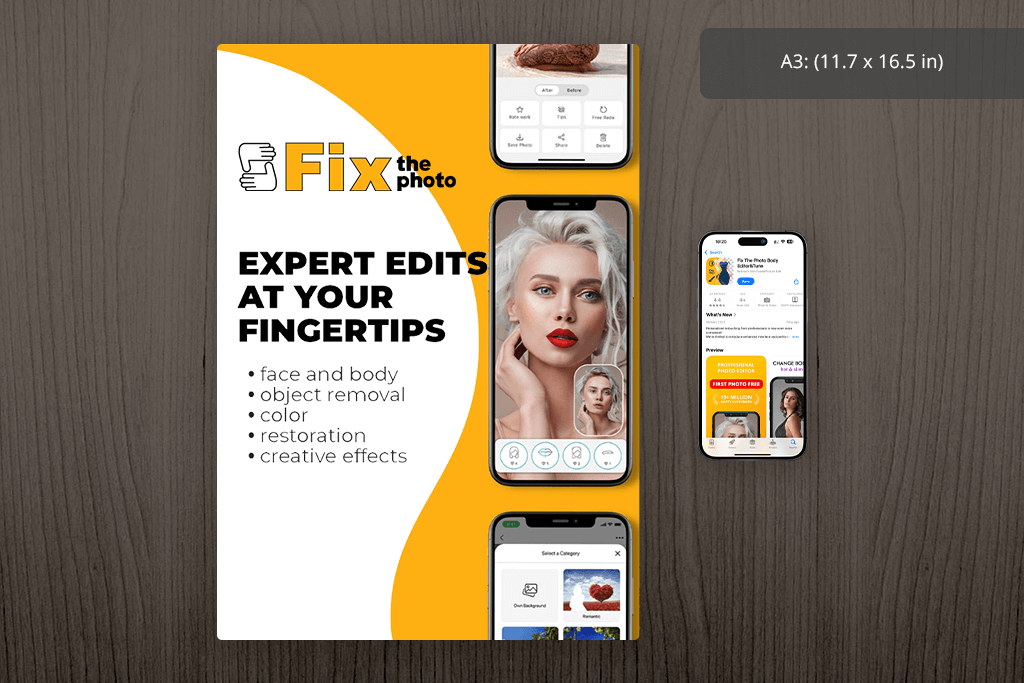
11.7 × 16.5 in
|
297 × 420 mm
|
3510 × 4950 px
|
|
|
|
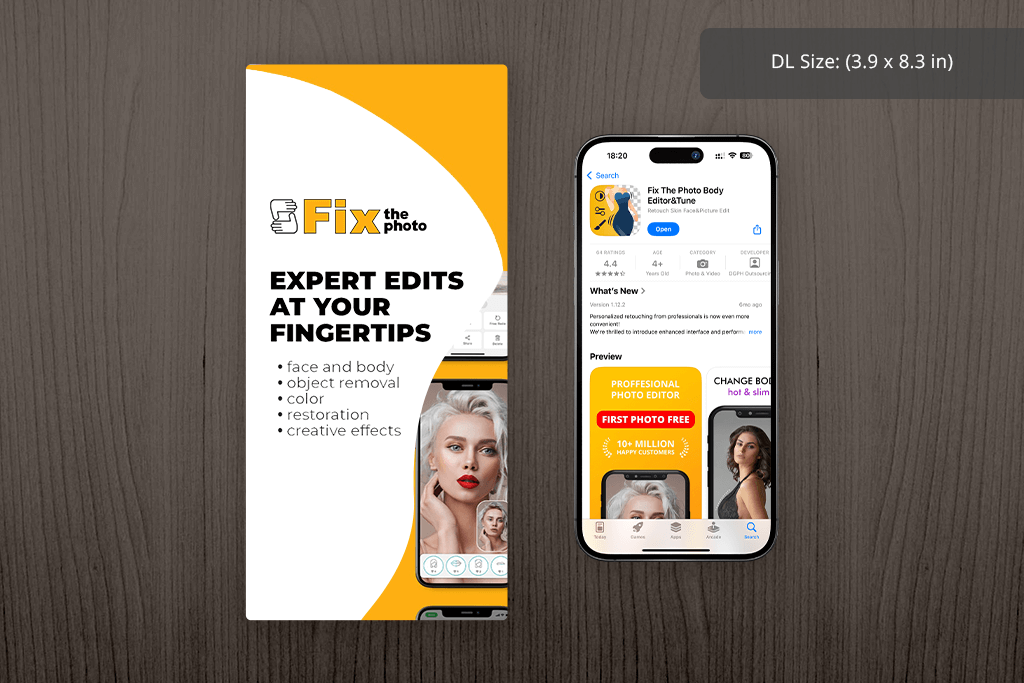
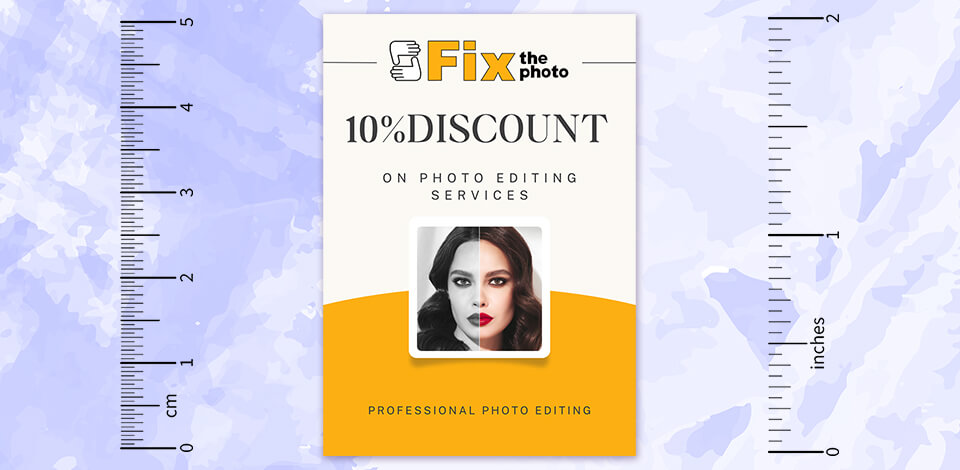
DL size |
3.9 × 8.3 in
|
99 × 210 mm
|
1170 × 2490 px
|
|
|
Square small |
5.8 × 5.8 in
|
148 × 148 mm
|
1740 × 1740 px
|
|
|
Square large |
8.3 × 8.3 in
|
210 × 210 mm
|
2490 × 2490 px
|
|
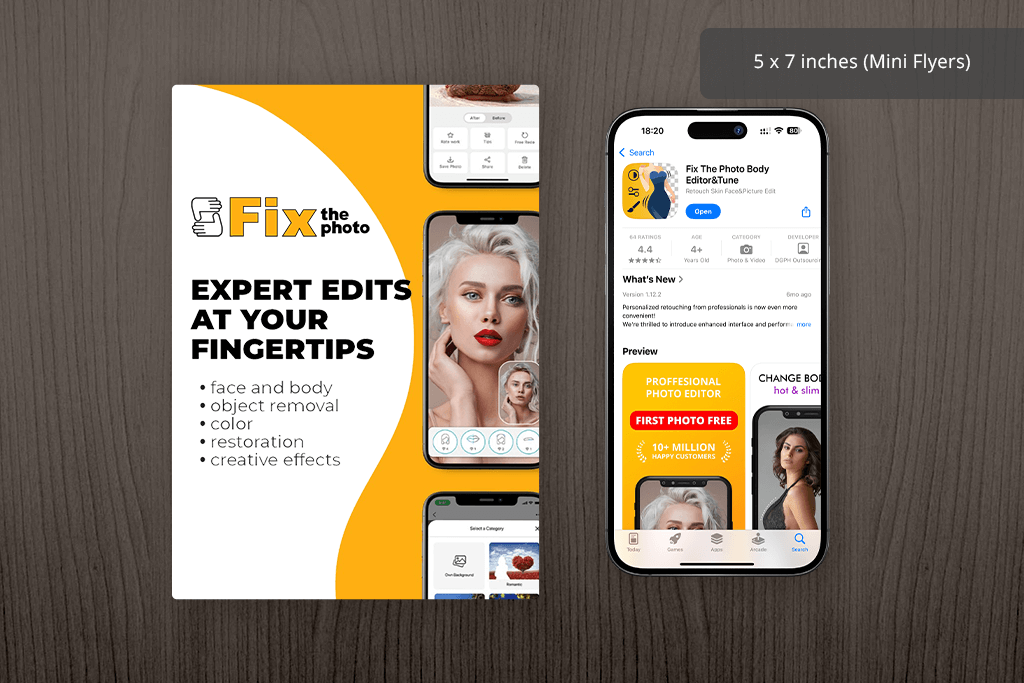
When I want something small and portable, I turn to the 5 x 7 flyer. It’s ideal for quick invites to FixThePhoto events or “save the date” cards. The size of flyers lets me keep text minimal and images eye-catching.
People can carry it in their wallet or pin it up without folding. So, it works well for community and local promotions.
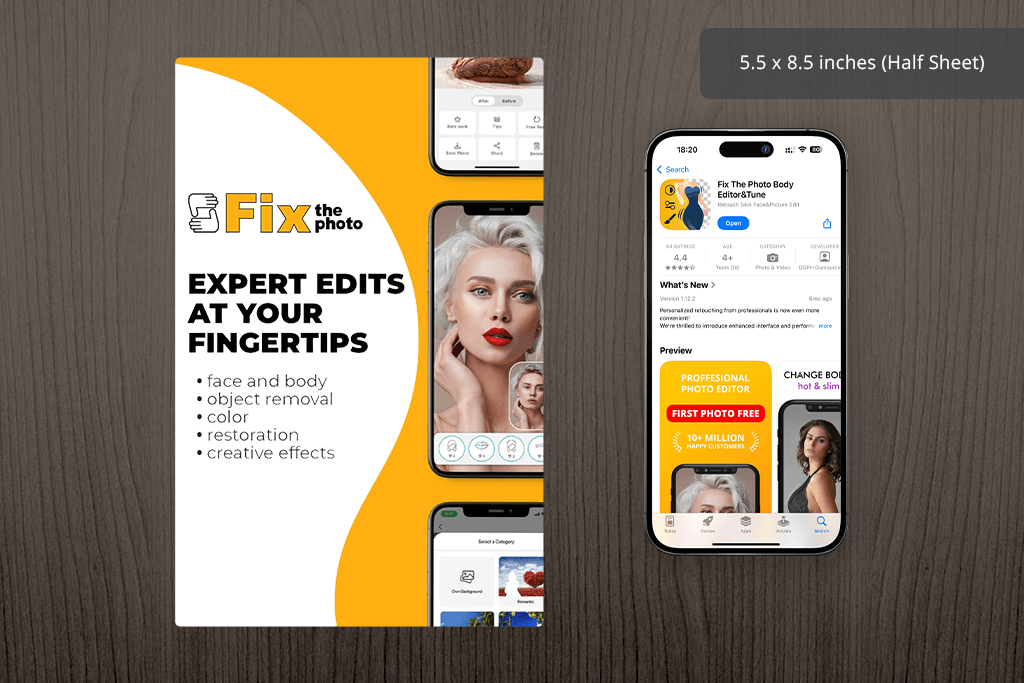
I like the 5.5 x 8.5 flyer size because it is compact and can instantly grab attention. It’s my go-to for FixThePhoto’s seasonal sales and short-term retouching promotions.
Such flyers are big enough to contain a bold photo of a standard size, main details, and a clear action message. Still, it is cheap to print and simple to hand out around local cafés and art schools.
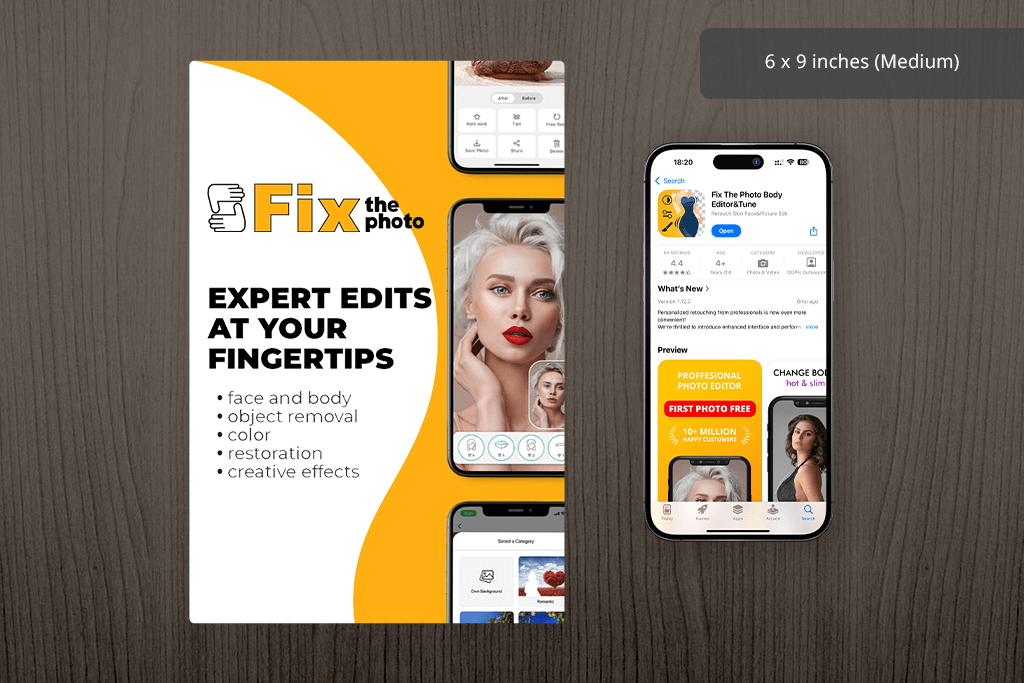
The 6 x 9 flyer isn’t the most common flyer dimension. It offers extra space but still has a compact size. I recommend using it for direct mail since it is more noticeable than typical postcards.
We once distributed such flyers about a FixThePhoto retouching workshop to local art students and had a strong response.
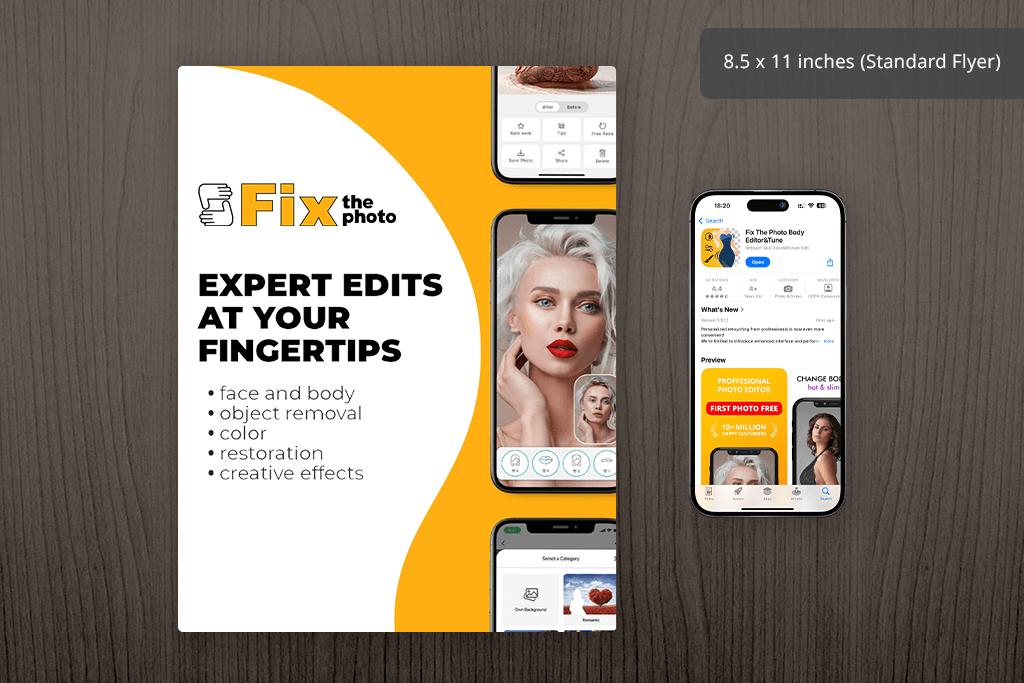
This is a standard flyer size in the US, and the one I use most when working in apps for creating flyers. It has sufficient space for both visuals and texts, so you should opt for it when sharing workshop invites or service details.
Standard flyer size in pixels is great for combining images and text in an eye-catching way. Thus, you can attract attention to your services or goods, while fitting standard printing rules.
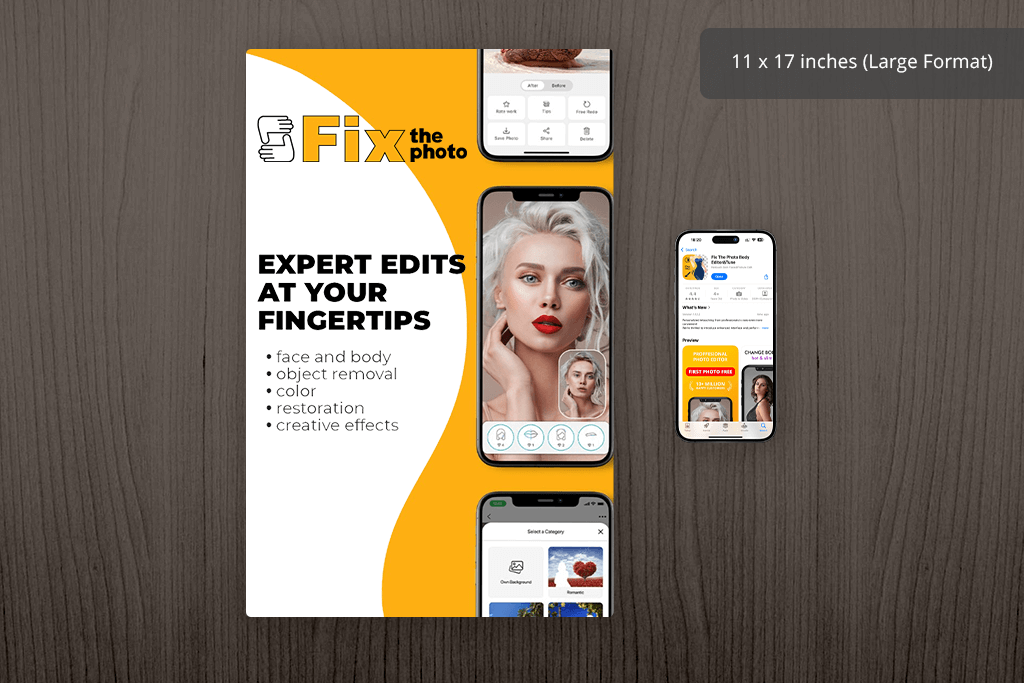
These are rather big flyers sizes and they resemble posters. To create them, you should use poster apps. I pick this size for high-impact visuals, e.g., FixThePhoto gallery shows or menu layouts. Poster flyer size provides enough space for big images and bold lettering. So, opt for it if you need walls and large promotions.
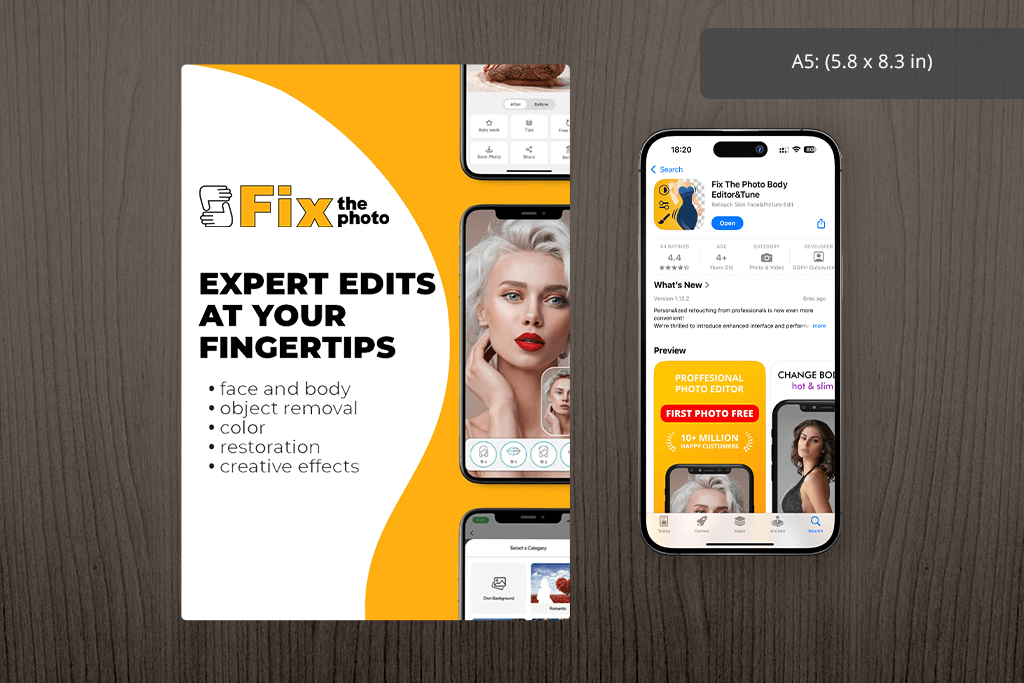
The A5 format, also known as half sheet flyer, offers plenty of space for both images and text, without feeling cluttered. For free photography marketing templates for local clients, we usually choose A5 because it’s budget-friendly to print and simple to distribute.

Small:
Inches: 5.8 x 5.8
Mm: 148 x 148
Pixels: 1740 x 1740 at 300 dpi
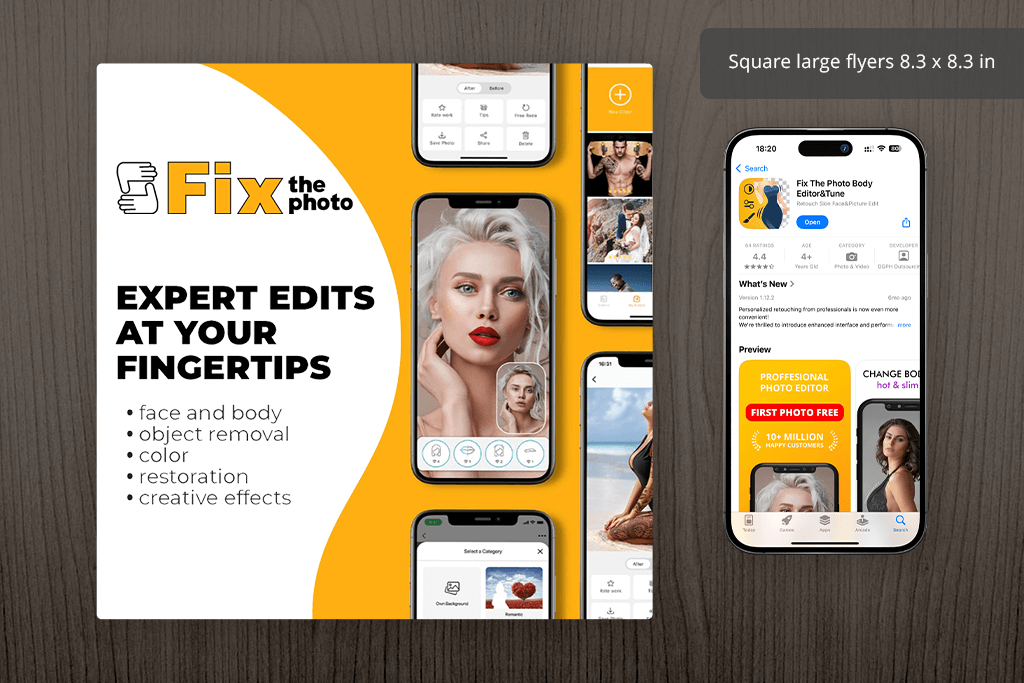
Large:
Inches: 8.3 x 8.3
Mm: 210 x 210
Pixels: 2490 x 2490 at 300 dpi
What size are flyers? They can be different, and square ones immediately grab attention because they differ from standard dimensions. I tried a square photography flyer template in PSD for a FixThePhoto Instagram campaign. The response was inspiring. Such a size accurately matches the social media vibe.
At first, I didn’t think much about flyer sizes when creating flyers in Photoshop for FixThePhoto. But I quickly learned that size matters a lot. Dimensions impact the look, the printing price, how you hand them out, and how people perceive your message.
Picking the right flyer size can turn a basic promo into something exceptional. On the contrary, if you choose the wrong size, you may hide your design’s best parts. That’s why I always consider:
If you want a quick, strong look → Go with small and bold flyers
For sharing more info → Choose a standard or bigger size so everything fits nicely
When mailing flyers → Check postal size limits and what fits in envelopes
For event walls or cafés → Select bigger or square flyers that catch people’s eyes better
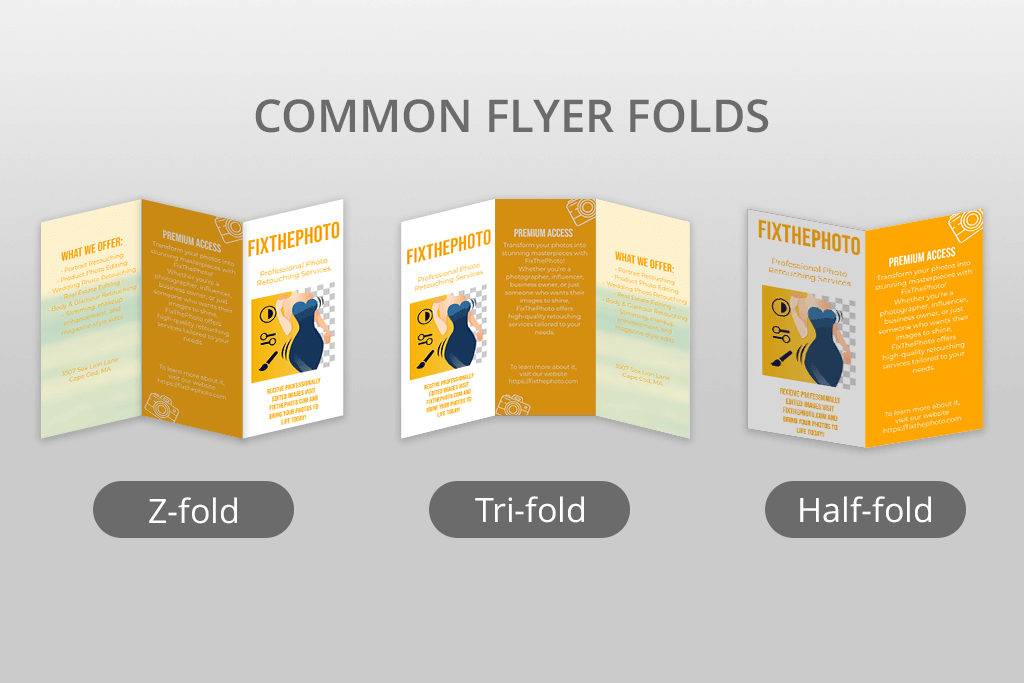
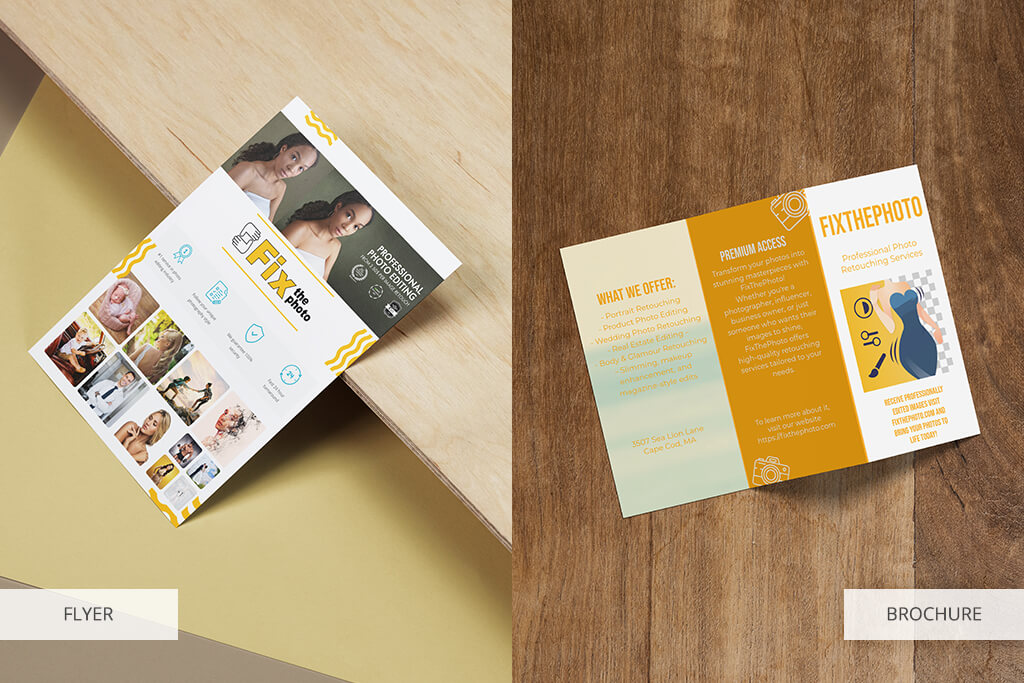
We usually stick to single-page flyers because they’re fast to print photo printing services and perfect for quick distribution. Still, there are times when a folded flyer is the smarter choice. For example, you can use this format when you want to explain something in steps or sections. Folding keeps the layout tidy and helps readers take in the info bit by bit. Popular fold styles are:
Half-fold. 1 fold down the middle for two panels. This format is suitable for menus or short programs.
Tri-fold. 3 folds for six panels. I often use it to break down services or create course overviews.
Z-fold. Opens in a zigzag shape. Perfect for showing a sequence, like a timeline or a process.
Not sure if you should fold your flyer? Do so:
Now you know what normal flyer size is. Orientation is equally important. In fact, it shapes how your design feels right away. Portrait (vertical) is the standard choice. It’s familiar to many, easy to read, and perfect for text-focused designs. That’s why I use it for most FixThePhoto masterclasses and seasonal offers.
Another option is landscape orientation. It looks stylish and interesting. I use it when I want to attract attention right away or give space to panoramic photos. It’s also a good fit for DL flyers and menus, since the shape flows nicely.
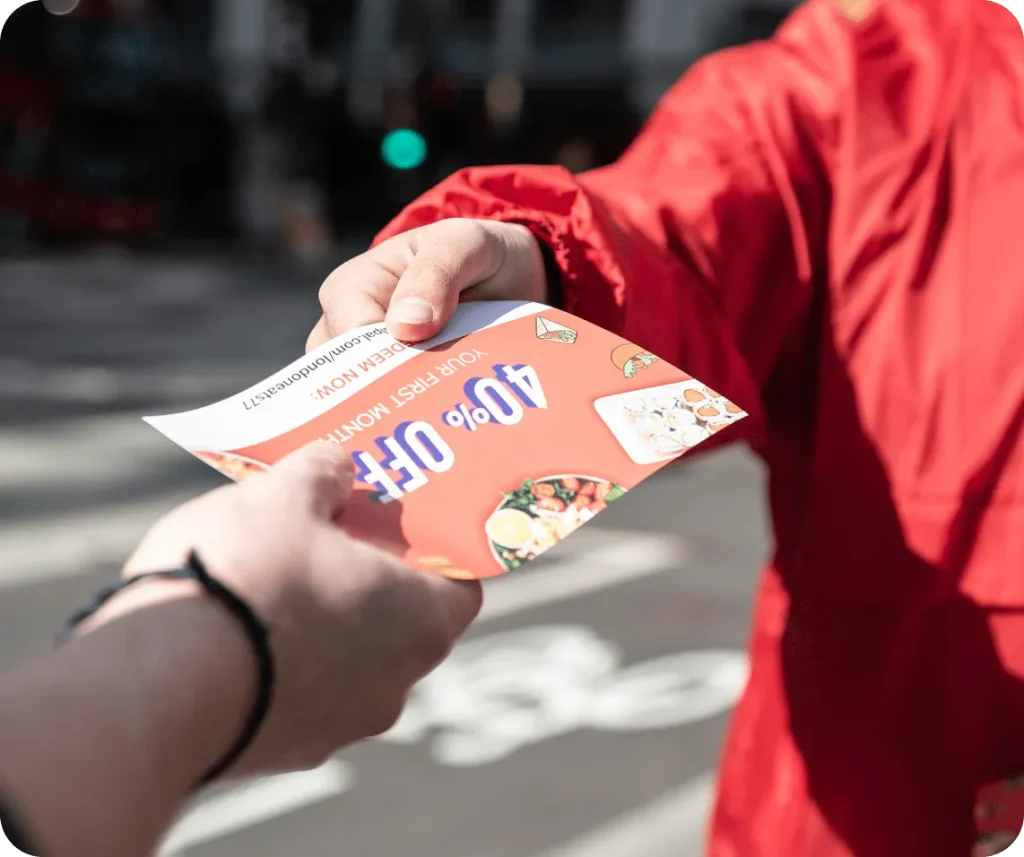
When I was new to flyer design, printing was everything. In fact, I used the best image format for printing for all materials. I’d leave flyers in cafés, camera stores, and hand them out on the street. Today, about half of our flyers exist only on screens.
Thanks to social media, getting your flyer seen by thousands is quick and easy. You don’t need paper at all. Even so, print still works wonders. Some of our most effective promotions started with a small stack of eye-catching flyers right where photographers shop.
Digital flyers are quick, budget-friendly, and perfect for getting your message out to thousands online. You can post them on social media, promote an event, or run an ad, and update them anytime without printing costs.
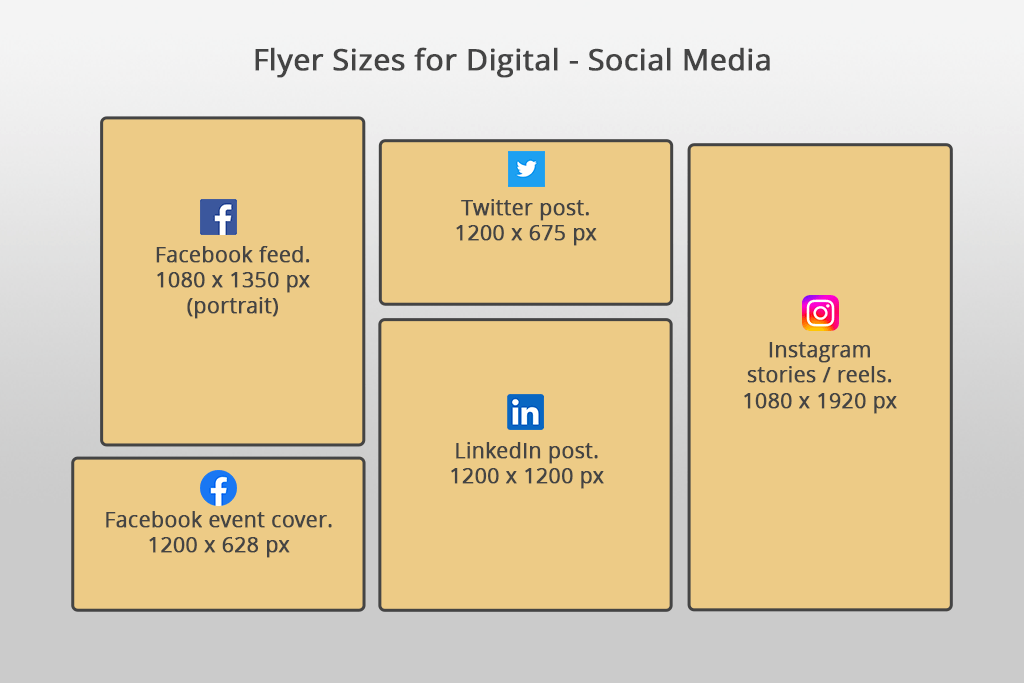
Standard social media image sizes for flyers:
Print offers a personal touch that digital can’t replace. People can touch them, keep them, or share them – making your message last longer. Picking the right paper is very important:
Digital vs. print flyers pros & cons:
| Digital | ||
|---|---|---|
|
Cost
|
✔️ Low or free
|
❌ Printing costs
|
|
Longevity
|
❌ Scroll past quickly
|
✔️ Can sit on desks, boards, or in wallets
|
|
Update flexibility
|
✔️ Easy to edit anytime
|
❌ Requires reprinting
|
|
Tactile impact
|
❌ None
|
✔️ Strong, physical presence
|
|
Interactivity
|
✔️ Clickable links, animations
|
❌ Static
|
|
Reach
|
✔️ Immediate global sharing
|
❌ Limited to physical distribution
|

I like using Adobe Express for my flyers. It’s quick, has cool templates, and lets me design anywhere. You can start with the Adobe Express free to test the program’s capabilities and then switch to a paid one if you need more design assets and tools.
Be smart with colors and spacing. Use your brand’s colors, but also consider how colors affect people’s emotions. For small flyers, don’t crowd the design. White space helps people focus.
Pick only sharp, clear images. High-res photos are a must, especially for large flyer sizes. A great picture can tell your story even without words.

Stick to one main message per flyer. The smaller the flyer, the more you need to cut down your words.
Make your call to action clear and noticeable. Use color, size, or place it where it grabs attention. I often add QR codes to FixThePhoto flyers for quick sign-ups.
Always include contact info. Even if you stick to half sheet flyer size, make sure your website and social media are easy to find.
Step 1. Decide on the exact size you want. Thus, you can avoid resizing problems later.
Step 2. Choose a template. I like using photography templates for FixThePhoto events to expedite my workflow.
Step 3. Insert your visuals. Always use high-quality images and wrap the text around them.
Step 4. Fine-tune colors and fonts. Make sure they align with the event’s mood and our brand style.
Step 5. Export the flyer. Use PDF for print, and PNG or JPG for online sharing.
In the US, 8.5 x 11 inches (US Letter) is the most popular option. Internationally, A4 is the most common choice. Both sizes fit text, photos, and a strong call to action.
When you need more space for details, A4 is the choice. Half page flyer size is great for fast deals or printing lots on a budget.
No, they’re different. Flyers are simple one-page sheets, usually without folds. Brochures fold and can hold more detailed content.
Pick A4 or US Letter if you want to share detailed info or run workshops. A5 or half sheet is great for quick events or discounts. DL size works well for menus and mailing.
Tri-fold is perfect for showing business details or services. Gate fold makes a dramatic impression for product launches. A Z-fold is handy for guides or menus.
Make it easy to read. Create a big headline, add a nice photo, include a brief text, a clear call to action, and contact info.
Glossy paper makes colors pop. Matte paper is easier on the eyes for reading. Cardstock is thick and gives a classy, professional feel.
Digital flyers are perfect for reaching lots of people online. Printed flyers still work best for local, face-to-face events.