A flyer is one of the most effective marketing materials out there. In this tutorial, I'll teach you how to create a flyer in Photoshop from scratch, even if you have limited knowledge of Photoshop. Grab the audience’s attention with an appealing and smart flyer design.
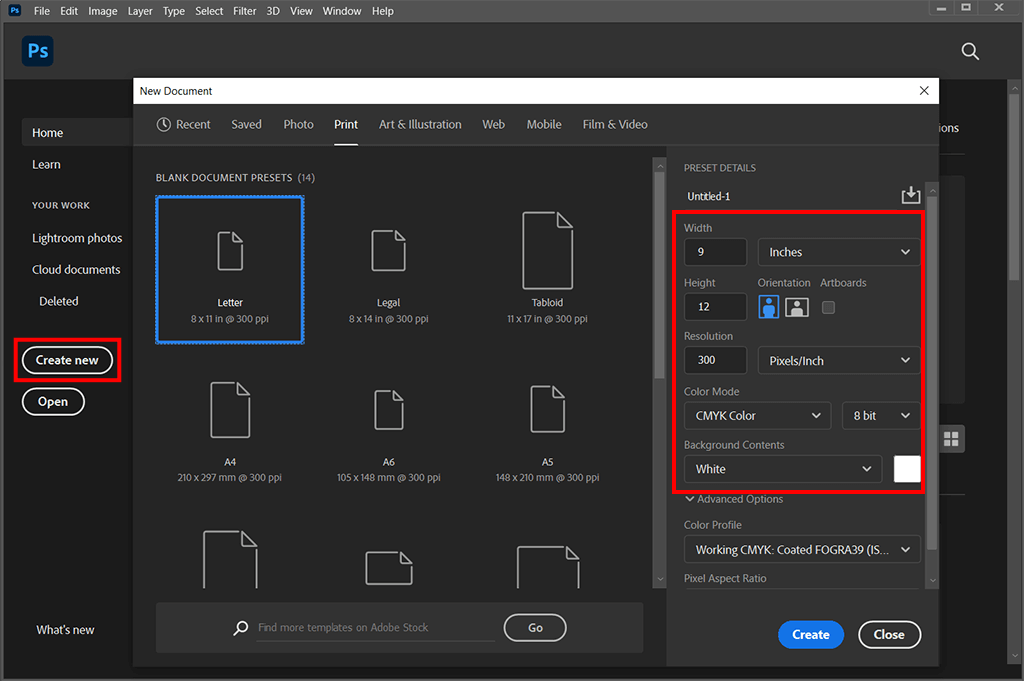
Launch Photoshop. Click on “Create new”. To use the standard flyer size select “Letter” from the document presets. Enter the preset details according to your needs, or simply use the values you see in the screenshot below. Once you have done that, click on the “Create” button at the bottom of the screen.
To start creating a flyer, type Shift+Ctrl+N/Shift+Cmd+N to automatically create a new Layer. This is going to be our background. Select the color of your background in the Color Picker window and click “OK.” Since my flyer will be autumn-themed, I’ll be using the beige color.
If you find a solid color background to be boring, try making a gradient in Photoshop.

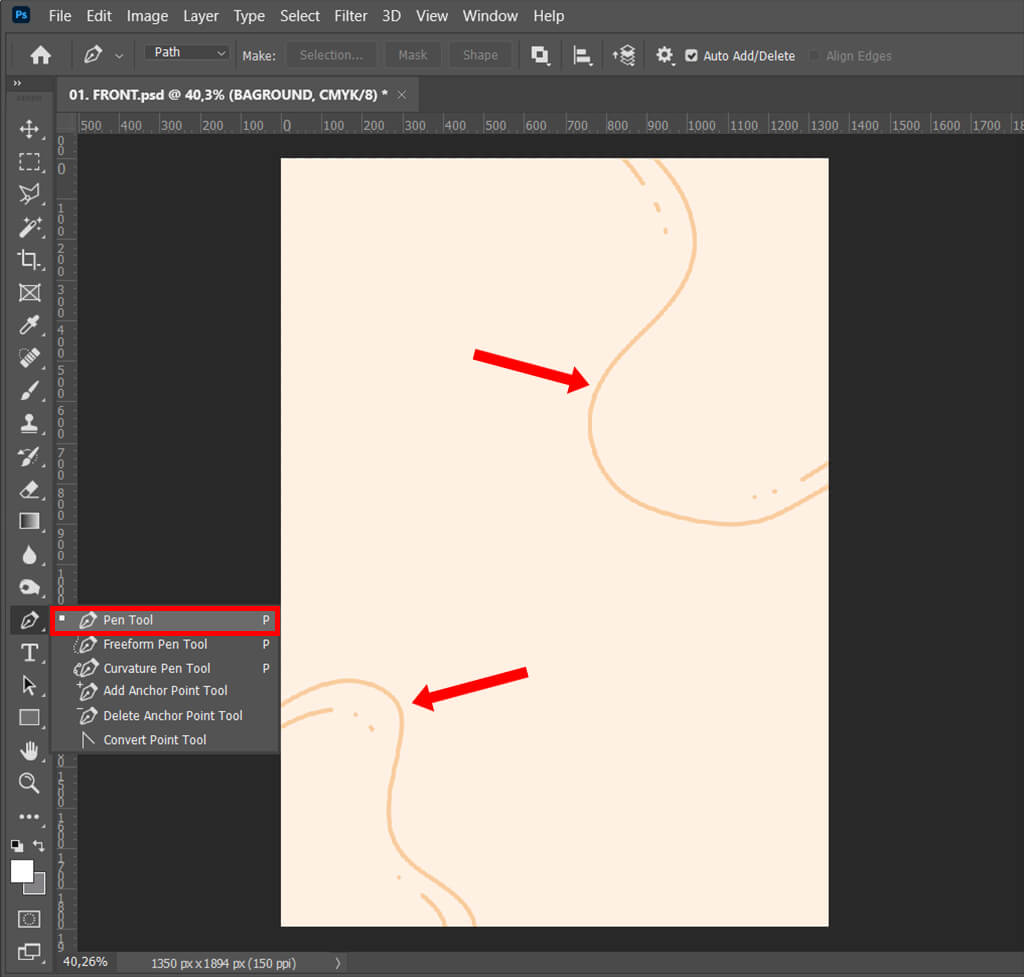
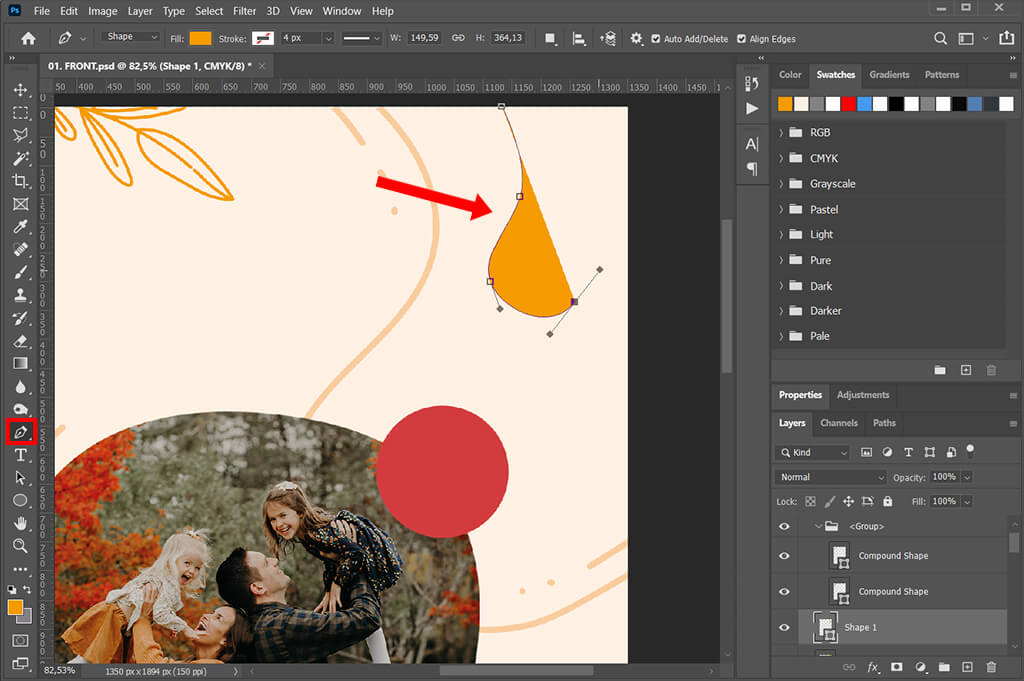
Grab the Pen Tool(P) from the Tools Panel. Use it to add new details, like straight and curvy lines. All you have to do is click and release to create anchor points. This will add straight lines. If you want to make curvy lines, drag and then release to create anchor points.
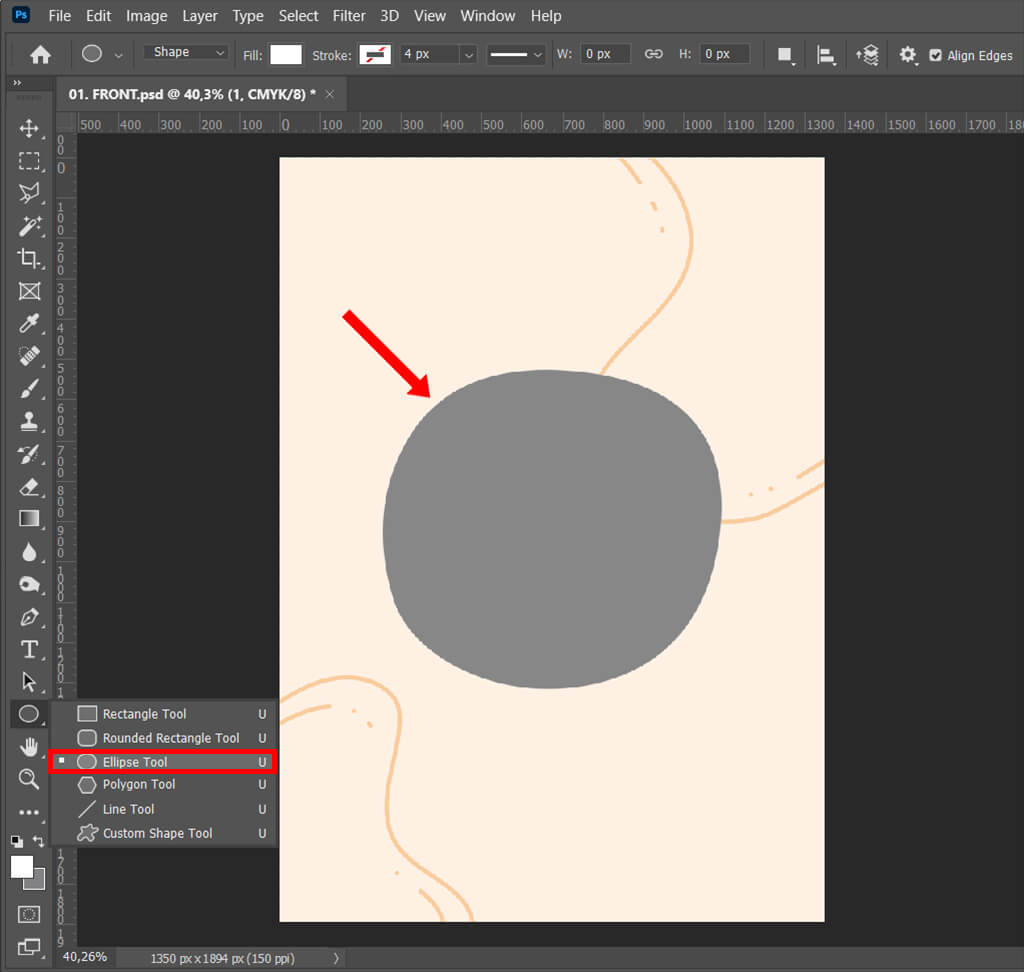
The next step of learning how to create a flyer in Photoshop is grabbing the Ellipse Tool (U) and drawing a circle with it. This is going to be the shape of our photo. Feel free to experiment with shaped to see which ones are going to suit your design better.
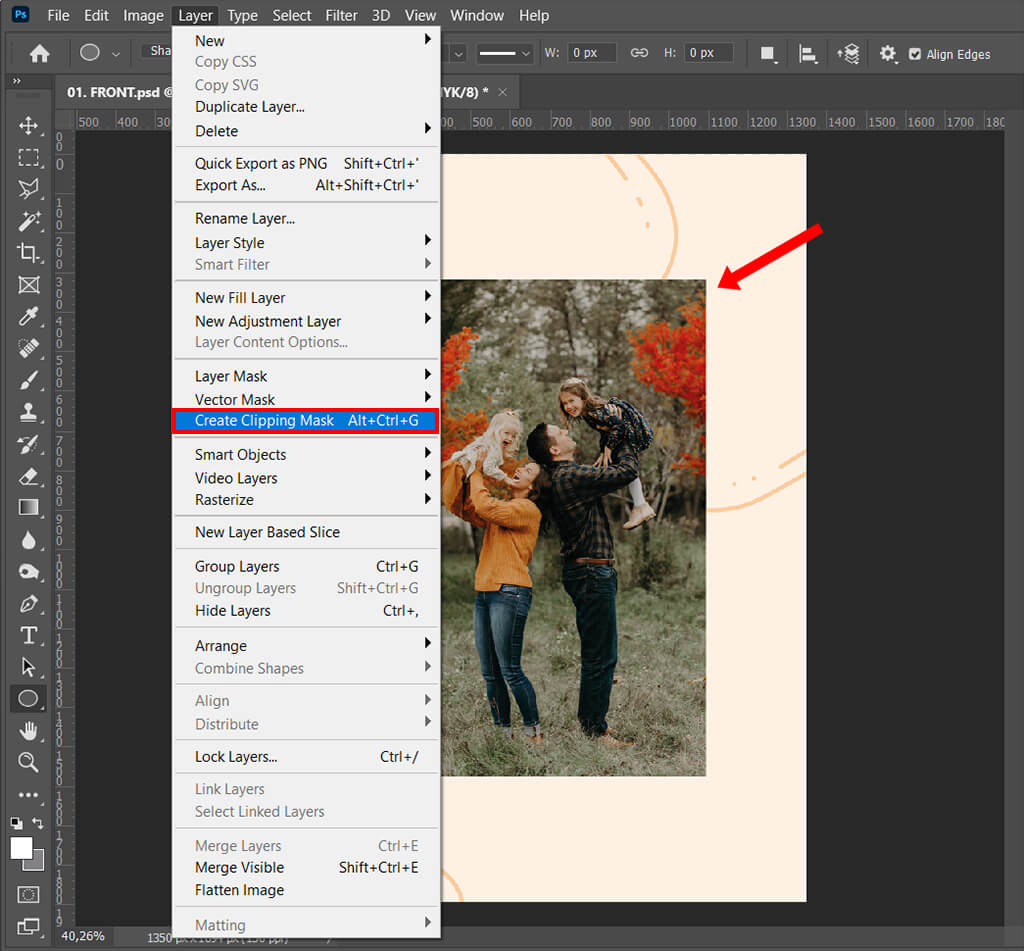
Next, we are going to create a clipping mask. Drag the photo to the working area to add it to your design. Go up to the “Layer” menu in the Menu Bar and choose “Create Clipping Mask”.
If you prefer speeding up your workflow with Photoshop keyboard shortcuts, use the Ctrl+Alt+G/Cmd+Opt+G key combination. Now your image is going to be oval-shaped.
Clipping masks are similar to regular masking in Photoshop, since they both control layer visibility but in different ways.
Add finishing touches to your flyer with the Pen tool. Decorate the space that looks empty. Make sure to create a cohesive color scheme in your flyer. Adding the color wheel in Photoshop can help you sample colors from the images in your design.
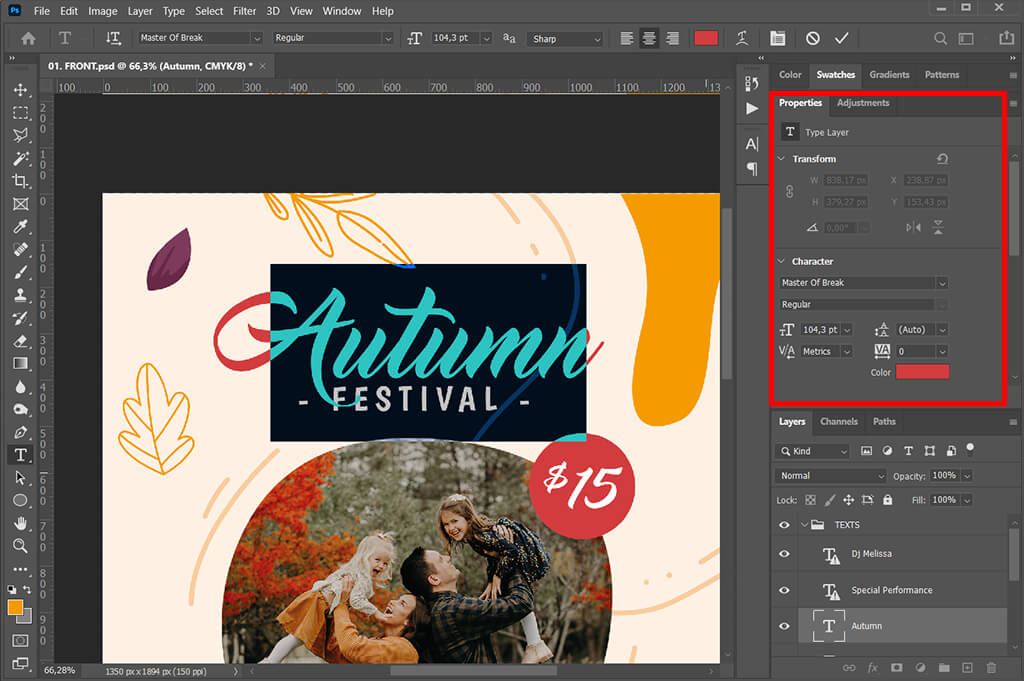
Grab the Type Tool(T) from the tools palette on the left. Adjust it to your needs. Change its size, color, and font, using the menu right above the working area. Now, anywhere you click in your image you’ll be able to add text.
I’ll position my text at the top, as well as right below the photo. Make sure to include contact information, prices, or any relevant icons, like your company’s logo.
You’re almost done. All you have to do now is save the flyer, by going to the “File” tab at the top and clicking on “Save.” Alternatively, use the Ctrl+S/Cmd+S hotkey.
Now that you know how to create a flyer in Photoshop try designing other marketing tools like making a YouTube Banner in Photoshop.

Want your flyer to stand out among others? Use this bundle of professional fonts, textures, and overlays. They will not only streamline the entire process but also make your flyer designs more appealing.


