If you are wondering how to remove the background of a picture in Photoshop besides getting rid of items, make sure to read my recent tutorial. The process of item removal can be shockingly easy, particularly if something moderately-sized is depicted against a clear or plain background.

The procedure only requires installing Photoshop and creating an identical layer with the duplicate feature accessible after the right click on the existing one.
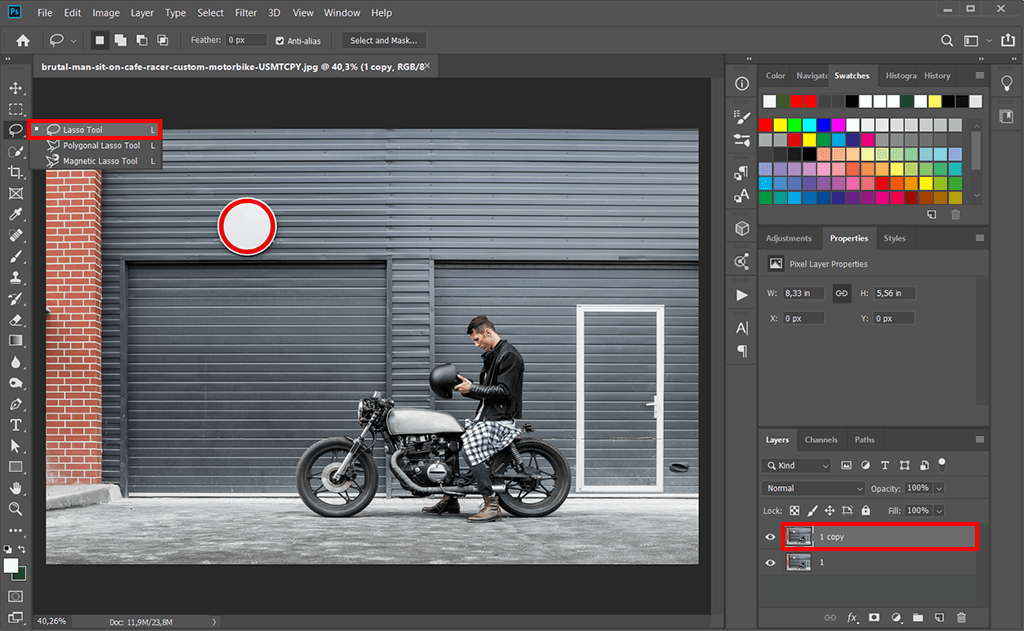
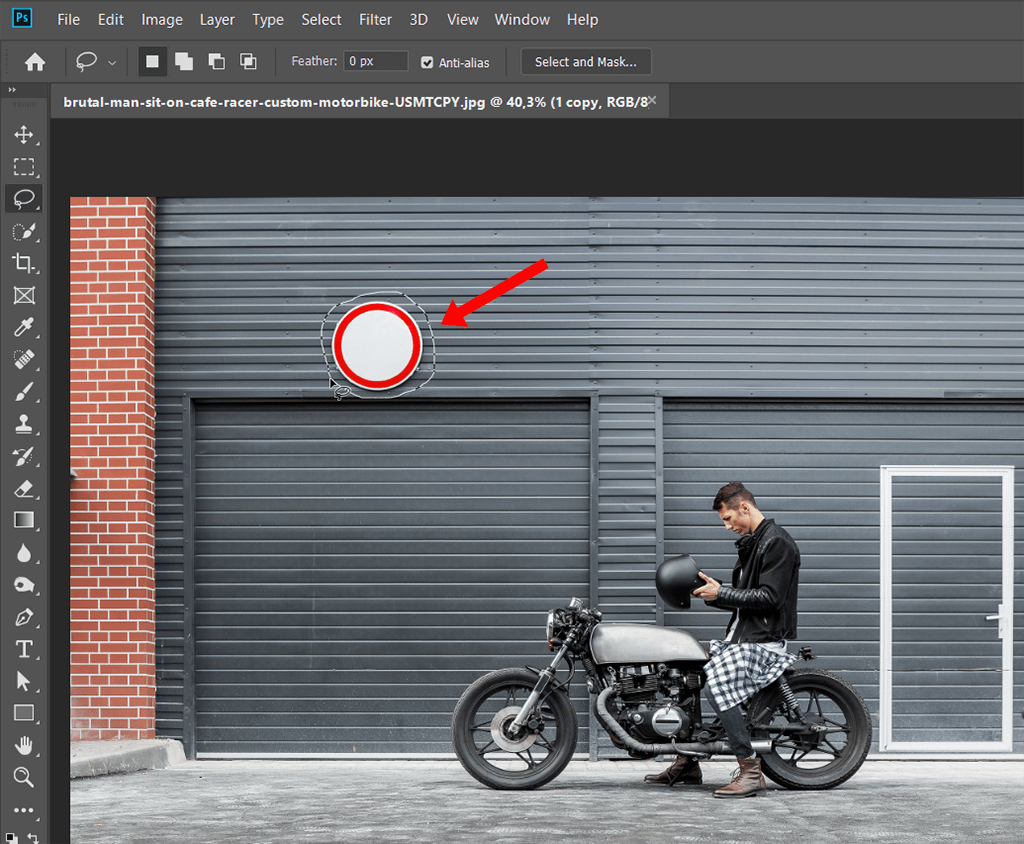
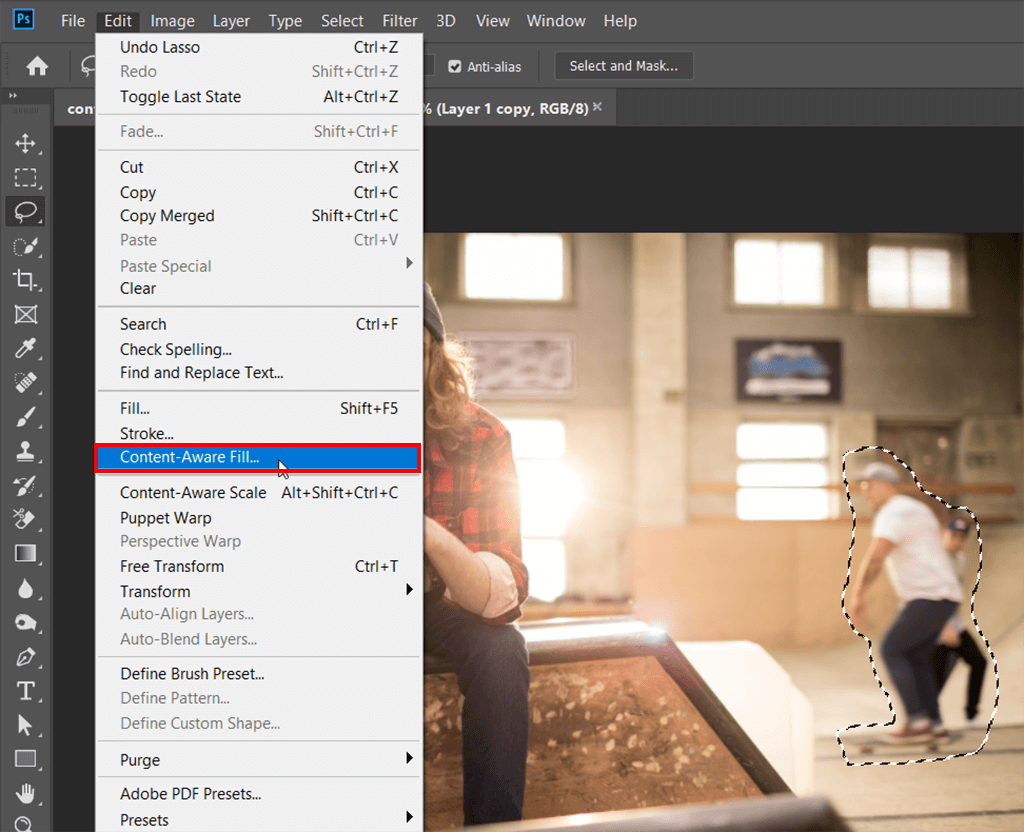
Indicate which part of an image you want to have covered. Use the Lasso Tool and closely follow the contour.;
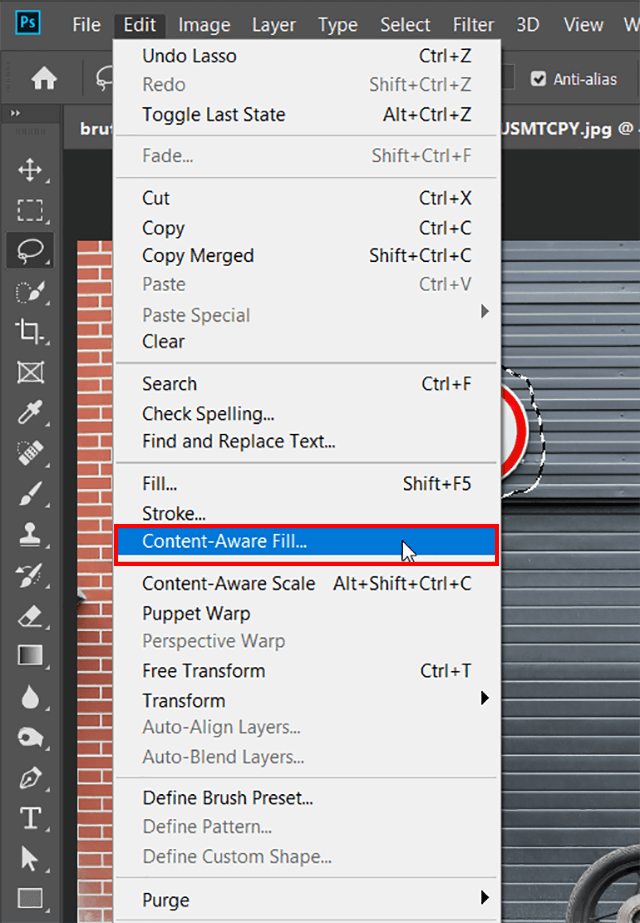
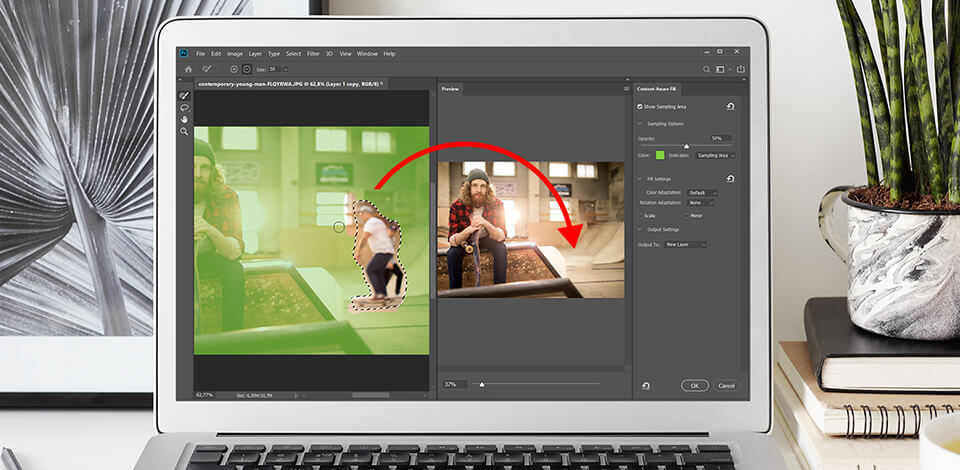
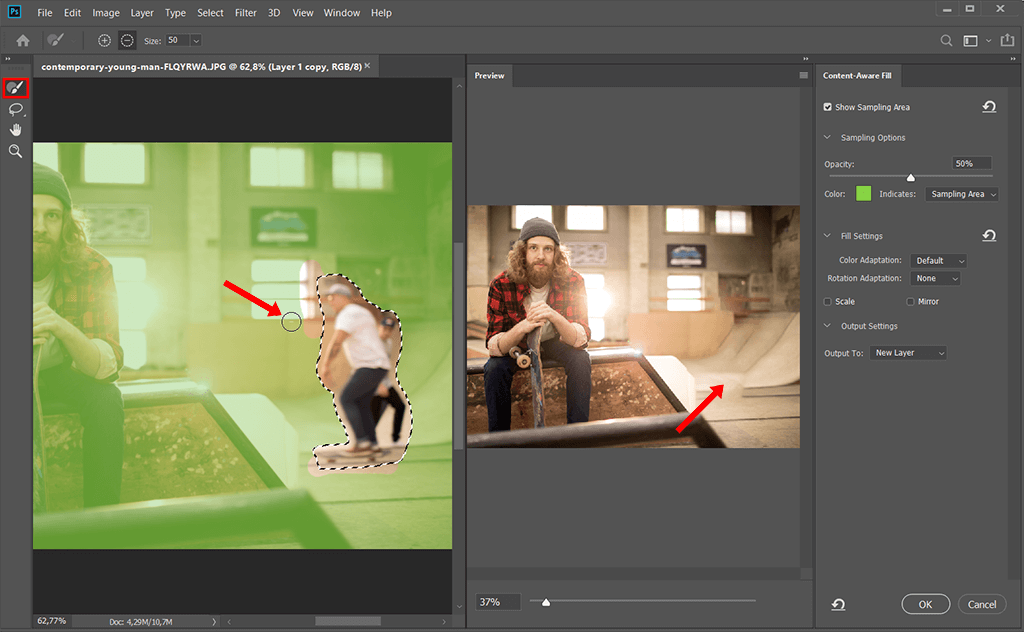
Use the right mouse button within the selected patch and find this feature in the list. Alternatively, the action can be launched through the Edit menu. You will see a split window. The left side gives you a peek into what an outcome will be. The right side is there to give indications of where it sourced the pixels from.
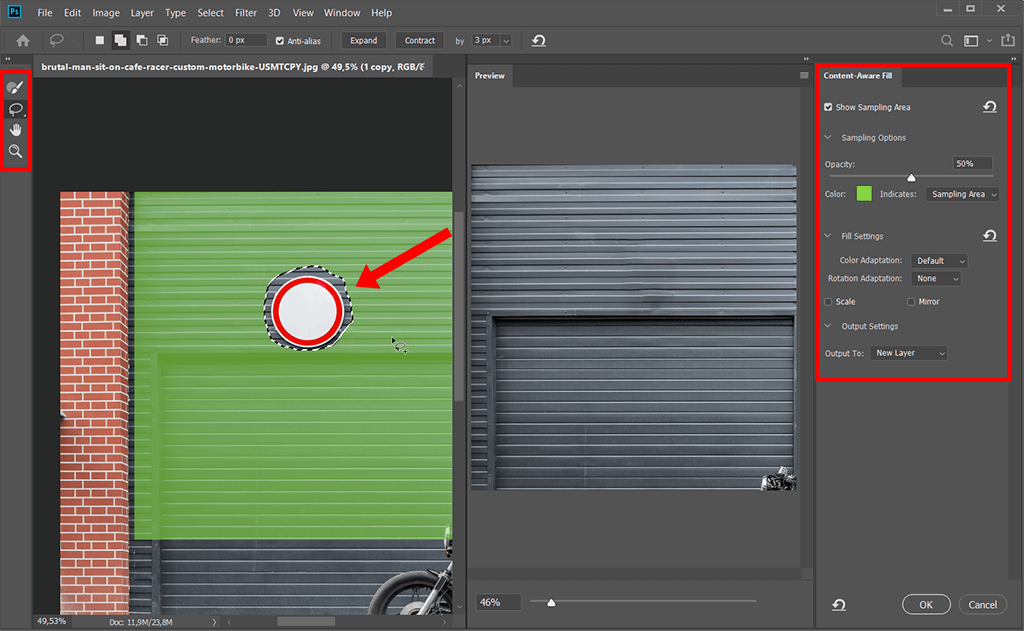
Within that window, you can have a closer look and add precision strokes to the mask, as well as adjust colors and other output settings. You can use scaling to resize the details for better fitting. Mirroring also works with them but simply by reflecting details.
If the generated patch stands out, you can tweak the color adaptation to attempt more seamless blending. You can then decide if you want to apply what was just refined as a proper layer or only a mere mask.
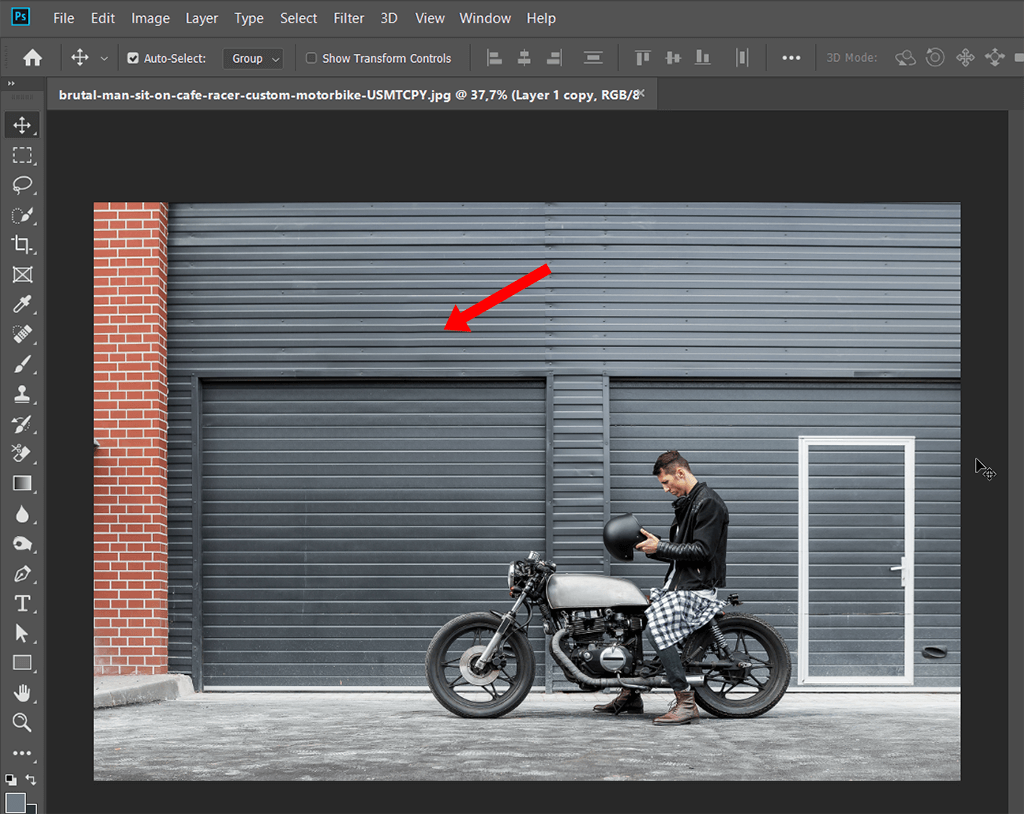
Don’t forget to approve the section by pressing OK. Mind that the method is applicable in the situations when you need to remove text in Photoshop.
You can use Content-Aware Fill to clean up images, whether it's removing power lines from a cityscape, blemishes from a portrait, or even objects obstructing a beautiful sunset. This tool offers a world of creative possibilities, making your photos look flawless, all with just a few clicks. Here you need to help the algorithm by determining the more appropriate areas to snatch the pixels from. If the job looks too complicated or you want to spend your time on more pleasant things, you can refer to an image manipulation service.
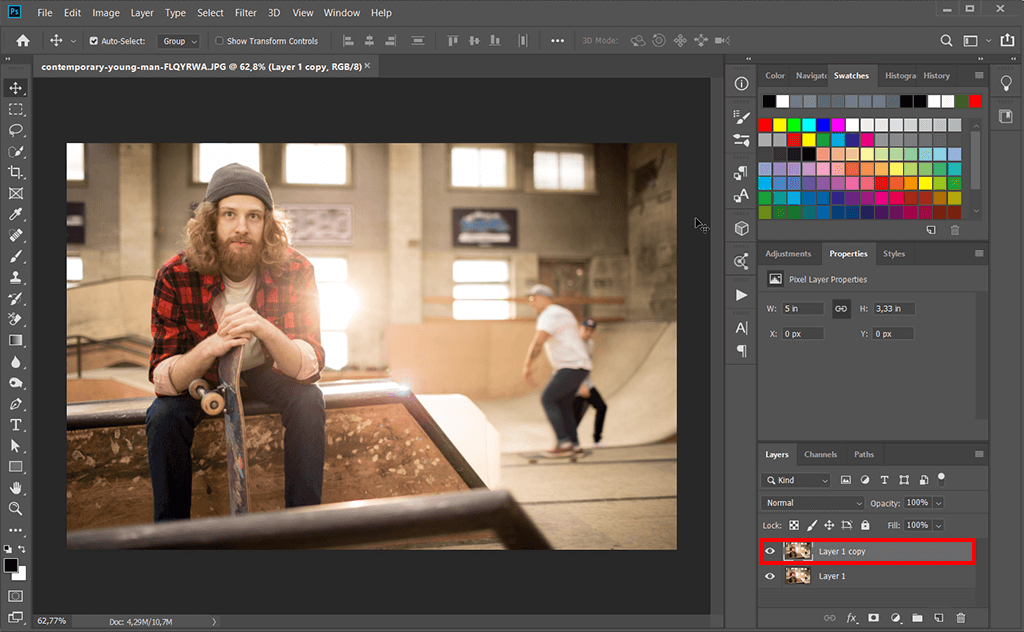
After the opening and copying process, you need to carve out an item that is to be concealed. When there is an abundance of detail, nothing exceeds the capabilities of the Lasso for creating a freehand outline.

There are some scenarios when the automatic function does the trick seamlessly or requires little manipulation. However, when a picture is too visually complex, it becomes crucial to learn how to use content-aware fill with more precision through the custom settings.
If the machine-generated area is mostly OK, you can introduce minor improvements by using the mask brush to expel or include areas. Alternatively, you can draw a new area from scratch if the algorithm made a poor job by activating the custom setting.
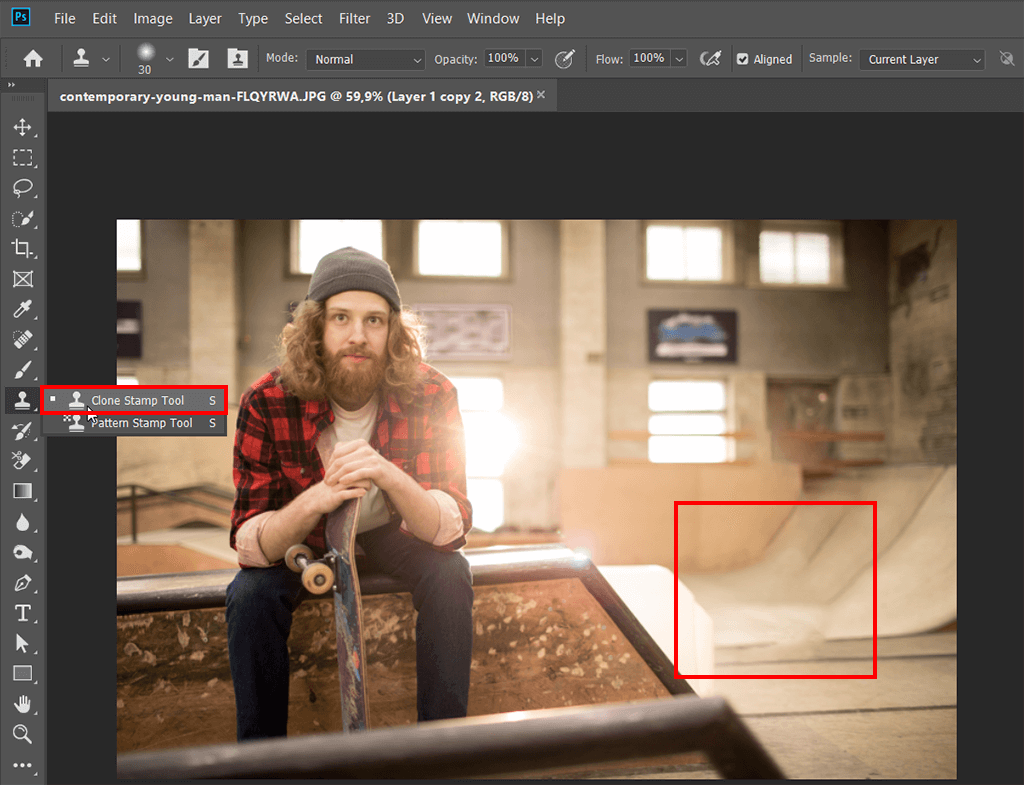
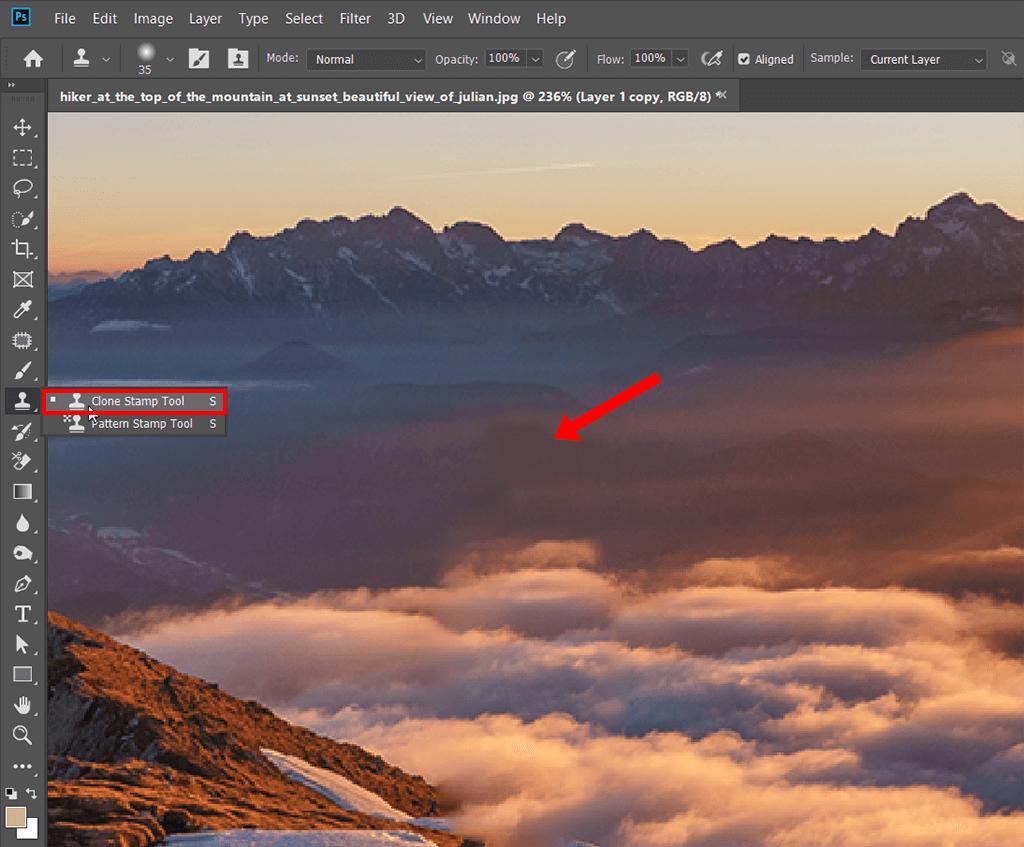
When no customized adjustments can create a realistic patch over your problematic area, the task requires you to substitute the tool and keep patching up with the Clone Stamp. A few precise and deliberate touches can be all the difference between a poor and excellent result.
This tool is readily available in the main kit on the left. If that one disappeared, you can return it in the Tools section of the Window menu. To save yourself the bother, activate the particular instrument with the S shortcut in either OS.
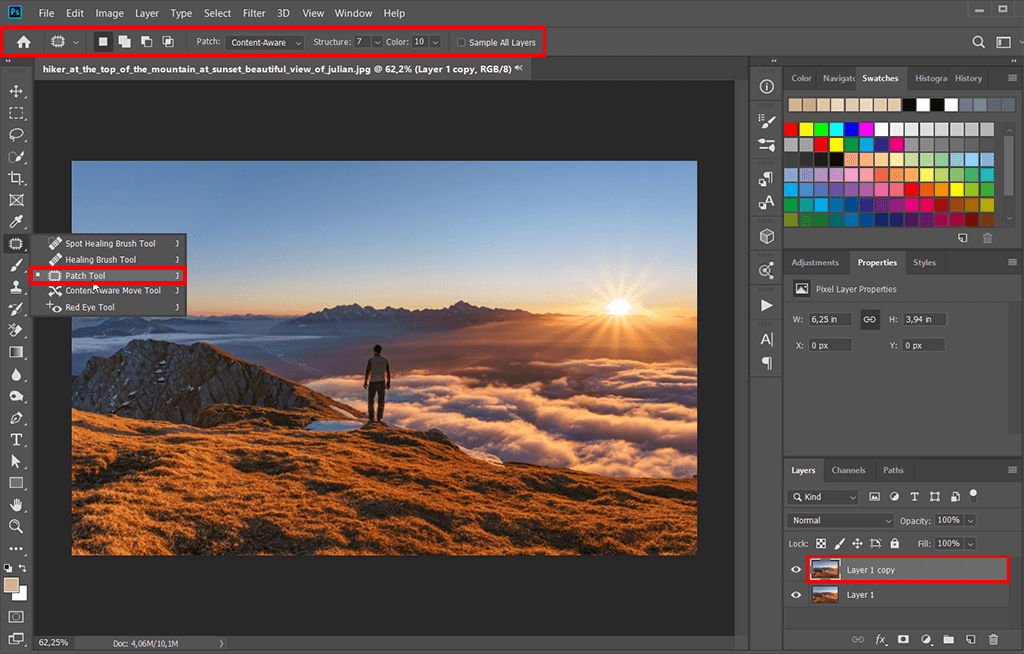
Start with a copy layer generated through the drop-down menu or any other convenient way, utilizing Photoshop keys for quick access. Activate the Patch tool, perhaps with the J hotkey, and loosely trace an outline of the undesirable element. Verify that the options indicate Content-Aware as active.
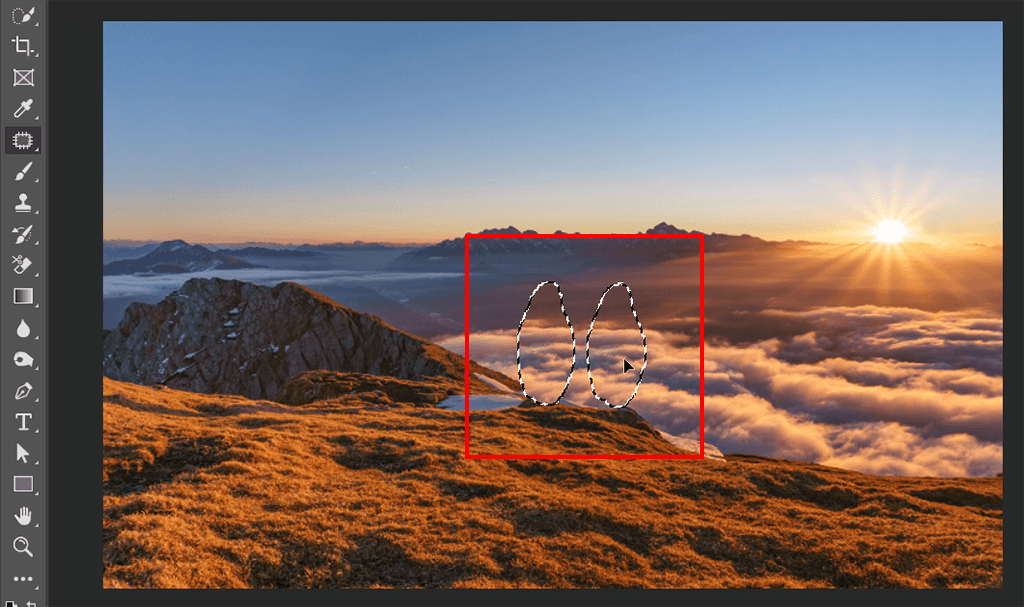
Decide what portion of the image could serve as an appropriate filler and drag the created outline onto it. The rest will be the task of the algorithm.
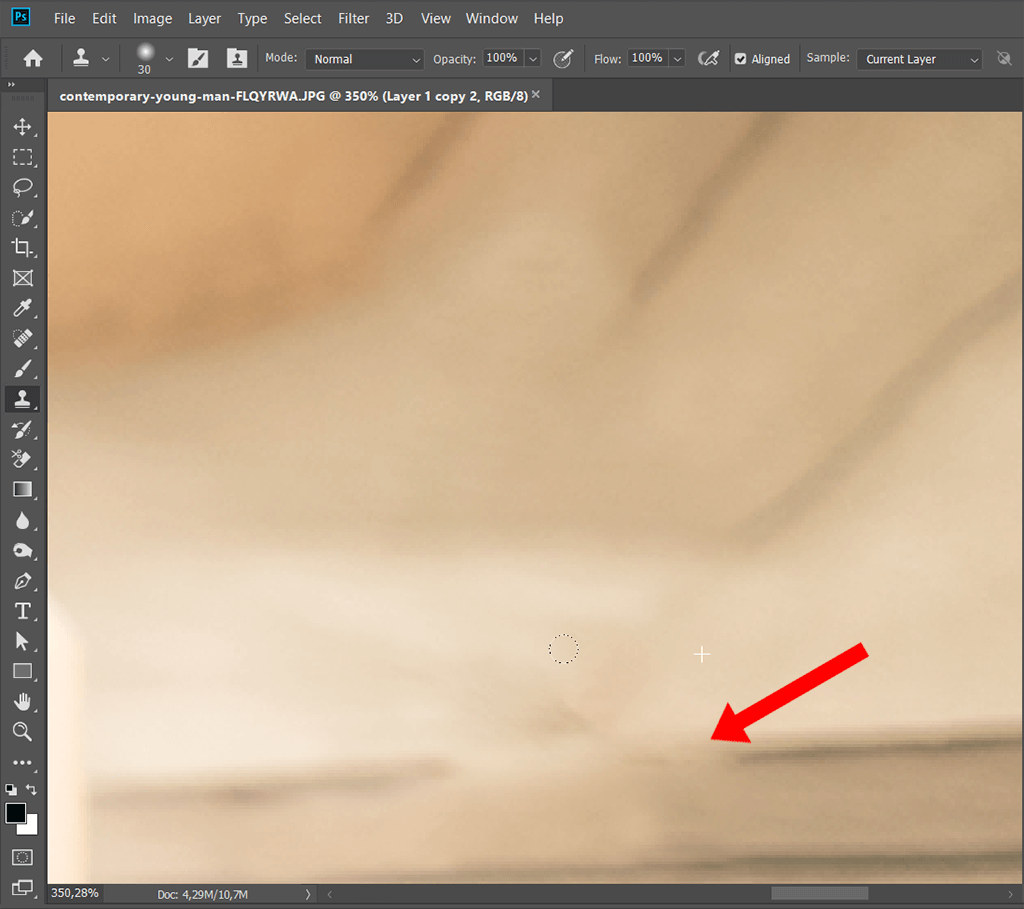
If you don’t know how to use content aware fill to do the manual refining to remove any visible issues, try using the Clone Stamp tool. Something less significant can be corrected with the options bar. It contains indicators for structure and color adjusting which, you will be telling the program how closely either should be matching the cover area. It is a good stage to change the color of an object in Photoshop if you were intending to do it.