I run a small coffee shop downtown and recently saw that my social media wasn’t catching attention, especially with more competition nearby.
My rivals were sharing colorful graphics, fun stories, and appealing ads, while my posts looked plain and boring. I needed a way to make my brand stand out online without spending money on a professional designer since my budget was tight.
I tried using free design tools, but they either didn’t have enough features or didn’t give good results. My teammates from the FixThePhoto team suggested I try Adobe Express instead.
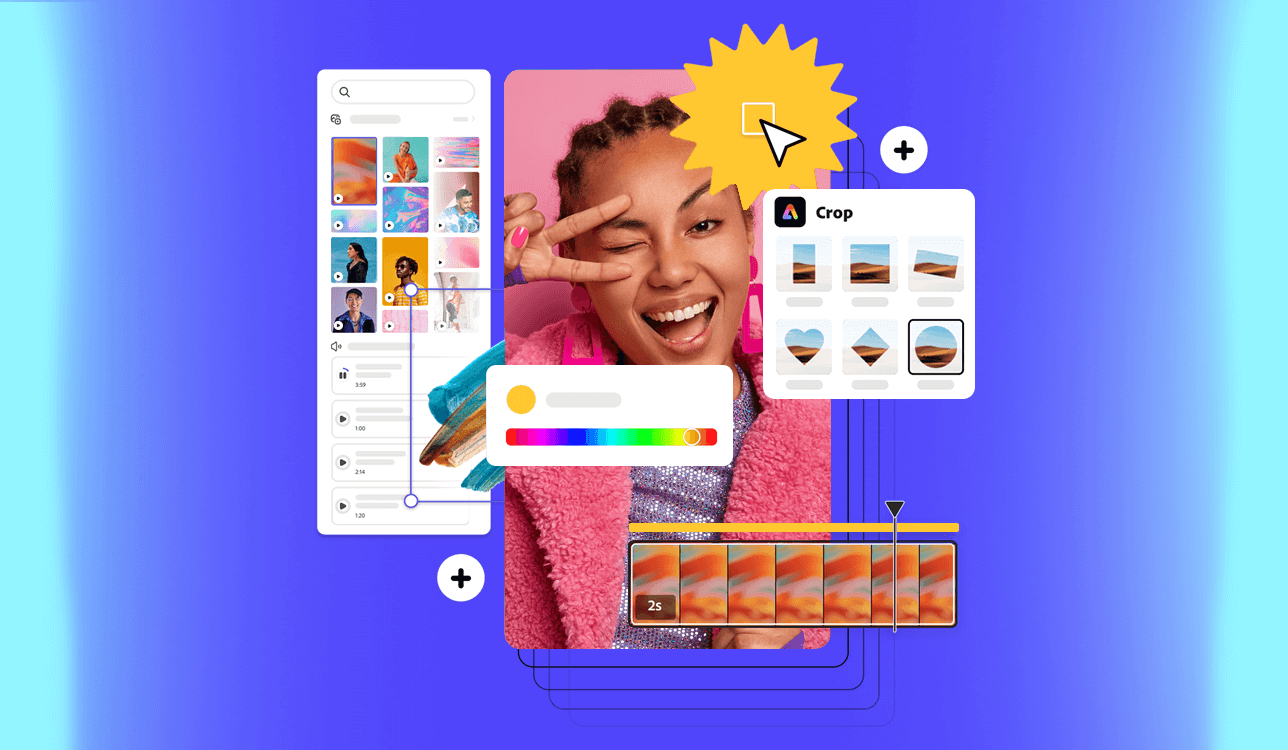
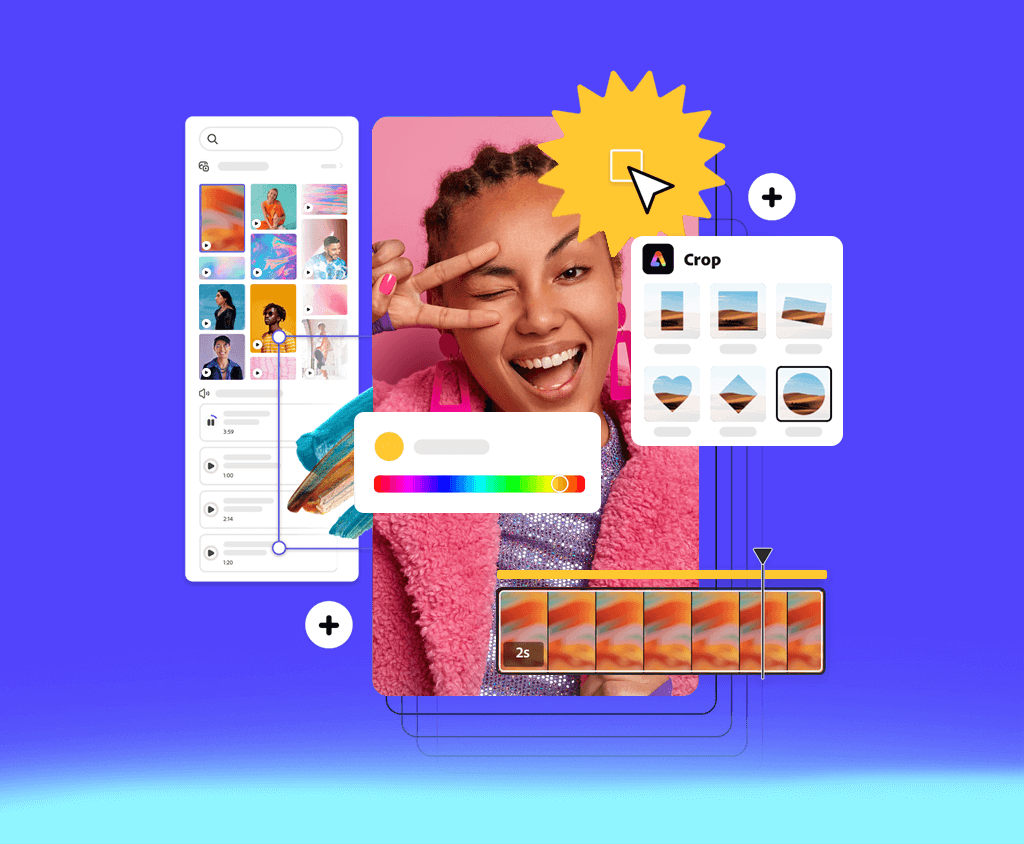
Adobe Creative Cloud Express offers powerful design tools for your work, making it effortless to create eye-catching social media graphics, promo videos, and sleek one-page websites. Whether you're crafting Reels, TikToks, flyers, resumes, banners, or logos, the all-in-one Adobe Express app makes content creation fast, fun, and frustration-free!
After trying Adobe Express, I discovered many helpful features that matched my needs and skill level.
✔️ Customizable templates: I found pre-designed templates for Instagram posts, stories, and event flyers that I could easily customize to match my coffee shop’s style.
✔️ Drag-and-drop editing: The drag-and-drop editor made it simple to upload photos and place them into templates without needing advanced editing skills or knowledge of layers.
✔️ Resizing options: They let me quickly adjust designs for different platforms, accelerating my workflow
✔️ Brand kit: This feature allowed me to upload my logo, set my brand colors, and apply them to all my designs for a consistent look.
✔️ Ease of sharing: I could either download my graphics or post them directly to social media through Adobe Express.
Moreover, I learned that the developer recently announced updates for this free Adobe software, giving me even more tools and making visual content creation much easier. Here’s what’s new in Adobe Express:
I used several important features in Adobe Express to solve my design challenges and boost my coffee shop’s online presence. I watched several Adobe Express tutorials on YouTube, and here’s how I used each feature, step by step, and the results I got.
Customizable Templates for Social Media
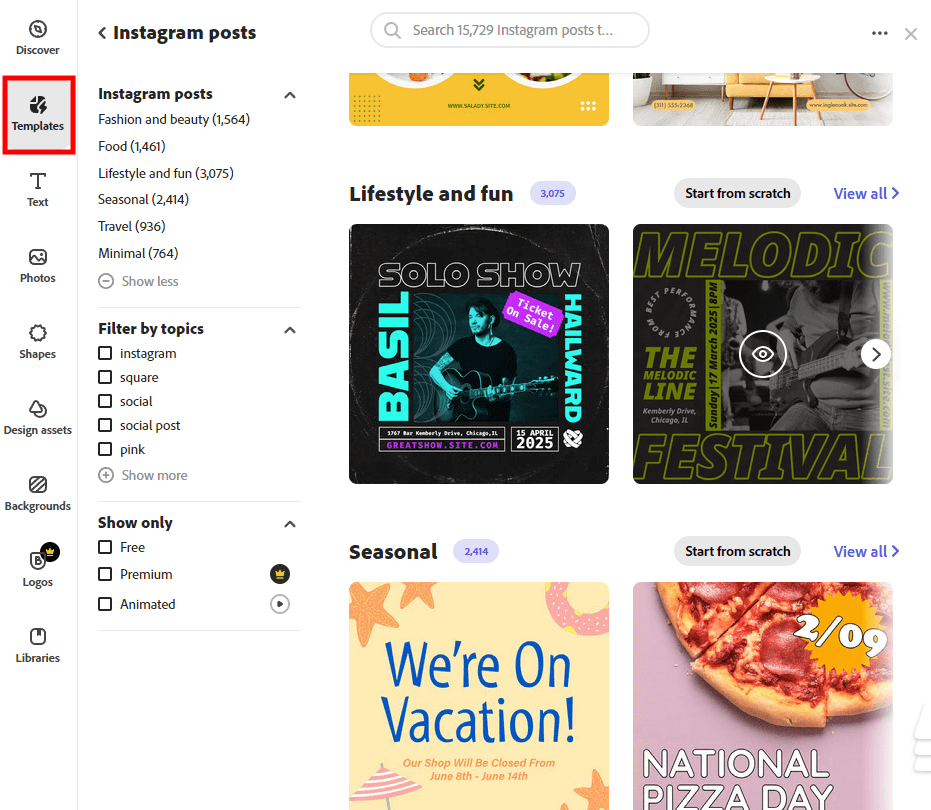
First, I picked a pre-designed template for an Instagram post to promote my daily coffee specials. With the drag-and-drop editor, I replaced the stock image with a picture of my freshly made latte.
After learning how to edit text in Adobe Express, I made all the needed adjustments to include my shop’s name, the daily special price, and hashtags. I added my brand color (a warm brown) to the background to keep the design consistent. The Instagram post looked neat and professional, getting 30% more likes and comments than my previous publications.
One-Click Resize for Multi-Platform Consistency
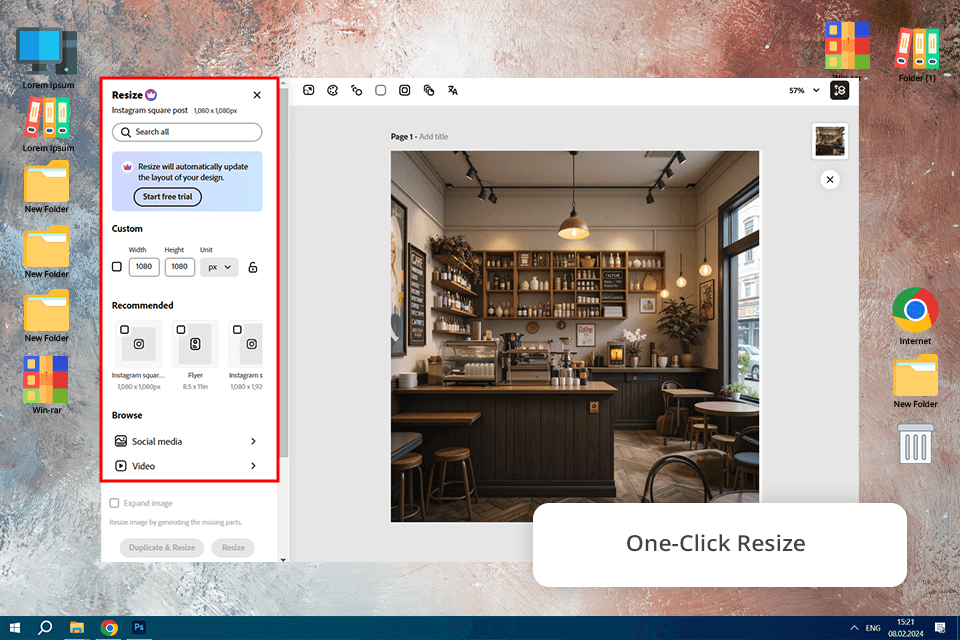
Once my Instagram post was ready, I took advantage of the Resize tool to make the same design suitable for different social media networks. I adjusted the layout to fit it social media for photographers and creative professionals in just one click, eliminating the hassle of making separate designs.
By making small tweaks, such as repositioning the logo and text to match the new sizes, I achieved a cohesive look across all platforms. This strengthened my branding and made it easier for customers to recognize my shop, especially those following me on multiple social media channels. The result was increased brand recognition.
Brand Kit for Consistent Branding
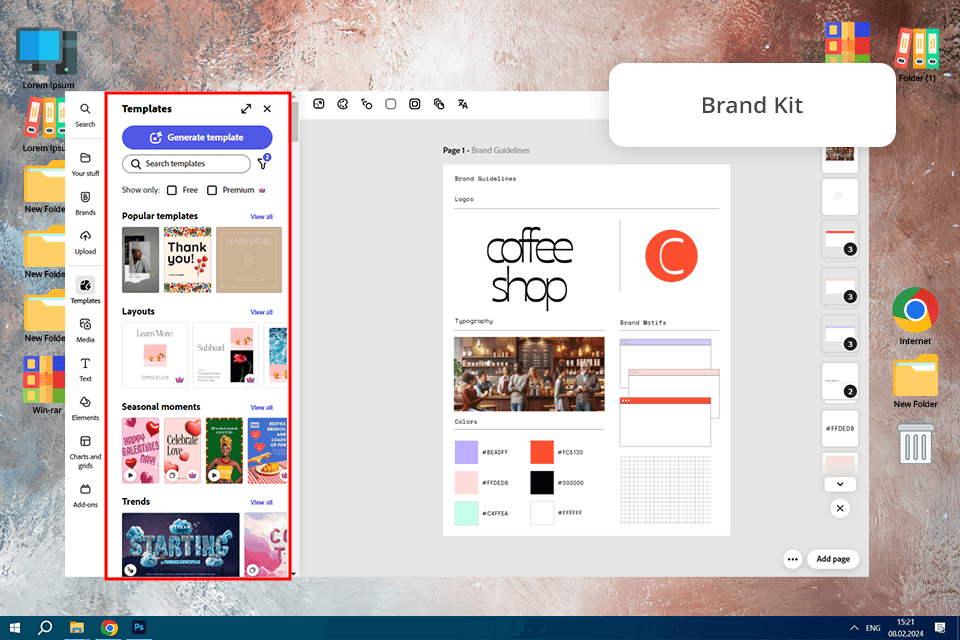
I uploaded my coffee shop’s logo, picked my main brand colors (brown and cream), and chose a font that complemented the cozy, artisanal atmosphere of my shop. These elements were saved in Adobe Express’s Brand Kit and automatically applied to all my designs - something I couldn’t do with other Adobe Express alternatives I tried before discovering this program.
All my designs looked consistent, making my brand easier to recognize. This helped bring back more customers who connected the visuals to my shop’s quality and feel.
GIF Creation for Engaging Content
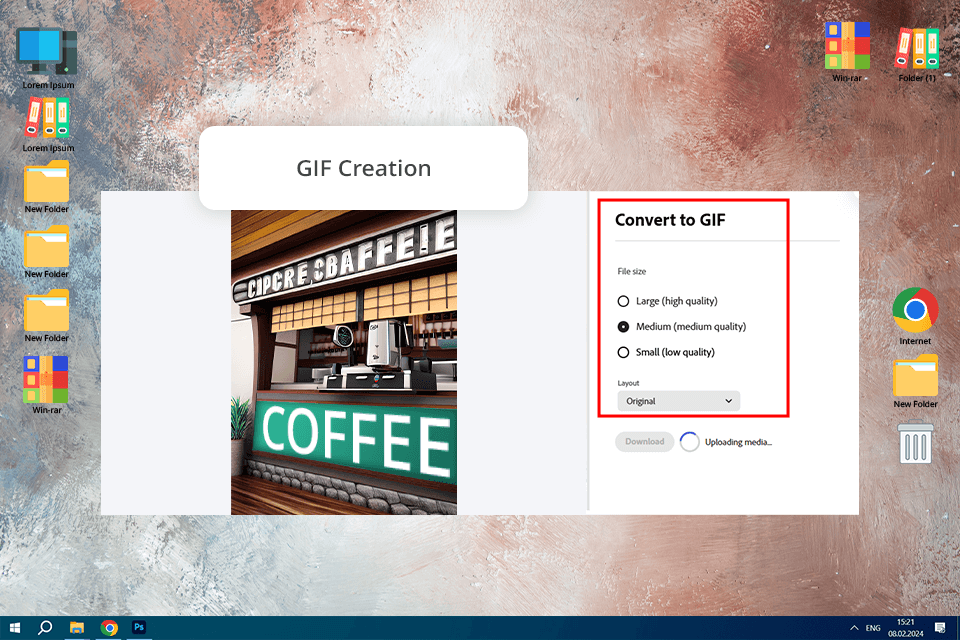
I decided to use Adobe Express as a free GIF maker and designed a lively, animated GIF to showcase a new seasonal drink. To do this, I took advantage of the program’s animation tools and I used simple text animations, like “Try Our Pumpkin Spice Latte!” with a zoom-in effect on the steaming cup.
I saved the animation as a GIF and posted it on Instagram and Facebook. It grabbed more attention than regular images, resulting in 20% more shares and comments. Customers mentioned that the GIF made the drink look especially “inviting.”
Easy Sharing Options
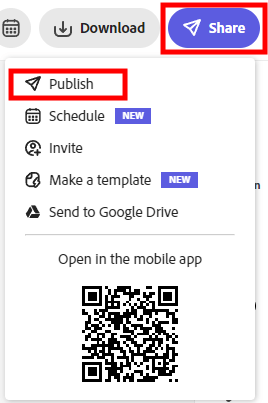
After completing my designs, I posted them directly to Instagram and Facebook using the Direct Sharing feature in Adobe Express. I also downloaded the files to include in my newsletter and showcase them on my website.
By simplifying the sharing process, I saved time and could focus more on engaging with customers. The visually appealing designs also led to higher email open rates.
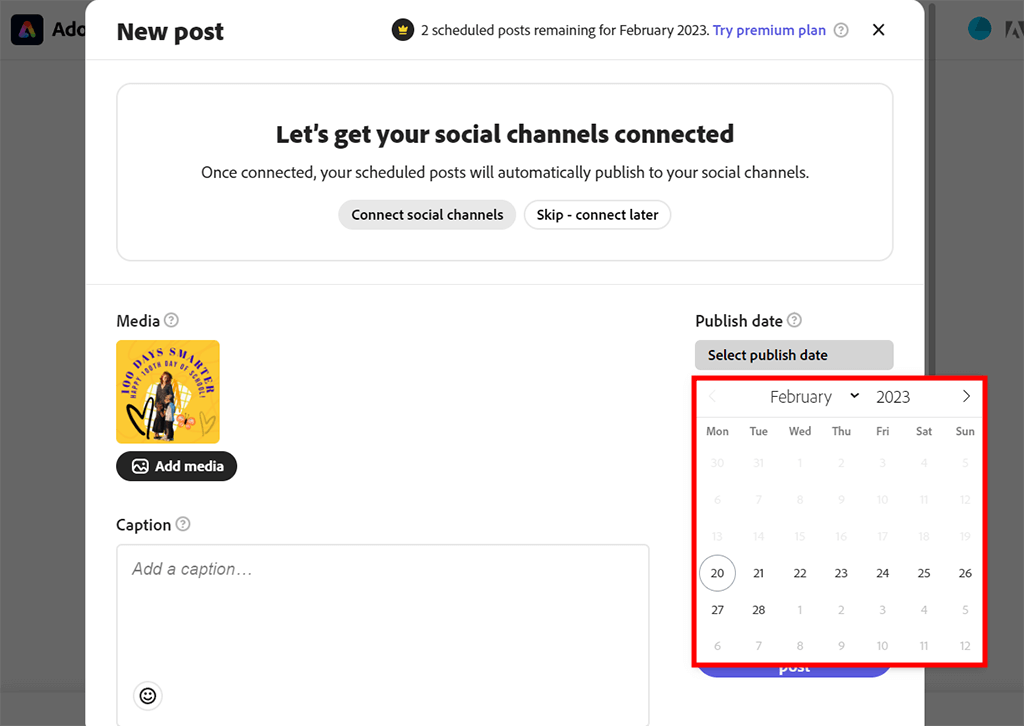
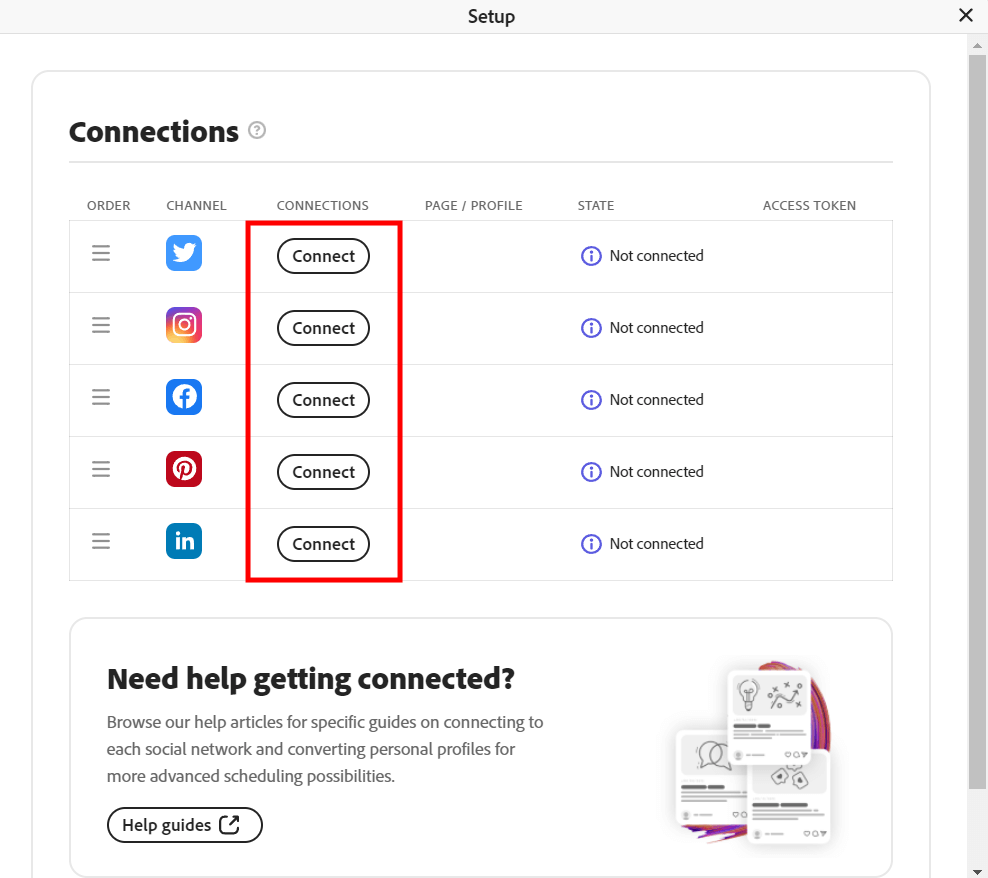
Even more, after getting started with Adobe Express, I could connect my page to social media, where I am going to publish my post.
Flyer Design for In-Store Promotions
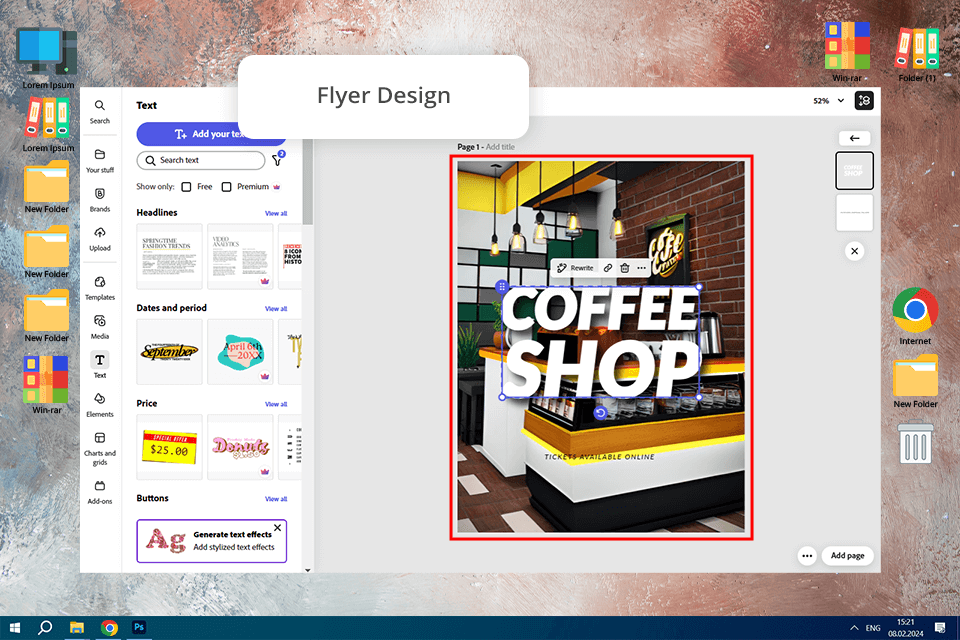
I selected a flyer template for the live music night and customized it by adding a band photo, event date, and time. After printing the flyers directly from the platform, I set them out on tables and the counter.
The flyers got customers excited, and many of them showed interest. The event was a big success, with a full house on the night of the show.
| Integration Feature | Description |
|---|---|
|
Access to Adobe Fonts
|
A rich collection of professional fonts to jazz up your designs with unique typography.
|
|
Creative Cloud Libraries
|
Easily access logos, colors, and graphics from your Creative Cloud Libraries to maintain consistent branding.
|
|
Photoshop-Quality Image Editing
|
Top-notch features for refining images like background deletion, filters, and retouching powered by Adobe Photoshop.
|
|
Stock Assets from Adobe Stock
|
Multiple royalty-free images, videos, and illustrations of top quality for direct use in your projects.
|
|
Illustrator-Inspired Vector Tools
|
Simple vector tools to make custom shapes and logos.
|
|
InDesign-Style Layouts
|
Ready-to-use templates, inspired by Adobe InDesign, for creating professional presentations and flyers.
|
|
Integration with Premiere Pro and After Effects
|
Export content tailored for video projects, simplifying the creation of intro animations and overlays.
|
|
Cloud-Based Collaboration
|
Work together in real-time and share files easily with Adobe Creative Cloud users for team projects.
|
To see how to draw or edit photos on Adobe Express, we developed different types of projects connected with creating visual content for social media, flyers, and logos. FixThePhoto designers explored the pre-made templates, evaluating their customization options and the ease of use for both beginners and professionals.
Adobe Express offers photo editing tools powered by Photoshop. We tested background removal, resizing, and filters. The background remover worked fast and handled detailed objects very well.
Since collaboration is important for projects, we checked how well designs could be shared and edited within the team. With Adobe Creative Cloud Libraries, we could easily access brand logos and saved color palettes, keeping all designs consistent.
Adobe Express runs smoothly on both mobile and desktop, so we tested its performance across platforms. We checked whether switching between devices was seamless or not and whether a user could continue the editing process without losing progress.
Trouble-free connection with such handy tools as Photoshop, Illustrator, and Adobe Stock was a major benefit for me. We tested these integrations by importing vector files from Illustrator and enhancing photos in Photoshop before using them in Express.
Adobe Express proved to be a powerful solution for fast and easy design tasks. Its simple interface made it ideal for beginners, while professionals appreciated its advanced integrations. Standout features included real-time teamwork and an impressive background removal tool.
We found out that the free version provided many useful features, but some advanced options, like exclusive templates and Adobe Stock images, were only available with a subscription.
Adobe Creative Cloud Express is based in the cloud, which allows users to utilize it for creating top-level visual content for social media. With it, you can create single-page websites, promo videos, and various graphics. What makes it stand out among its competitors is that it enables you to access it from any device regardless of your whereabouts.
Yes, this software doesn’t require years of experience to use it. You can use a variety of templates to create pro-level designs without wasting much time. Adobe Express has an easy learning curve, which explains its popularity.
Yes, this program allows you to quickly print the designs that you created using its tools. You just need to select this option to see a dialog window where you can adjust the printing settings. Besides, you can print your files as PDF documents.
If you take a look at the Creative Cloud package, you will see that it includes top-level Adobe software with advanced features. After paying for the All Apps plan, you will get access to programs used by professionals who specialize in photo, video, and audio editing as well as graphic design.


