While creating graphic design projects in Adobe Express, you have to perform various actions with image unblurring being among the most frequent manipulations. If you barely understand how to unblur an image in Adobe Express, this in-depth tutorial may come in handy.
Previously, designers mainly used Adobe Photoshop to make photos sharper, but now they switched to Adobe Express because of its useful tools and features. If you have never used photo editing software and feel doubtful about your skills, just follow the steps listed below and you’ll surely achieve the desired result.
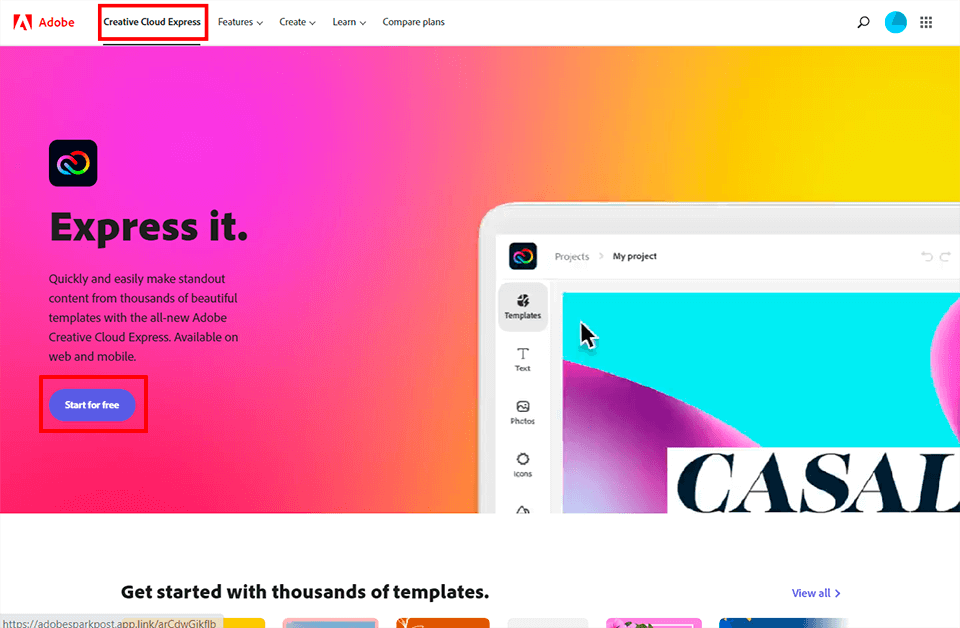
First off, you need to get access to Adobe Express (formerly called Adobe Spark). You can launch it right in a browser by clicking Start for free or go to the official website and initiate downloading. Keep in mind that you need to register in the program, otherwise, the functionality will be unavailable.
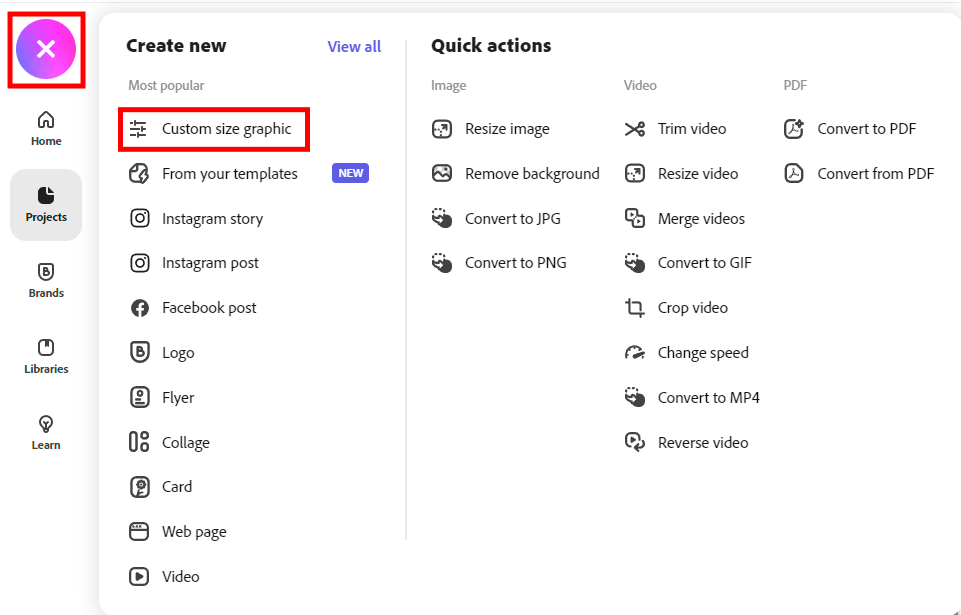
Next, you need to select a workspace. To do this, click on the cross icon in the upper left corner of the interface.
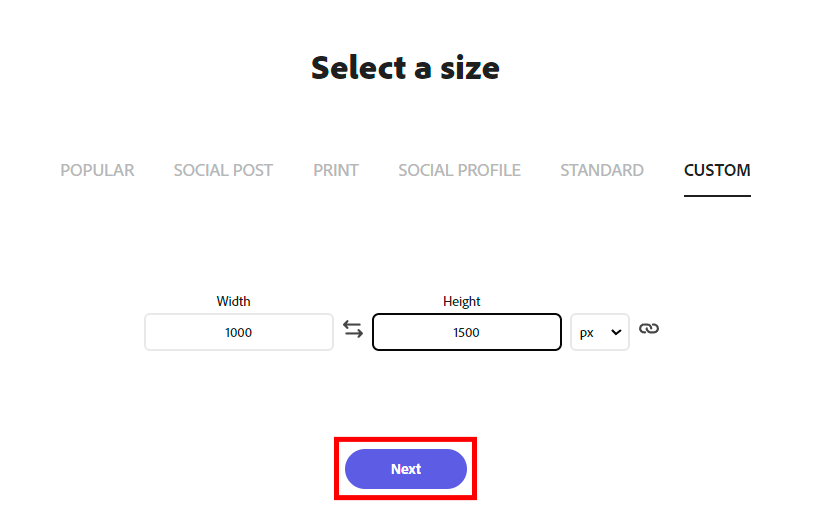
At this point, you need to choose the size of your picture. You can either select a pre-defined size or indicate suitable dimensions. There are special fields, where you can type numbers defining the width and height (in px) of an image.
If you are currently working on a specific project, which requires using images of a predetermined size, you can choose a suitable option from the list. For example, you can select Social Post, Prints, Social Profile, and Standard sizes. While choosing the Custom option, you can define a proper ratio.
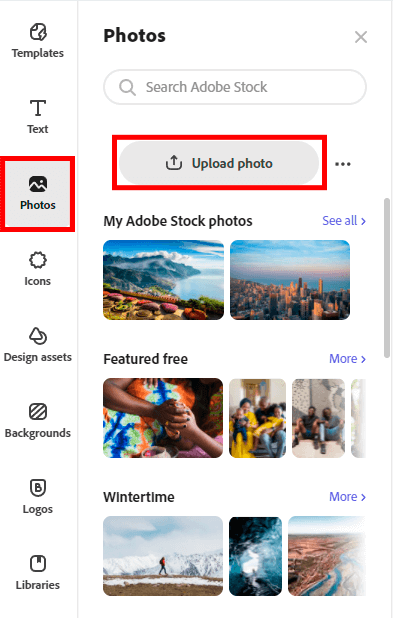
Now, you need to upload your blurry image. The program allows uploading files from desktop computers, mobile devices, external media, as well as using royalty-free pictures from the stock library, e.g., Adobe Stock.
If you are pressed for time to fix blurred photos in CC Express, you can always address FixThePhoto and order such a service at the main website. Now, you need to upload your blurry image. The program allows uploading files from desktop computers, mobile devices, external media, as well as using royalty-free pictures from the stock library, e.g., .
If you are pressed for time to fix blurred photos in CC Express, you can always address FixThePhoto and order such a service at the main website.
Experts can not only make photos shaper, defining the smallest details, but also correct colors, remove distractions, and more.
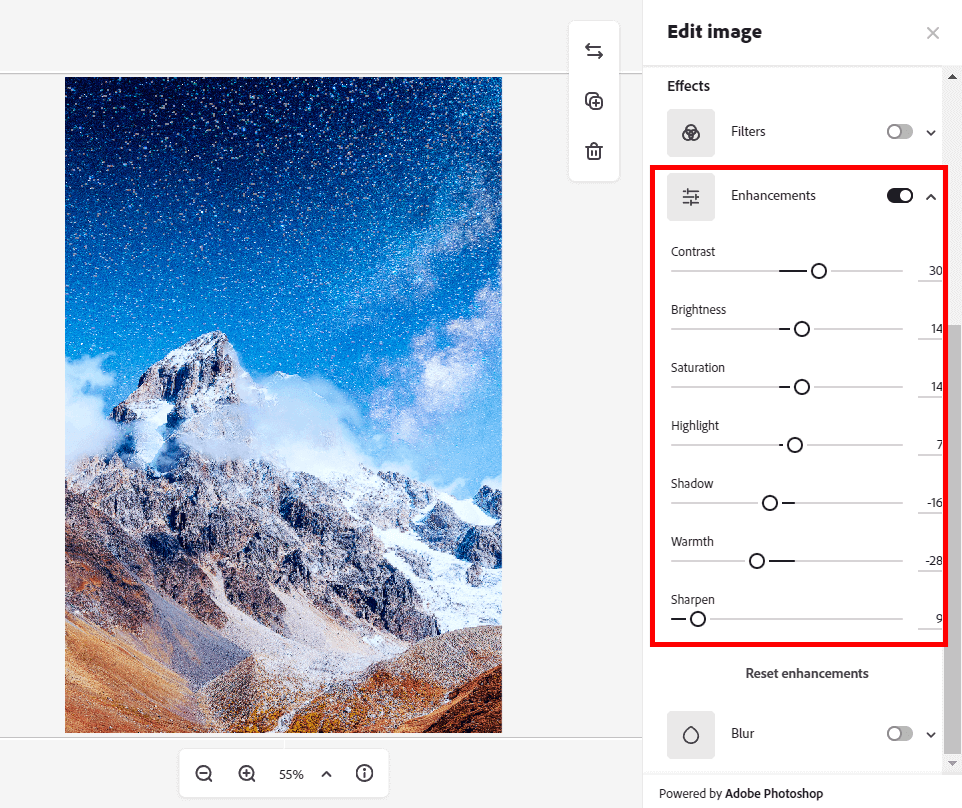
Open the Enhancements menu on the right side of the interface. There you will see all the needed instruments for improving blurry photos and performing other adjustments. Besides, such controls as Brightness, Contrast, Highlight, Saturation, Warmth, Shadows, and Sharpen are also stored there. However, in this case, you need to focus on the Blur feature, which can be activated or deactivated.
Now you know how to unblur an image in Adobe Express. The only thing left is to download the processed photo to your computer. Click on the Download button and choose a folder for storing files. Besides, you can save files on your mobile device or share them with followers on social media websites or via email.
There is no blurring that degrades the quality of your picture but you may still need to correct colors for an absolutely professional result.
A skilled FixThePhoto team can enhance the entire color gamut of your images, making colors bright and eye-pleasing. Since they use top-quality equipment for color correction, your images will never acquire artificial shades or screwed tones.